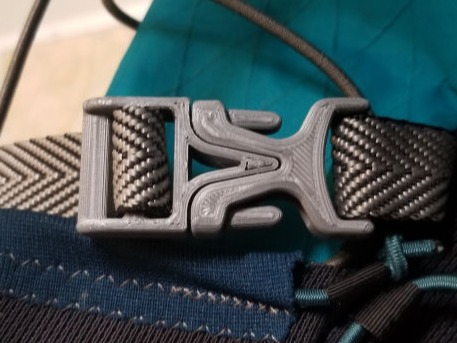
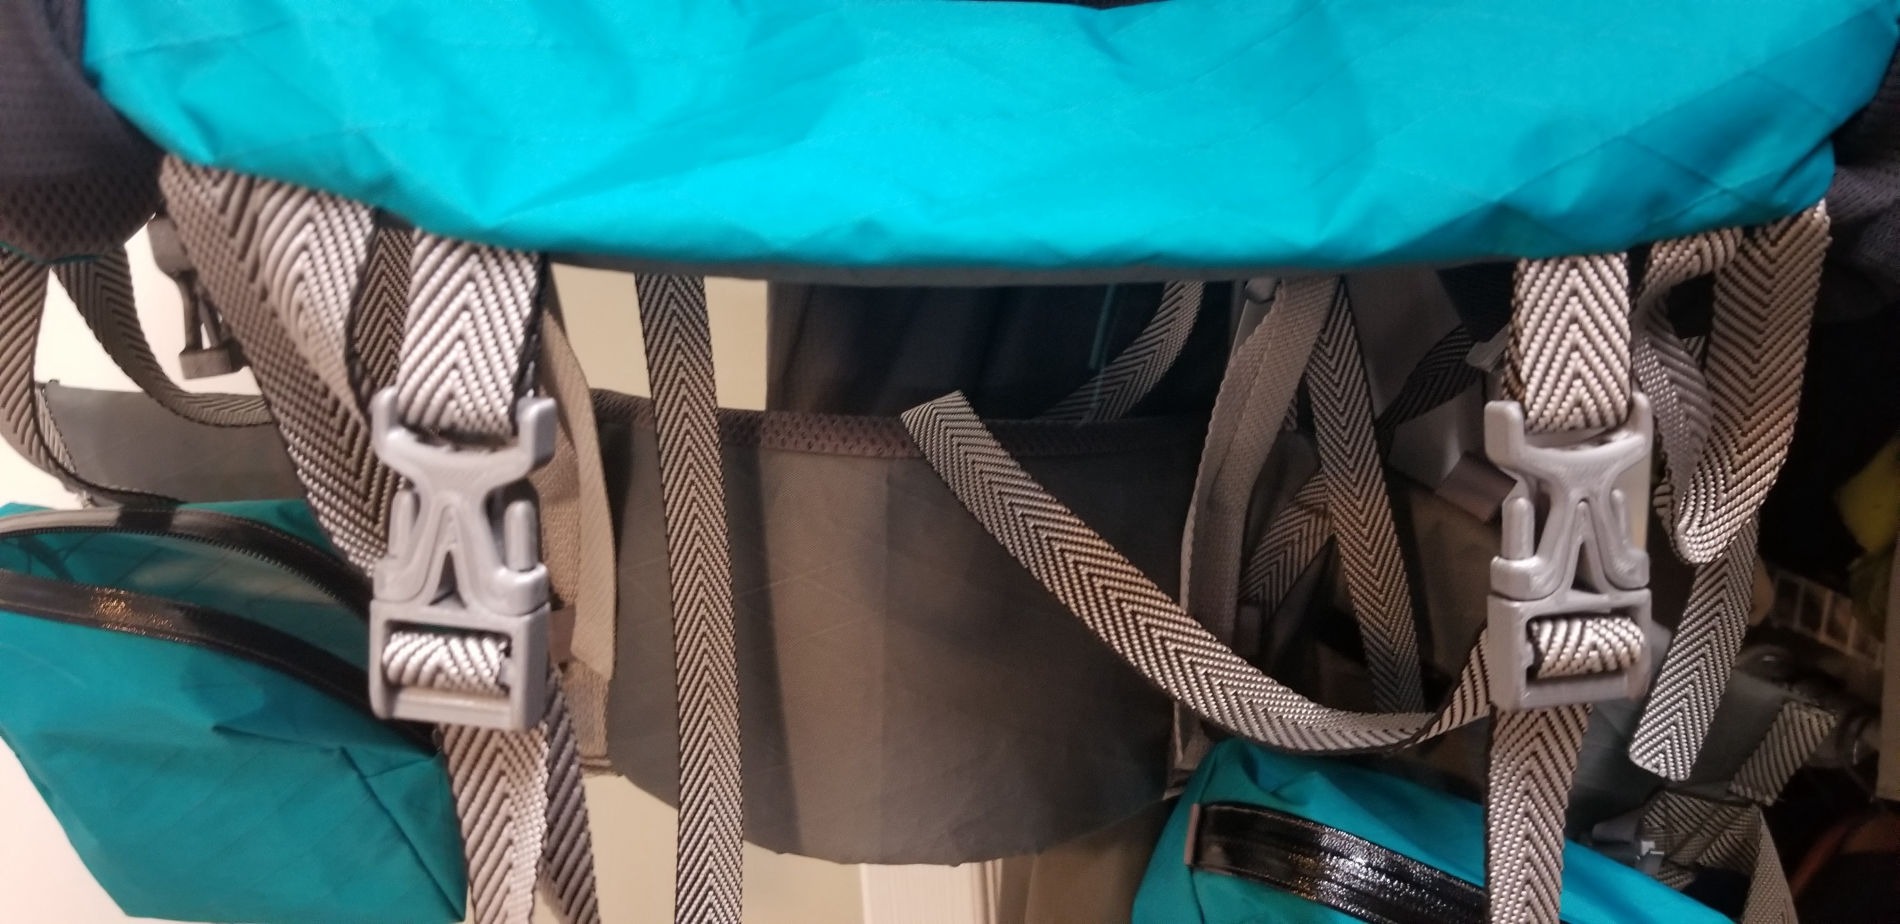
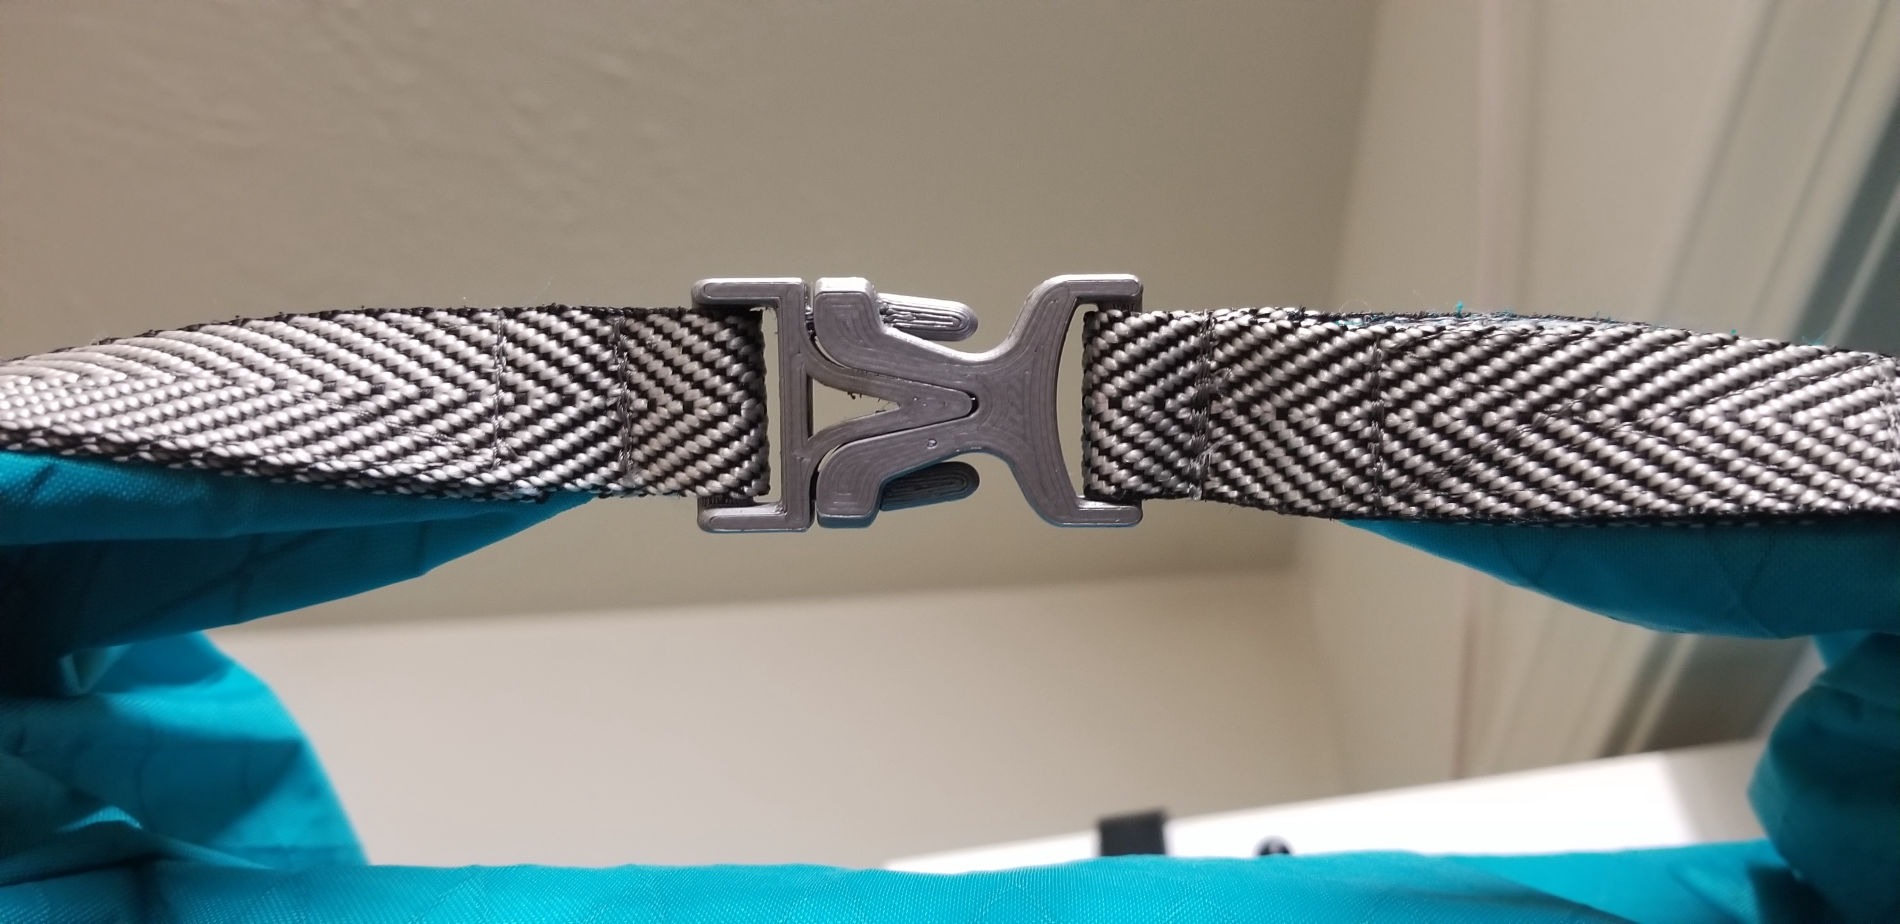
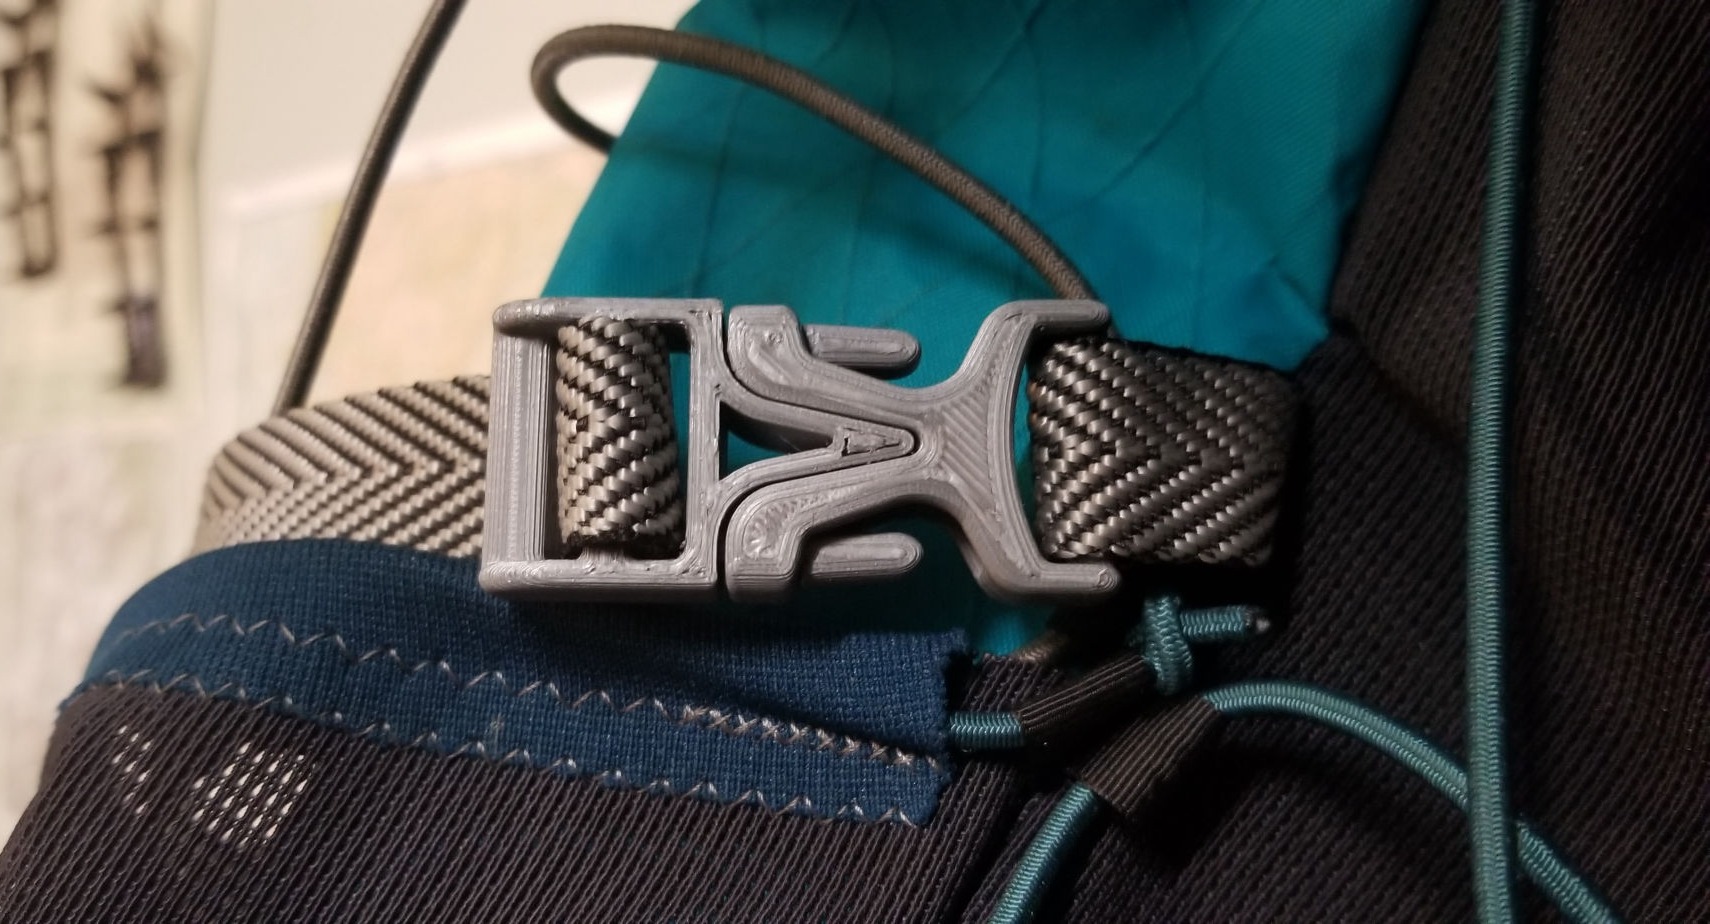
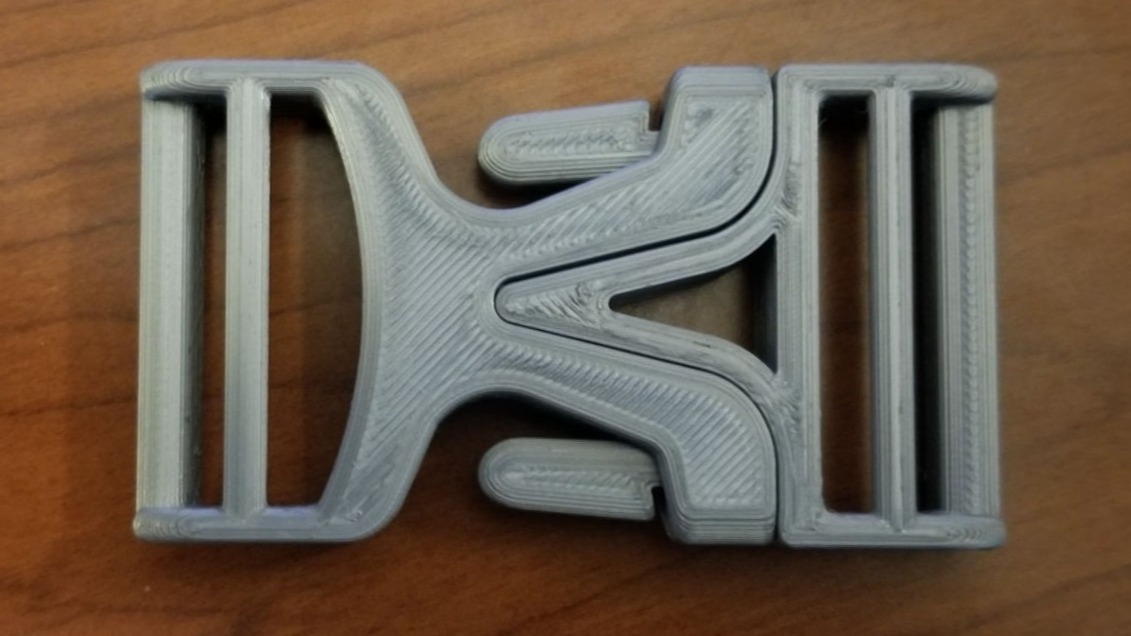
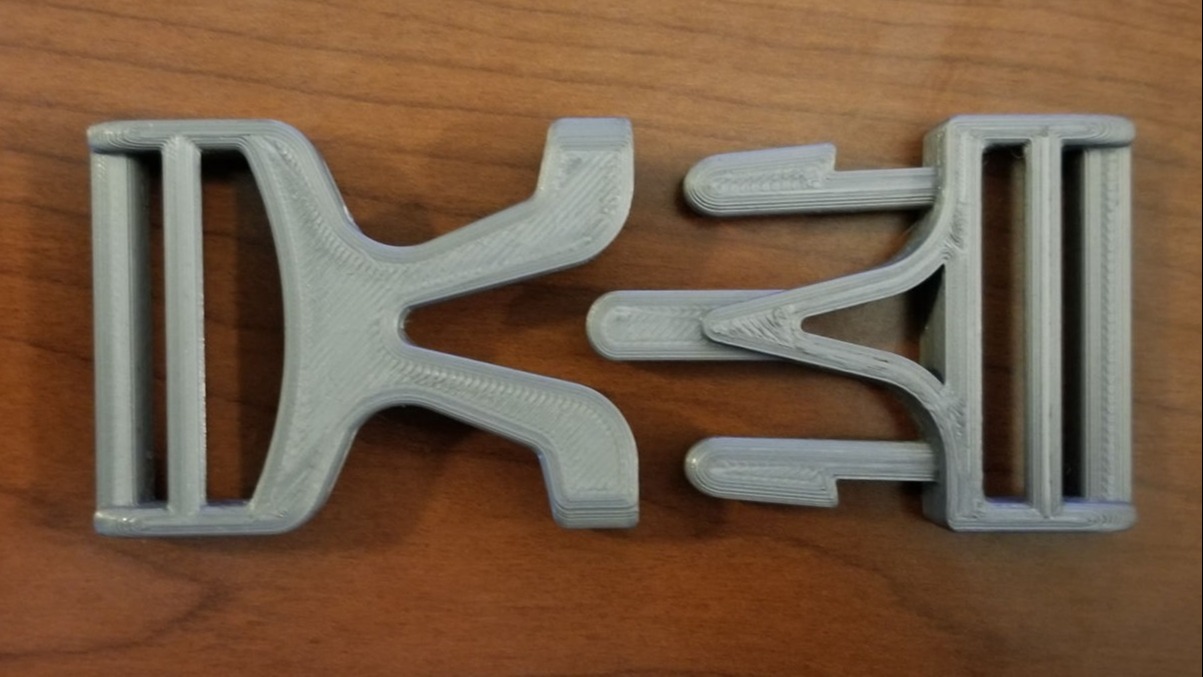
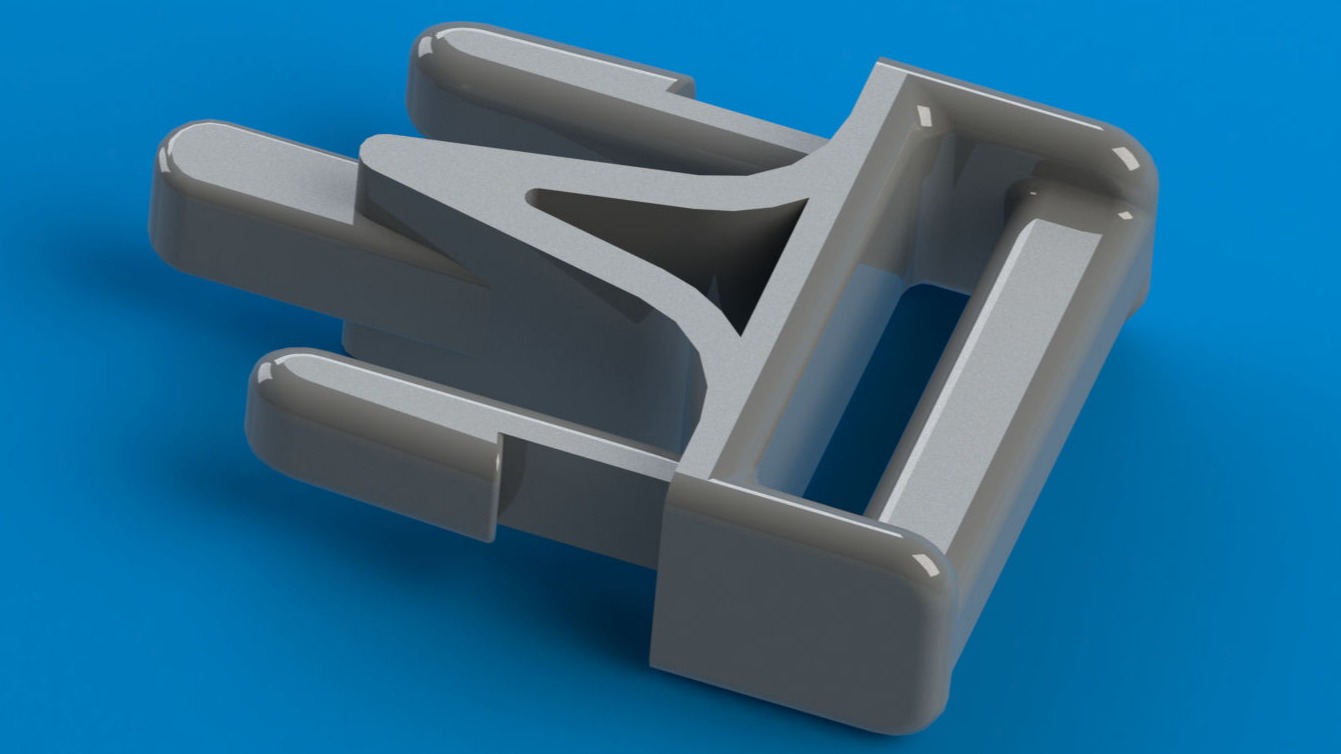
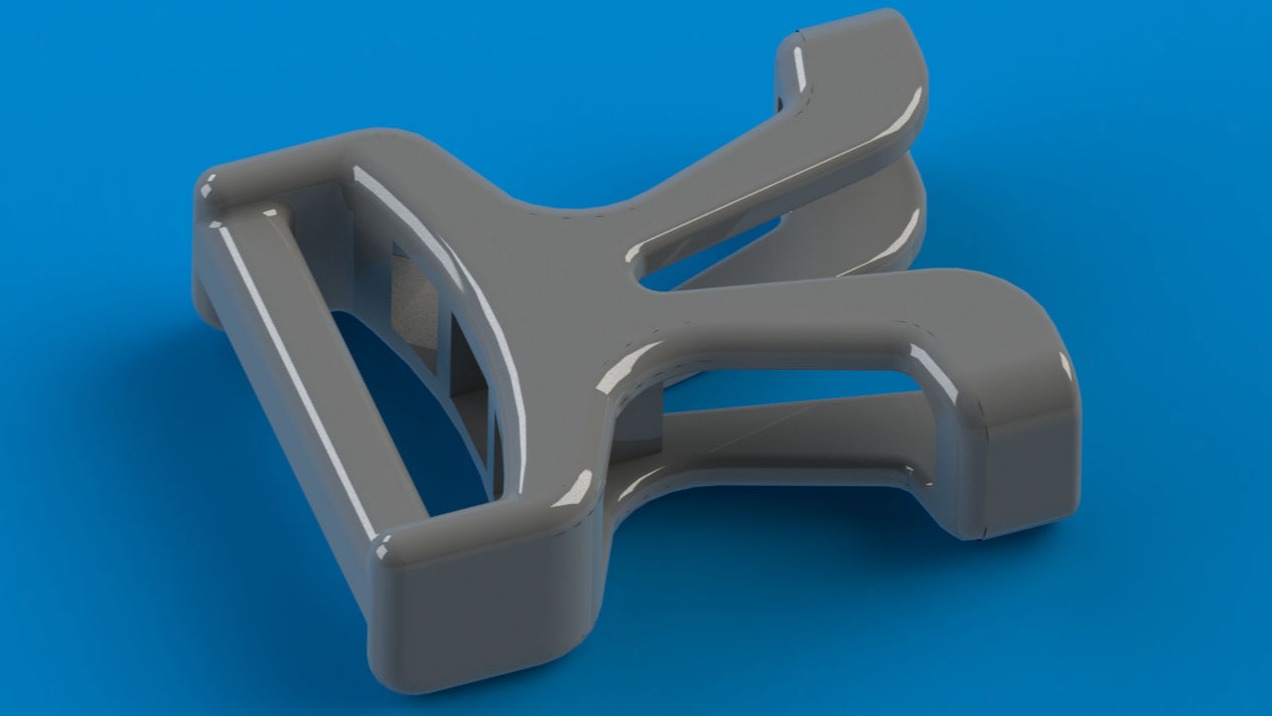
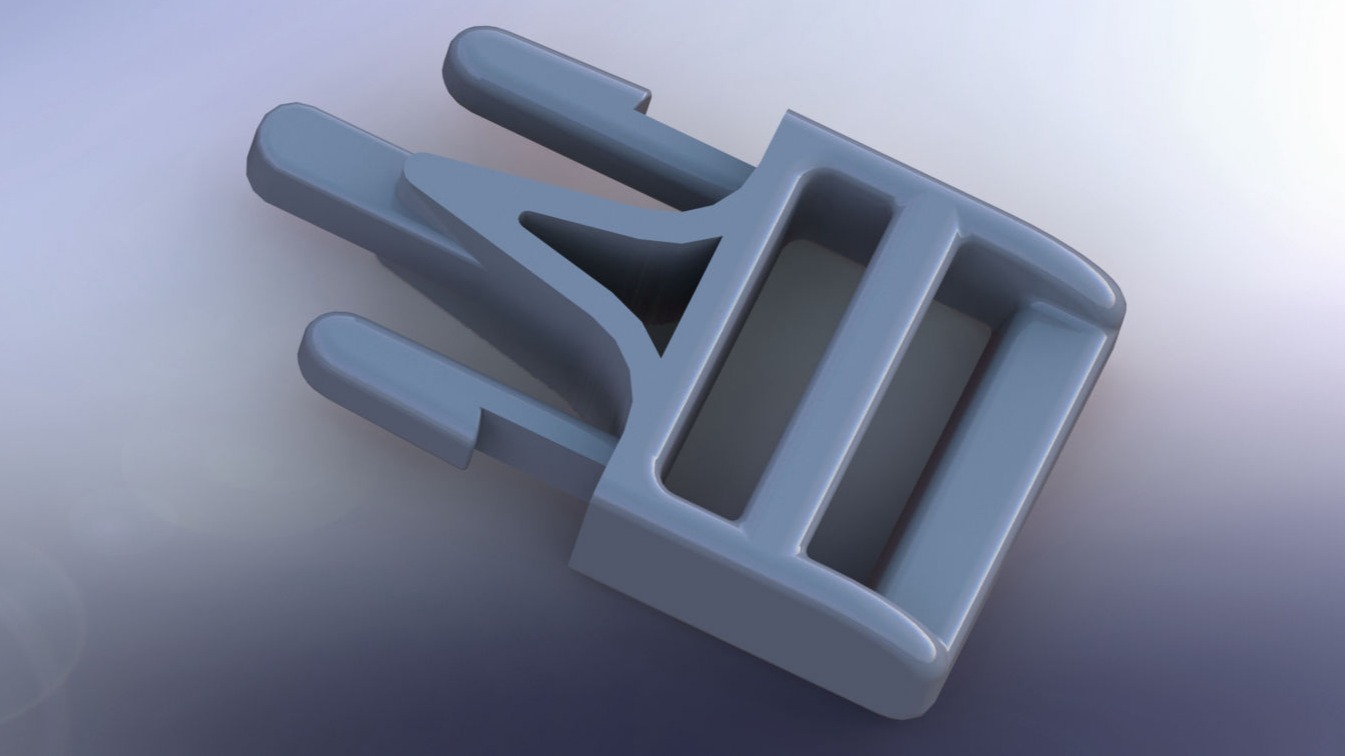
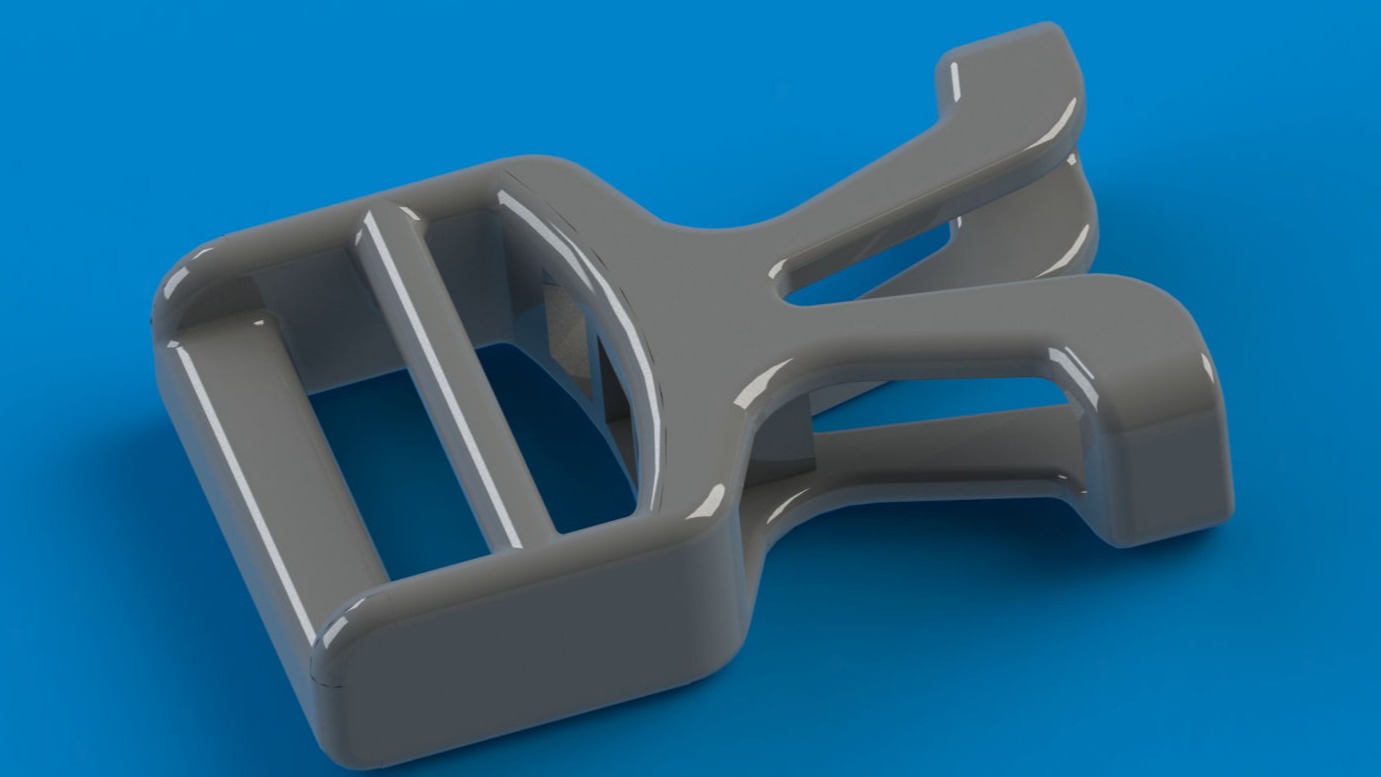
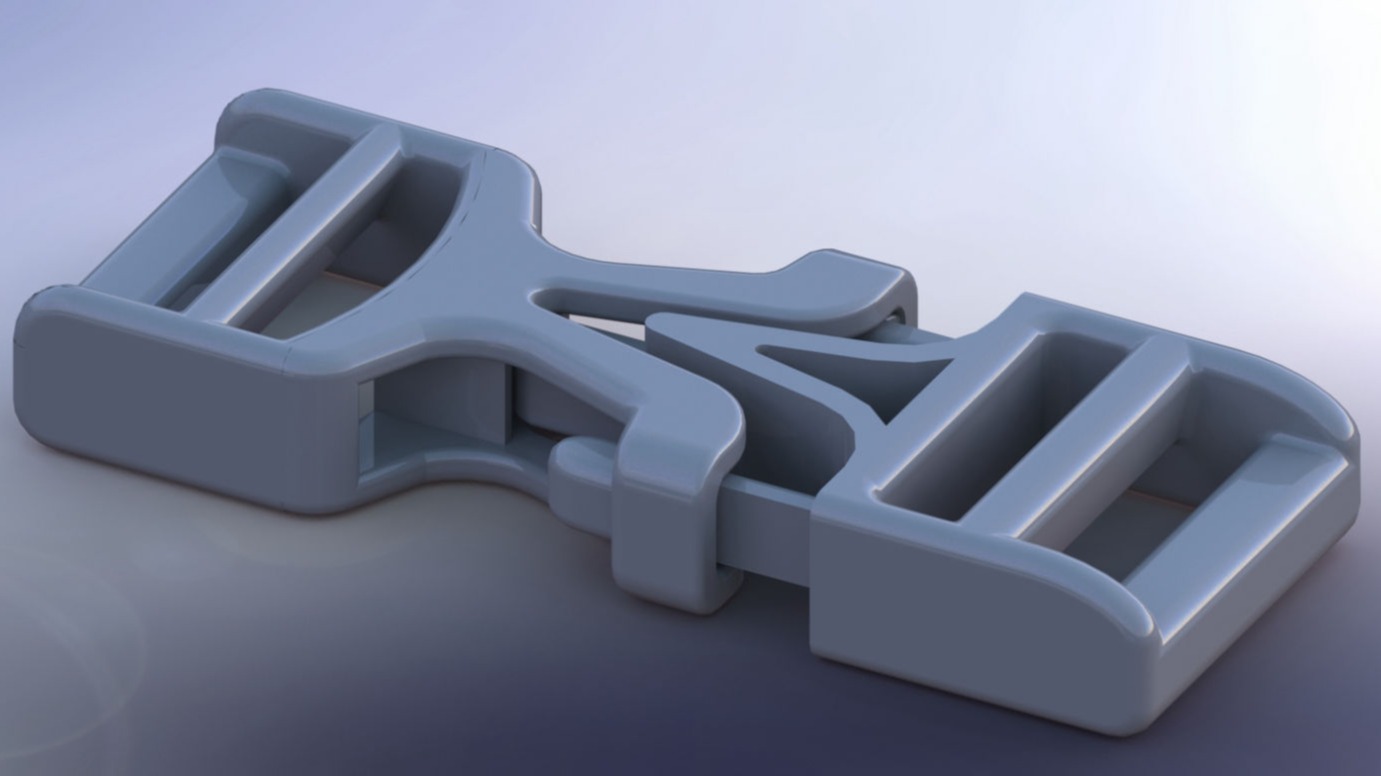
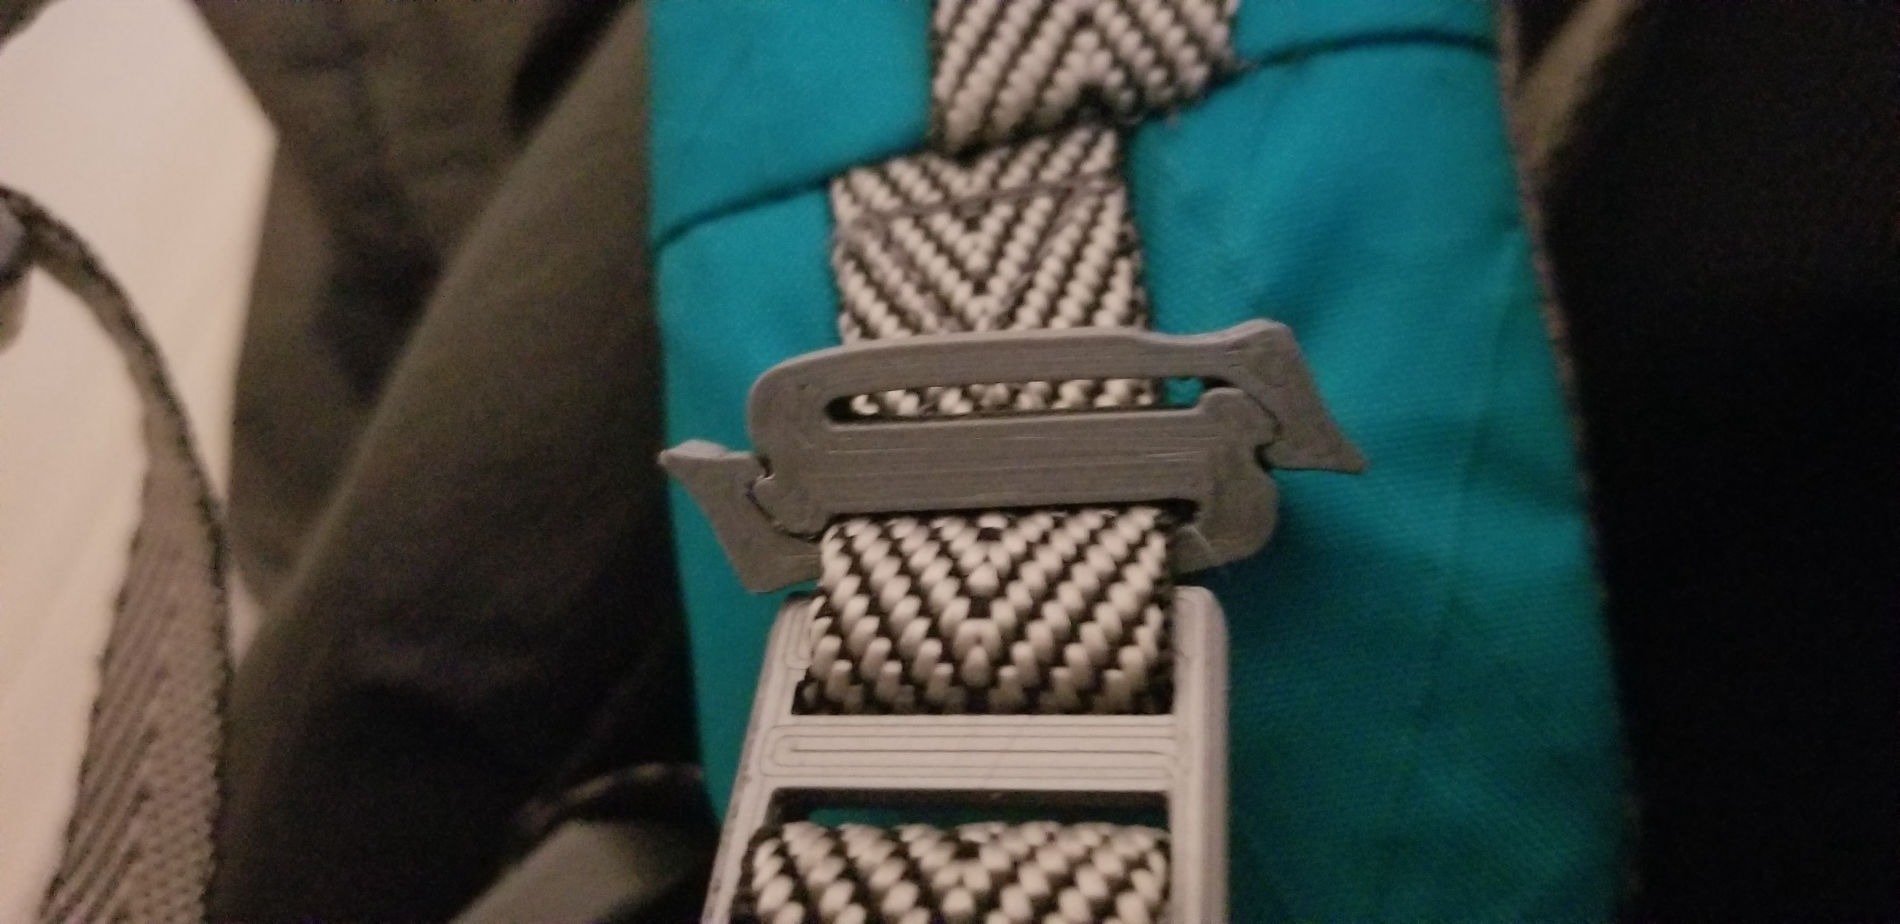
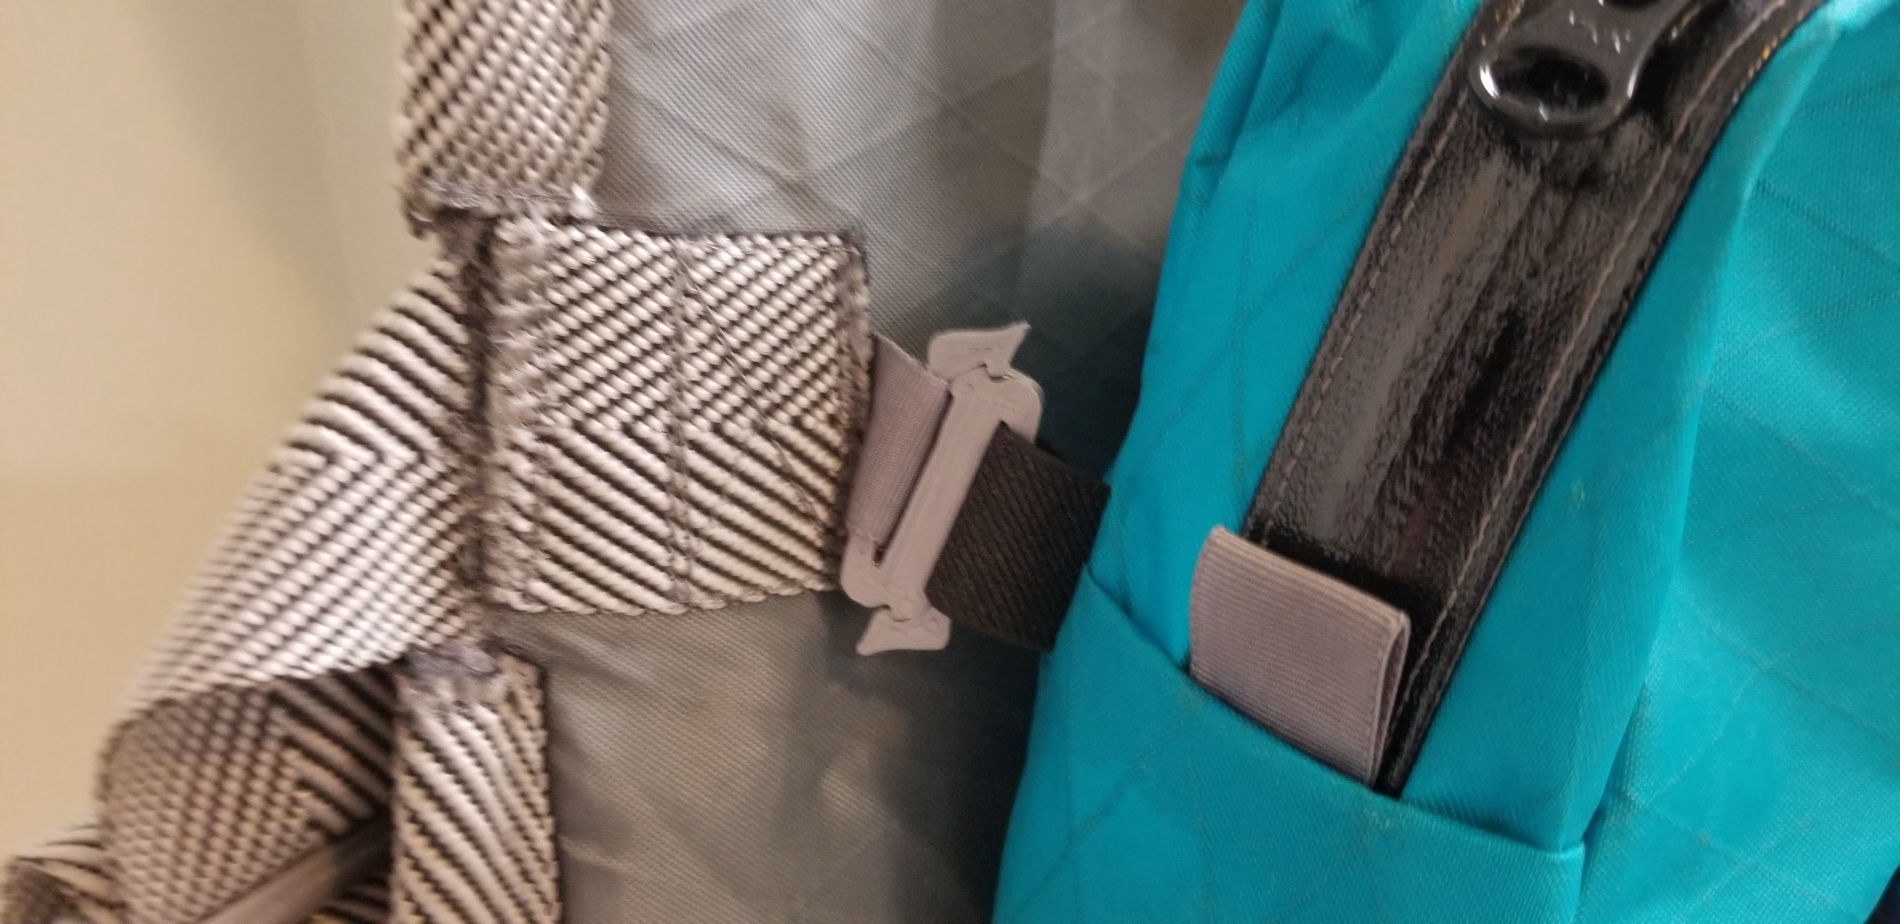
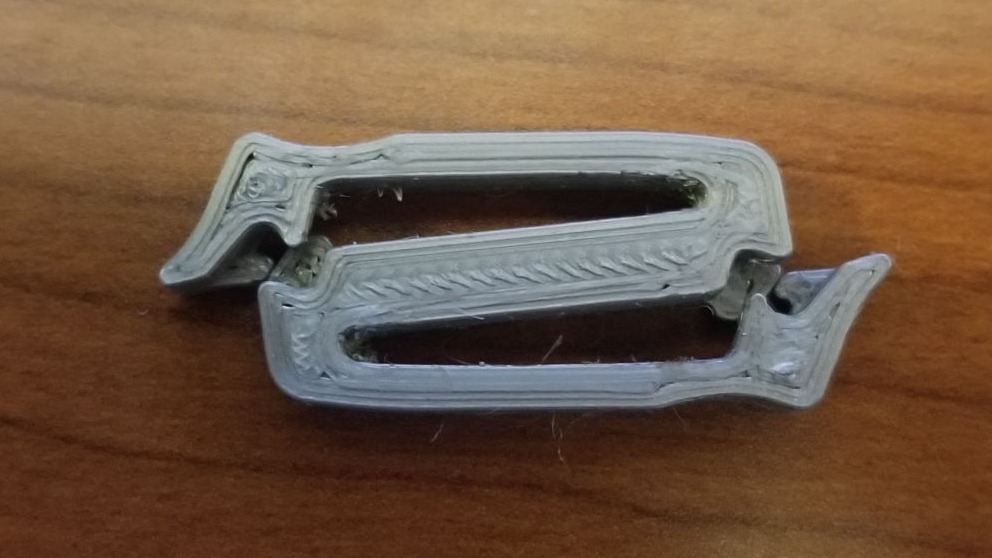
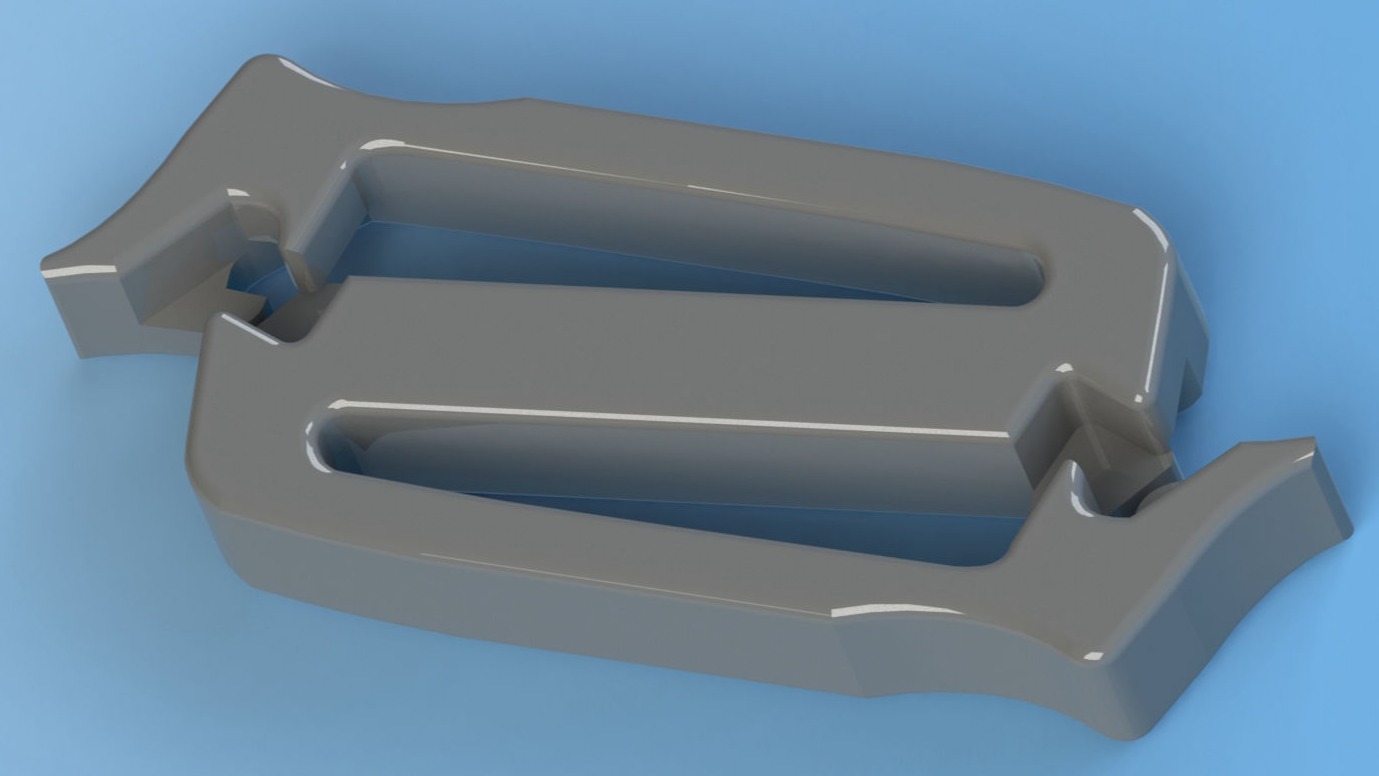
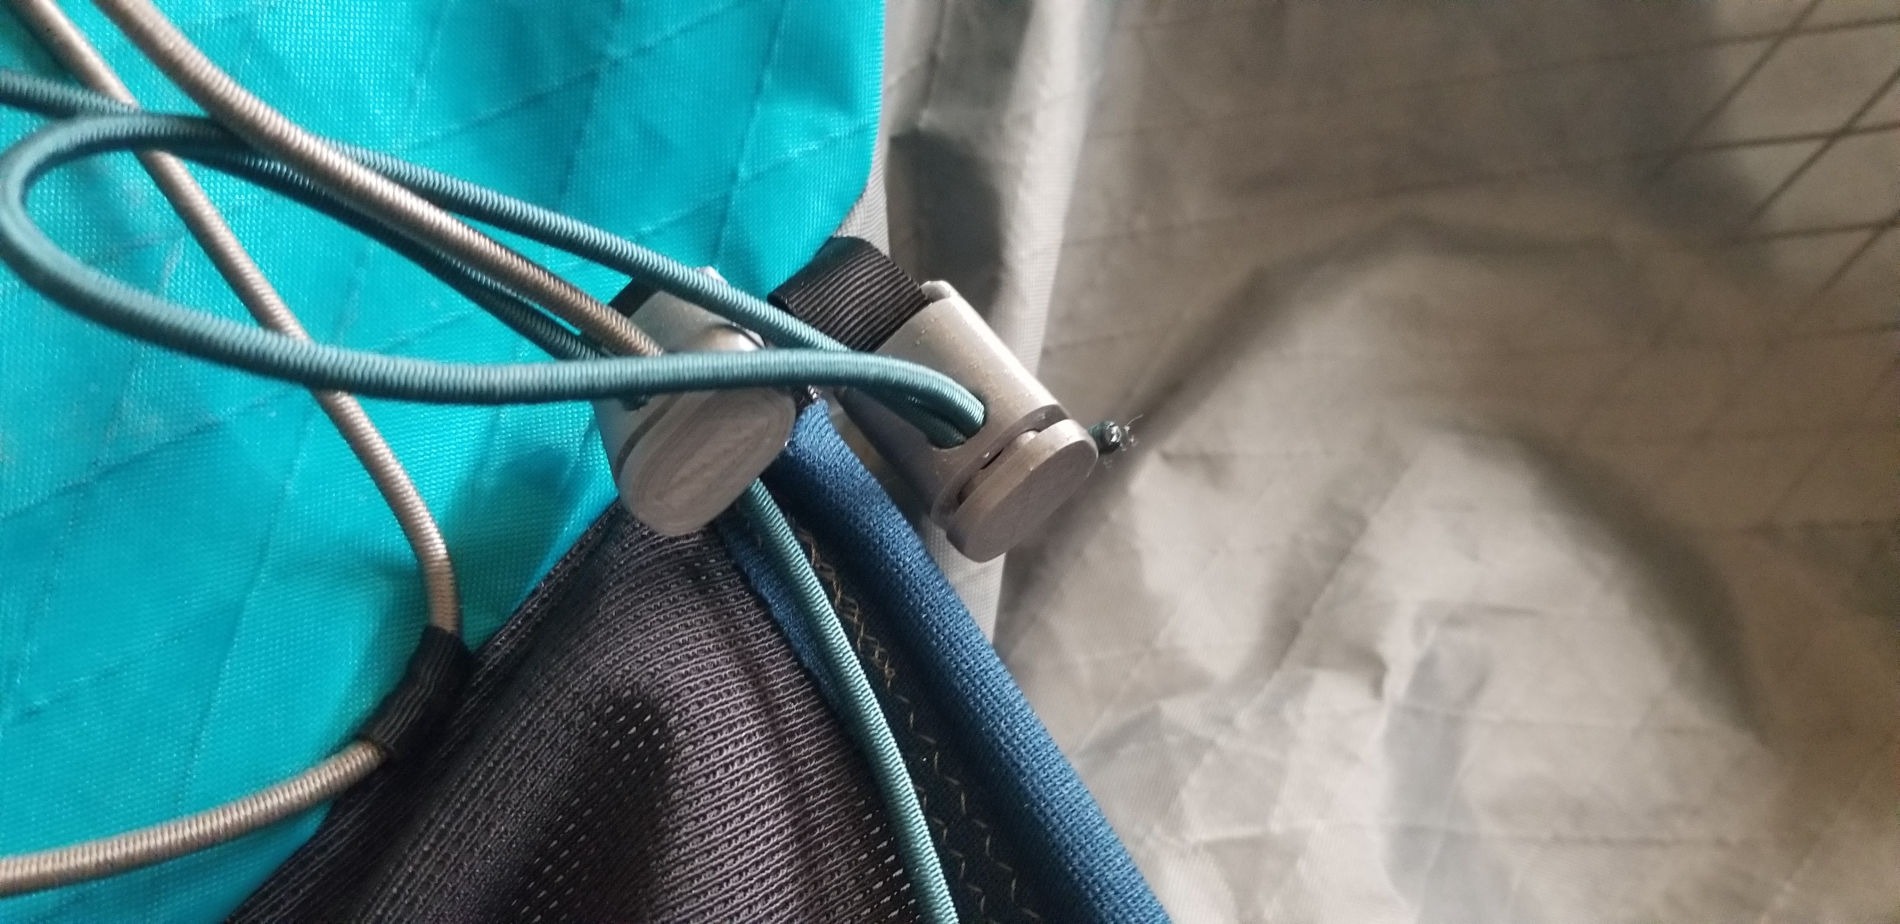
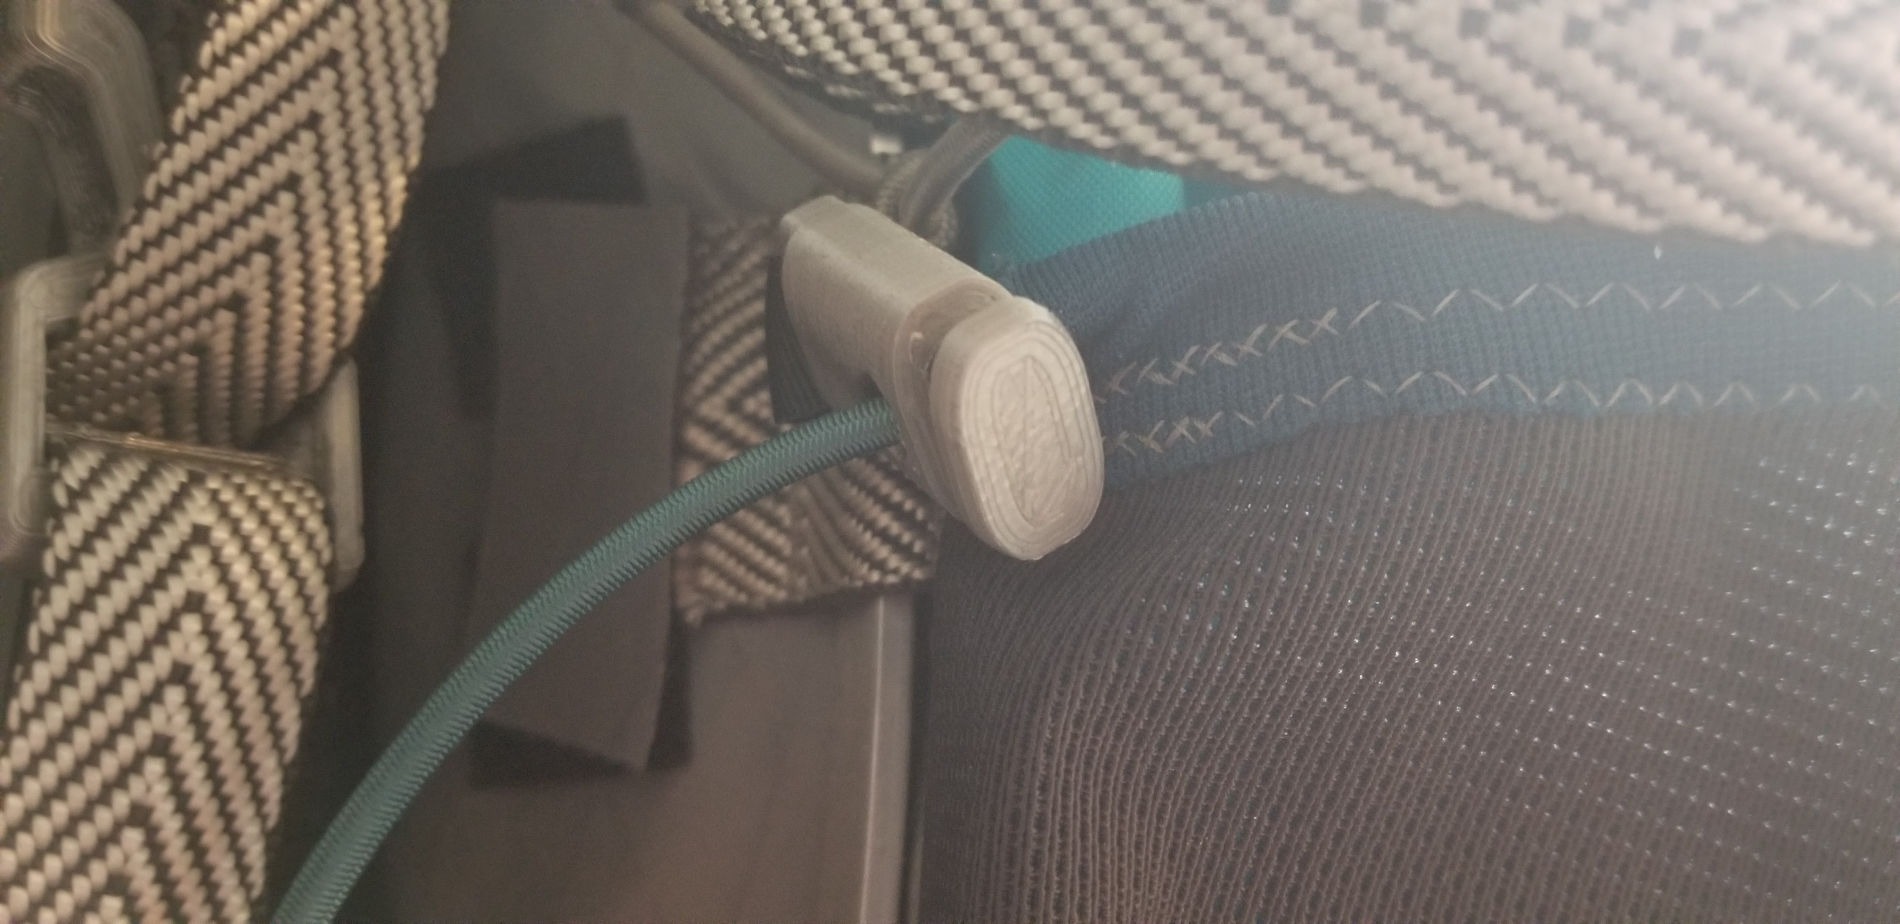
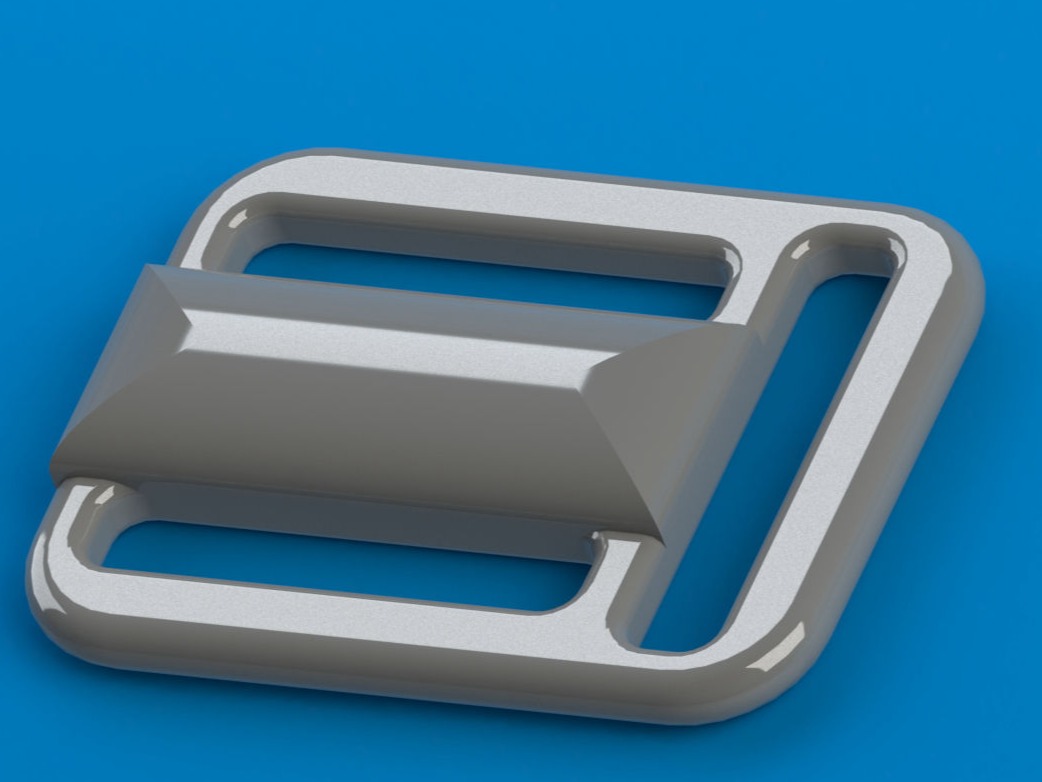
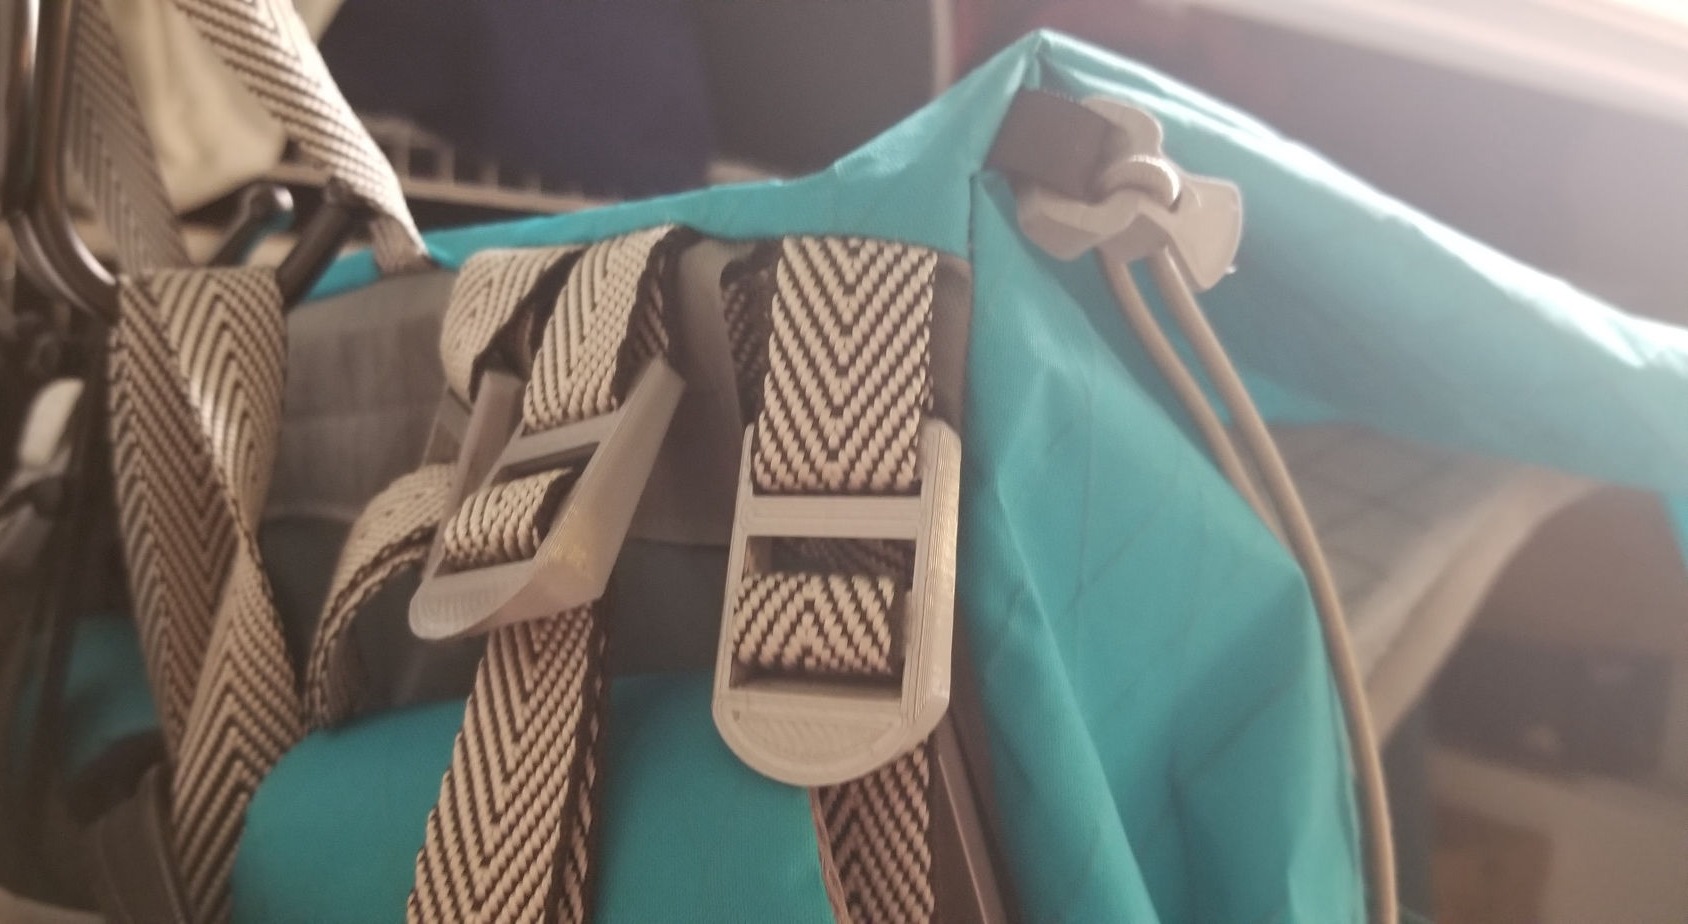
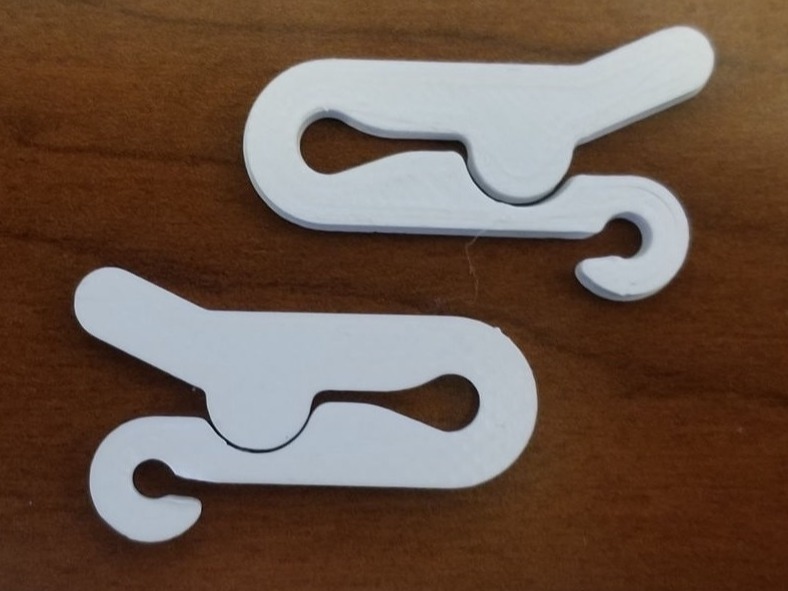
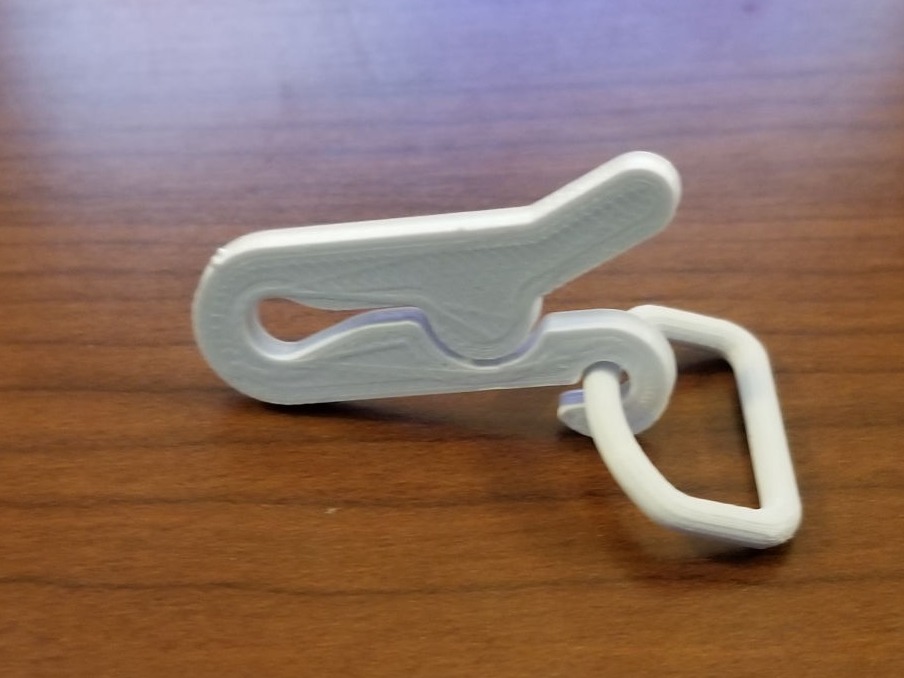
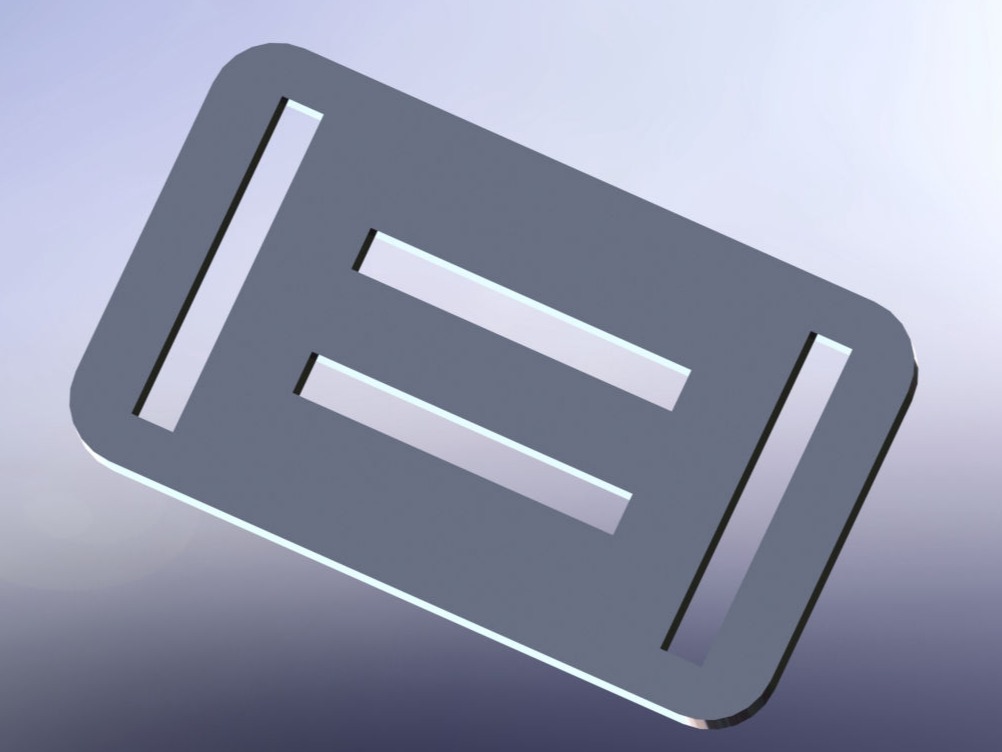
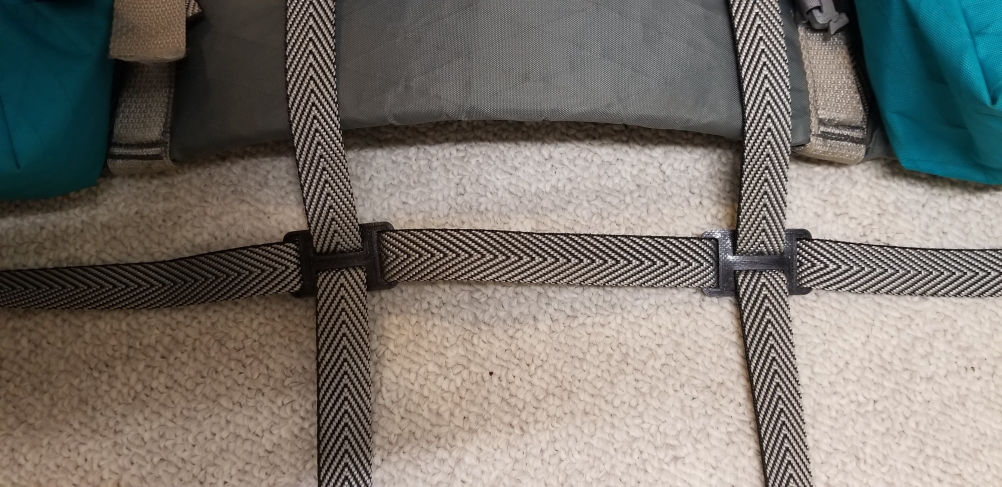
The Silkey Clip is used to connect the hip belt pockets to the hip belt, and connect the bear spray holster to the shoulder strap.
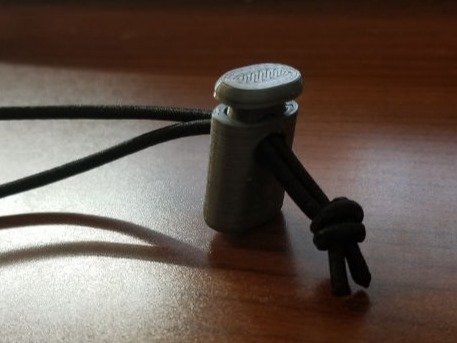
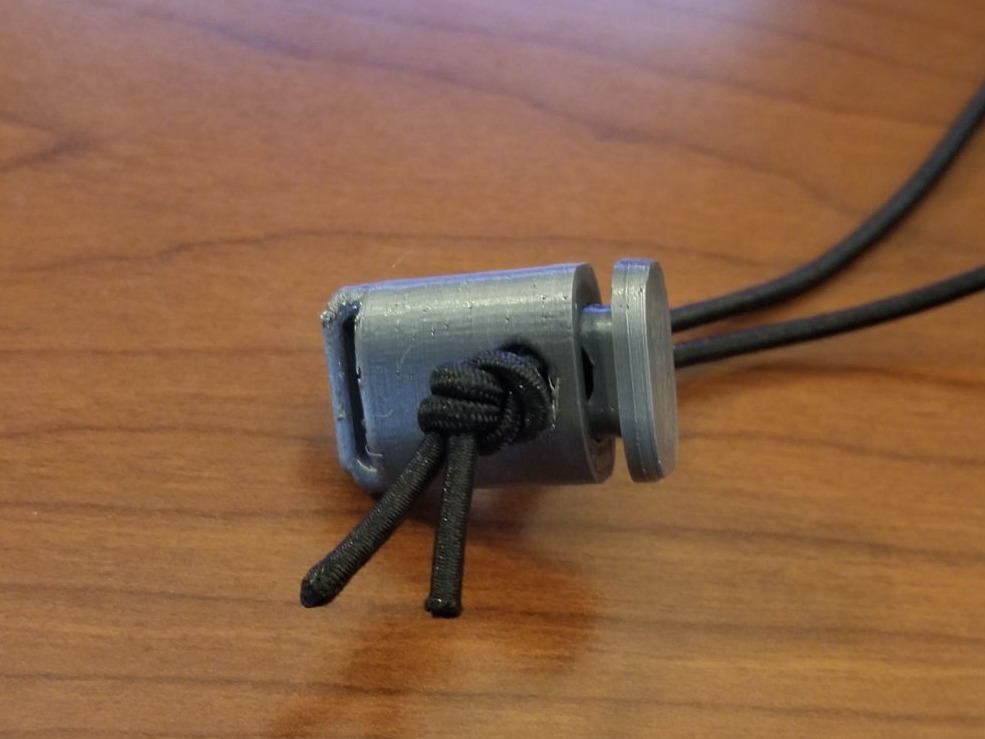
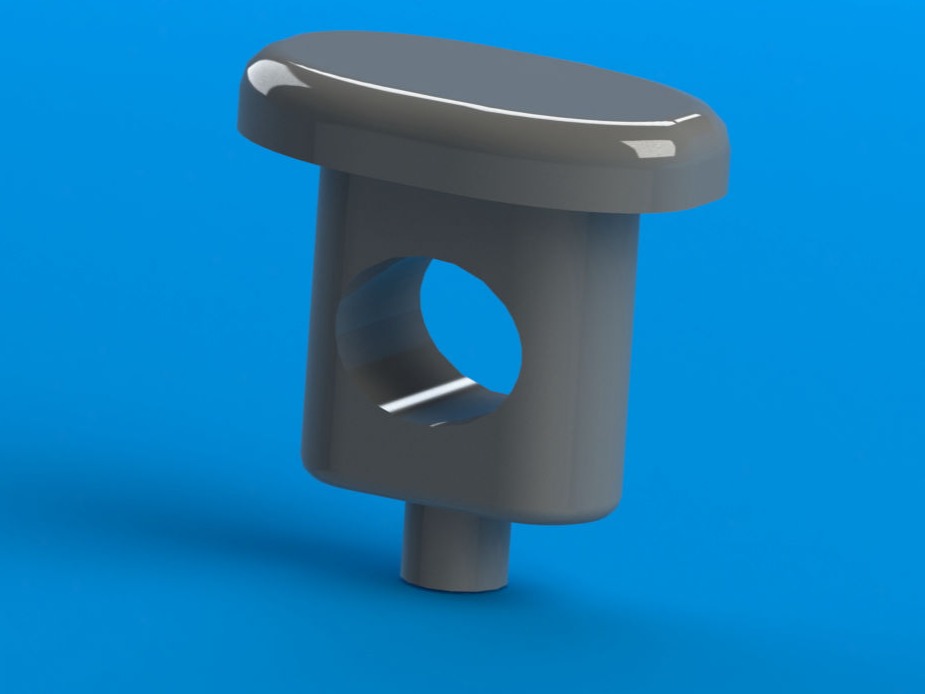
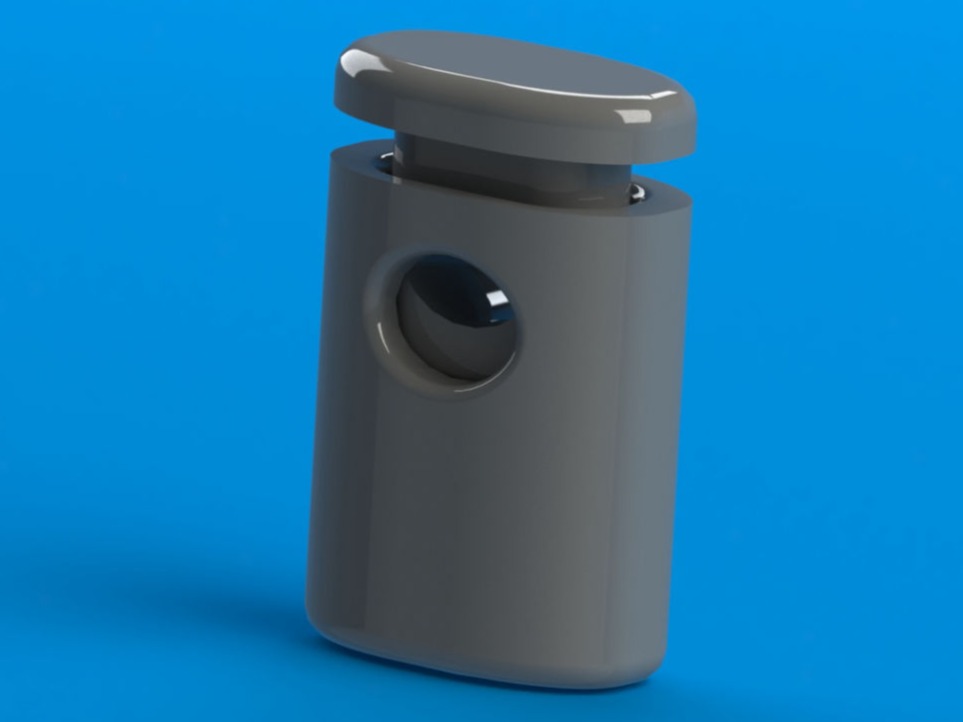
The Silkey Cordlocks fit two pieces of 3/16" shock cord through the lock, and utilizes a spring to prevent shock cord from moving through the cordlock unless it is pressed.
I first started by researching available 3D models that could be easily 3D printed, to compare with existing buckles on my pack and figure out what design differences were needed to accommodate for 3D printing rather than injection molding. The main points of interest were making the "tines" of the buckle thin enough to flex but not thin to the point of breaking easily. In addition, I needed to keep in mind properly orienting the prints to take advantage of maximum strength. I found printing both parts of the buckle laying flat worked best, but required specialized supports to print the female part of the buckle. I designed the female buckle first, basing all dimensions off of a slot which would accommodate 3/4" webbing, and using buckles on my existing packs to provide rough dimension estimates for the overall shape. Once the female buckle was designed, I used the shape to design the male buckle. I started with the "tines", making sure they were catching with the female buckle while fully buckled. The dimensions of the male buckle were created with a slight clearance fit between it and the female buckle. Once the tines were designed I moved on to designing the locking mechanism for the strap so the buckles could be pulled tight. I then printed both parts of the buckle to test the fit, made slight adjustments as necessary, and once I was satisfied with how the buckle came together I finished each part by adding fillets throughout to prevent any sharp edges from being abrasive to the webbing or fabric. I bought gray PETG filament to use for printing the buckles, as PETG allows for slightly more flex, good UV resistance, and good heat resistance, along with looking very good with the fabric colors I planned for my backpack.
I wanted a way to securely connect hip belt pockets to the hip belt of the backpack using webbing sewn on each component and some sort of hardware. Online research led me to a clip which was exactly what I was looking for. By looking at pictures of said clip, I was able to reverse engineer the design to create the Silkey Clip. It was made to fit on 3/4" webbing or elastic, and the design was complex to accommodate for the clipping mechanism itself. After a couple iterations, and tests with clearances and clipping strength, I finally achieved a final version of the Silkey Clip, which was again finished with fillets to smooth sharp edges. The Silkey Clip was also printed with gray PETG for its UV and thermal resistance properties and also its flexible superiority over PLA.
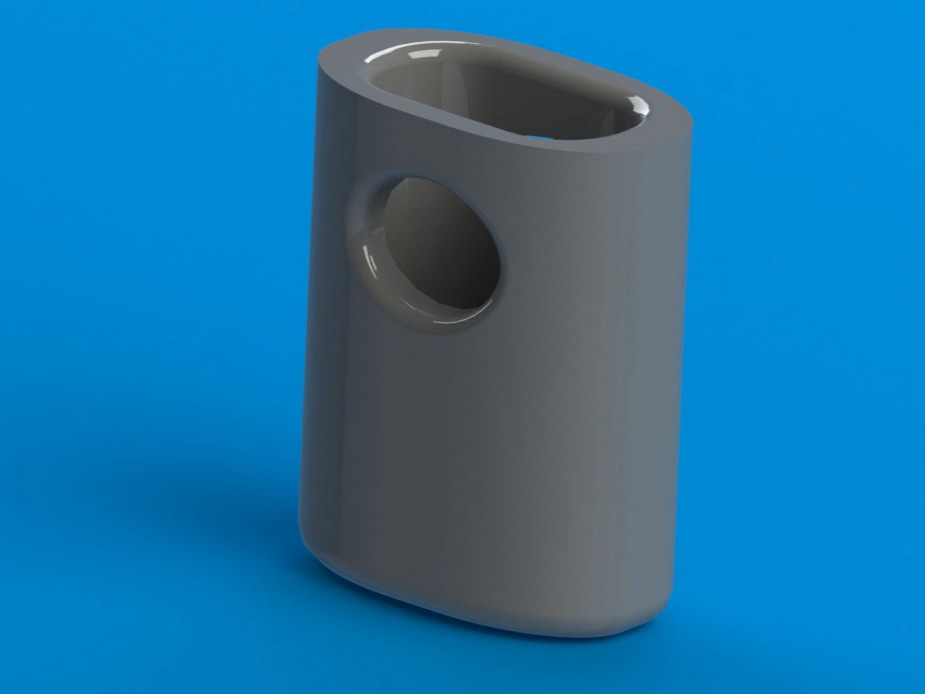
I wanted a cordlock that would match the colors of my backpack, and additionally be either able to be sewn onto the backpack itself or be "free-standing". I looked at existing 3D models, and none really appealed to me, so I decided to try my hand in designing a sleek cordlock. I started by testing springs I had acquired for ones that had a good stiffness, and were small enough to fit inside the "barrel" of the cordlock. Once I found a good spring, I modeled the "barrel" to be big enough to allow the spring to work, and created a little seat at the bottom of the barrel for the spring. I made it an elliptical shape with some sharp corners which would allow the 3D printed seam to be hidden well. I added a slot at the bottom of the barrel for 1/2" grosgrain so it could be attached to the backpack, and then cut a hole through the barrel which the shock cord would be fed through. I made it large enough to accommodate two 3/16" pieces of shock cord somewhat tightly. Then I started work on the "cap" of the cordlock. I created a little extrusion that the spring would fit on to stay in place as it was depressed, and then cut the same size hole through the cap so it would line up perfectly with the barrel when the cordlock was fully depressed. After a couple iterations testing the fit between the barrel and cap, and checking the hole size, the cordlock pieces were finalized, and filleted to smooth any sharp edges. The cordlocks were also printed with gray PETG to match the rest of the hardware and the backpack, and for all other previously mentioned advantages of PETG. A version of the barrel was also made without the slot for grosgrain, so the cordlock could be "Free-standing".
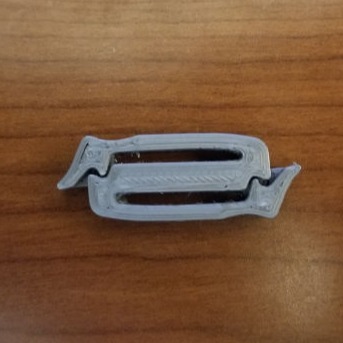
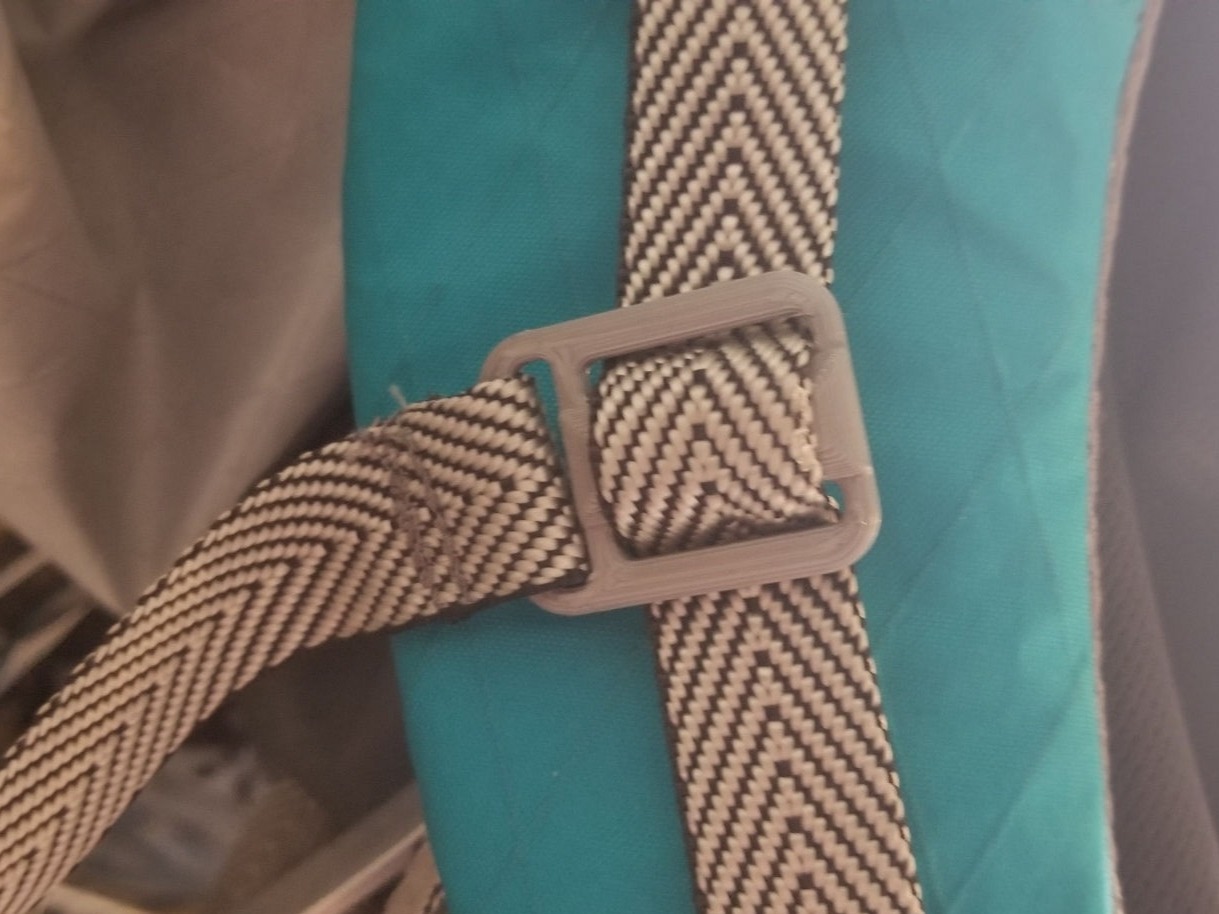
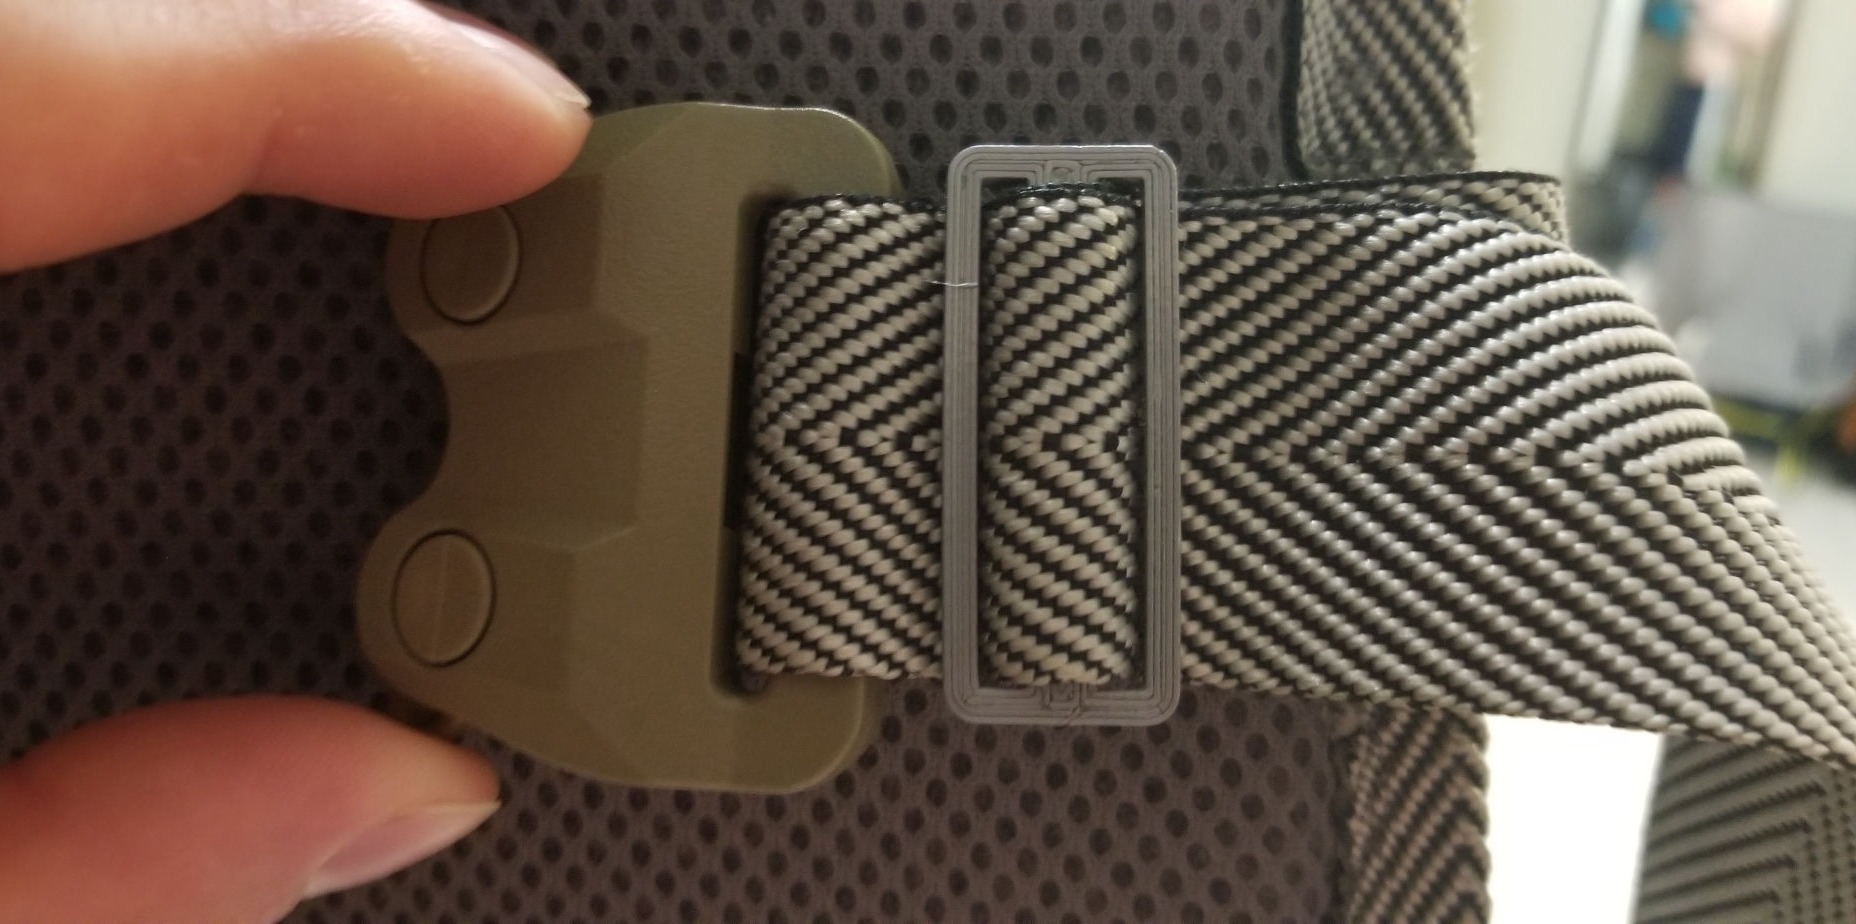
I wanted a permanent sternum strap that would be able to slide up or down 3/4" webbing but also stay in place when adjusted in the right place. The design was simple, and accommodates for sliding up and down the 3/4" webbing on the shoulder strap, and also has a slot for 3/4" webbing to be sewn on for the sternum strap webbing itself. They were printed in gray PETG for the aforementioned benefits.
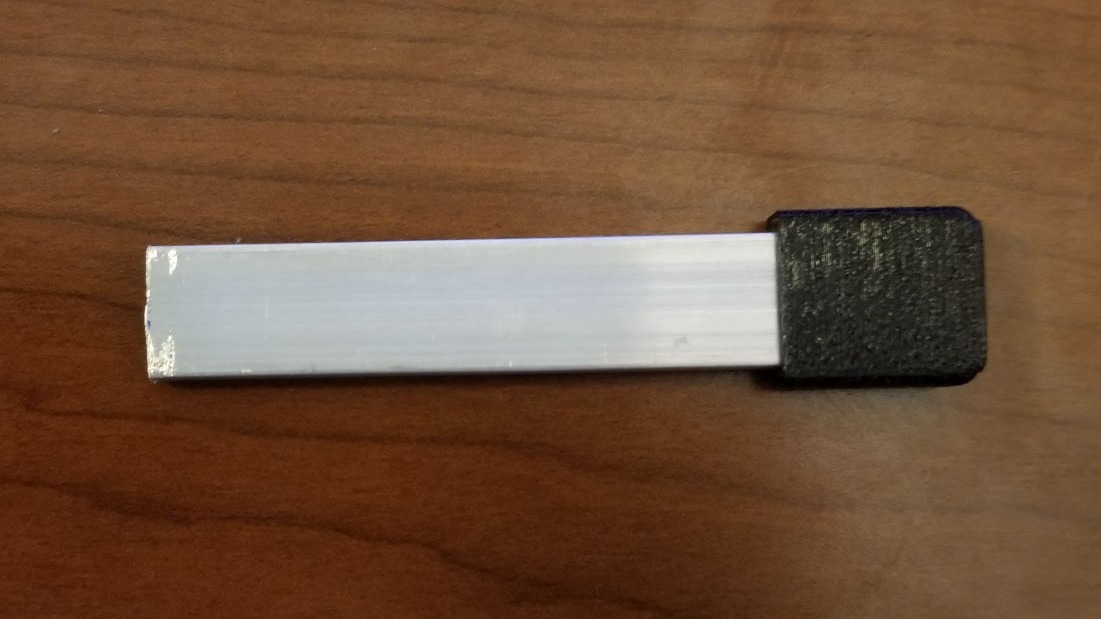
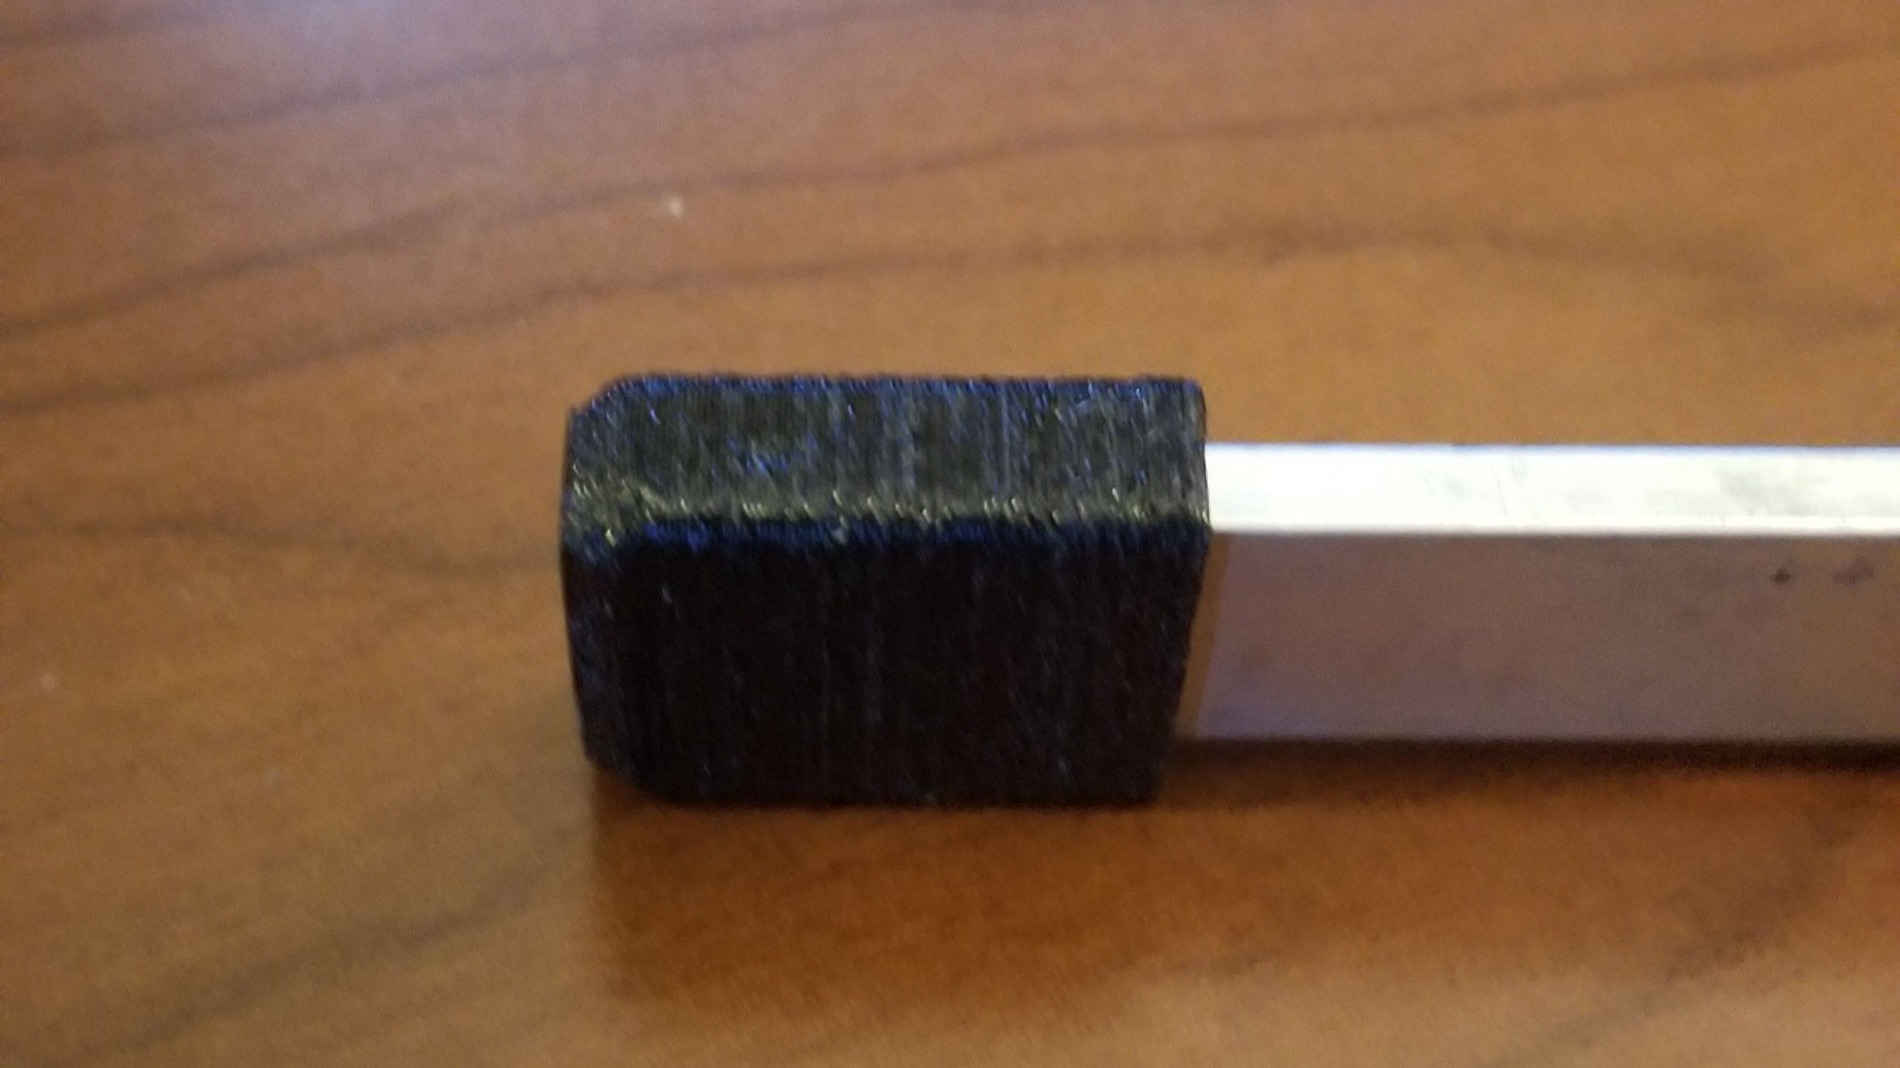
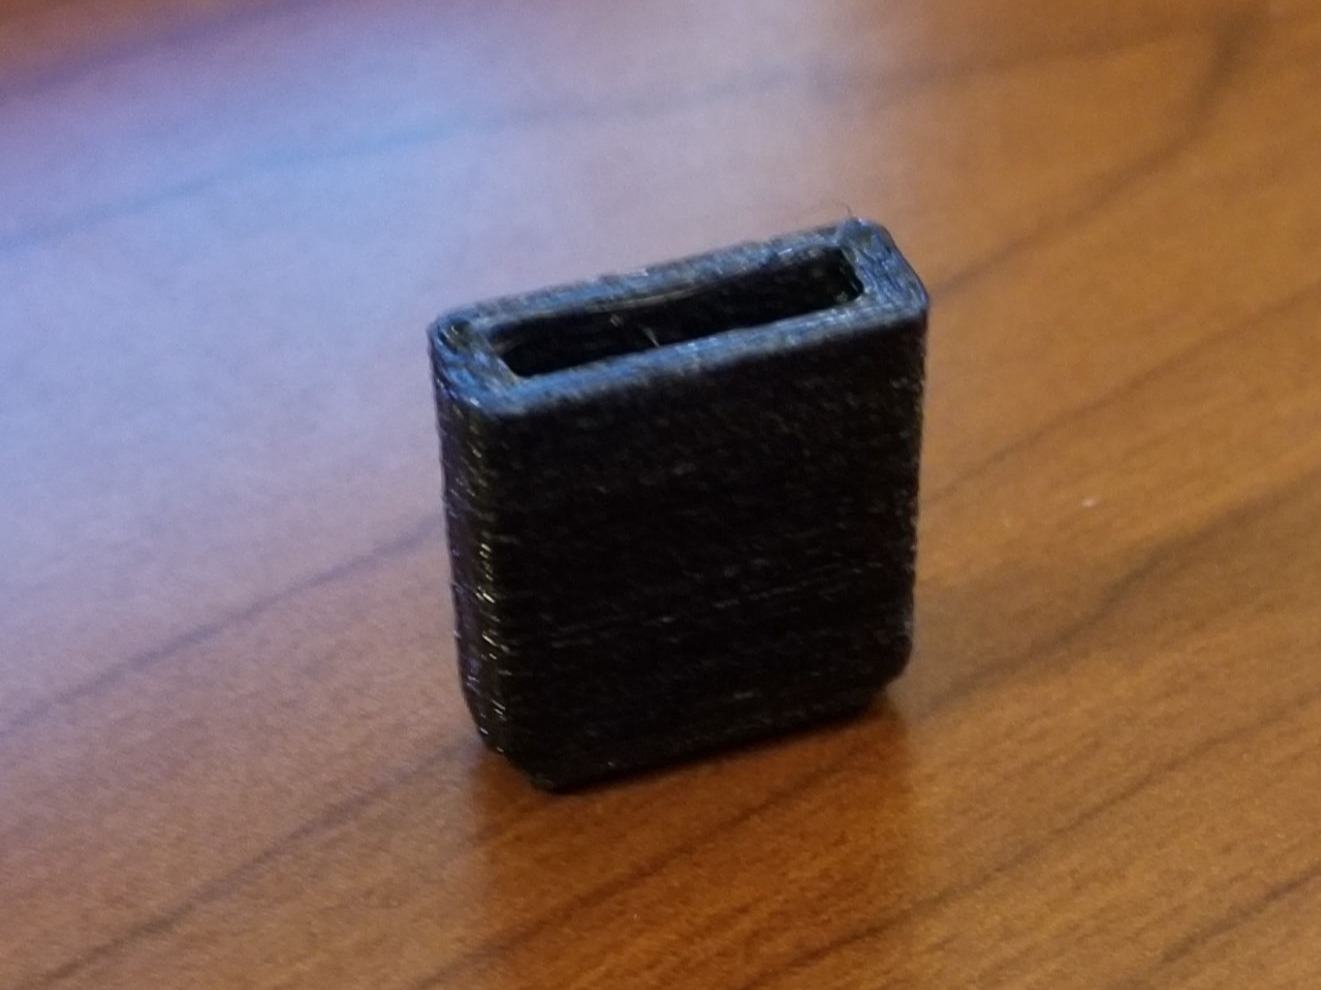
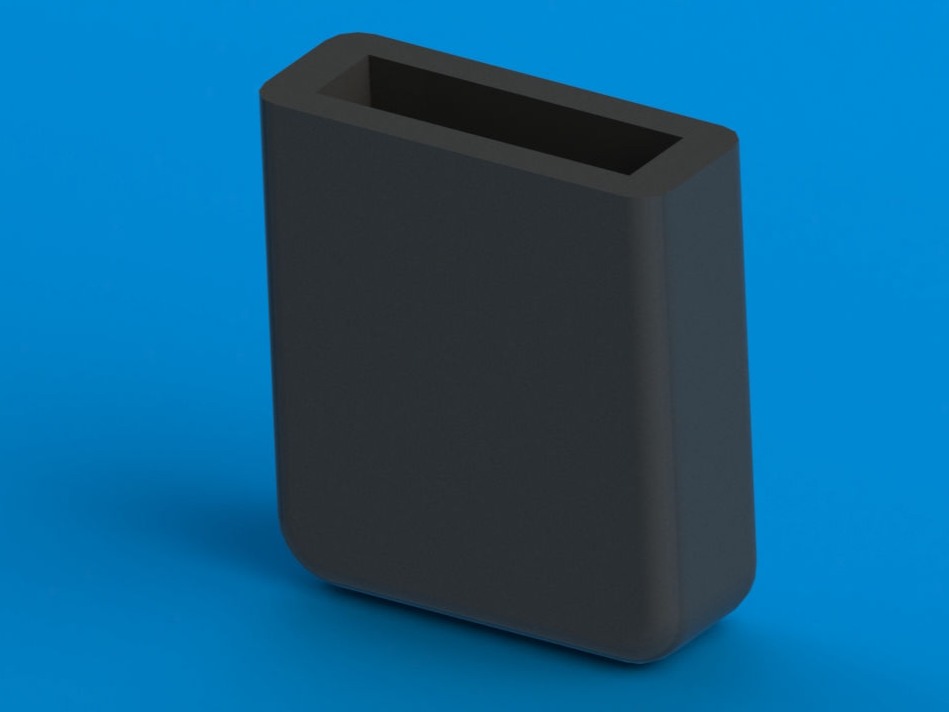
After testing the backpack on about 15 or so miles of being fully loaded, I noticed that the aluminum frame pieces were putting a lot of stress on the webbing that was sewn in as end channels on the hip belt. The sharp edges of the aluminum were to blame, so I designed an end cap for the frame that was printed in TPU to soften the sharp edges of the aluminum and be a softer material. So far the frame caps have held up great, and there are no further signs of the webbing being stressed by the aluminum frame.
Mobirise free creator - More here