Design Process
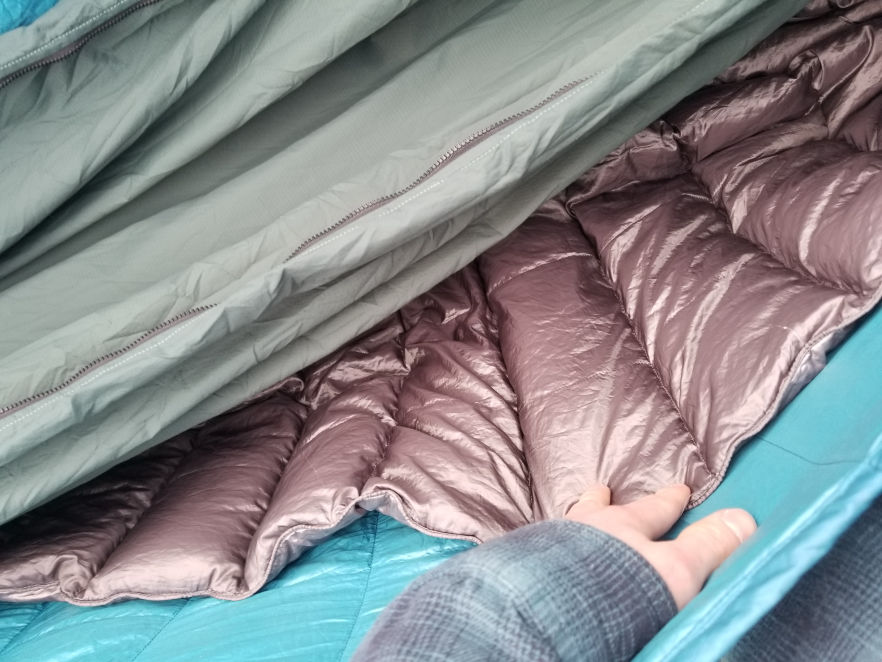
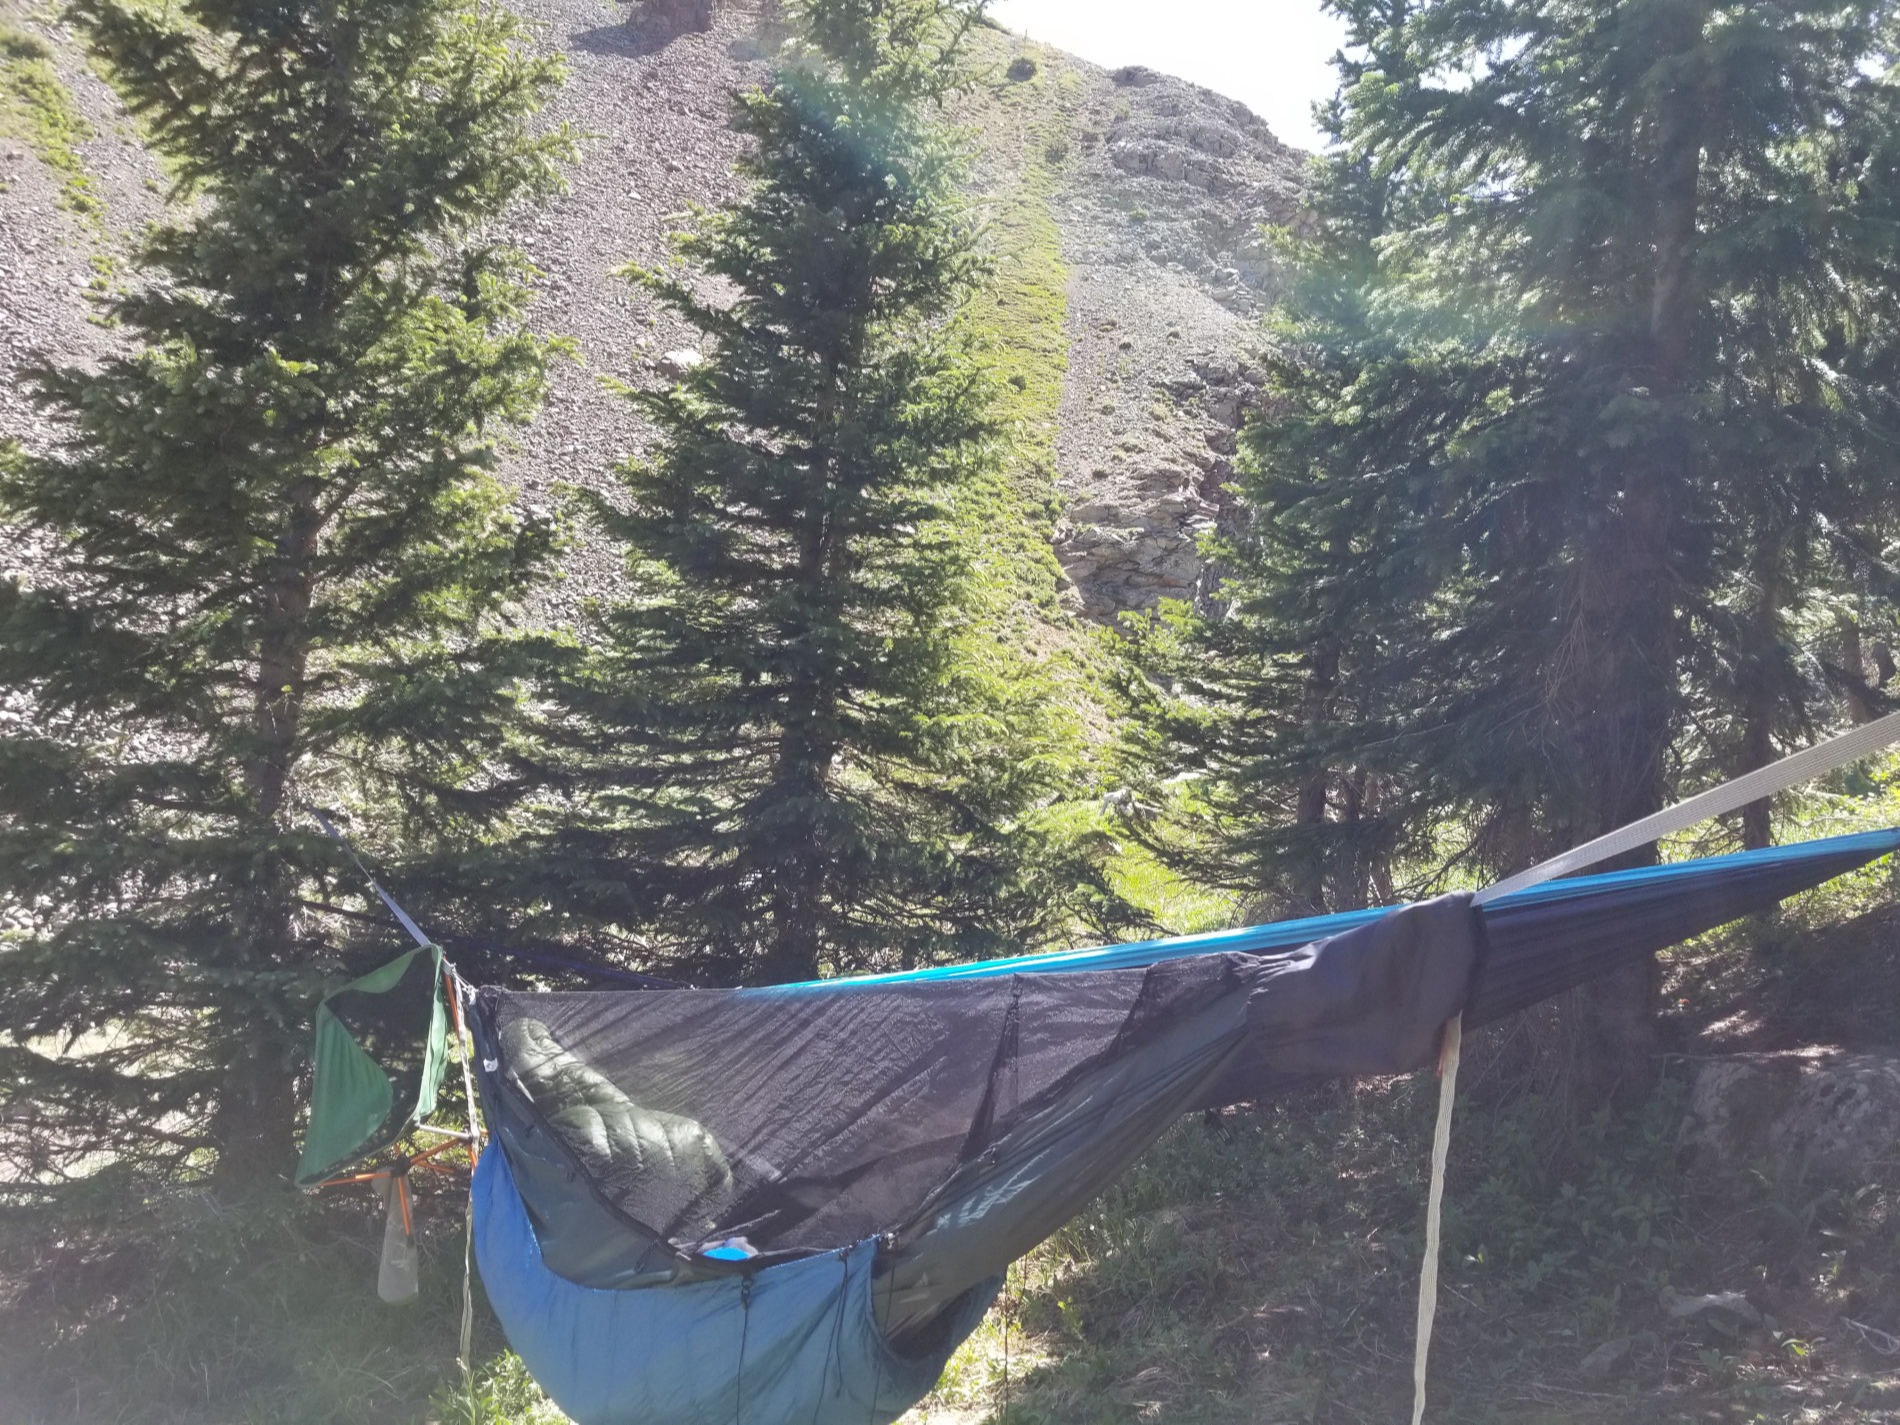
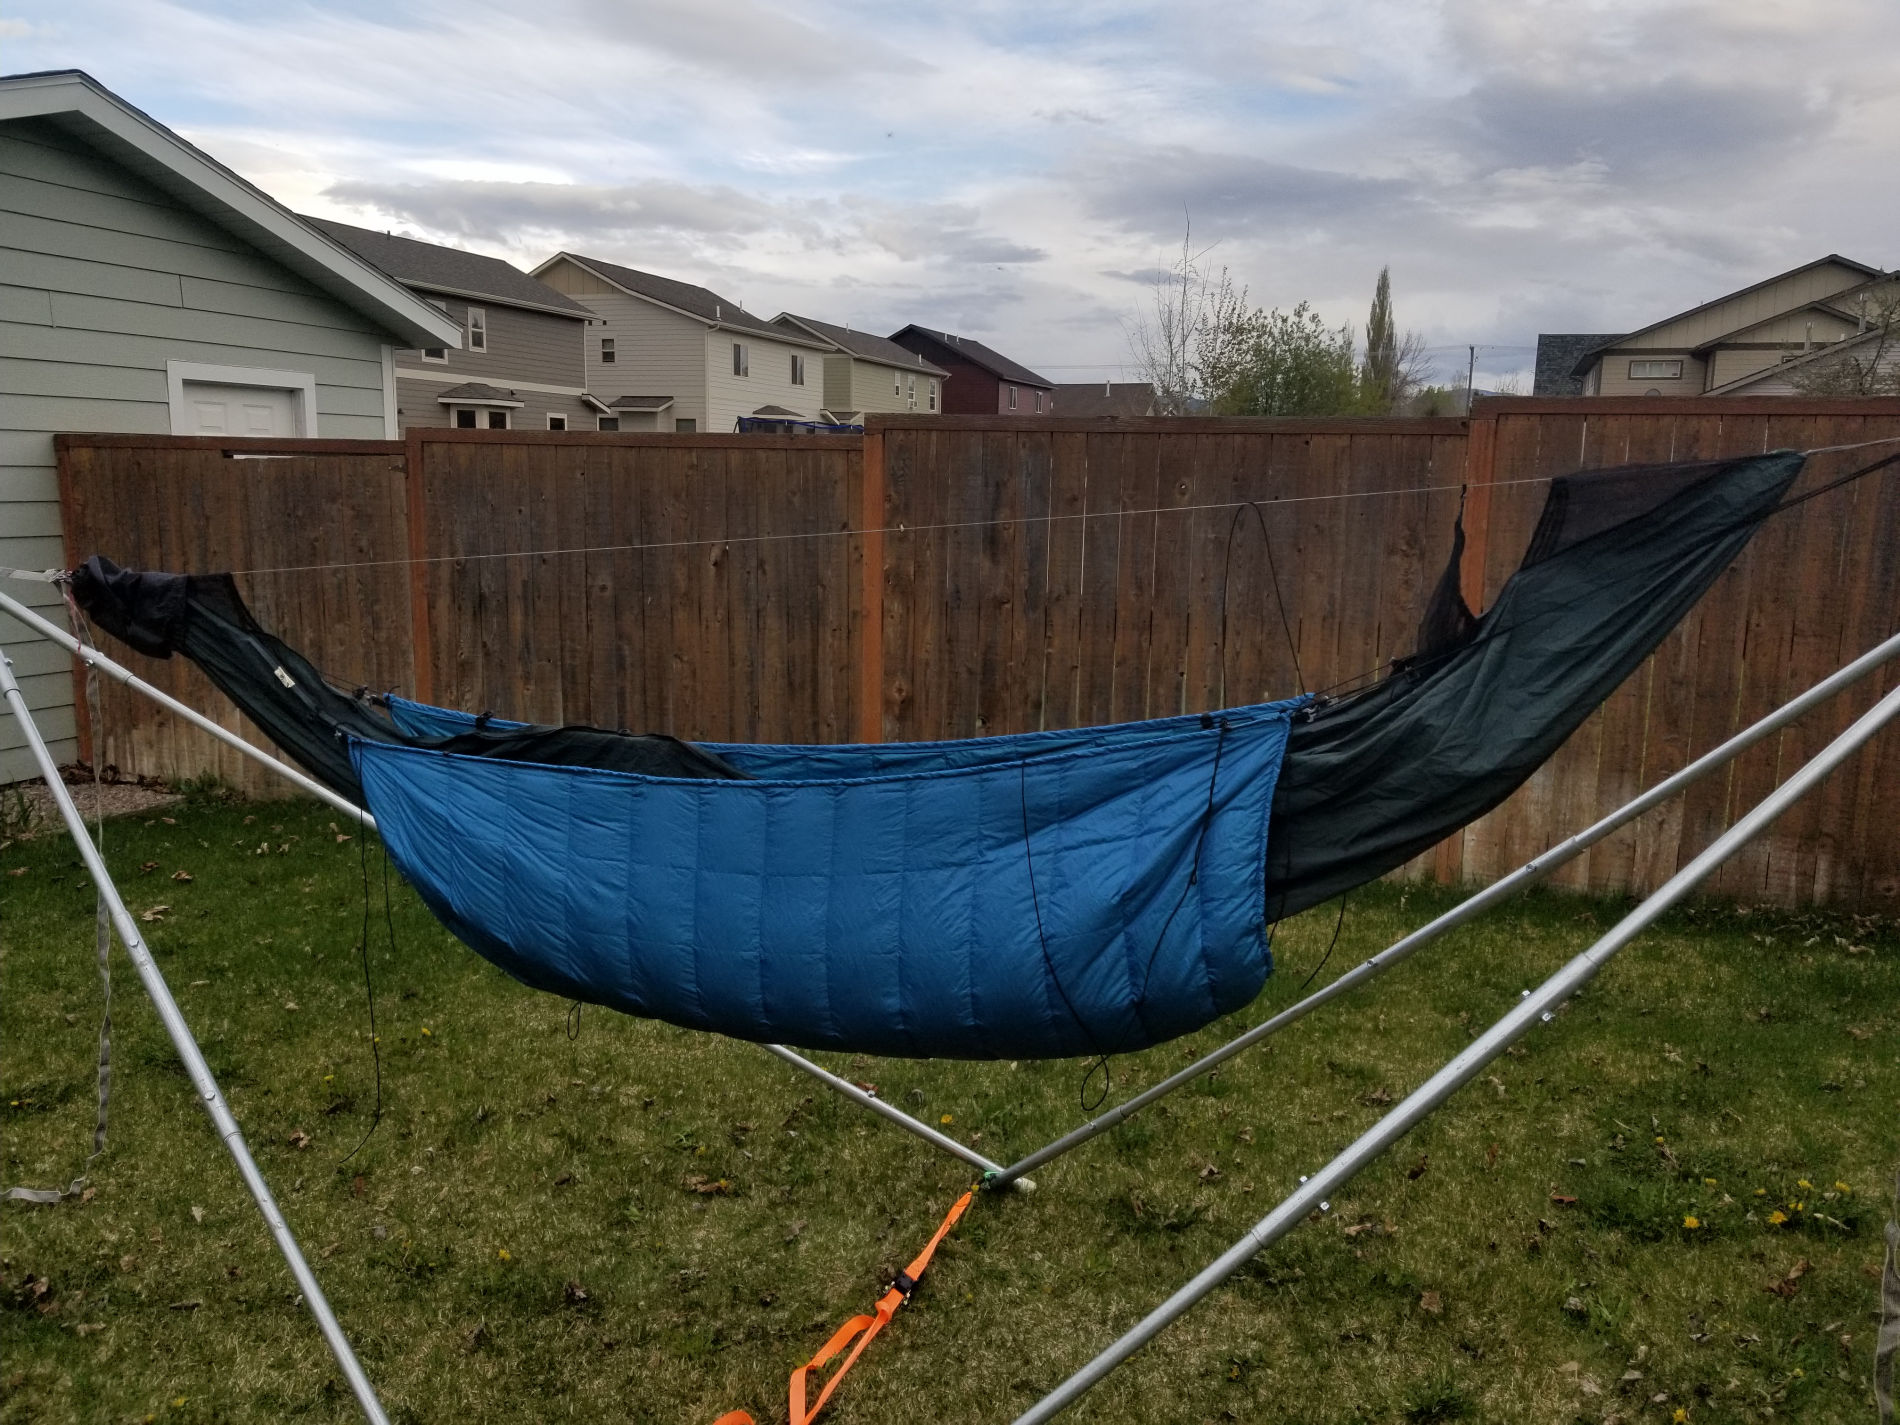
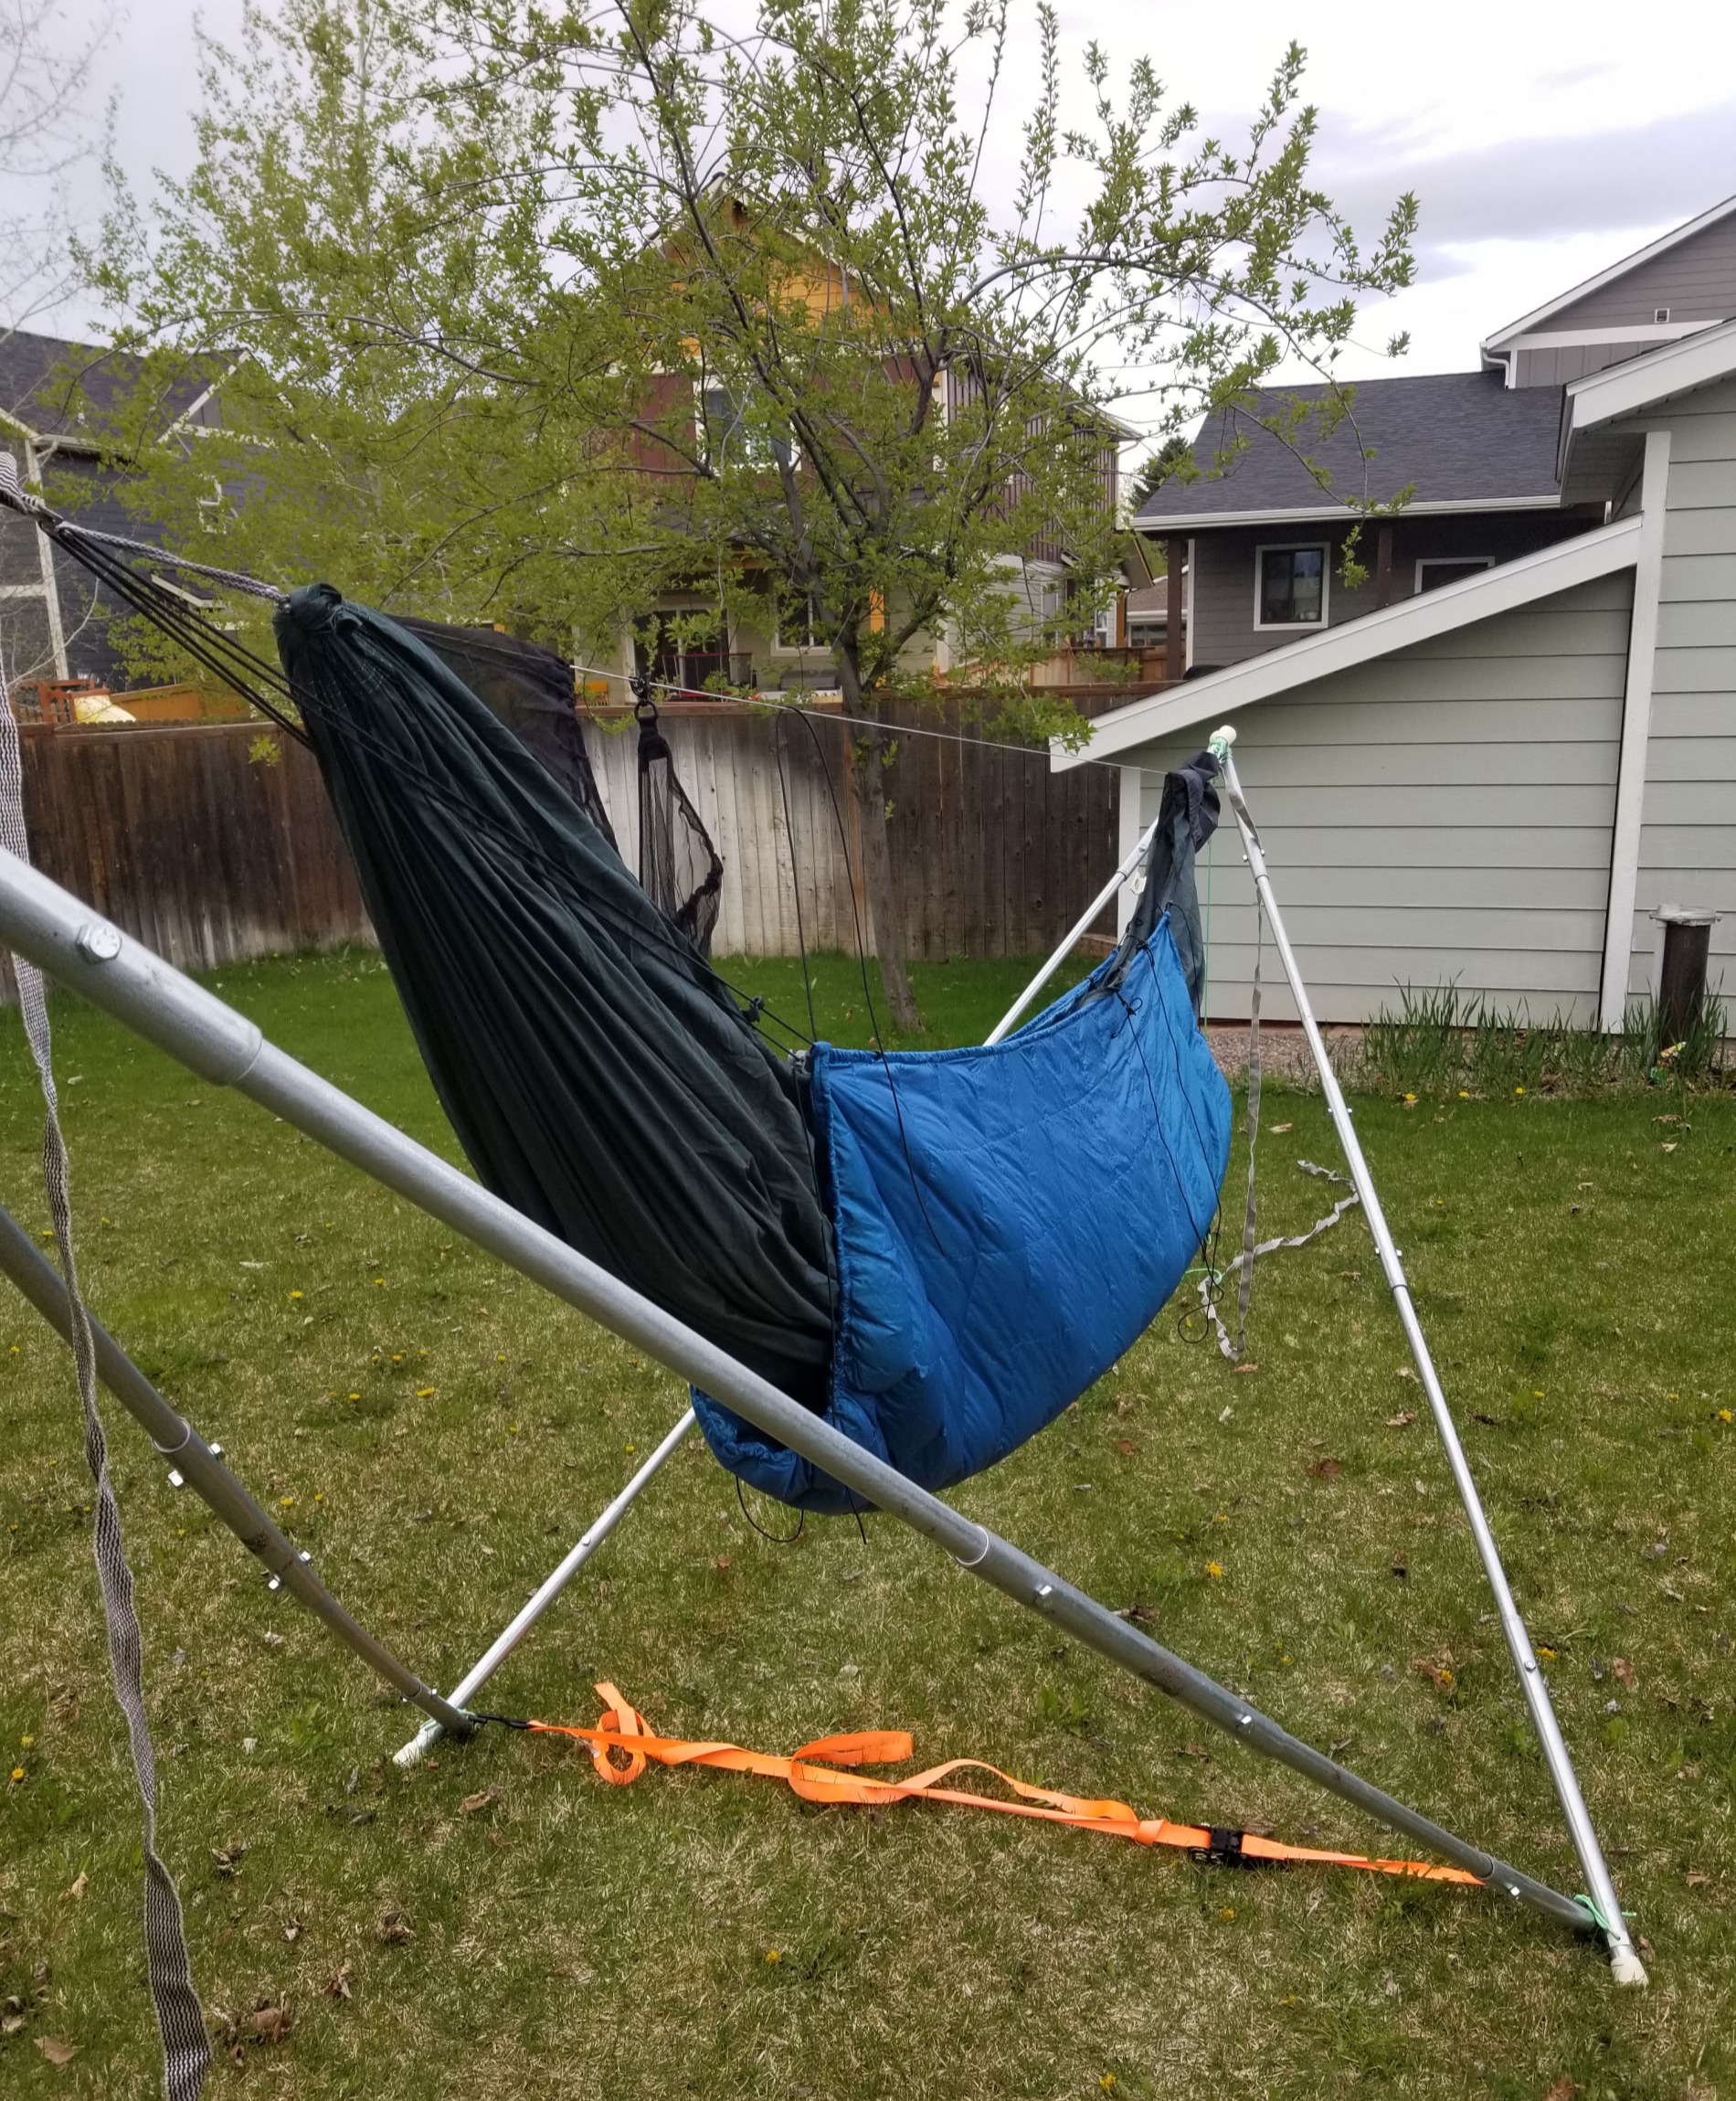
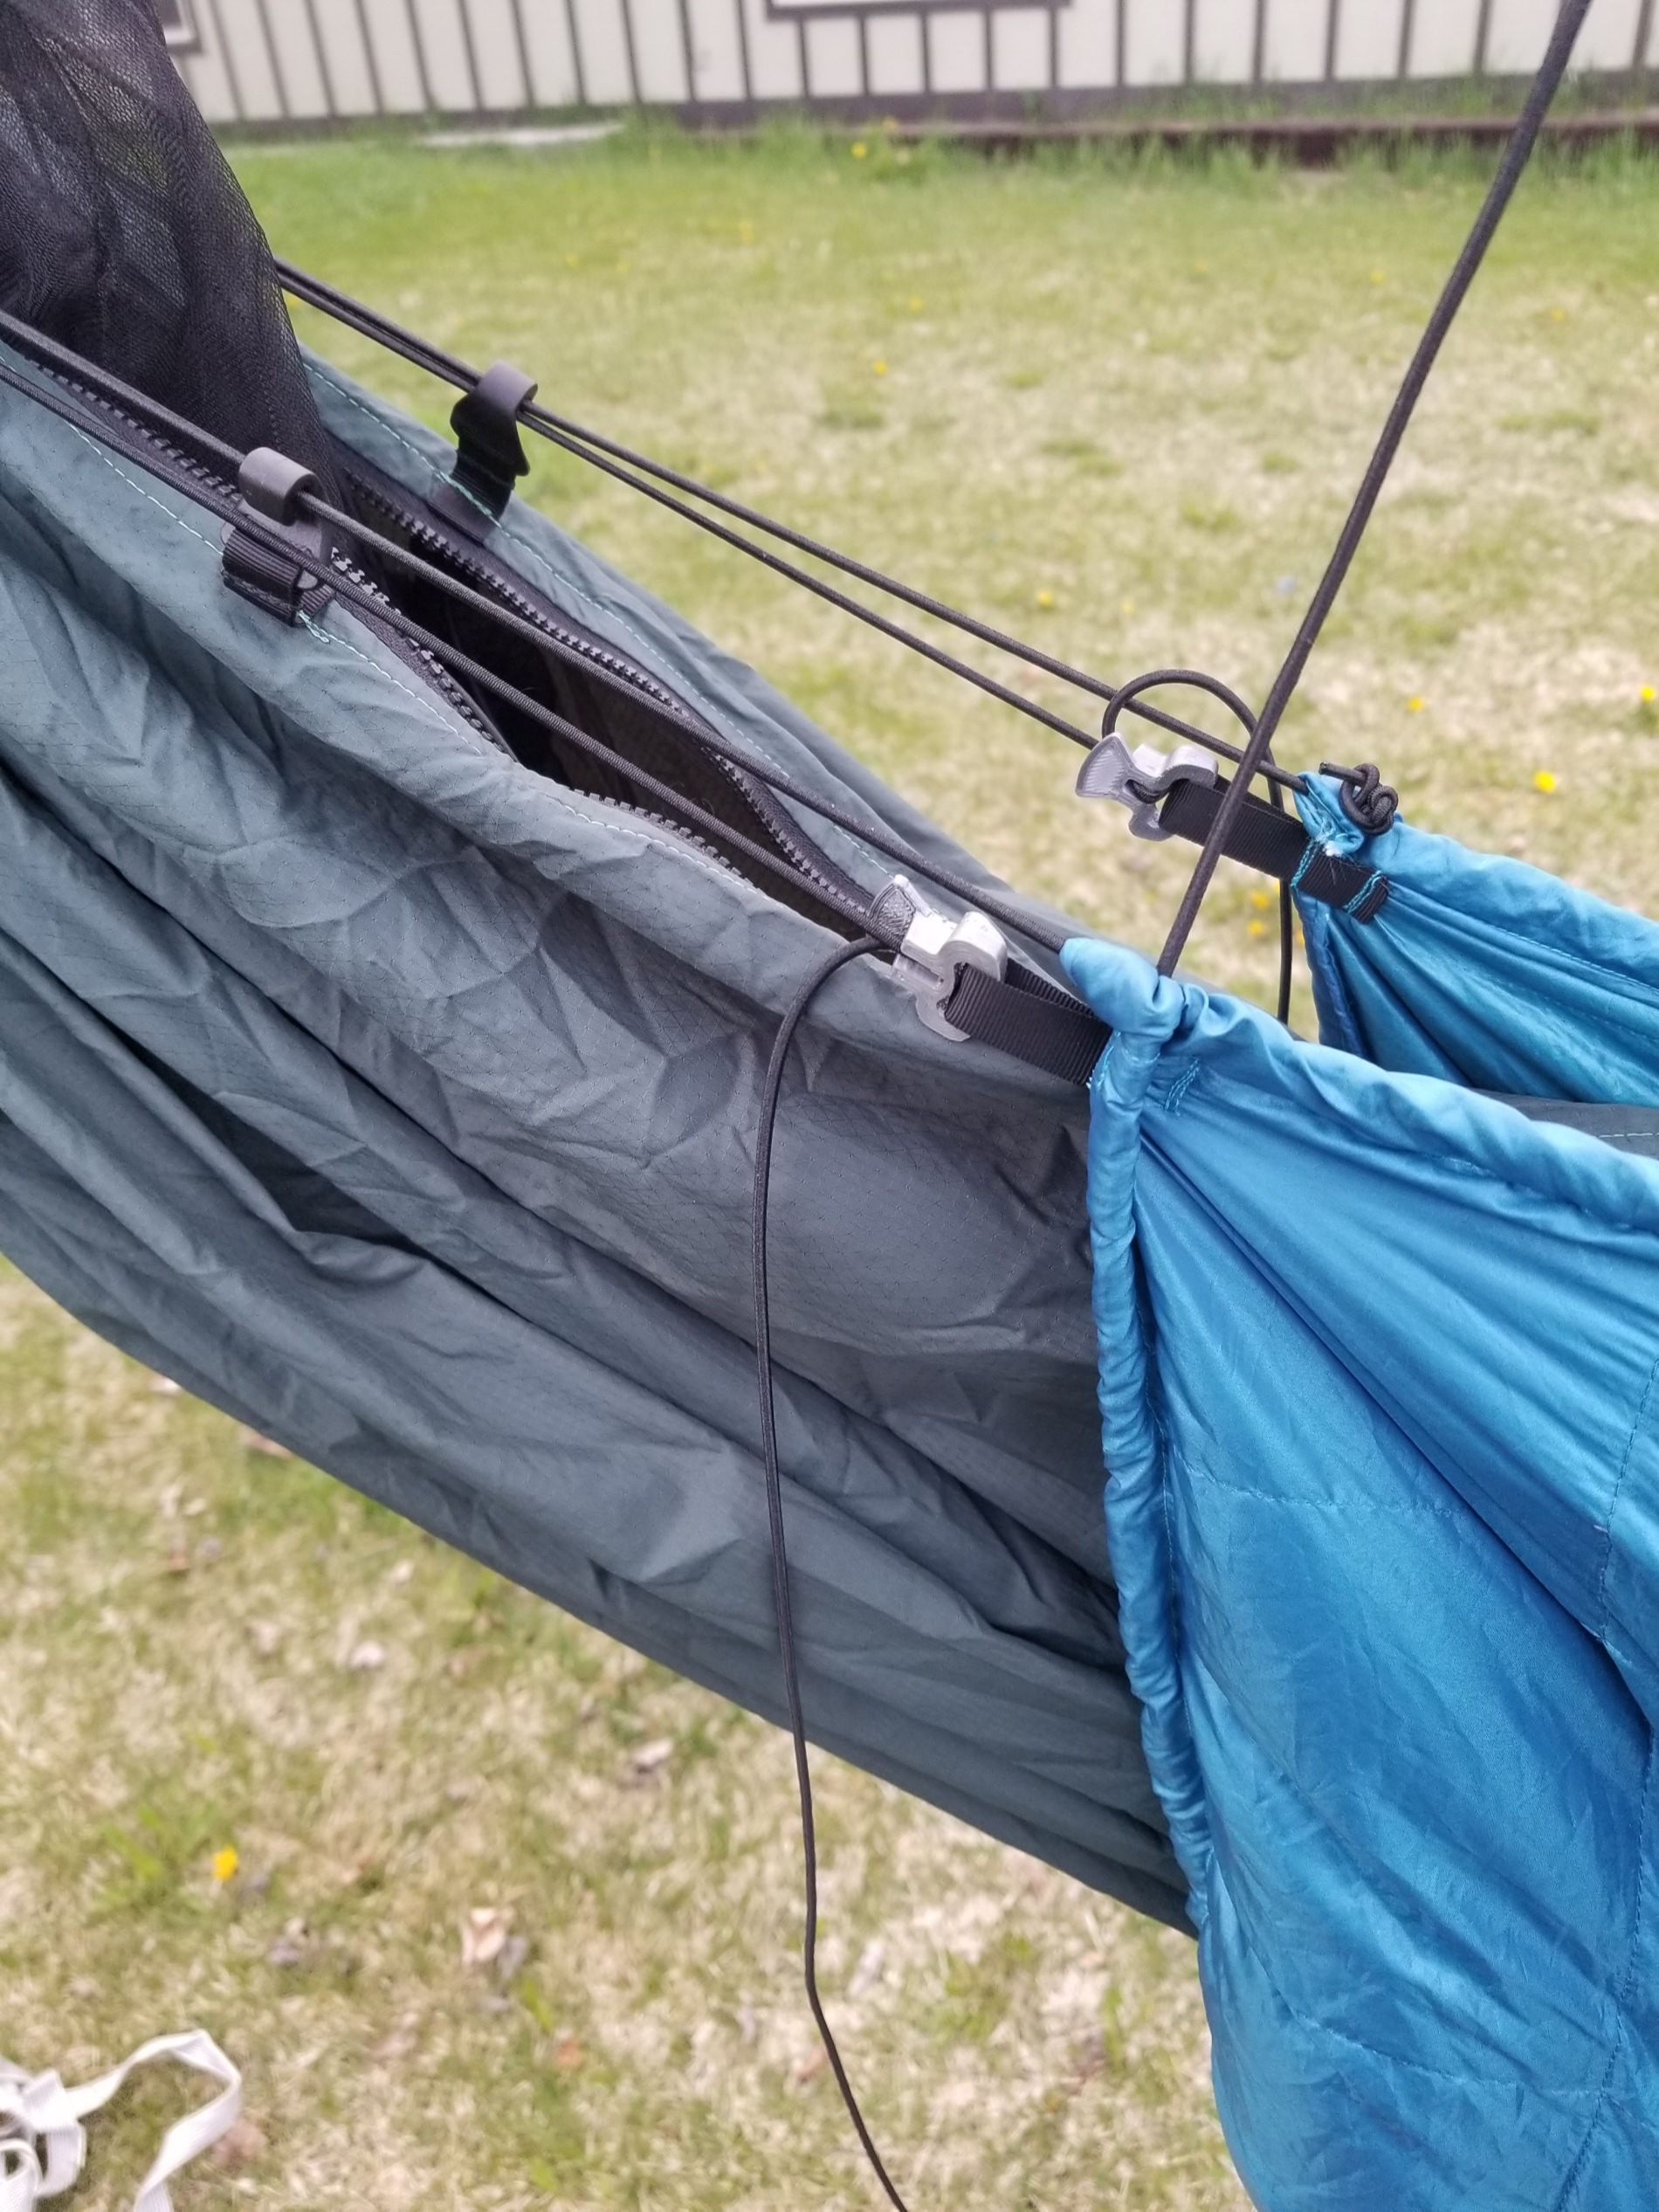
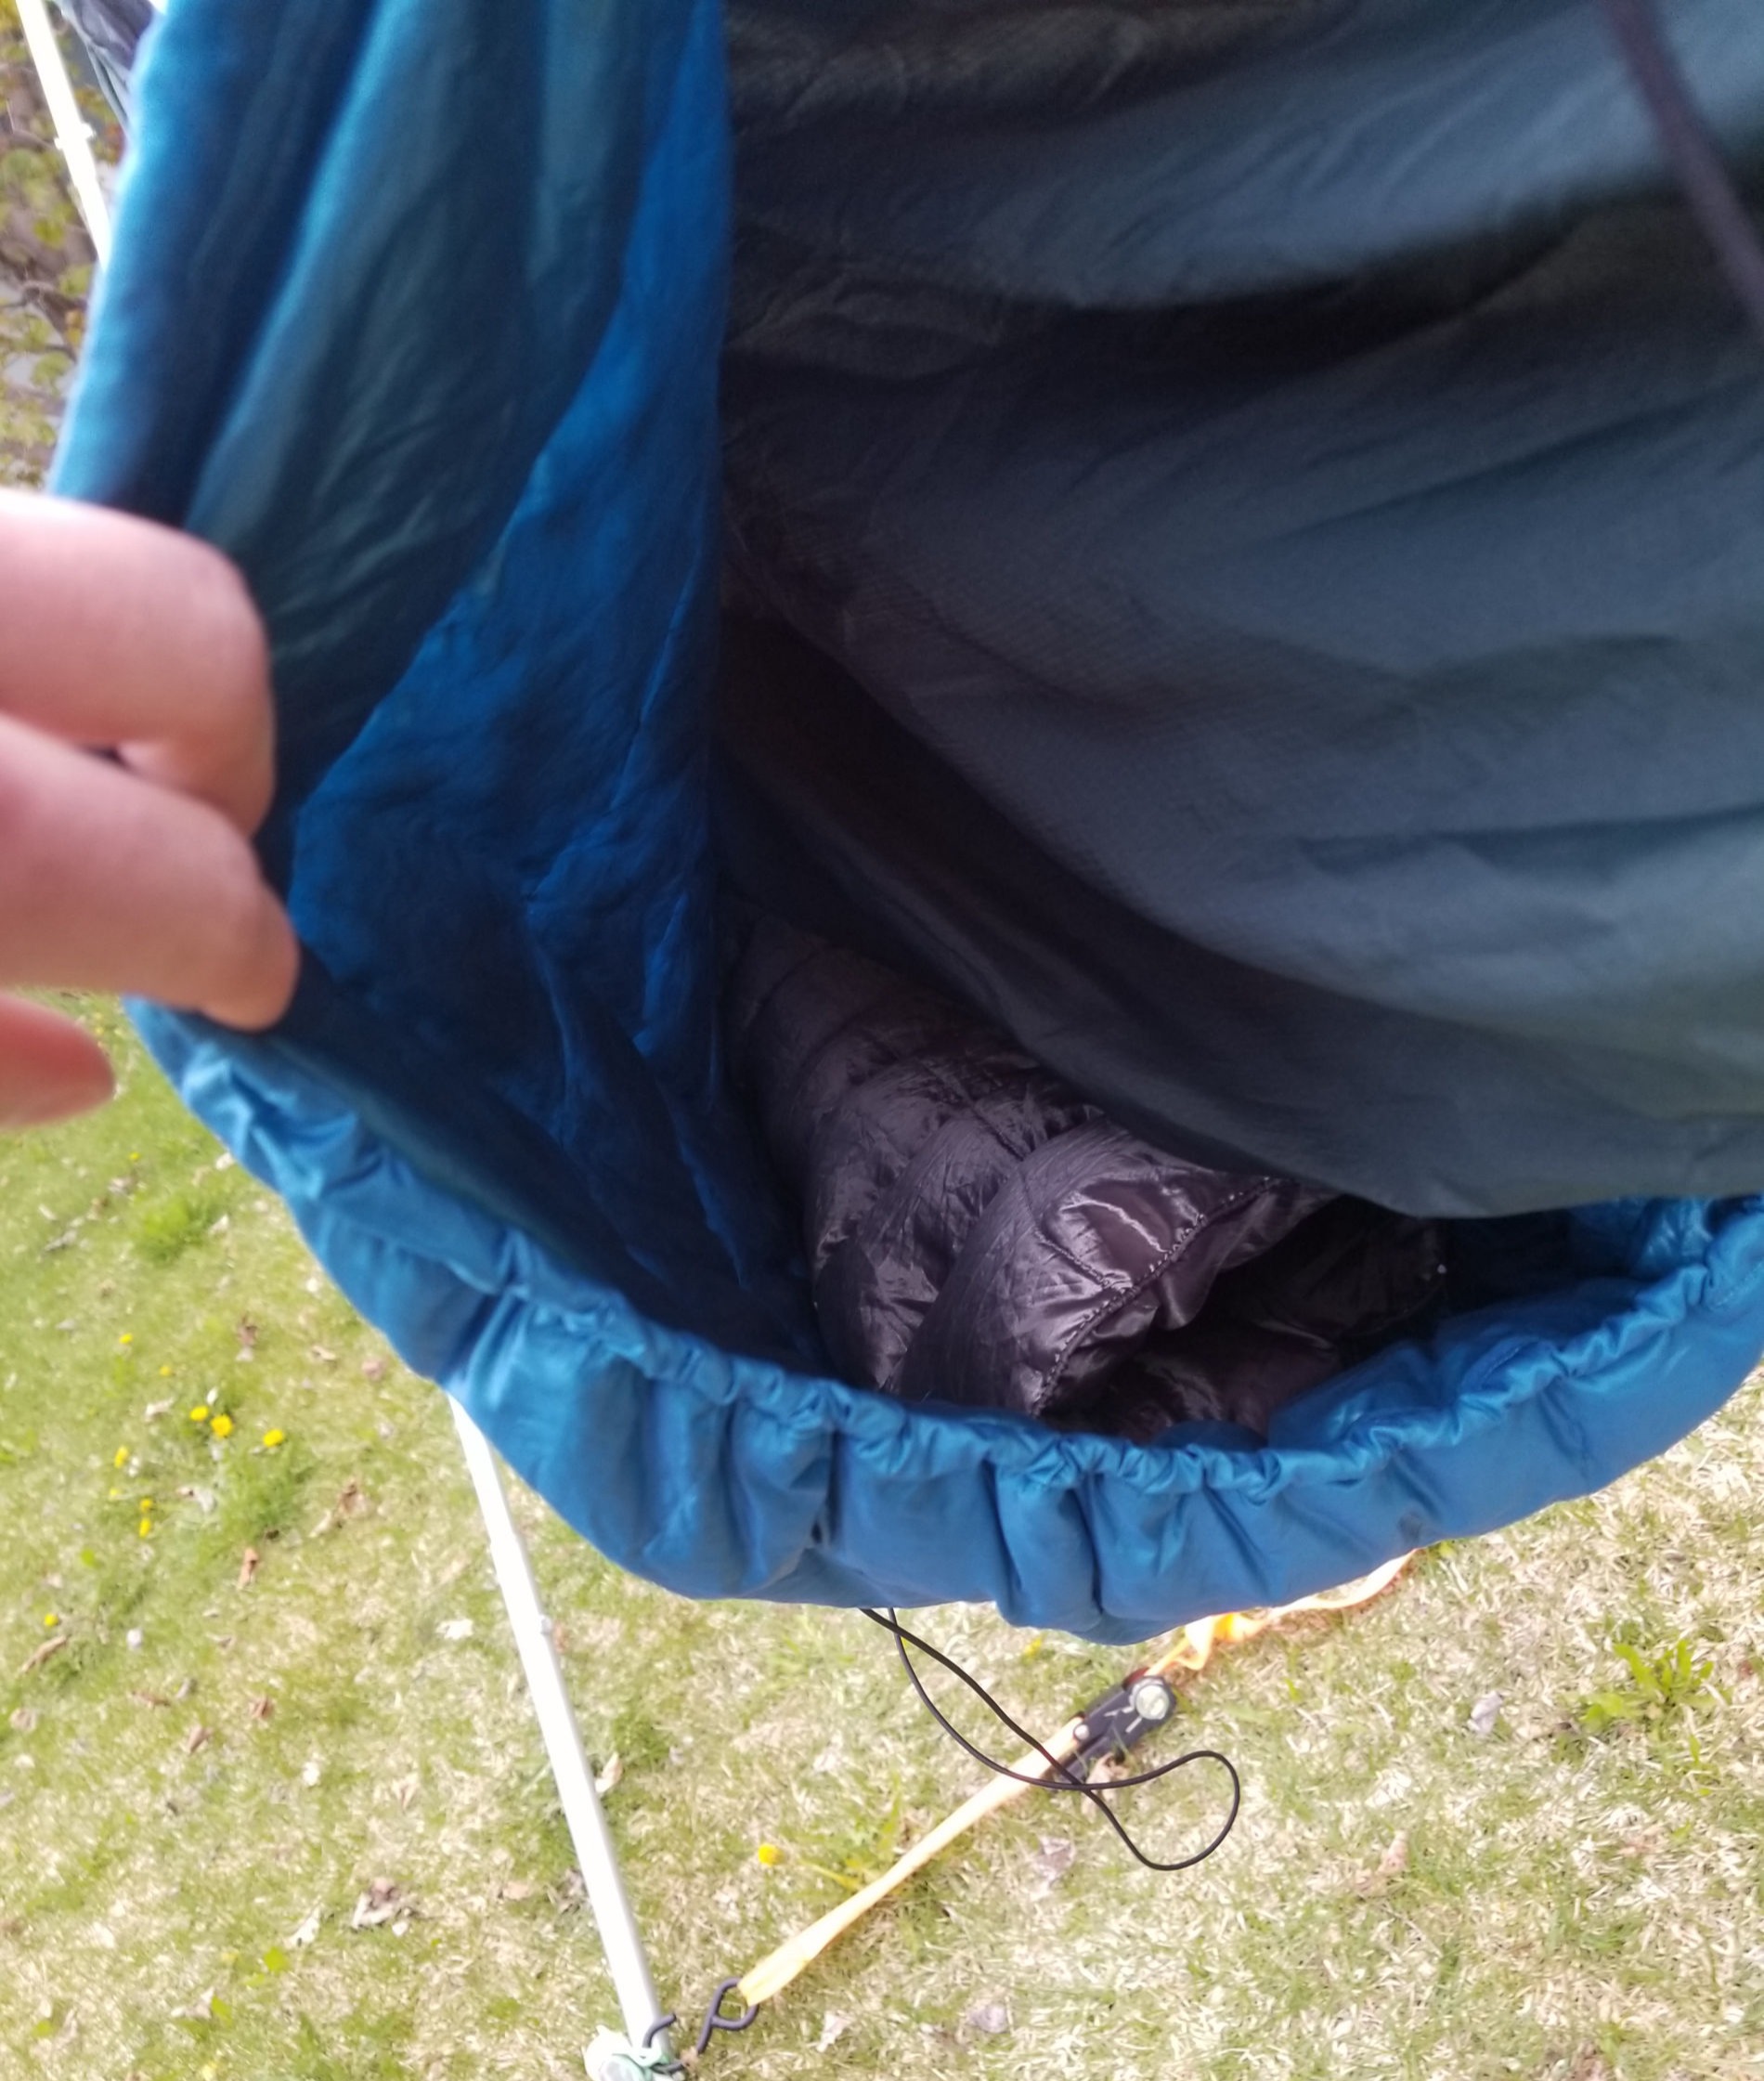
Making an underquilt from Costco down quilts is a common undertaking in the hammock community, due to the low cost and simplicity of making a pretty decent underquilt. I had bought the two down blankets probably 4 years prior with the intentions of making them into an underquilt, but it wasn't until I had consumed myself with sewing that I finally had the motivation to make it happen. Doing research online, there are plenty of designs out there. Some utilize different techniques, such as no-sew methods, while others almost completely just scavenge the down. I wanted an underquilt setup that would be both effective and easy to make. The most glaring issue with Costco down quilts or any similar down quilt is they are made using sewn through baffling construction, so basically these quilts with their square pattern had insulation on the squares themselves, but the seams had absolutely no insulation whatsoever. Most high quality underquilts use different methods of baffling to eliminate this. Without completely changing the Costco quilt, I decided the best method to alleviate this issue was to seam rip all of the vertical seams. With the underquilt in use, the seams would create channels perpendicular to the body, so there would just be lines that would run across the body without insulation, rather than lines that would run all the way along the body. In colder situations, this issue would also be fixed with the second smaller underquilt, which could be layered inside the bigger one, and the baffles of the smaller one would "cancel" where the seams ran in the larger one.
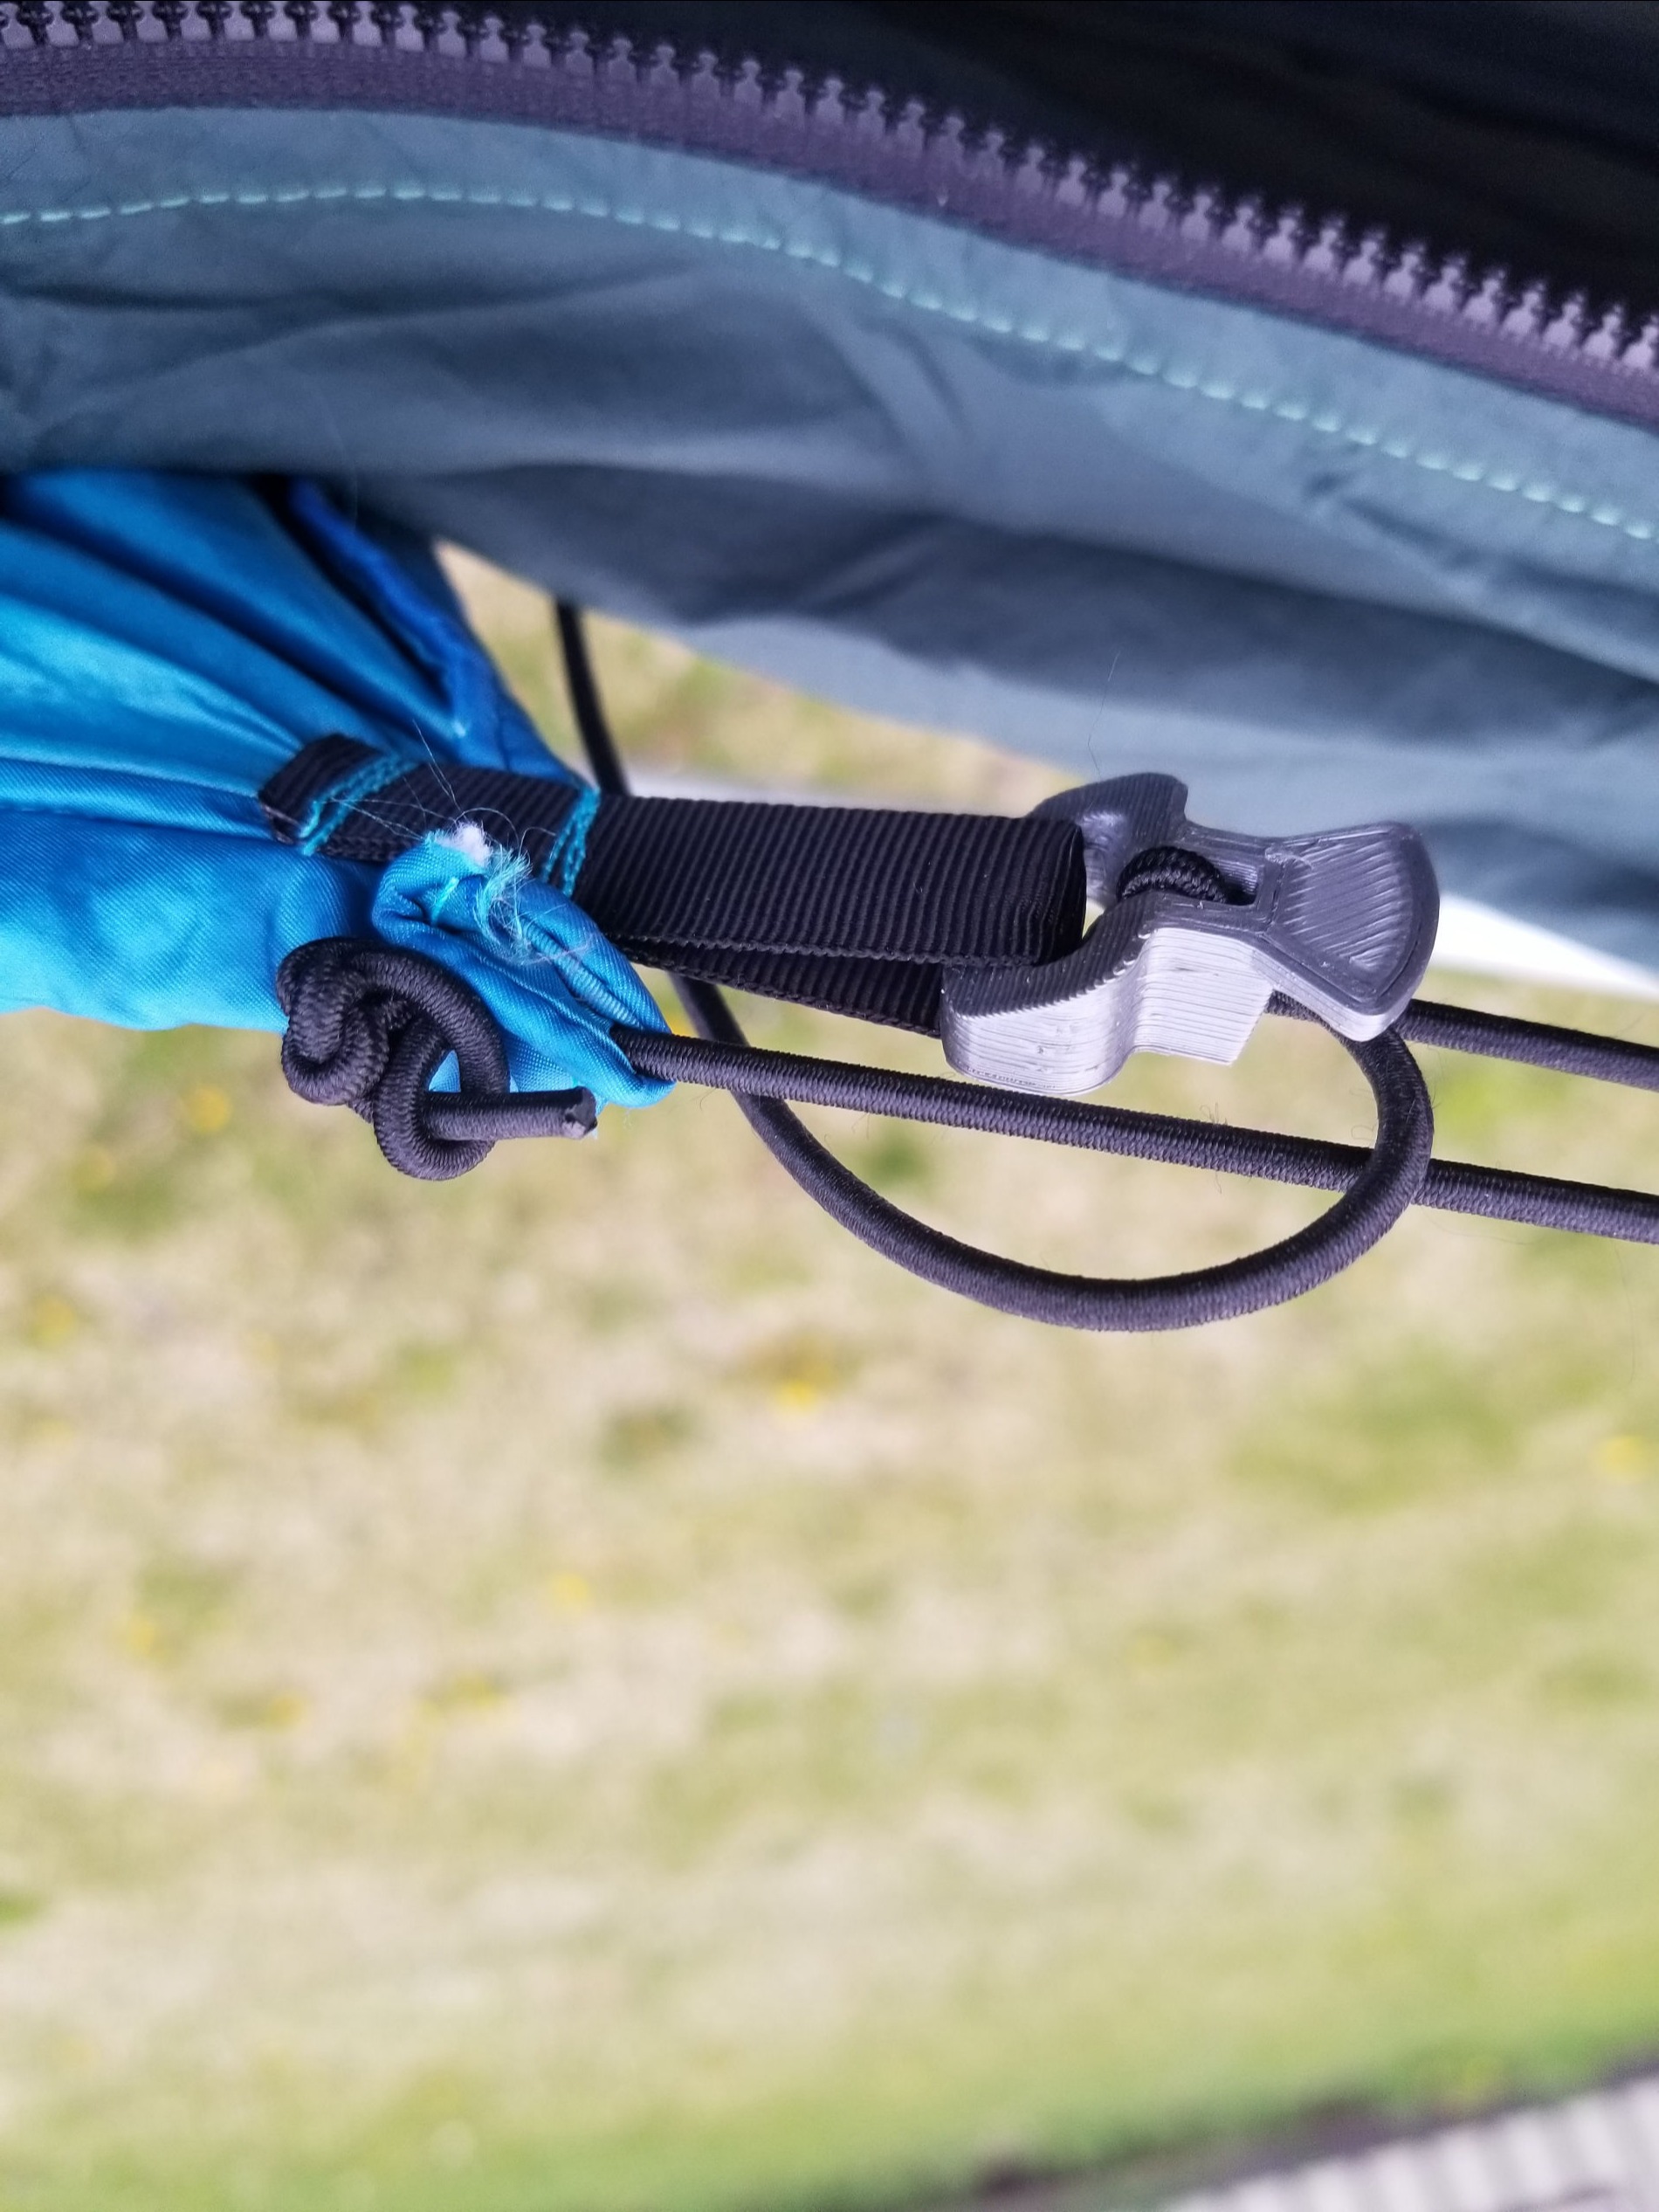
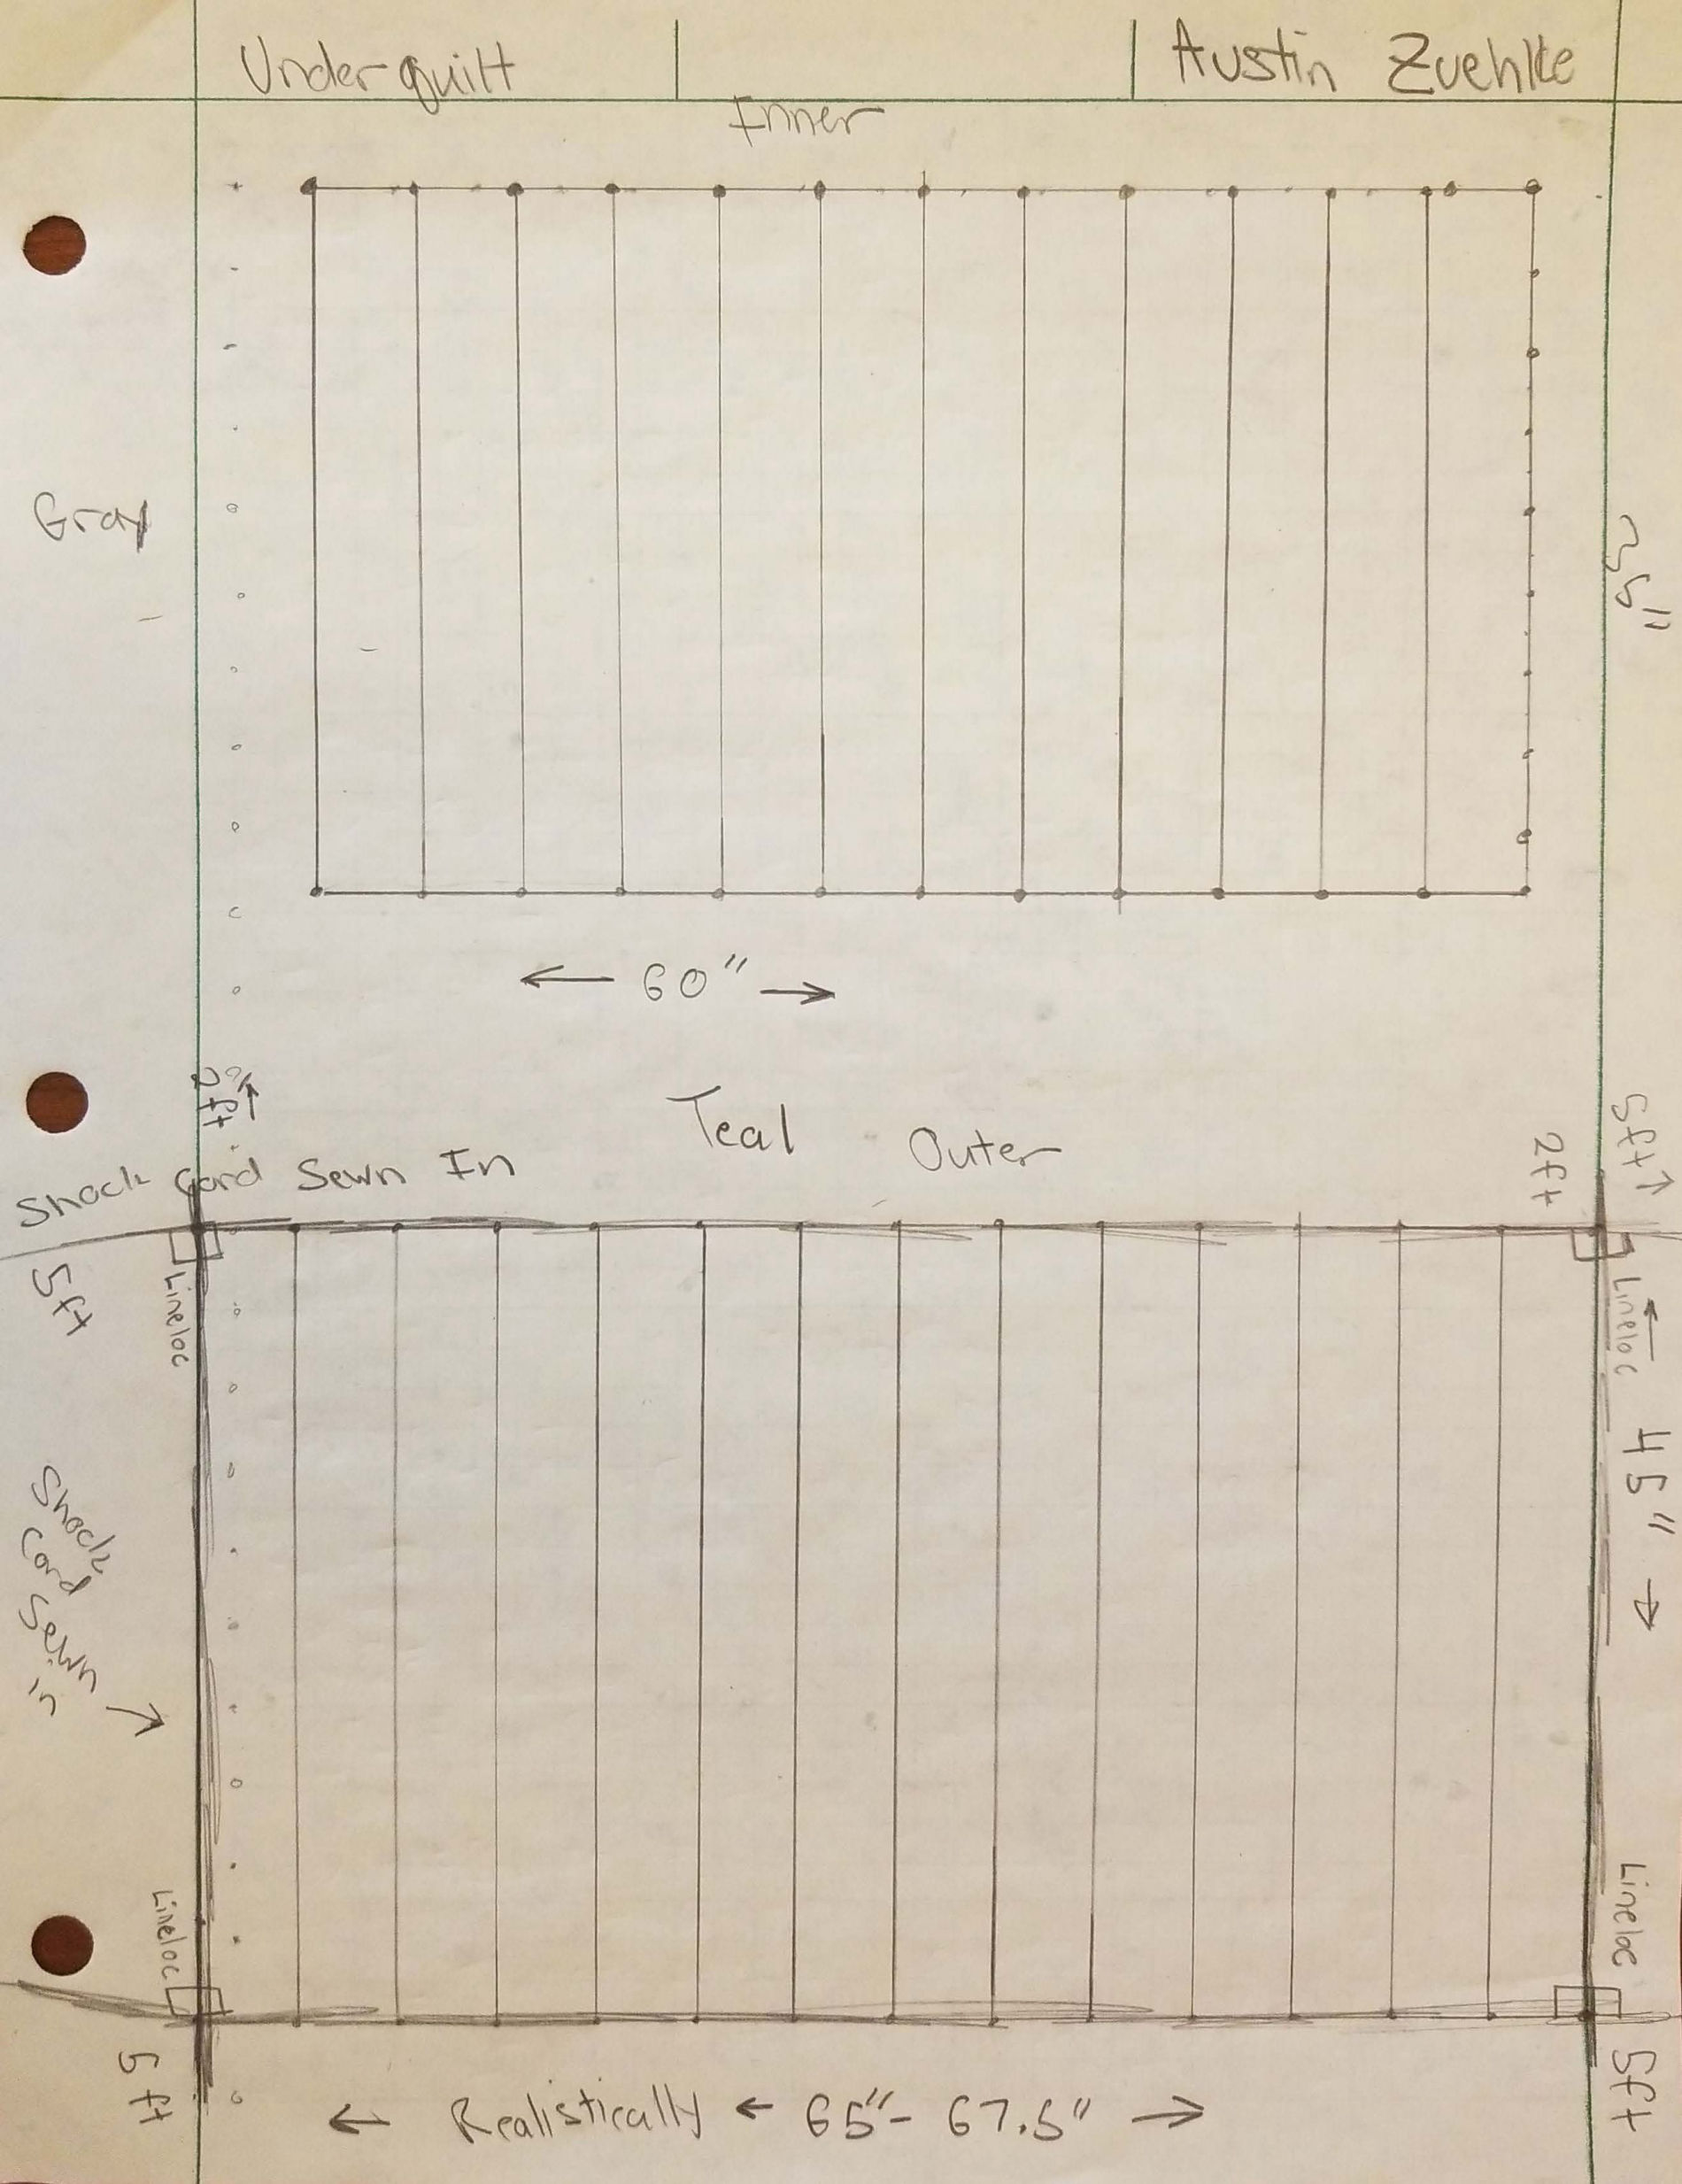
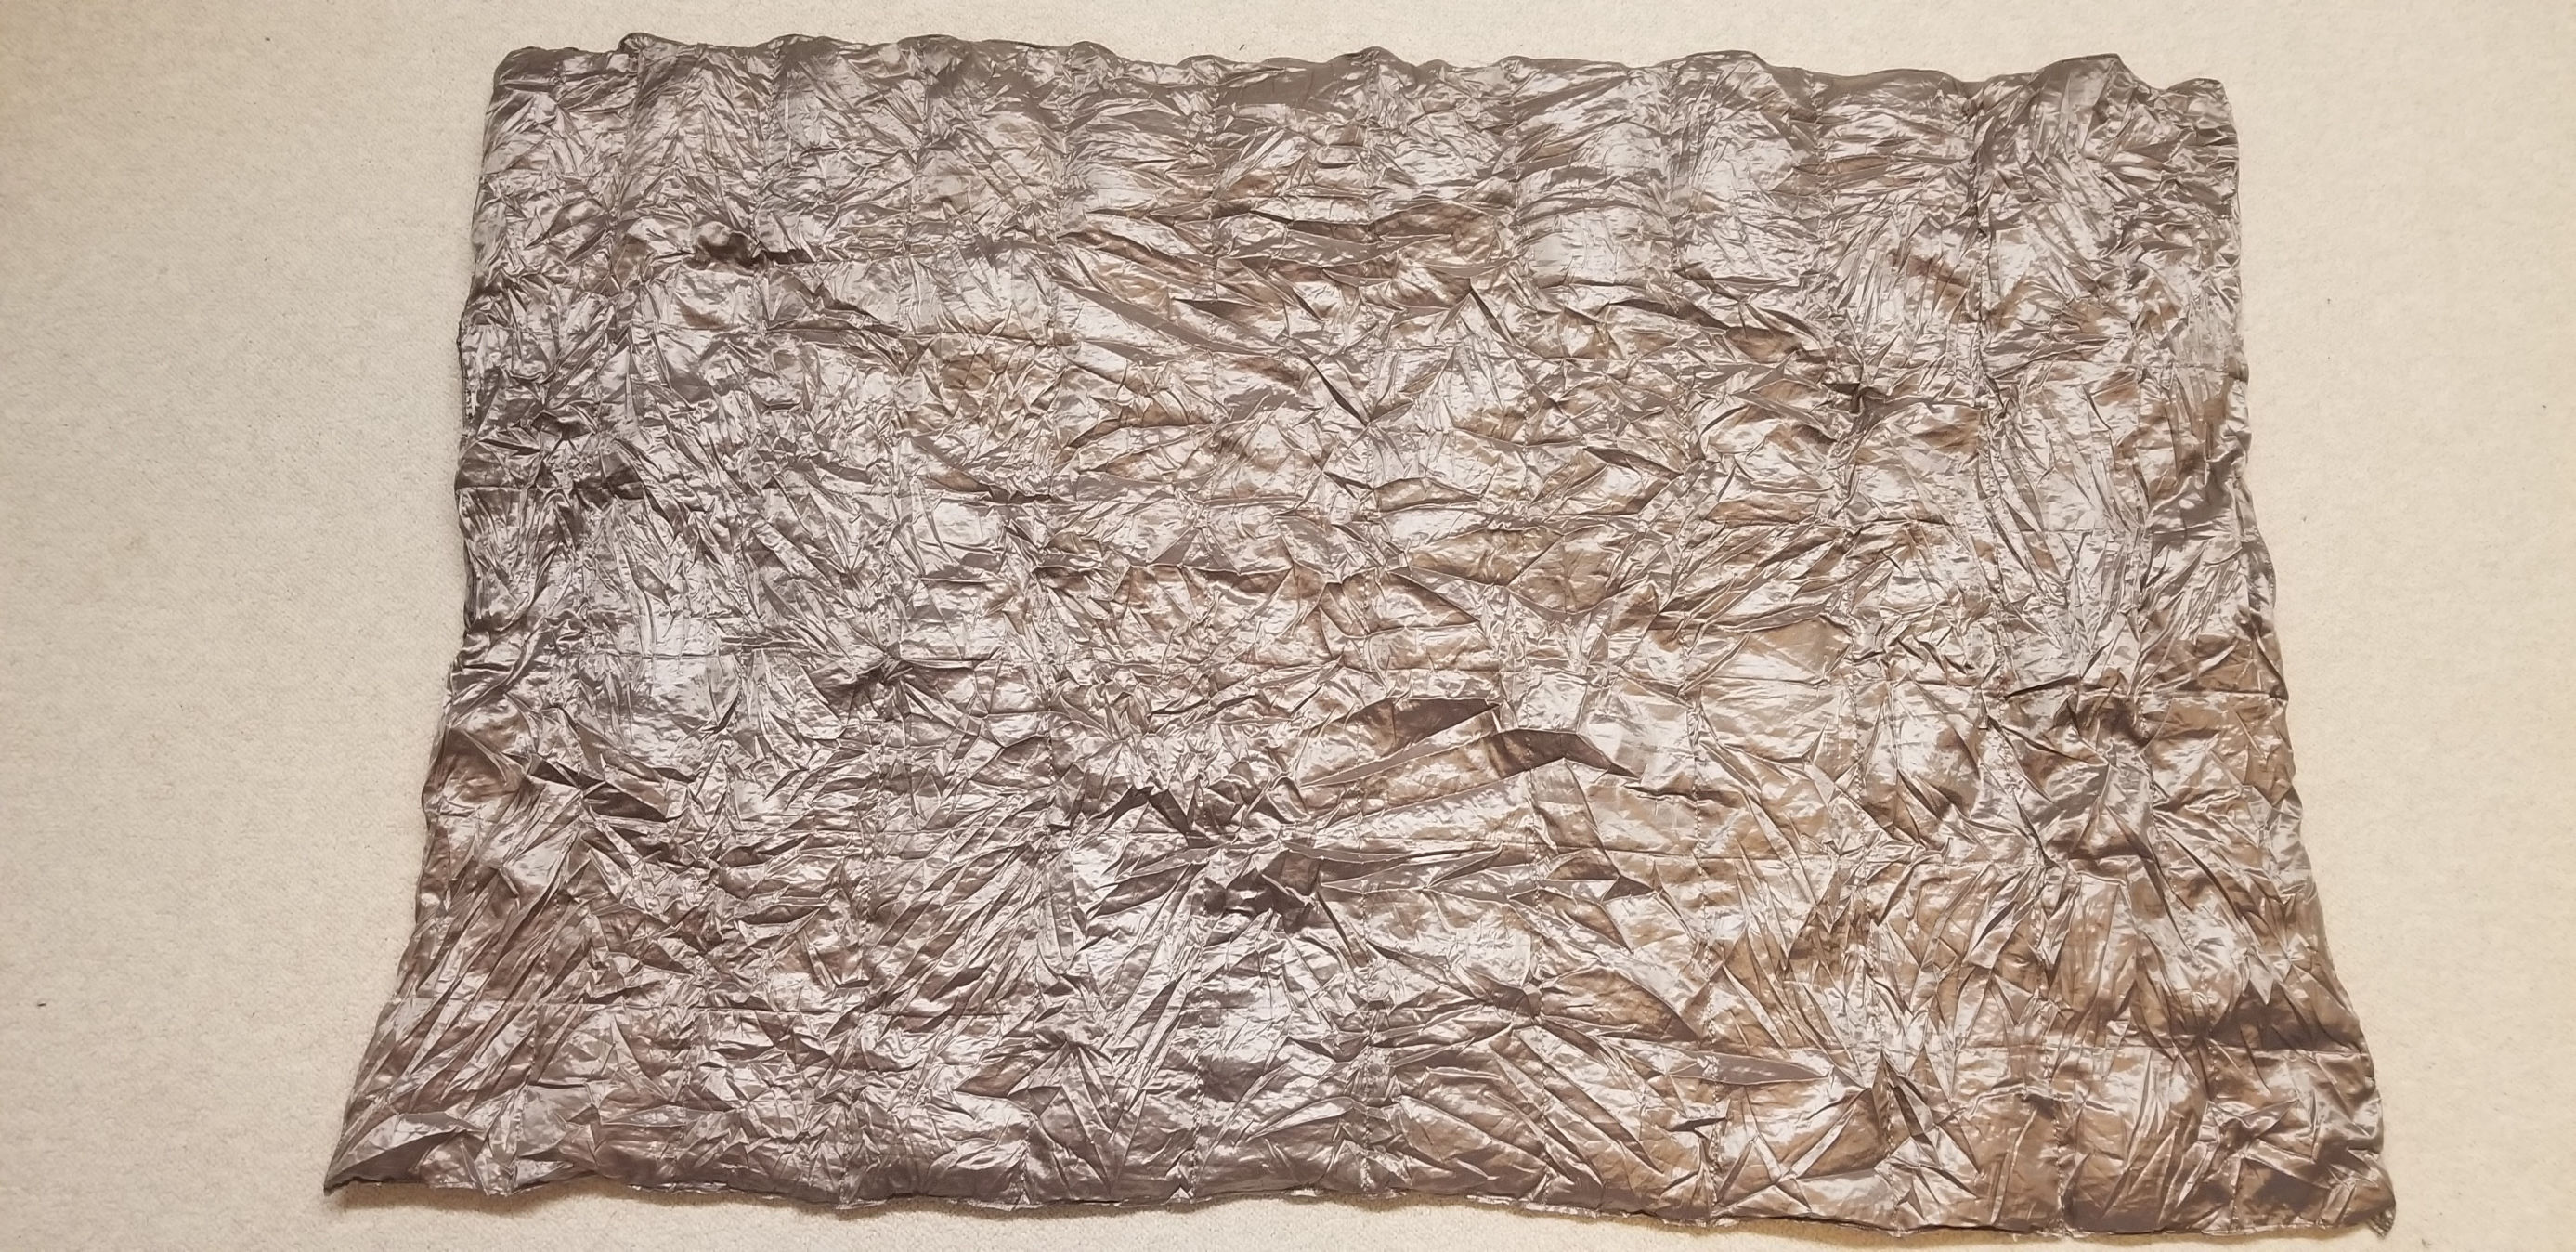
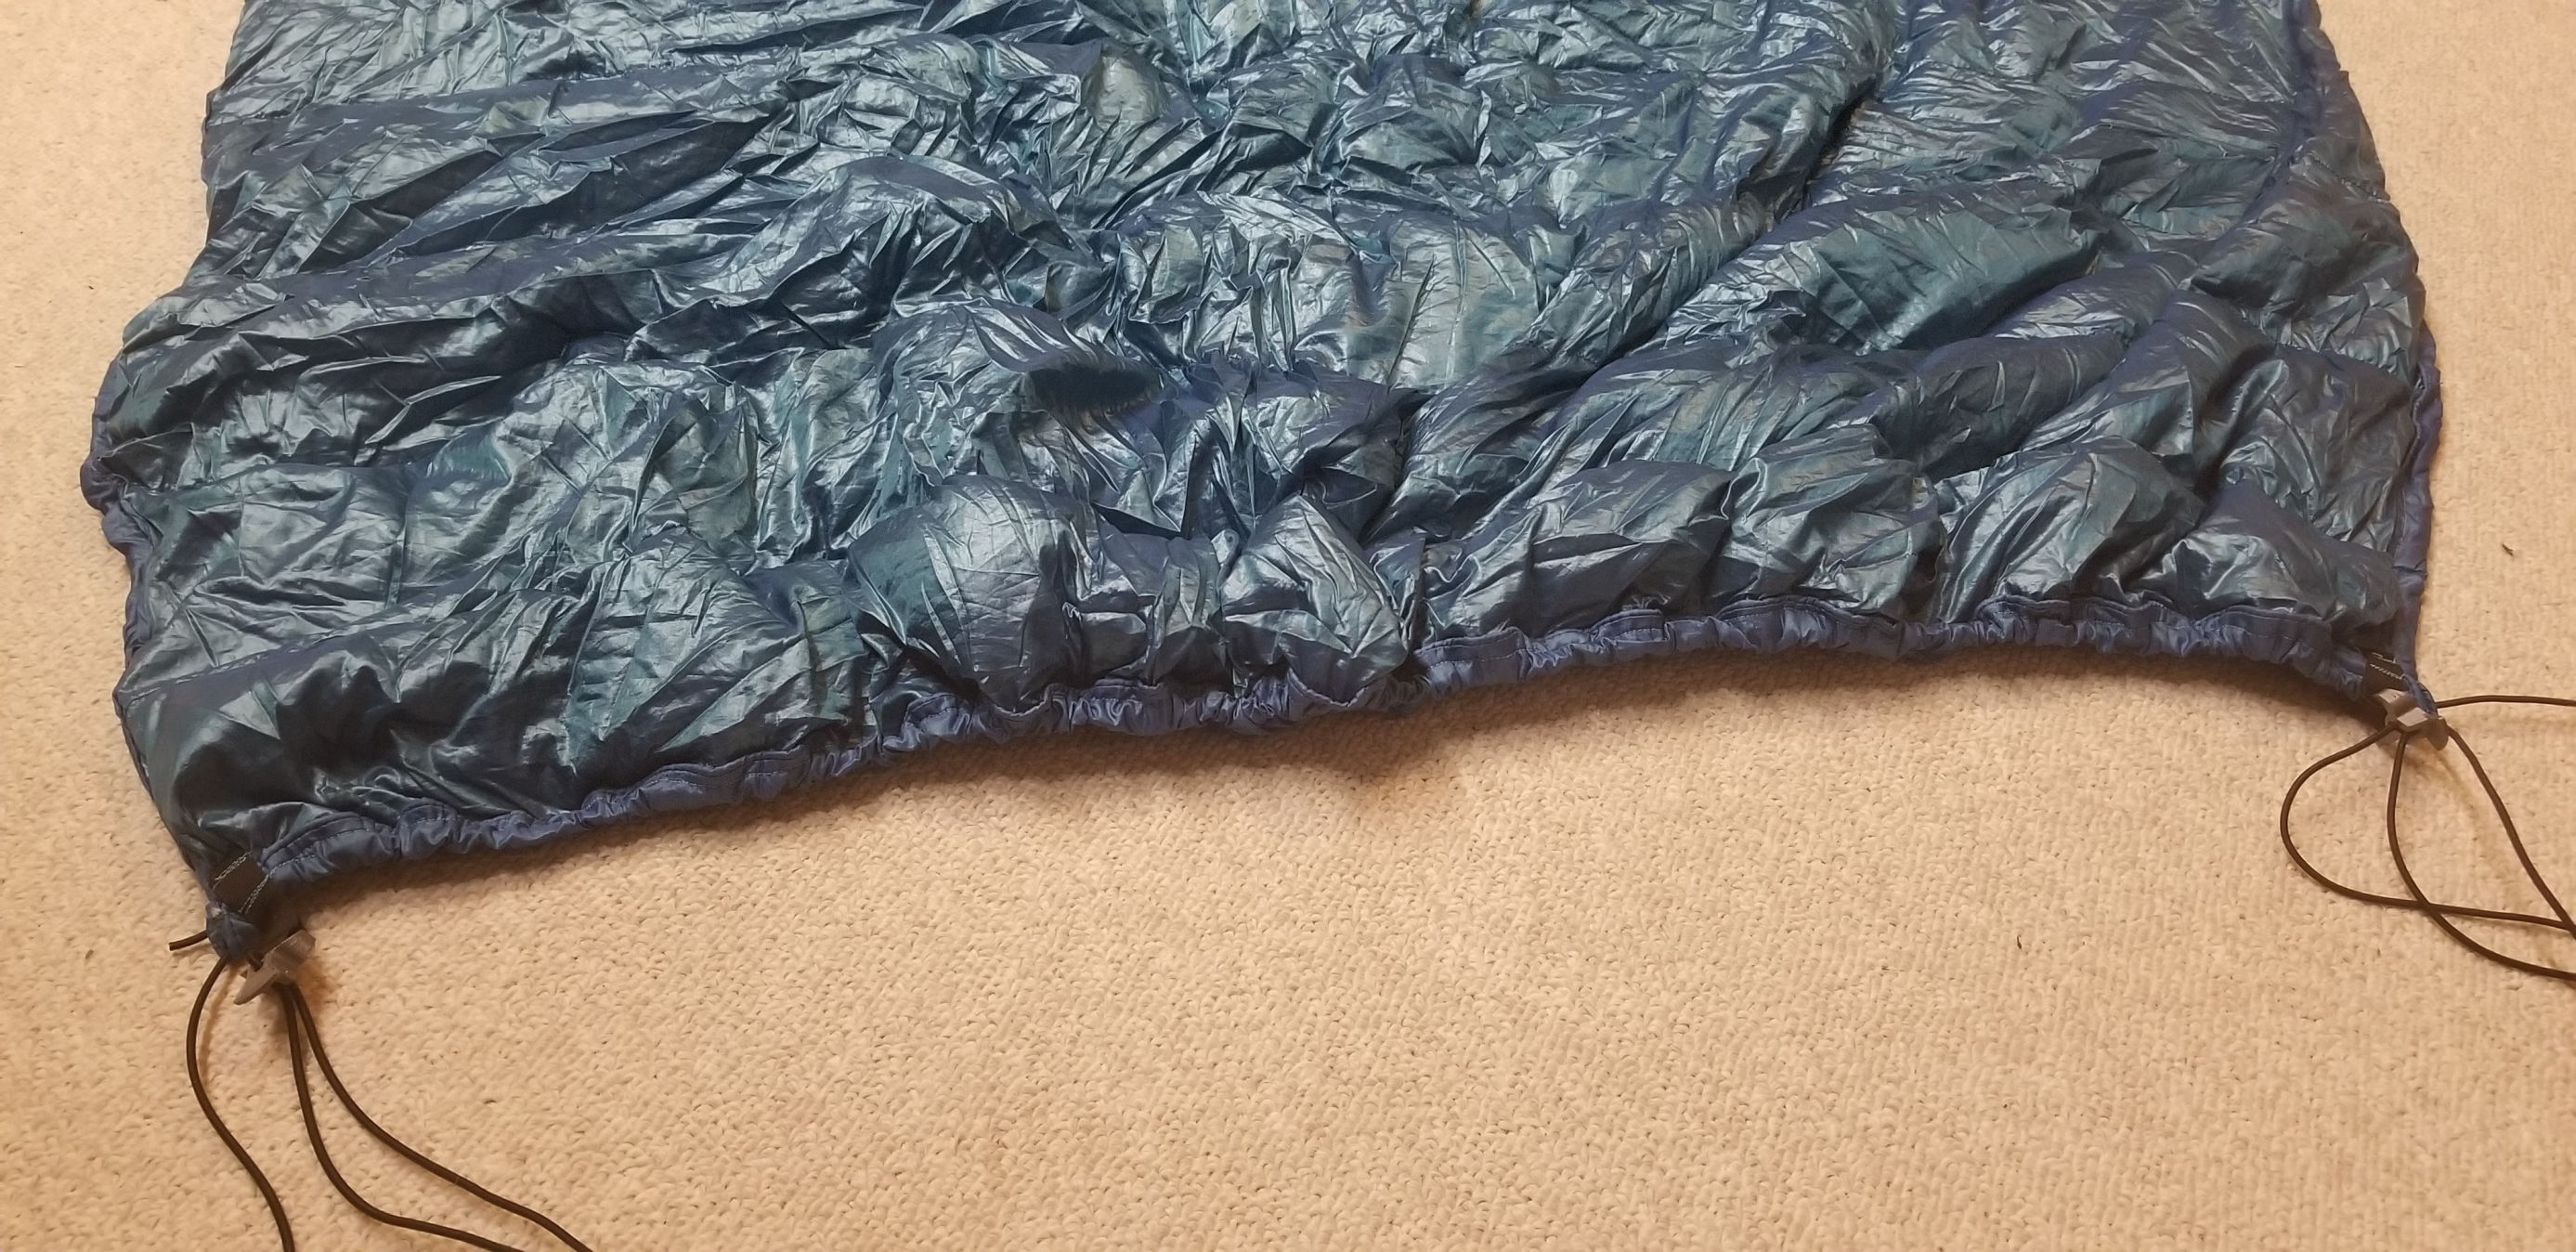
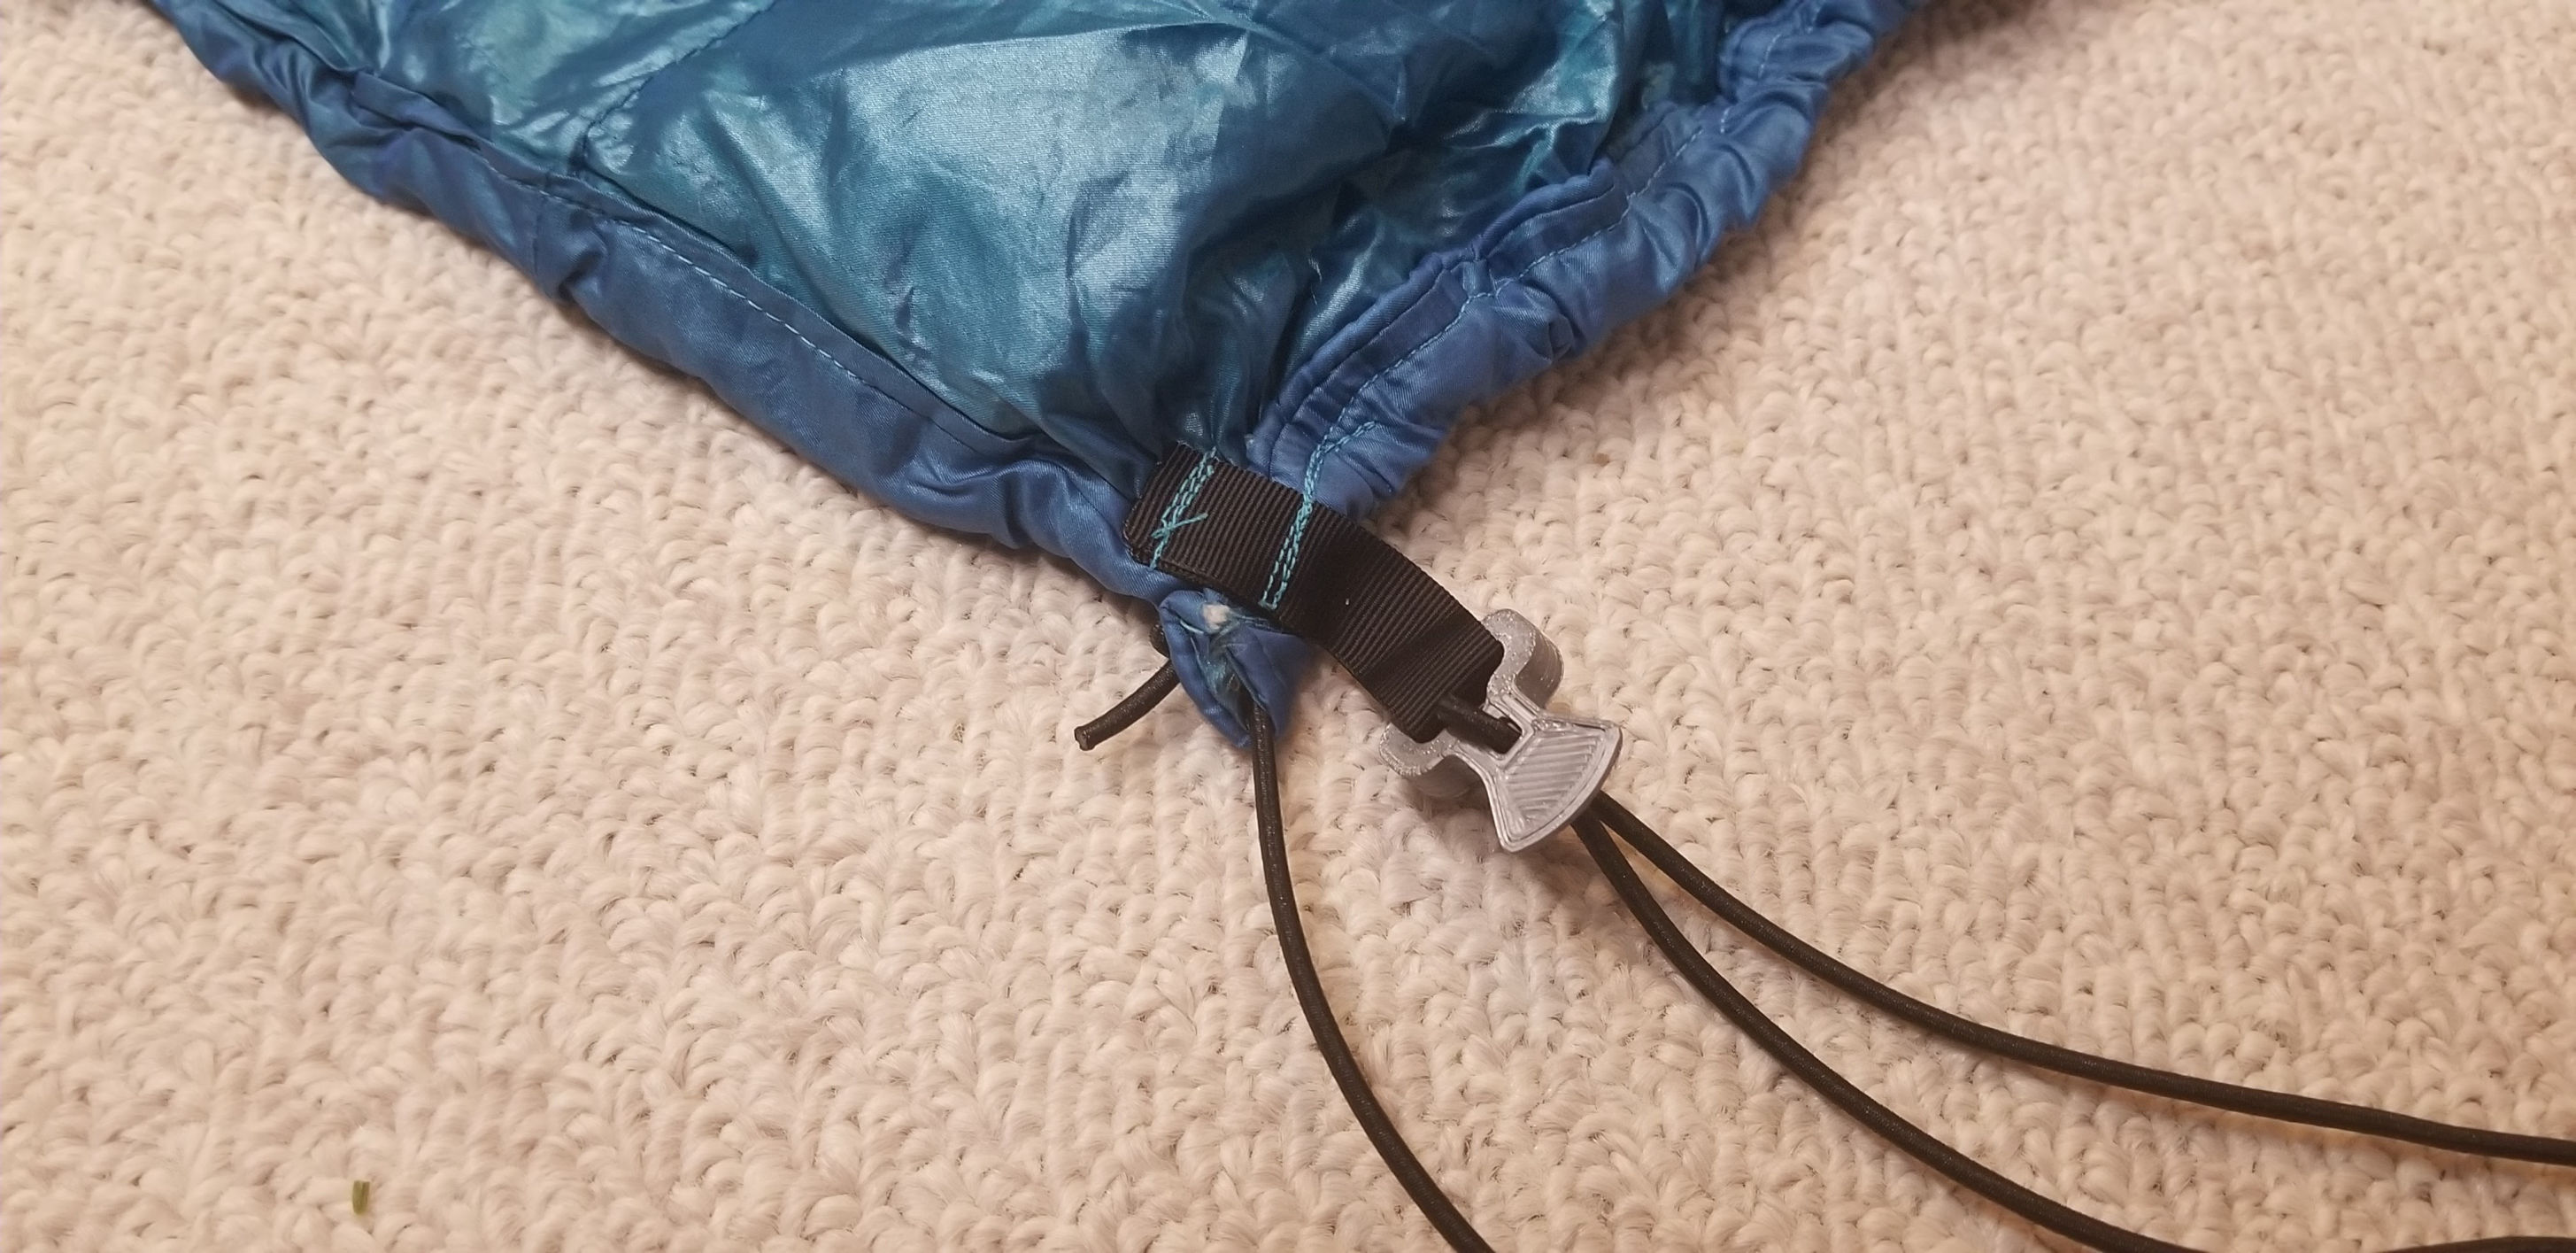
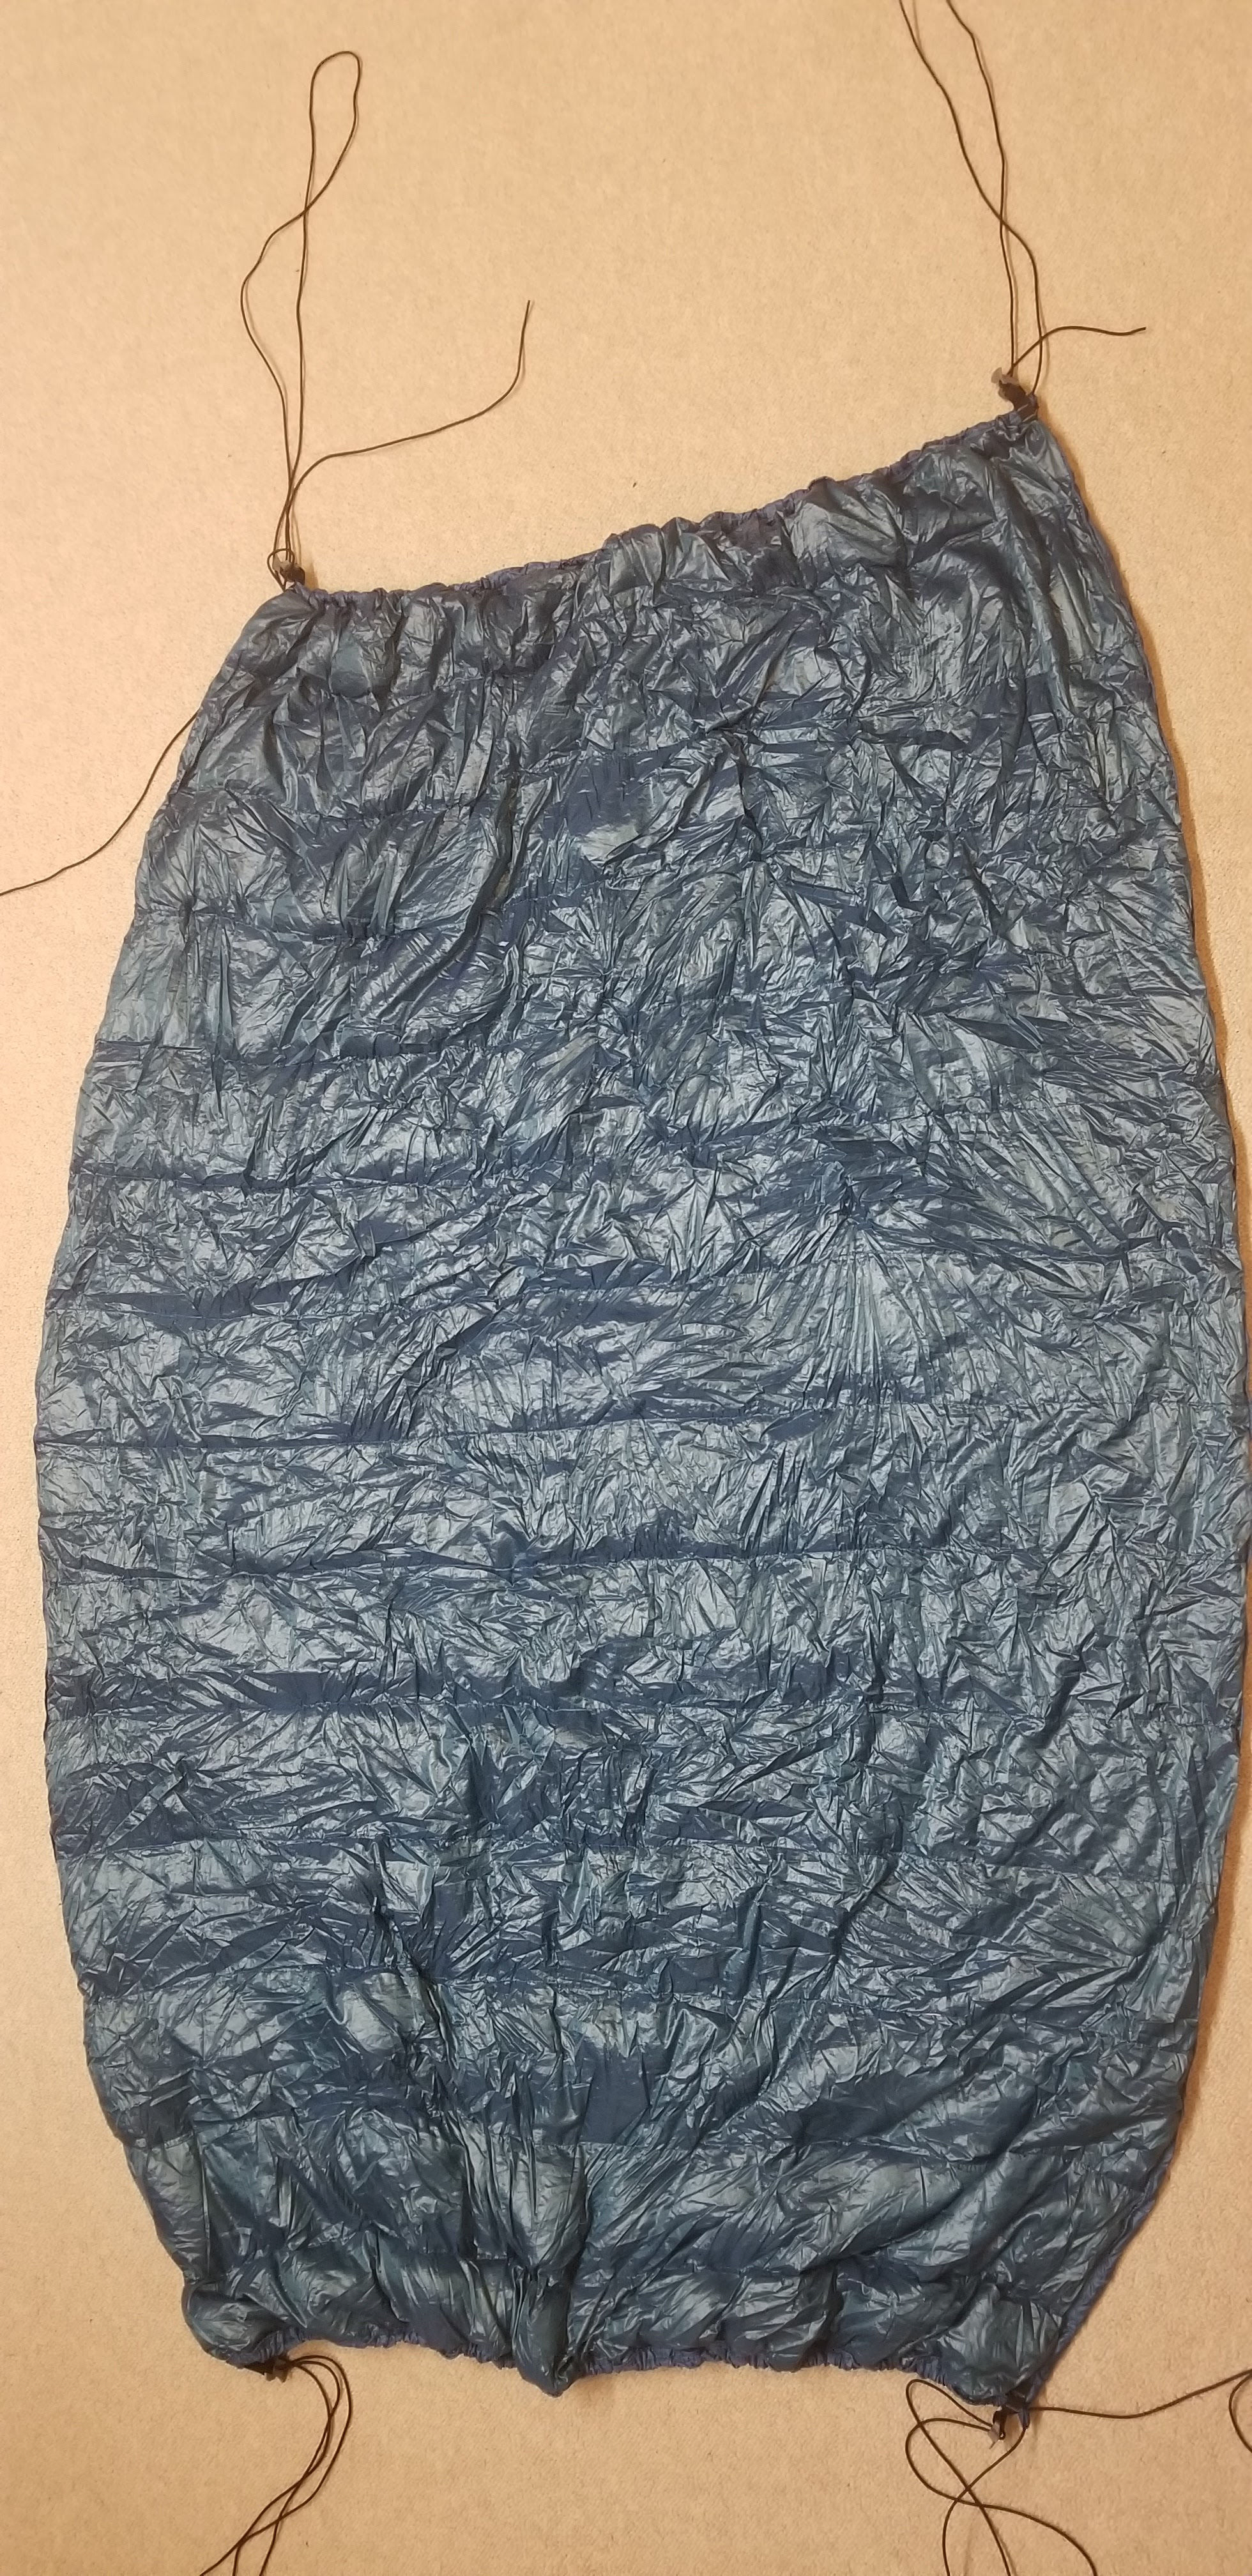
With all of the "longitudinal" seams ripped on both quilts along the width of the outer quilt and length of the inner quilt, the next step was to determine proper underquilt sizes. The Costco down quilts are 70 inches long by 60 inches wide. The best length for the outer underquilt was keeping it 70 inches and shortening the width to 45 inches. Baffles are sewn every 5 inches, so three of the "latitudinal" seams were taken out of one side of the underquilt, and then the down was pushed to the center of each baffle. Then a seam was sewn reducing the width to 45 inches, and the excess fabric was cut off. A similar process was done to the inner underquilt; however, the seams were ripped along the length. The width was kept at 60 inches, and the 70 inch length was shortened to 35 inches using the same process of ripping seams, moving down through the baffles, and then sewing at the appropriate length. With that, the smaller underquilt was completed. In the future, grosgrain and some sort of connection system might be sewn onto the smaller underquilt to secure it to the larger underquilt if deemed necessary.

