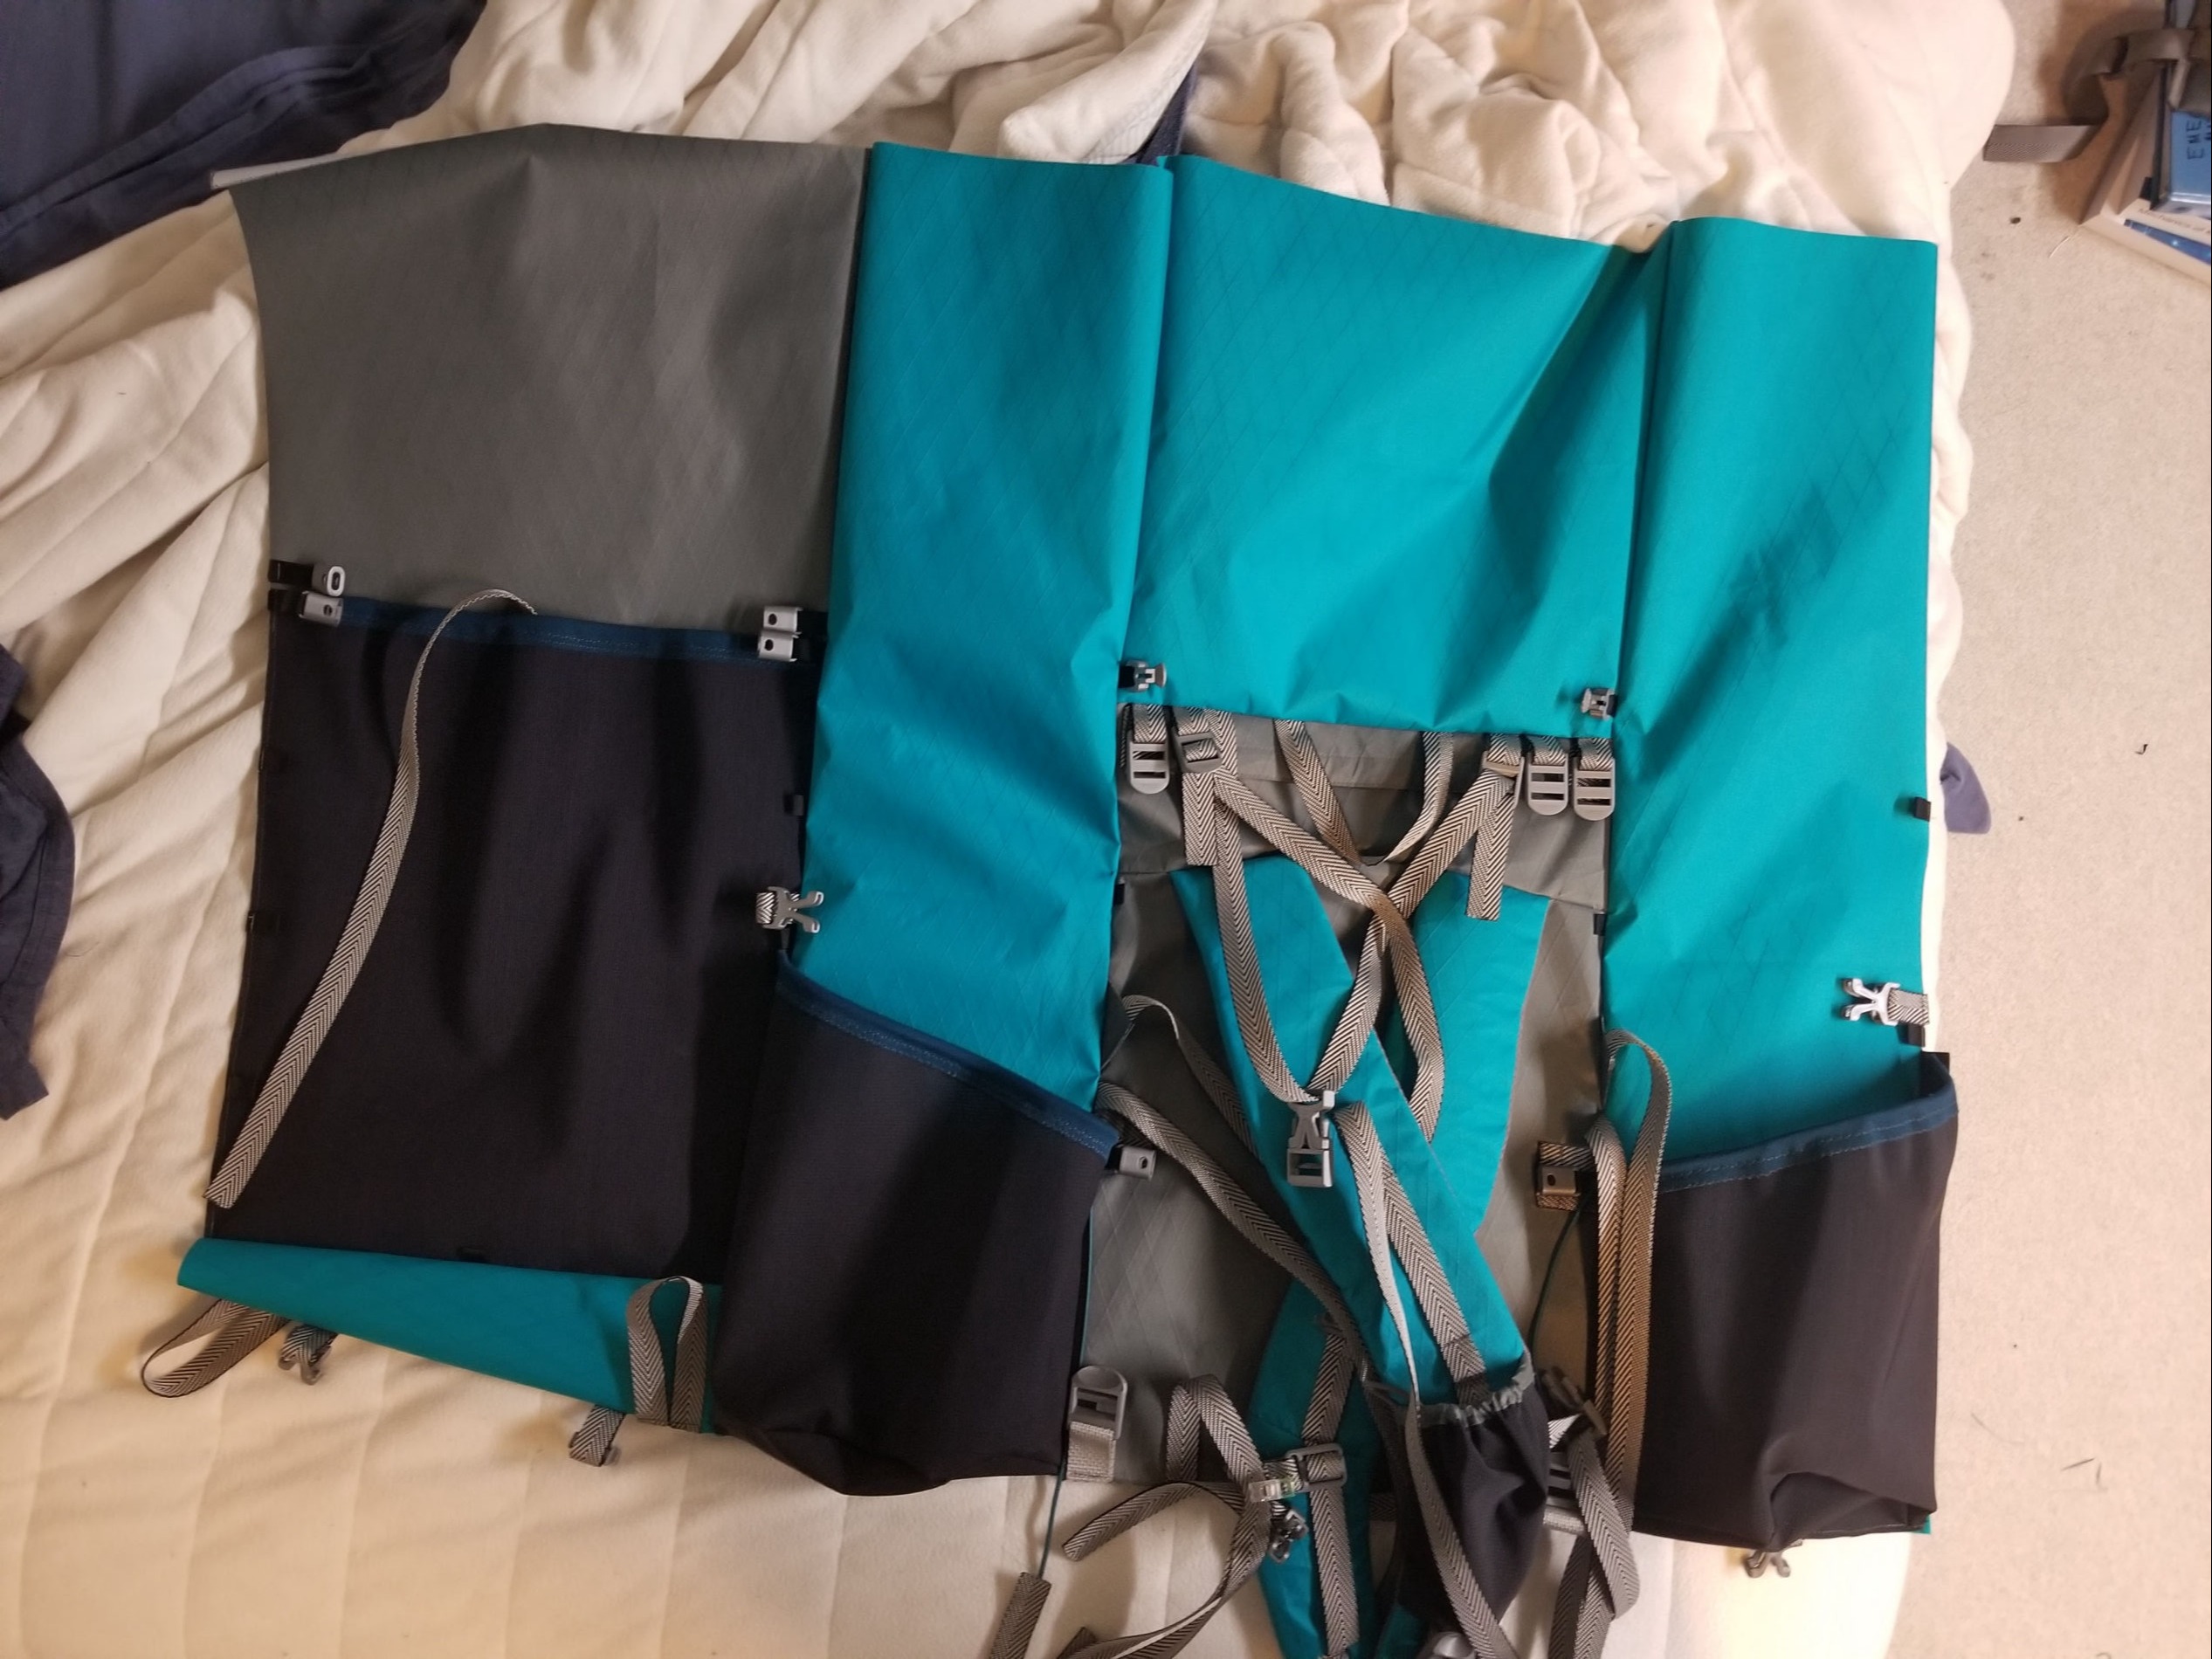
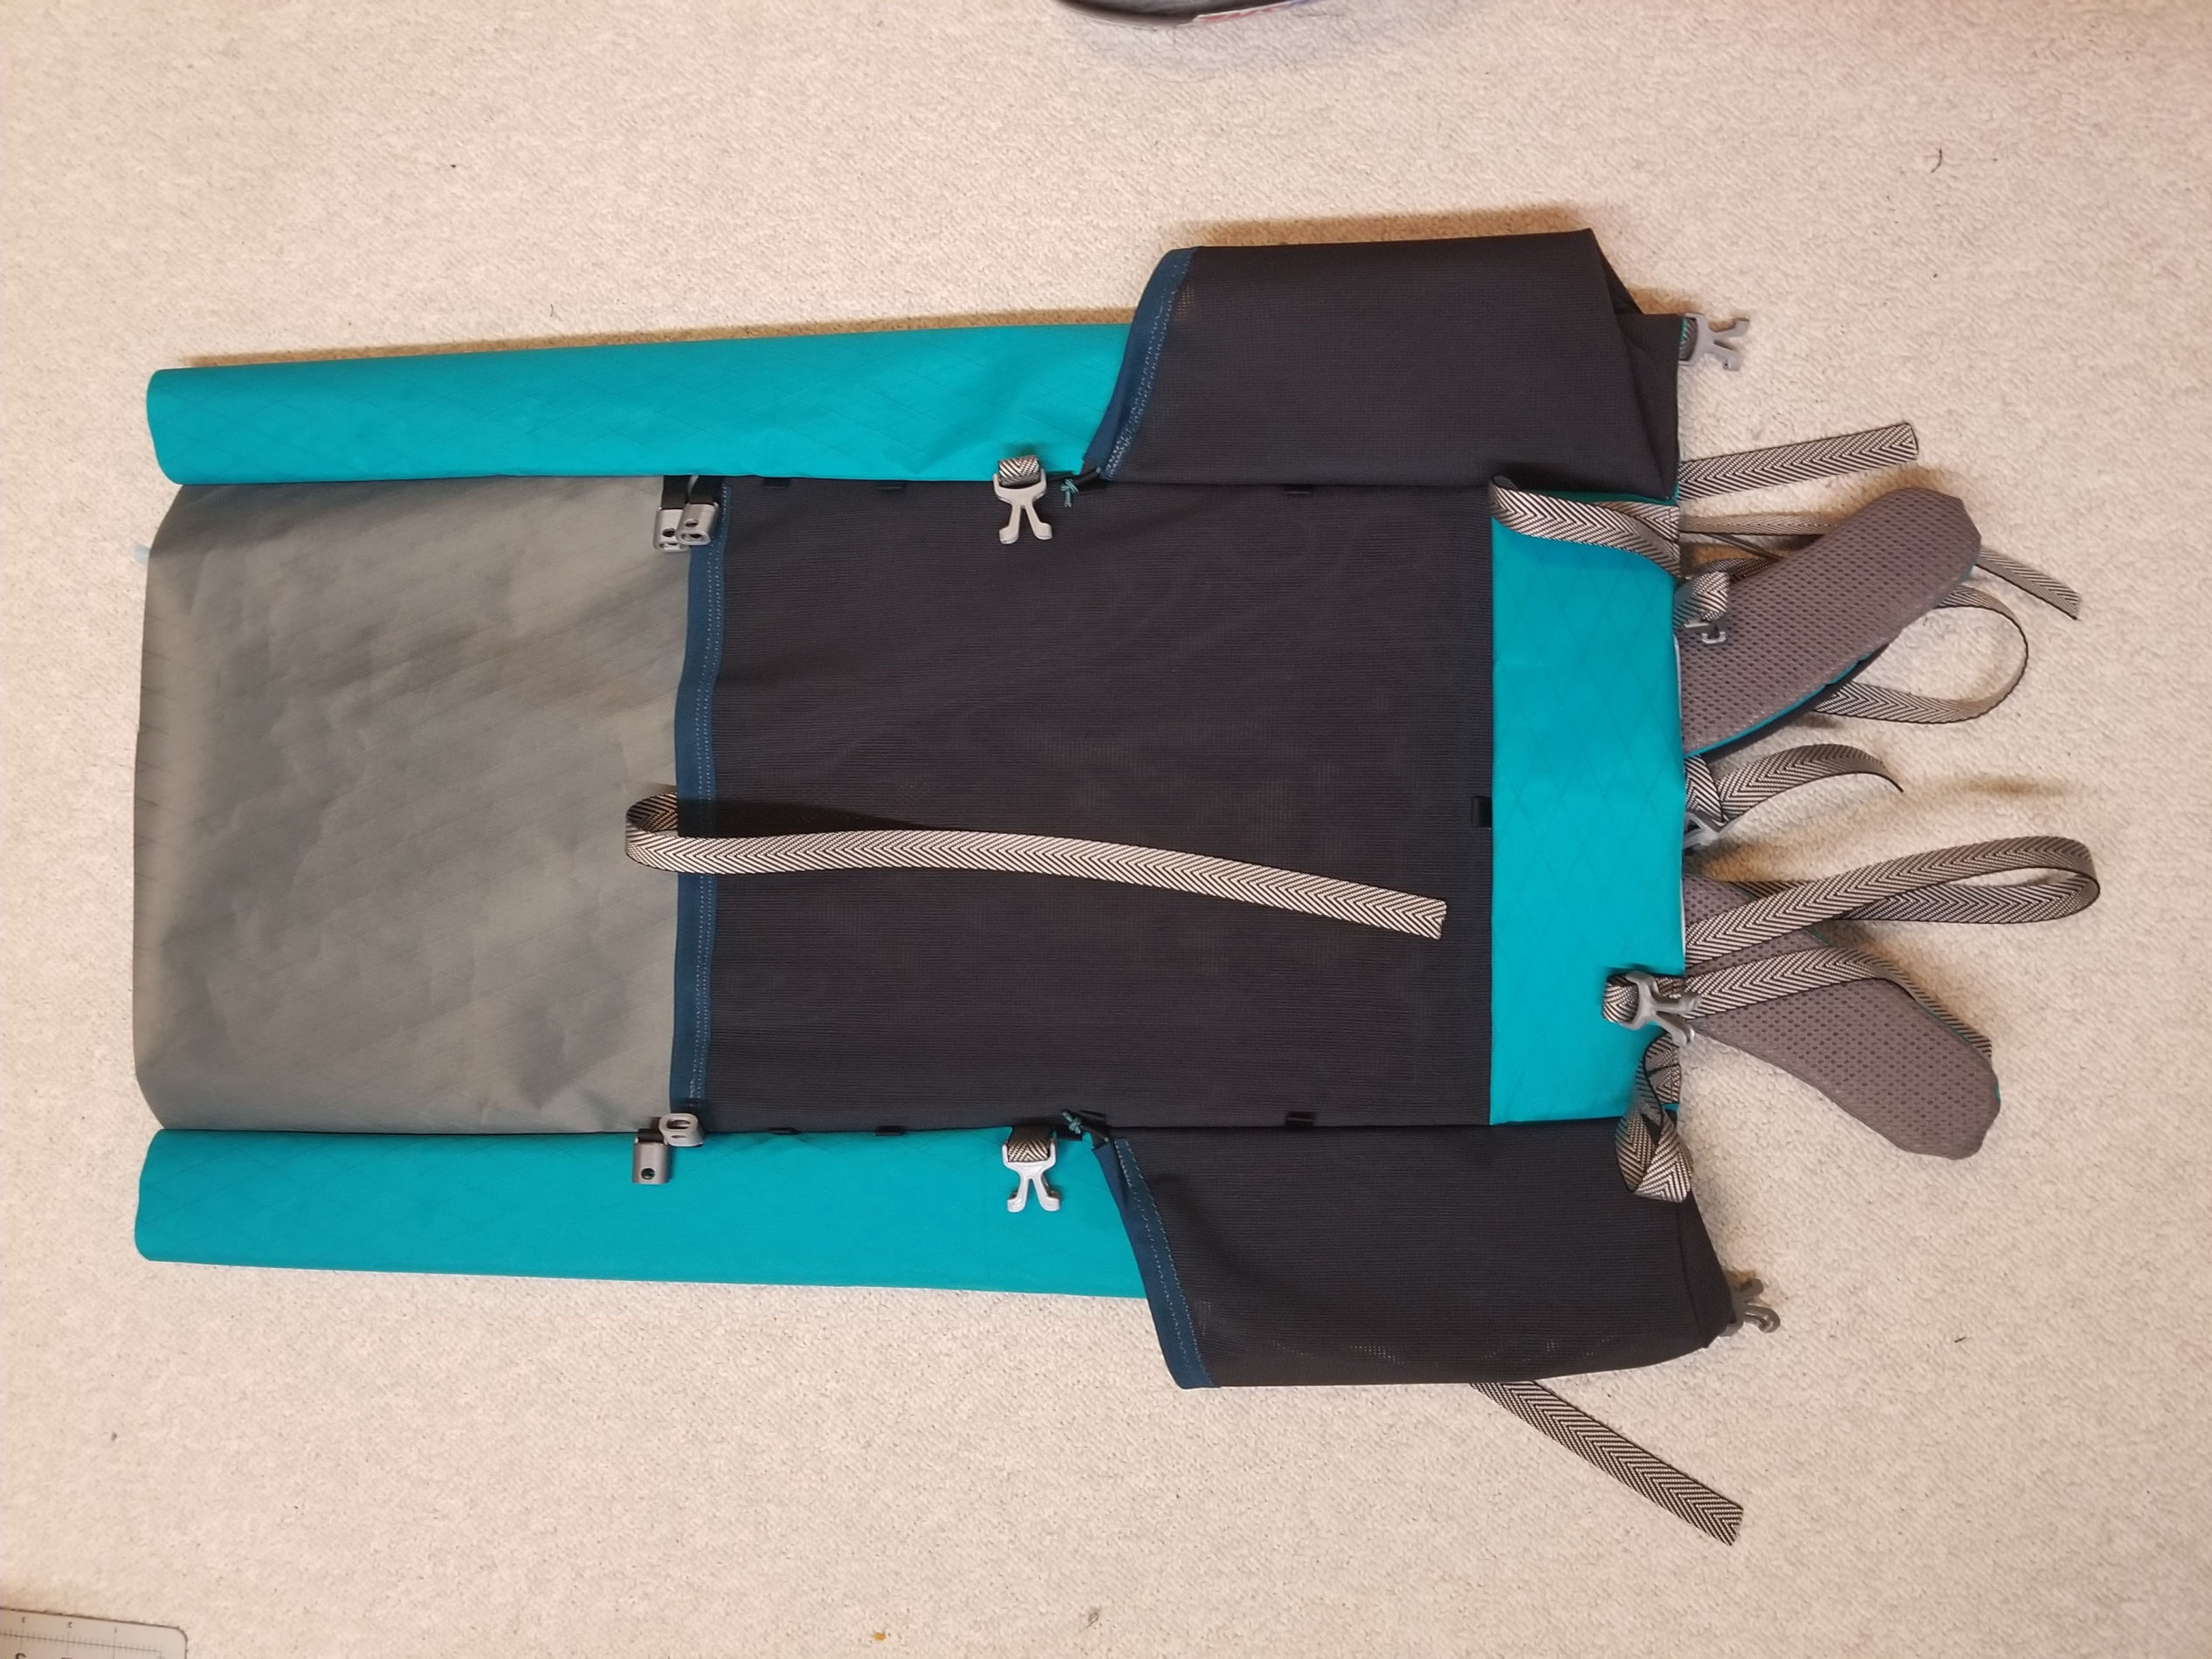
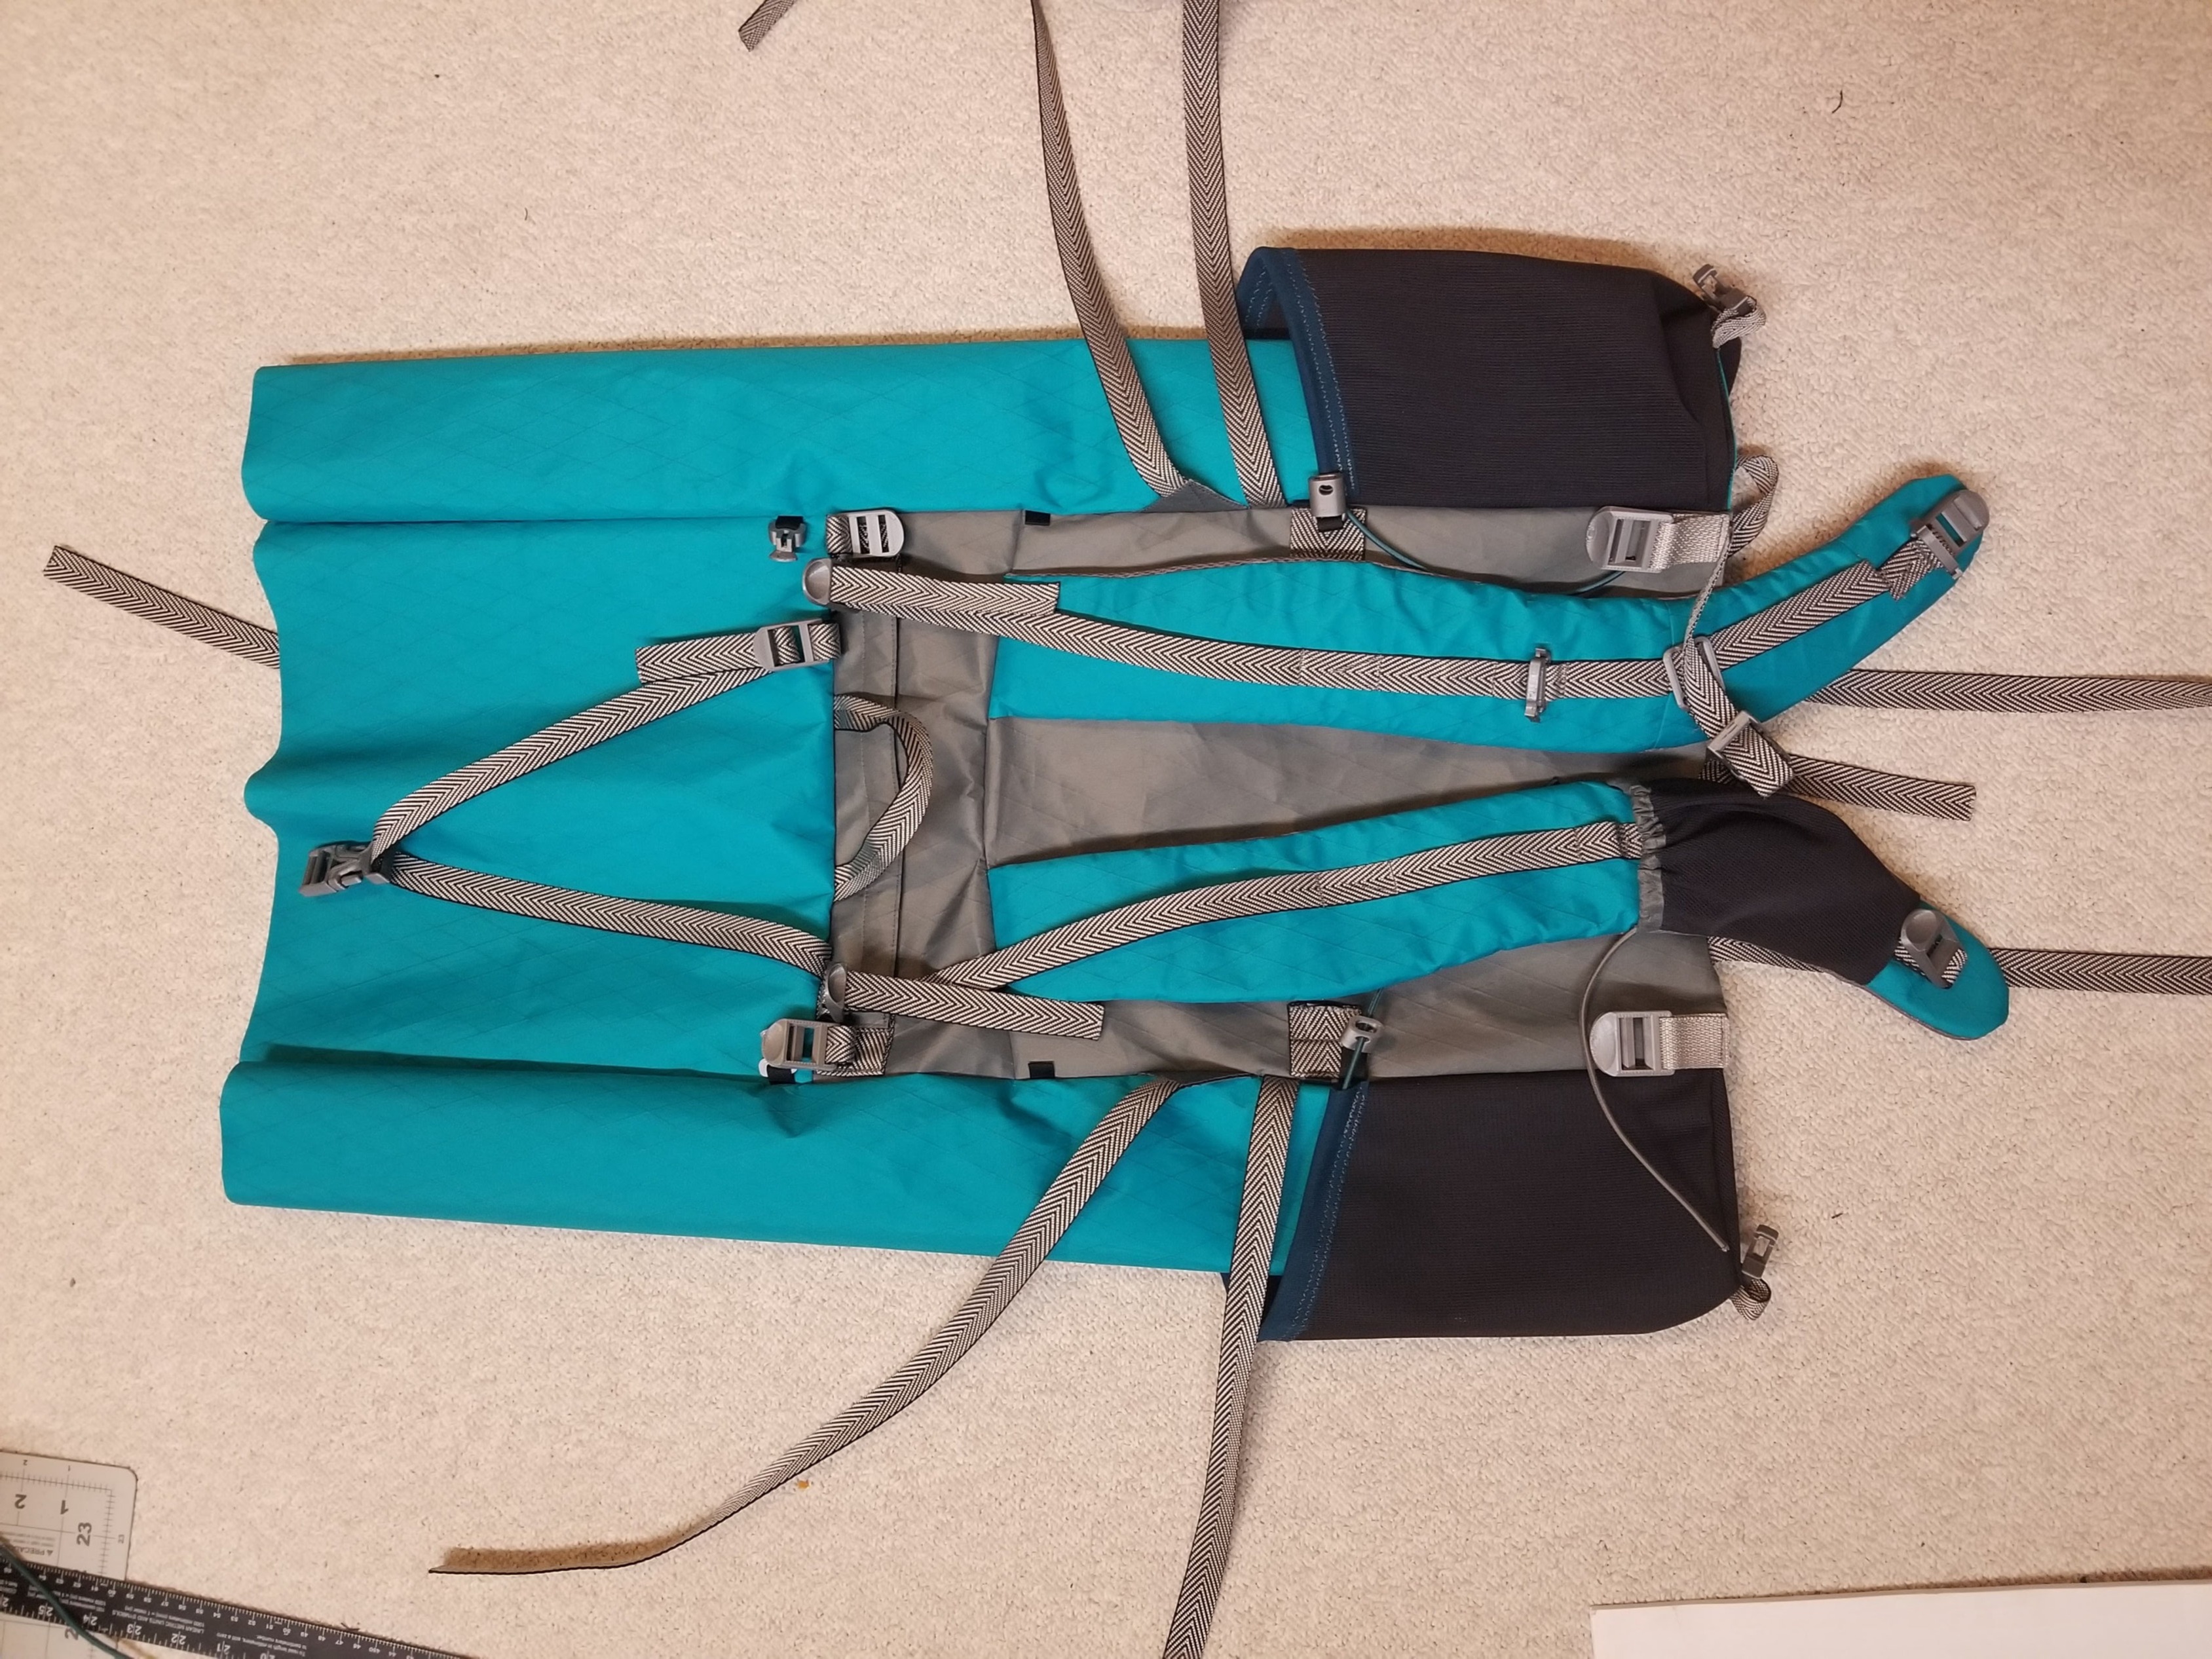
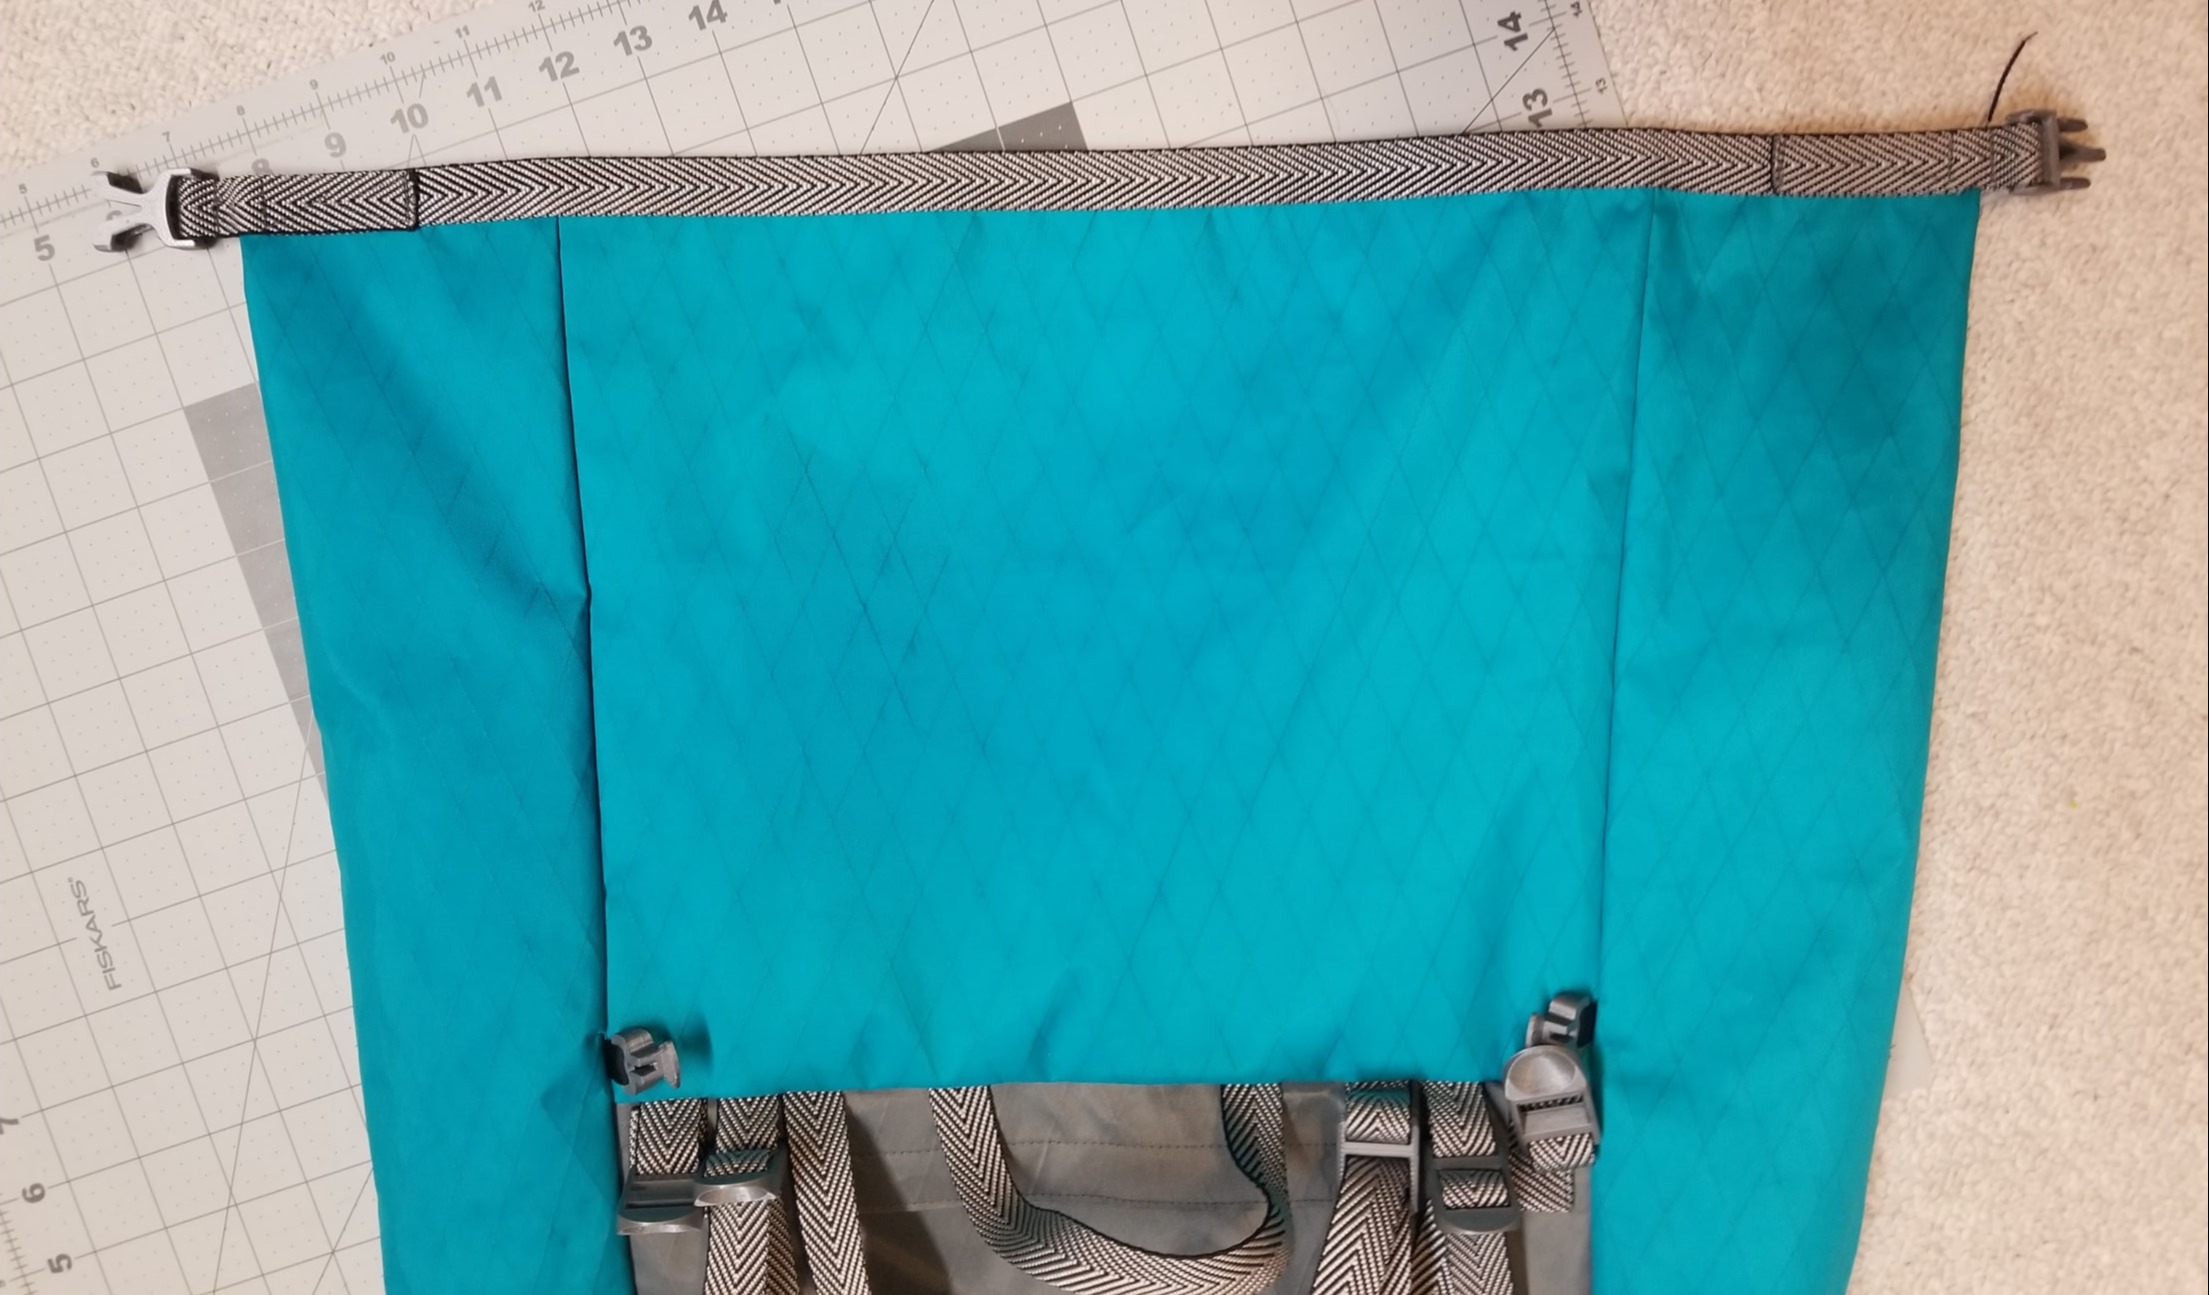
Backpack 2.0

Features

Mobirise

 Incredible Weight Distribution

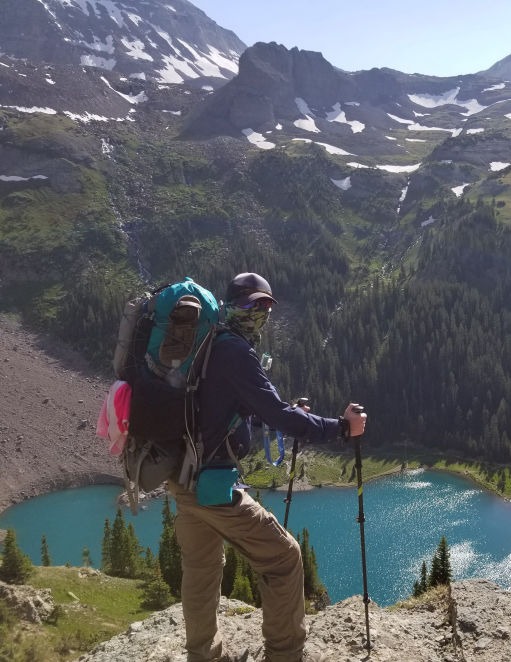
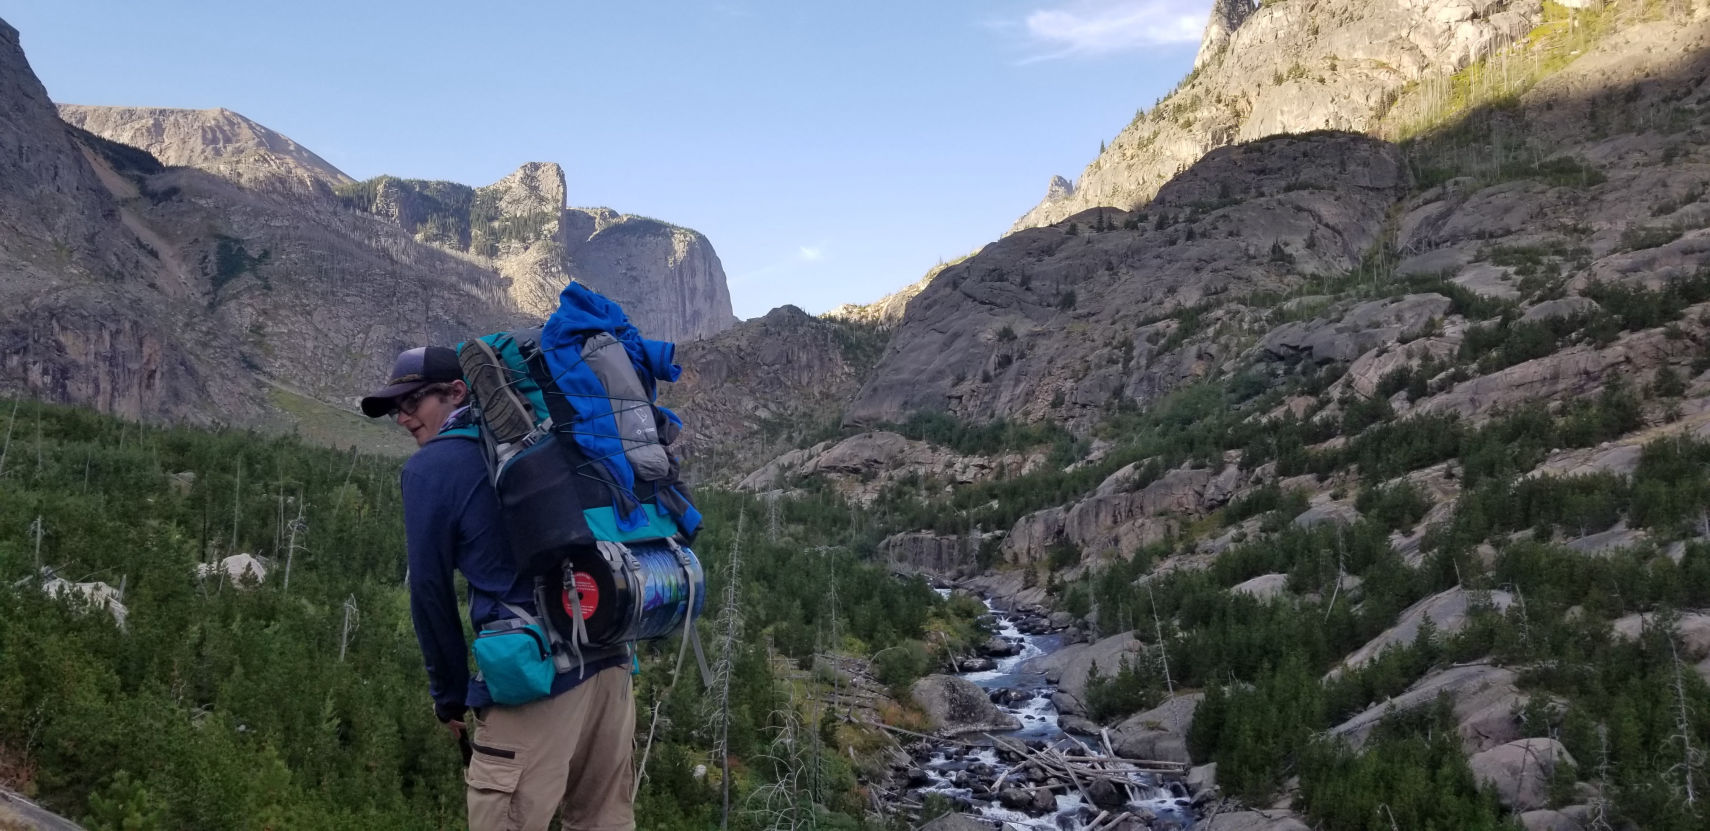
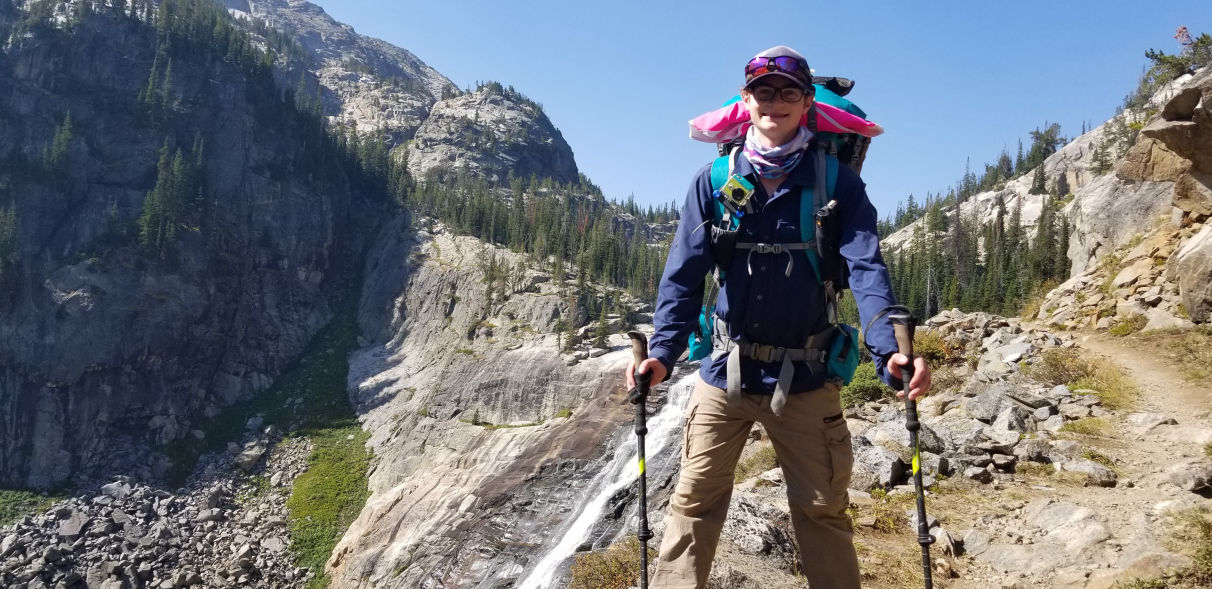
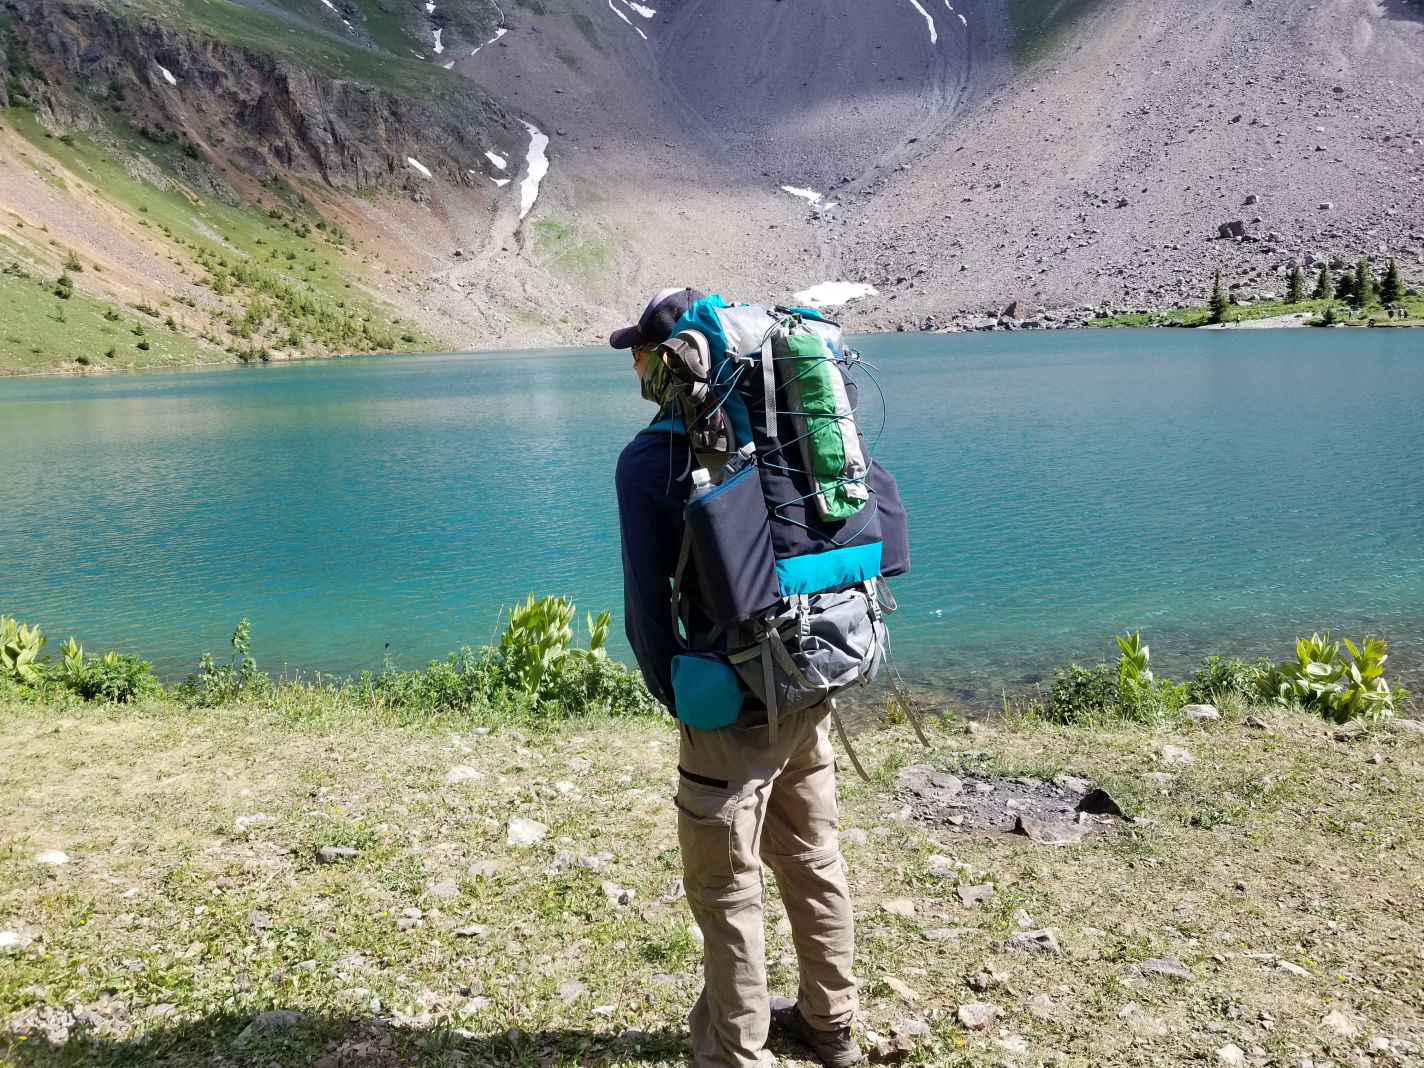
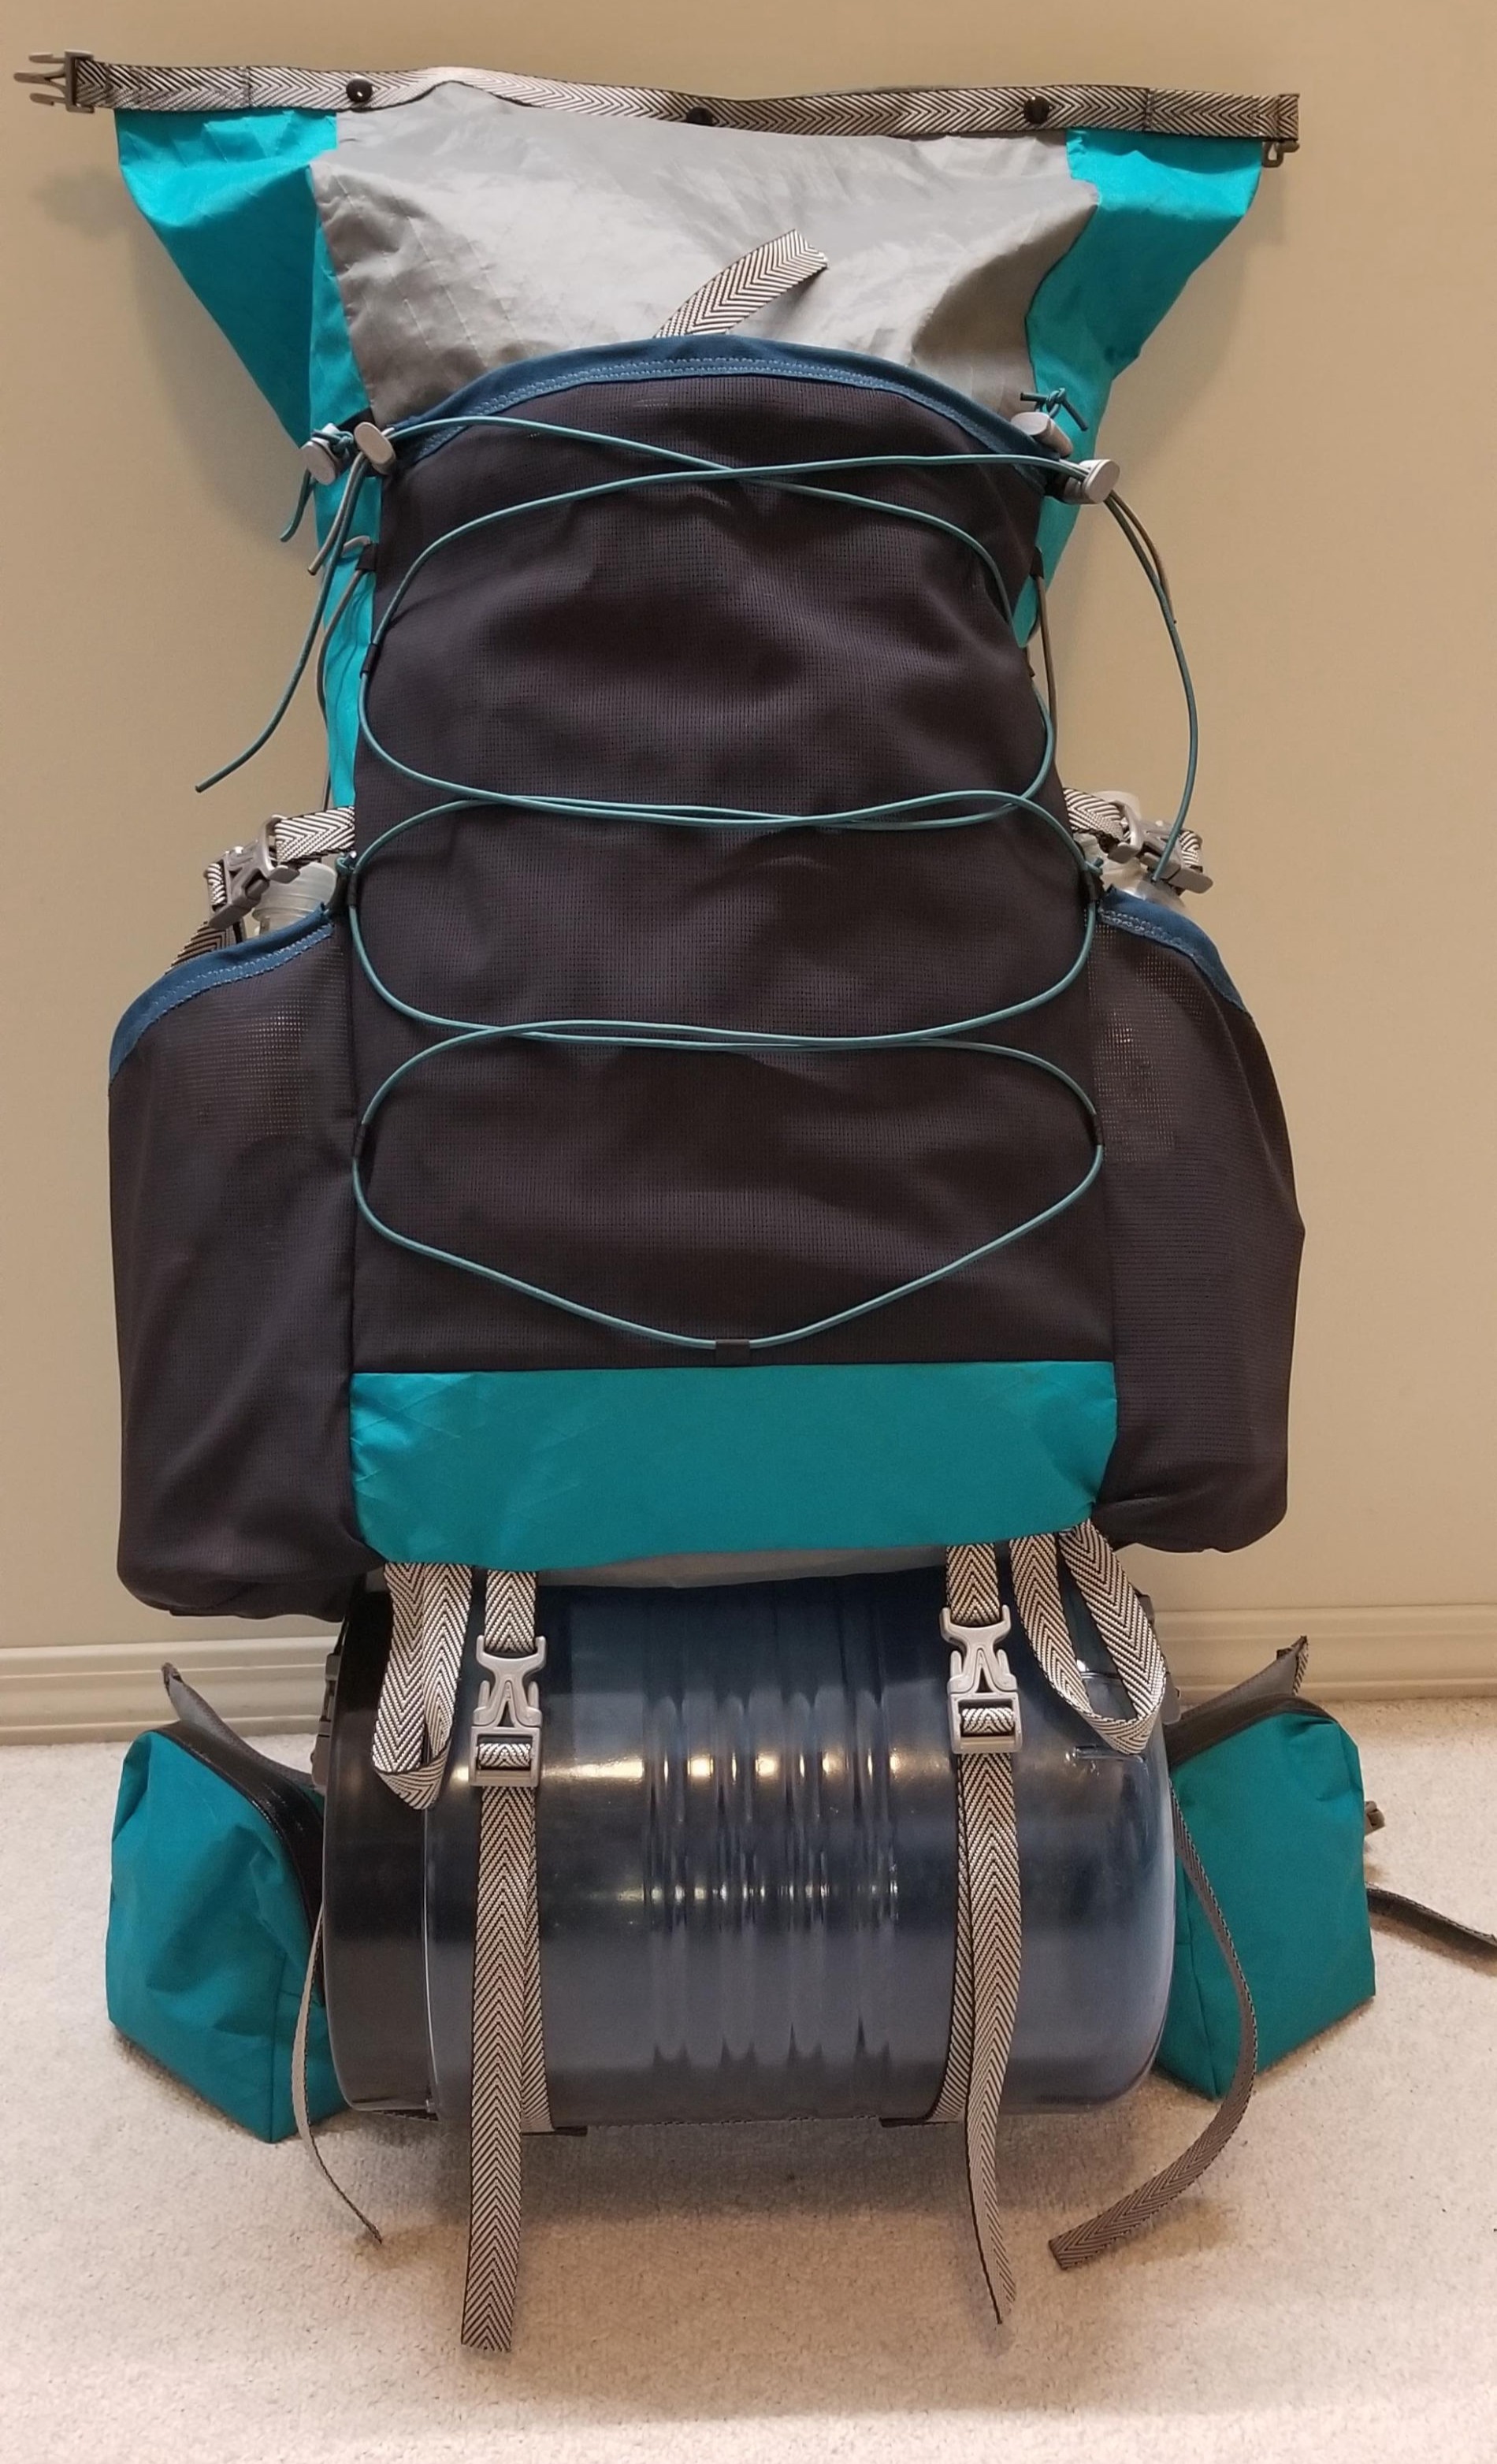
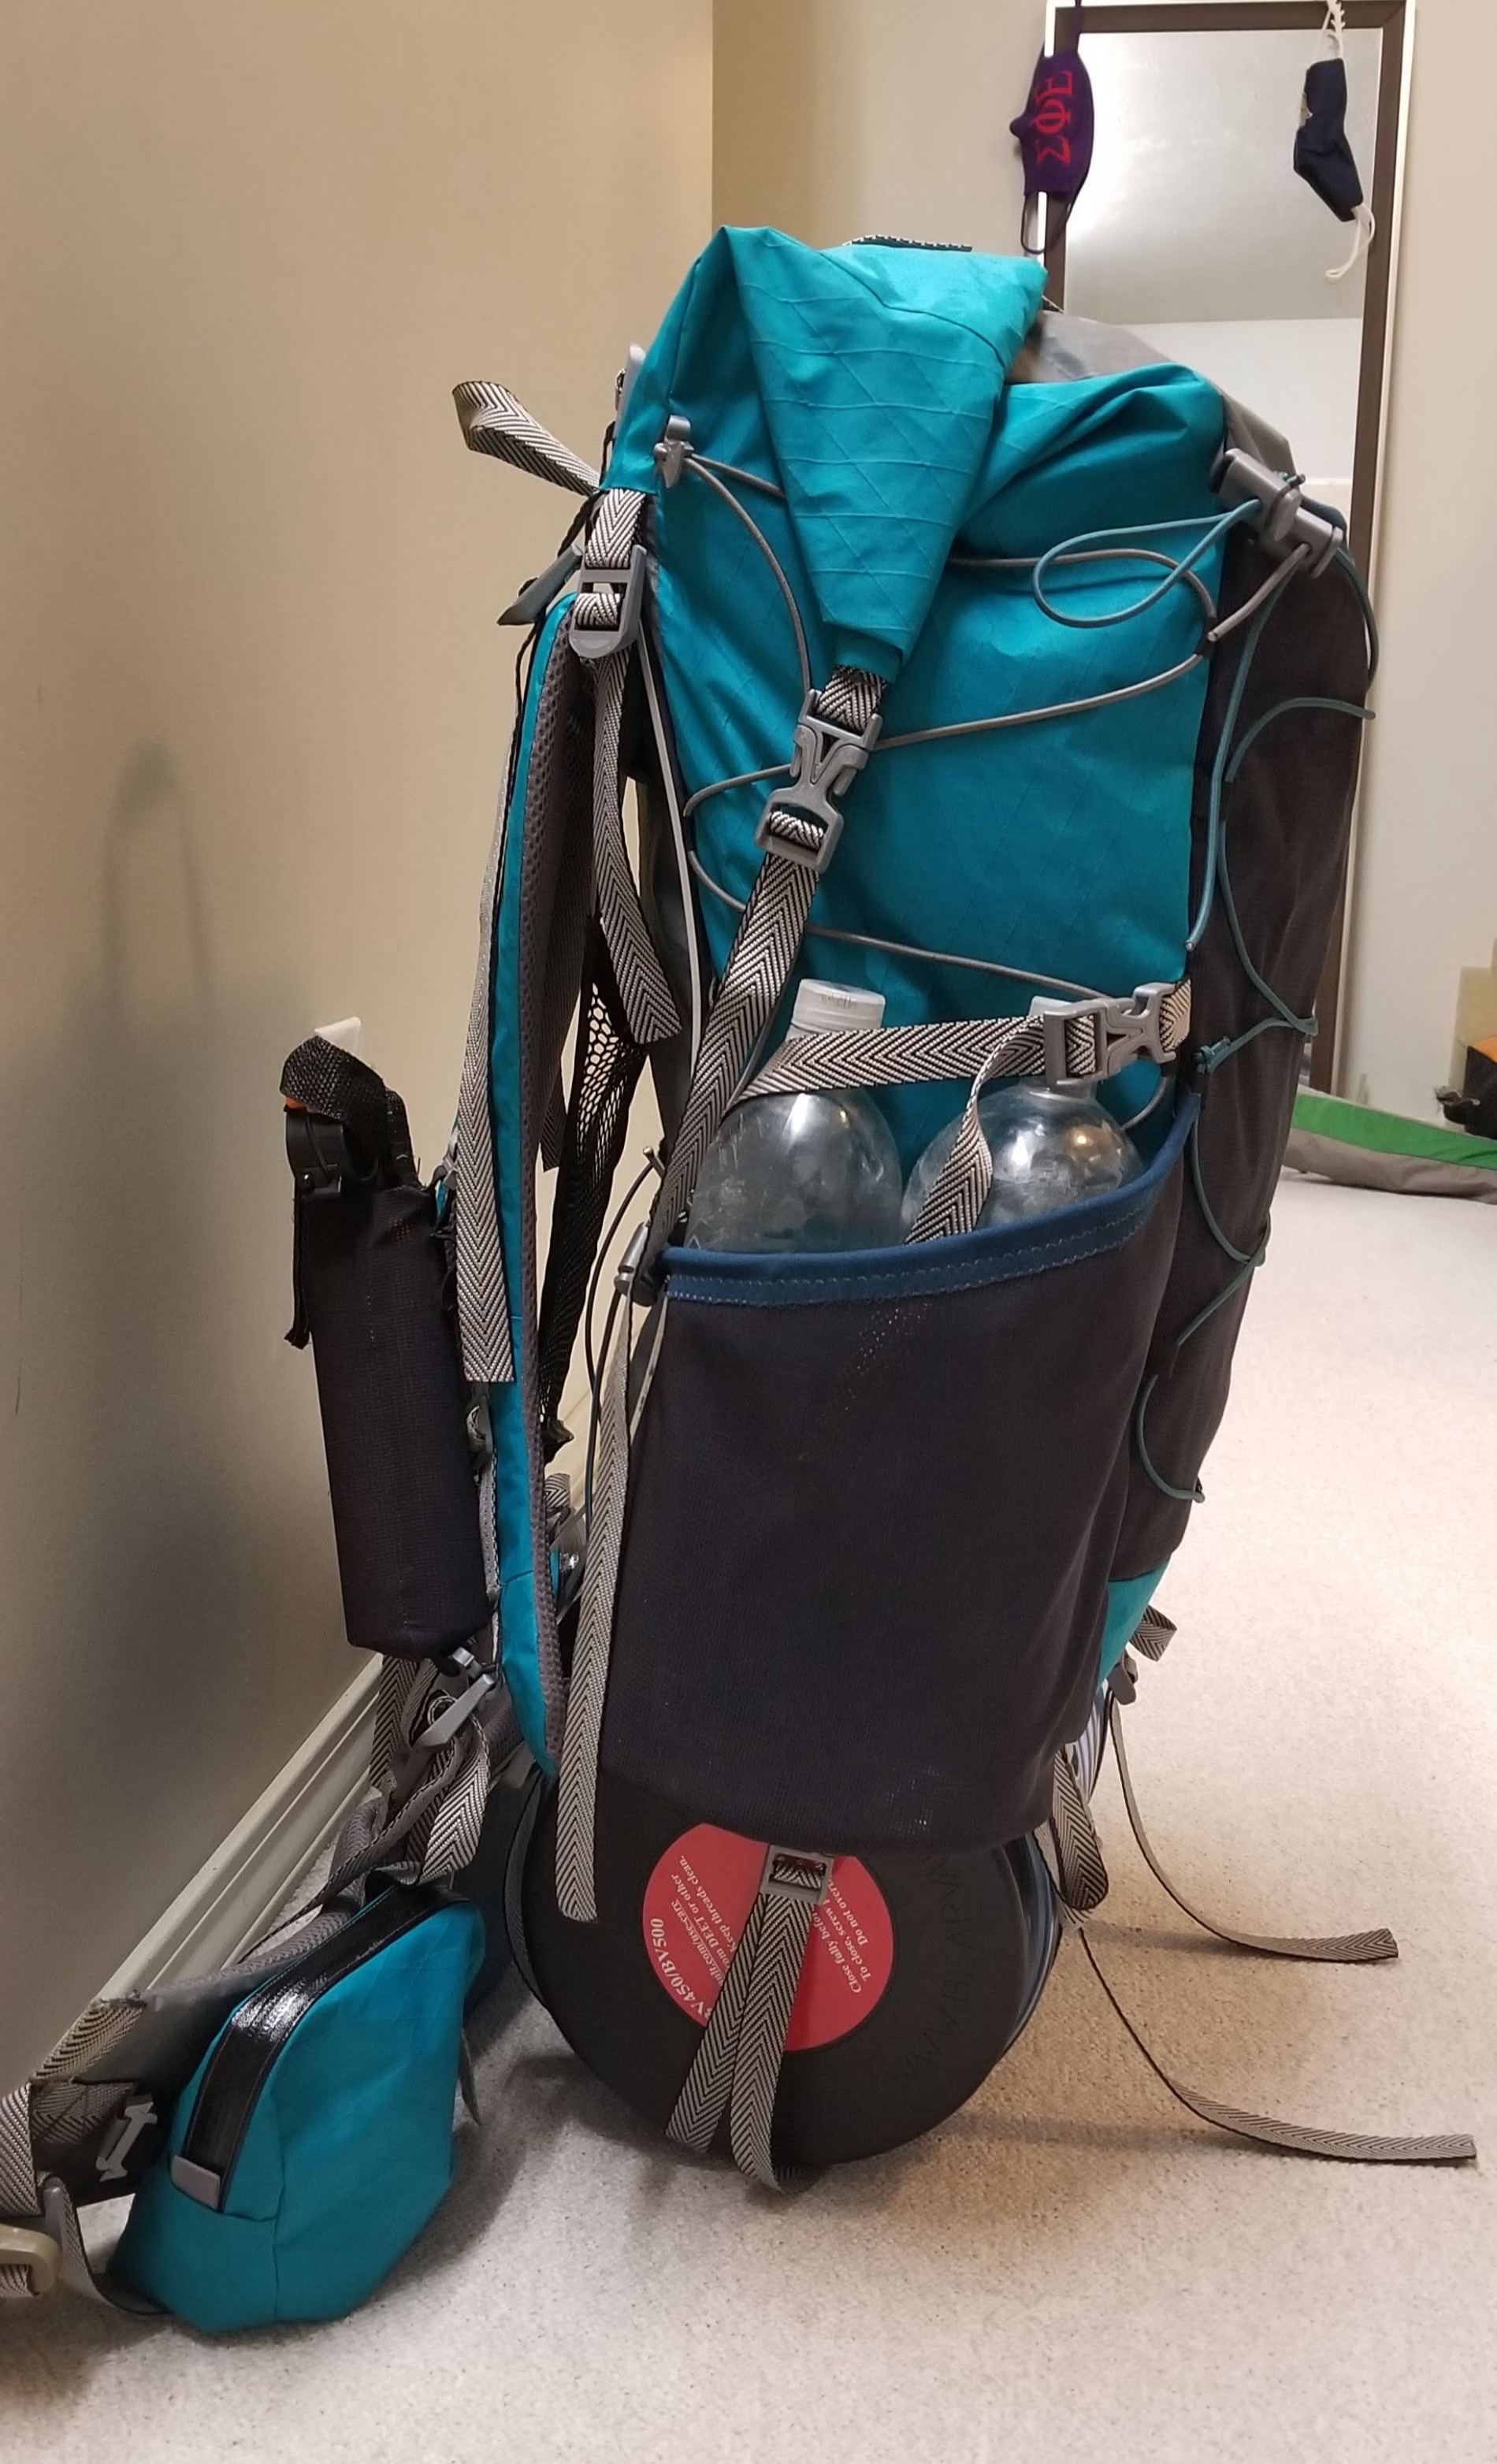
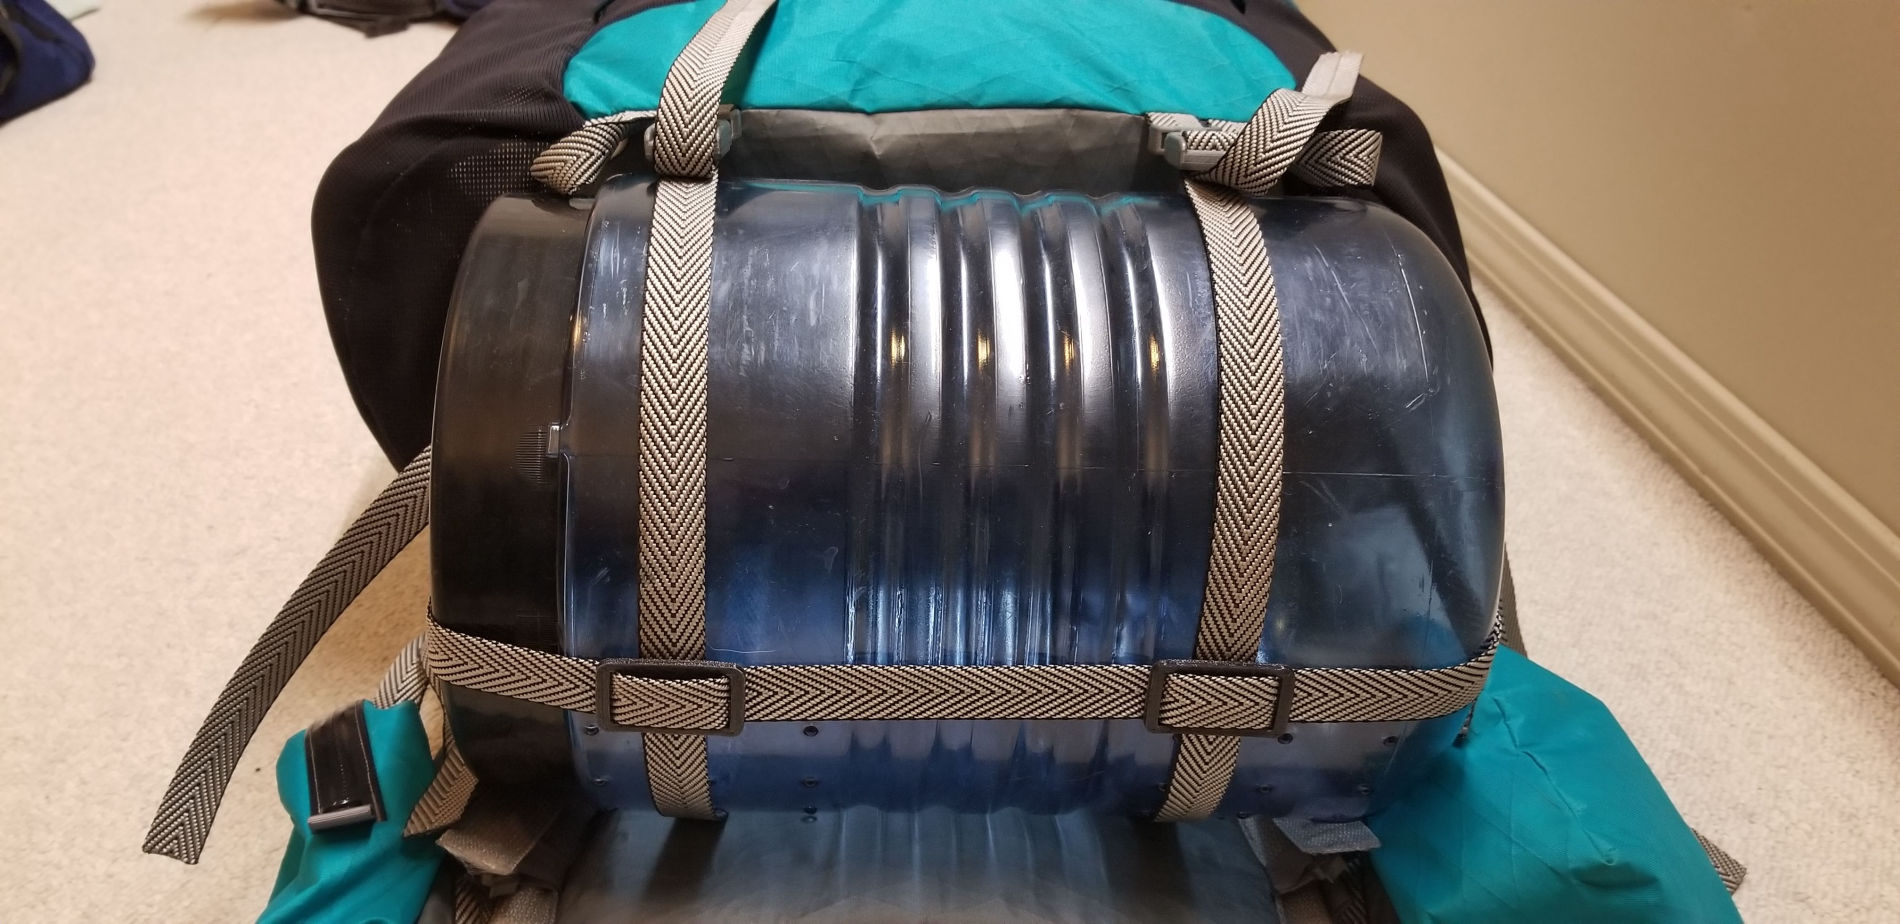
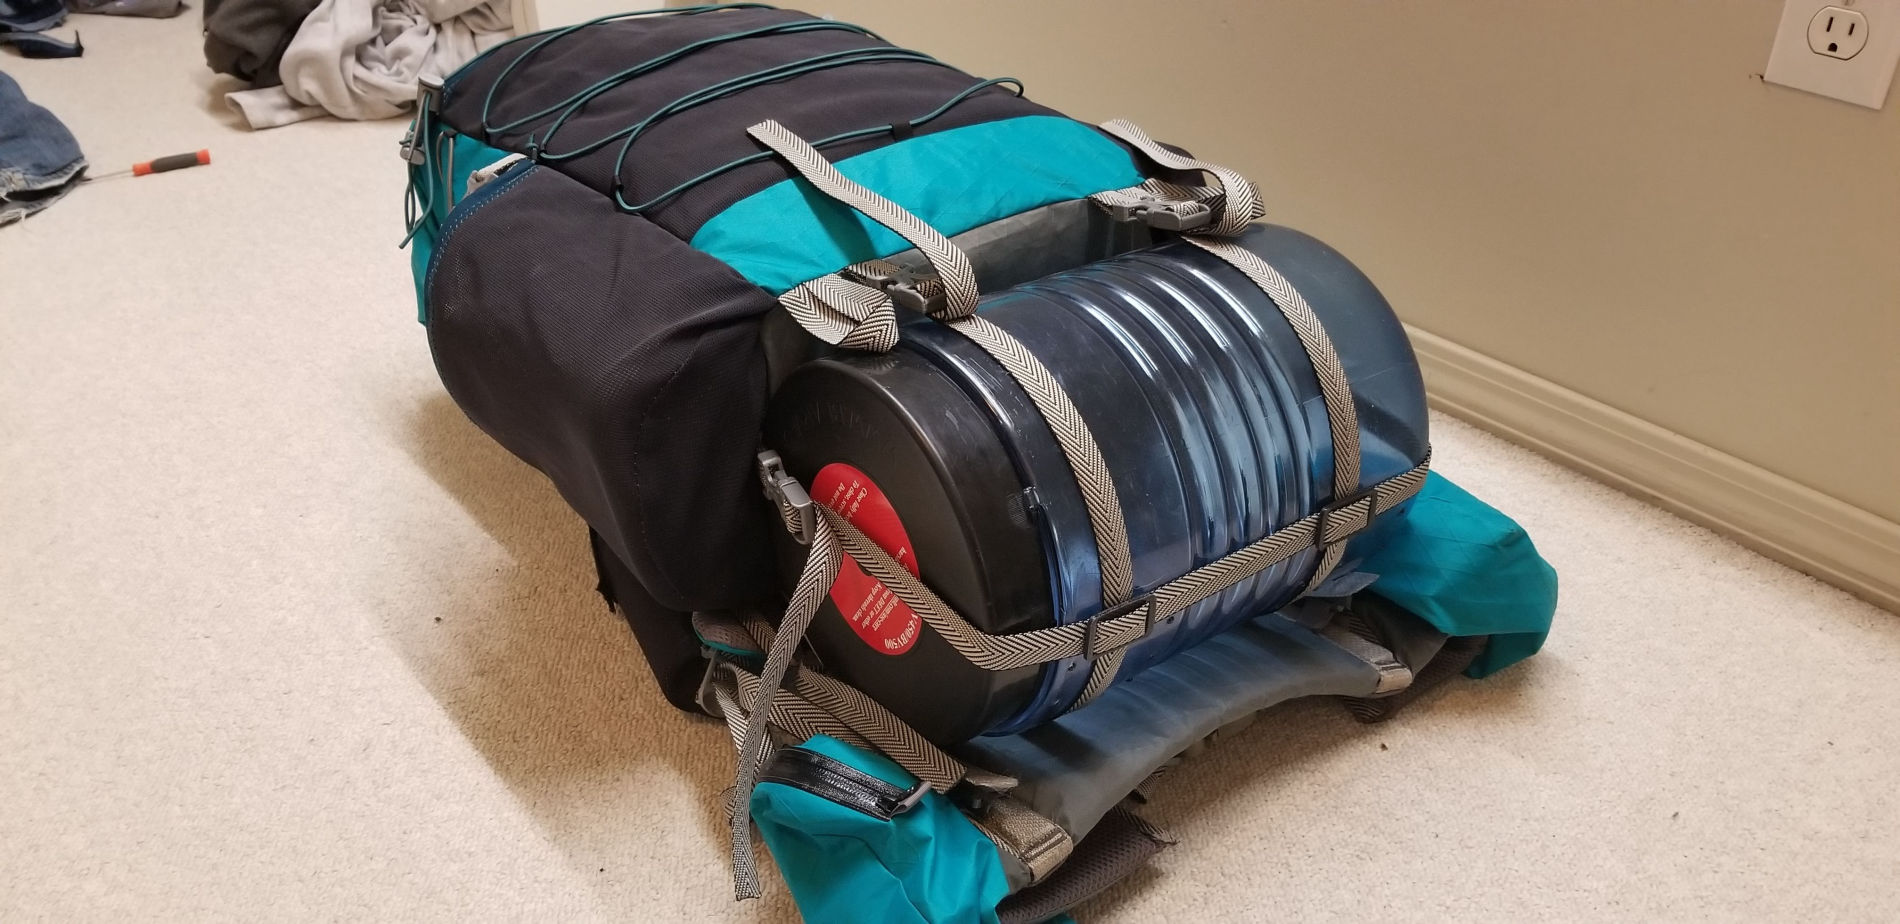
The pack uses an aluminum frame to transfer weight from the backpack directly to the hip belt. In addition, the pack is designed so a bear canister or food bag fits directly at the bottom. Typically this is the heaviest portion of gear in a backpacking setup, so having the heaviest weight at the bottom of the pack and closest to the hip belt allows the pack to distribute weight extremely well.

Mobirise

Awesome Flexible Storage Capacity

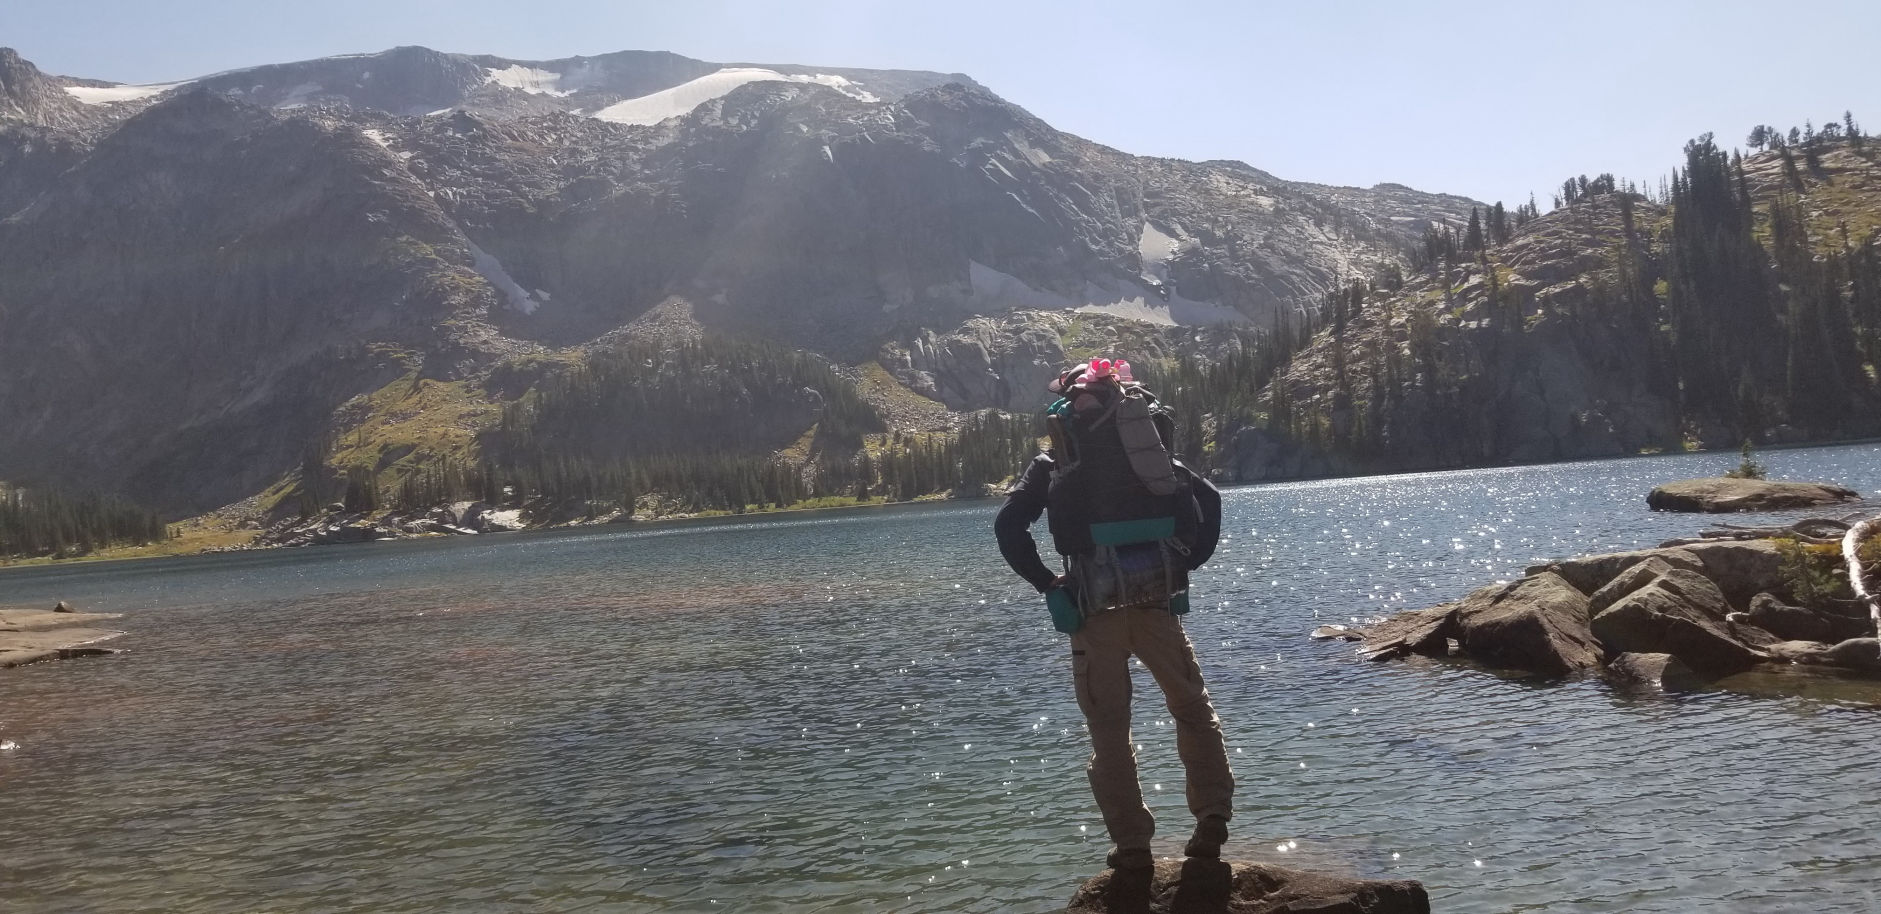
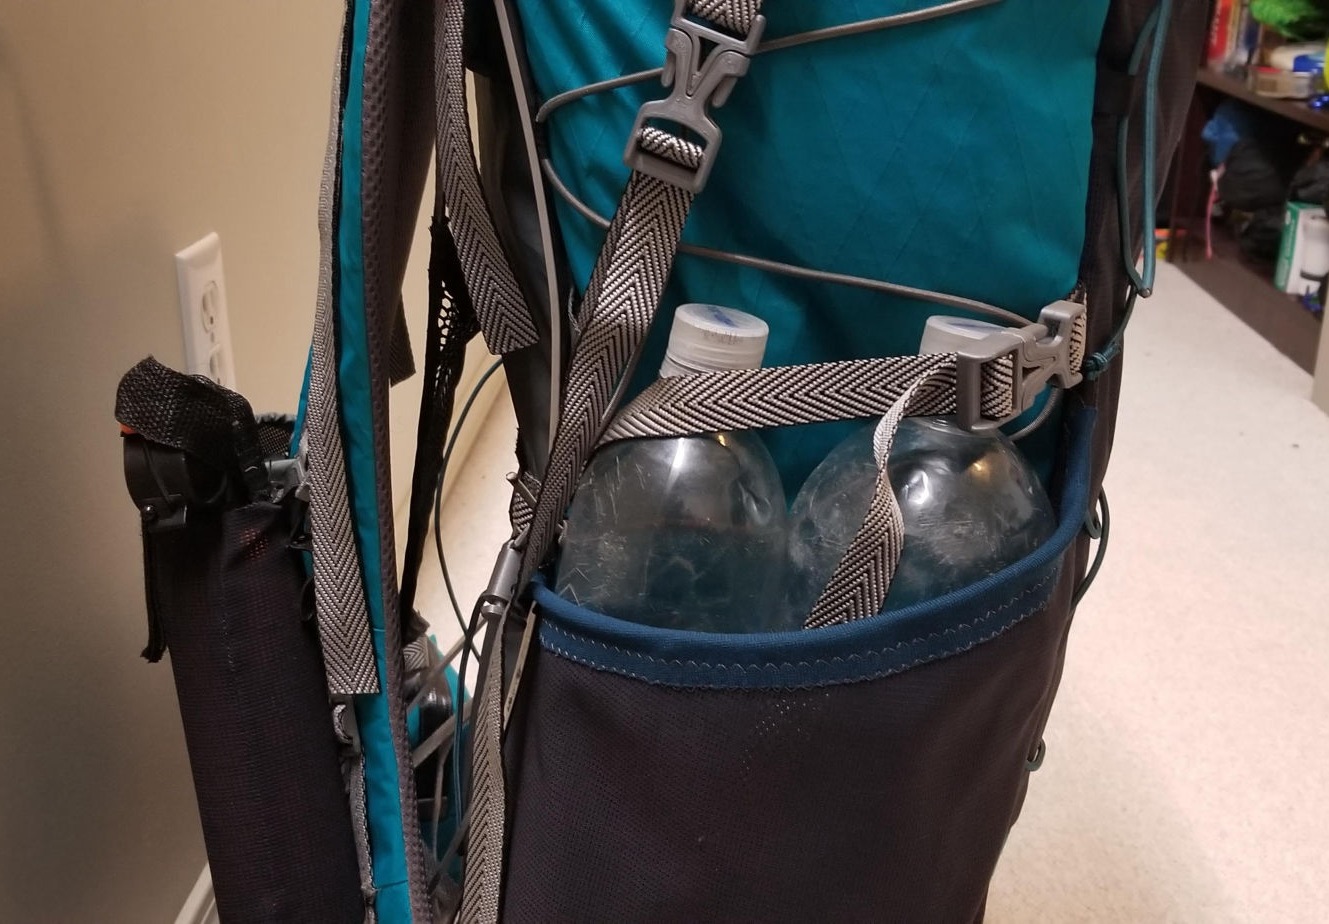
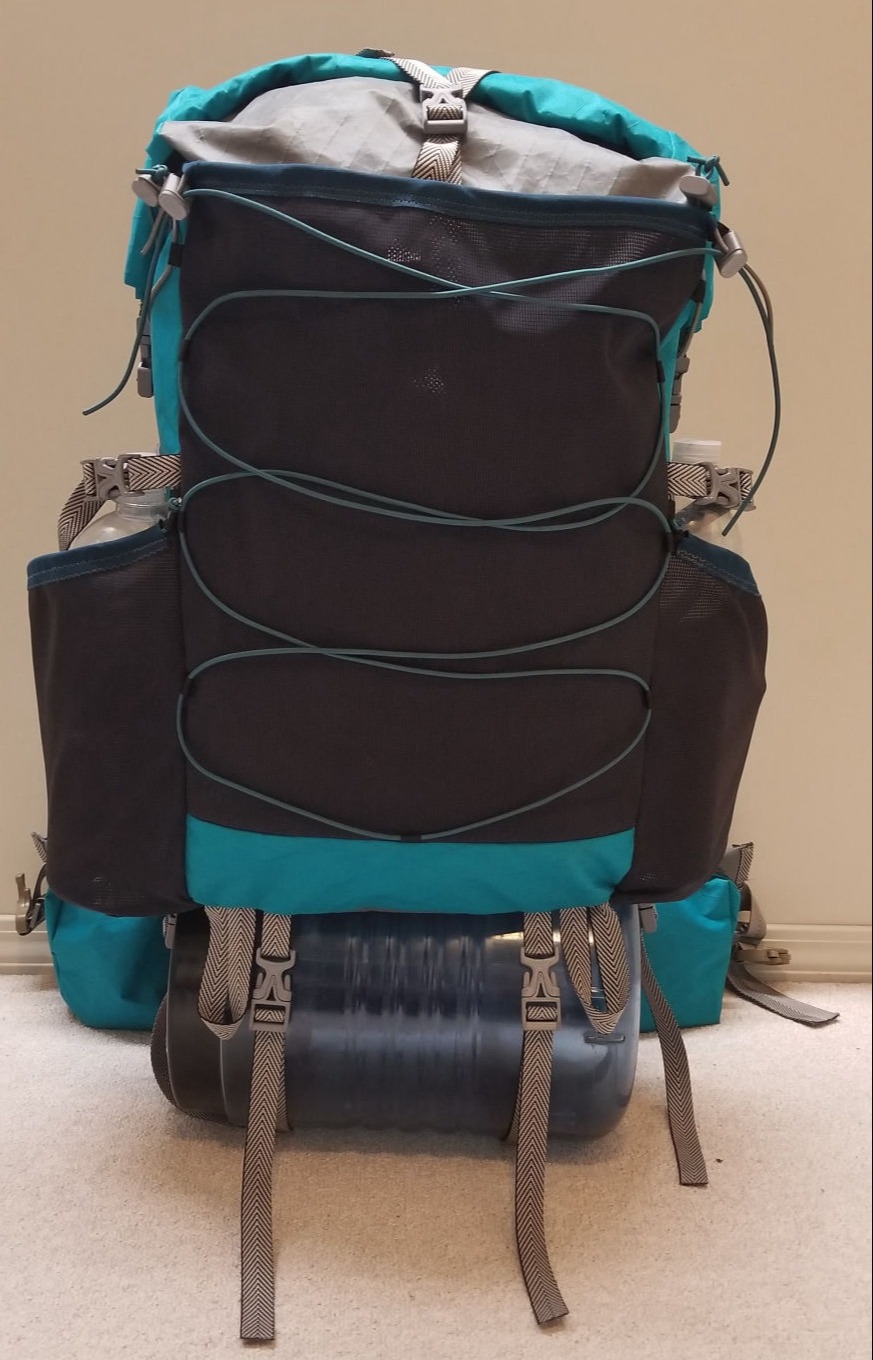
The backpack uses a roll-top construction, allowing variable storage in the main capacity of the pack (35-45L when the roll-top is fully extended and snapped closed). In addition, there is a huge mesh pocket on the front of the pack for items need to be easily accessed, space for a bear canister or food bag to be attached to the bottom of the back (10L), huge side pockets that can carry 3.5L of water and a cooking kit, and hip belt pockets that have tons of space for small gear!

Insanely
Ventilated and Lightweight

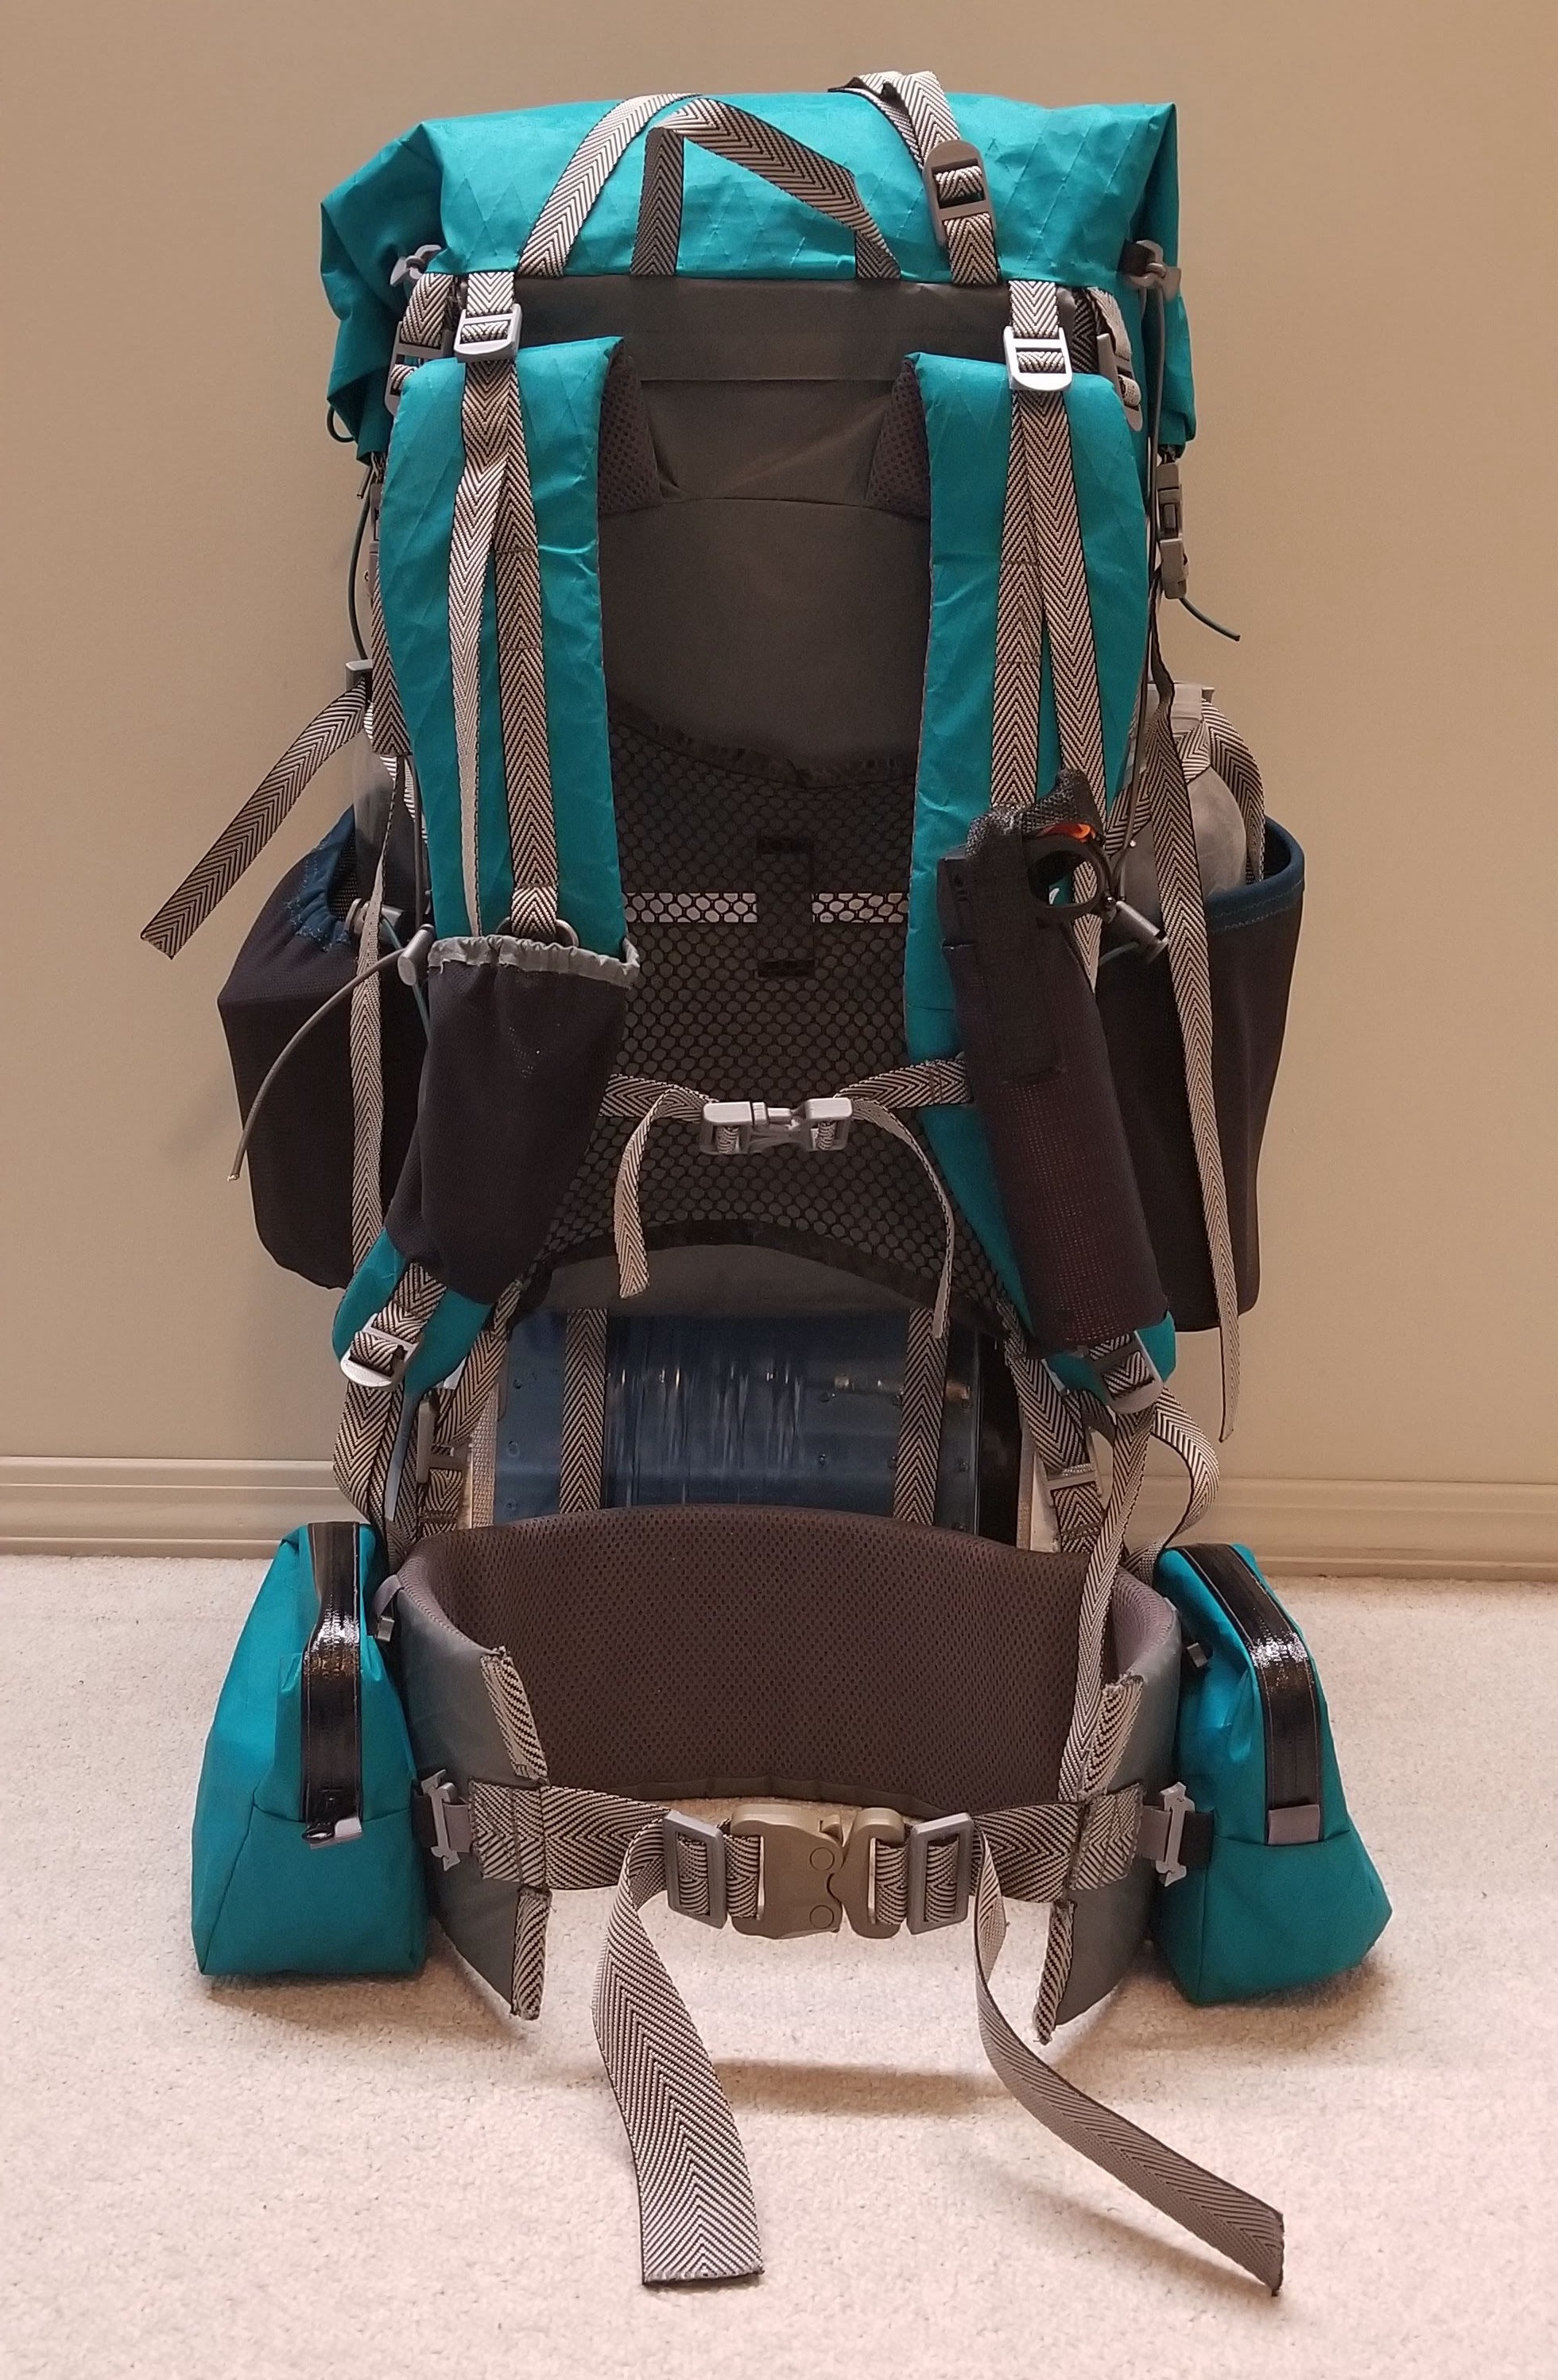
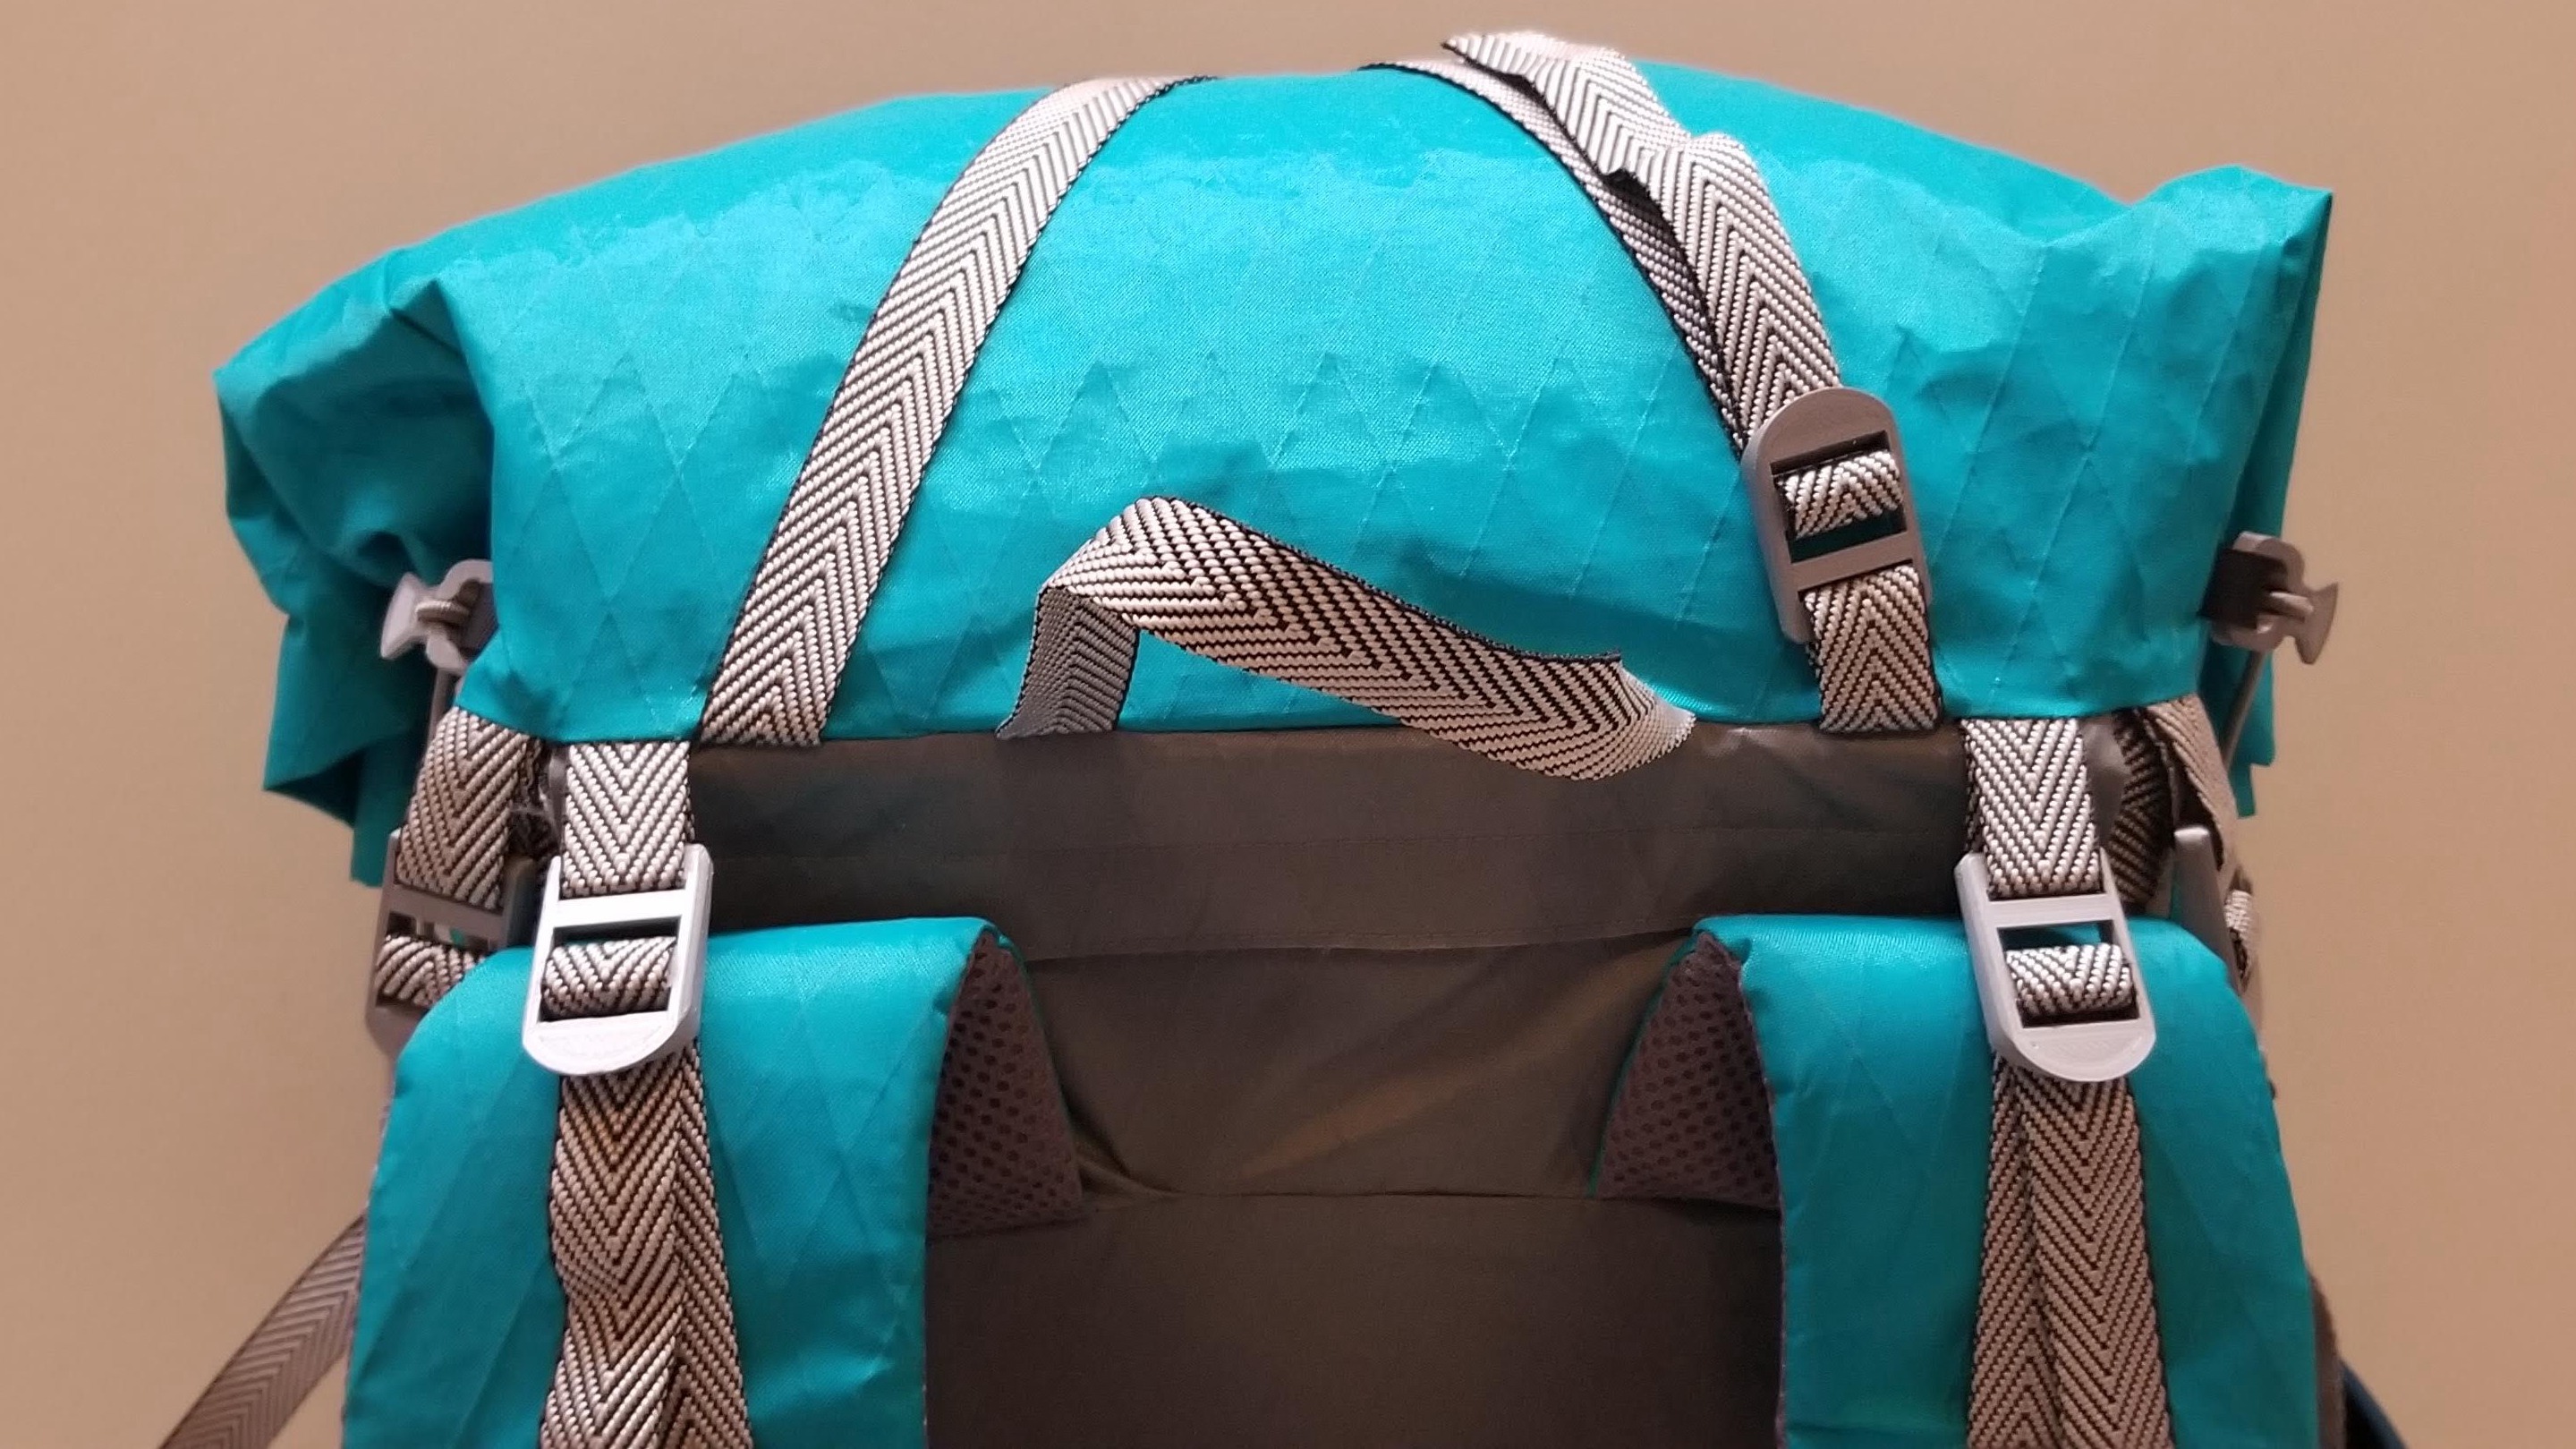
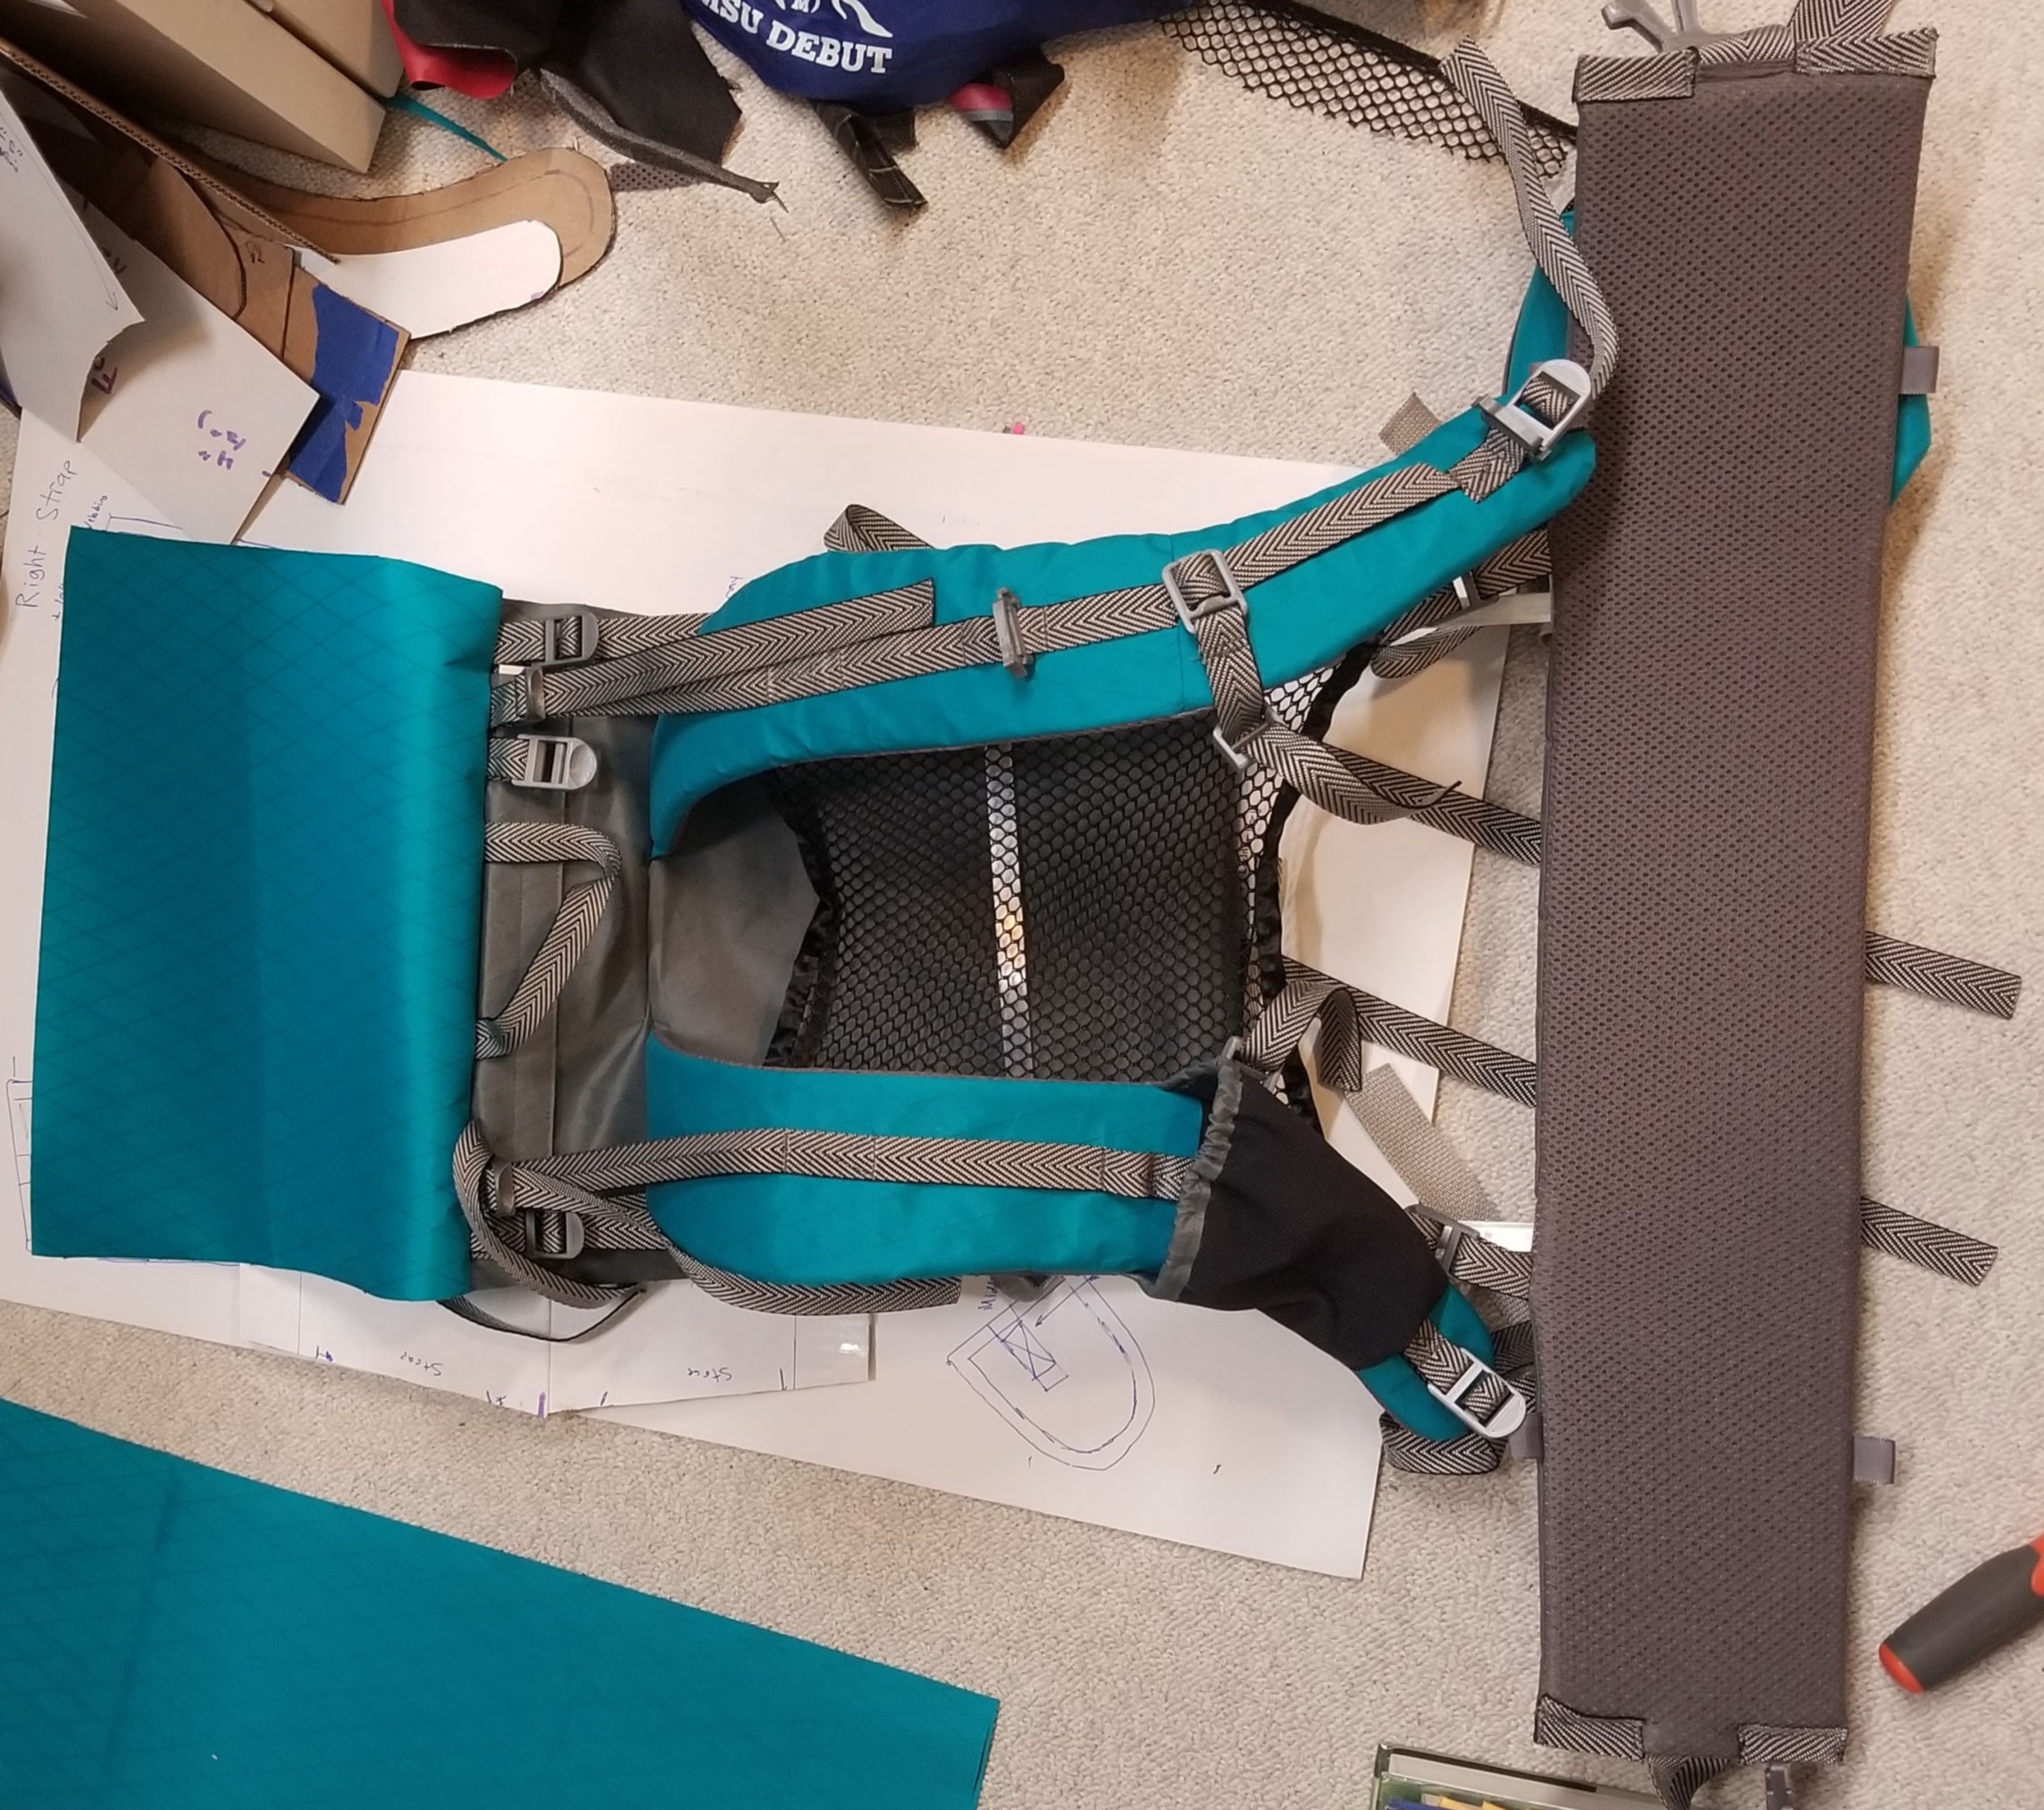
The backpack utilizes a mesh back suspension, which separates the back of the pack from the back of the user, allowing airflow and breathability while also keeping the pack fitting snugly on the back. The result is a backpack that is extremely mold-able to the back of the user. The total weight of the pack is 36 ounces.

Showcase

Finished Pack Details

Changes Made

  1. Material - The prototype was sewn with mainly an inexpensive, semi-stretchy fabric that was coated with vinyl on one side; along with other inexpensive "mesh" fabrics. The second version utilizes X-Pac VX21 fabric, which is extremely durable, waterproof, and lightweight. In addition, Duraweave stretch fabric was used for pockets, 3D-spacer mesh was used for the shoulder straps and hip pad, and 1/4" mesh was used for the back suspension.
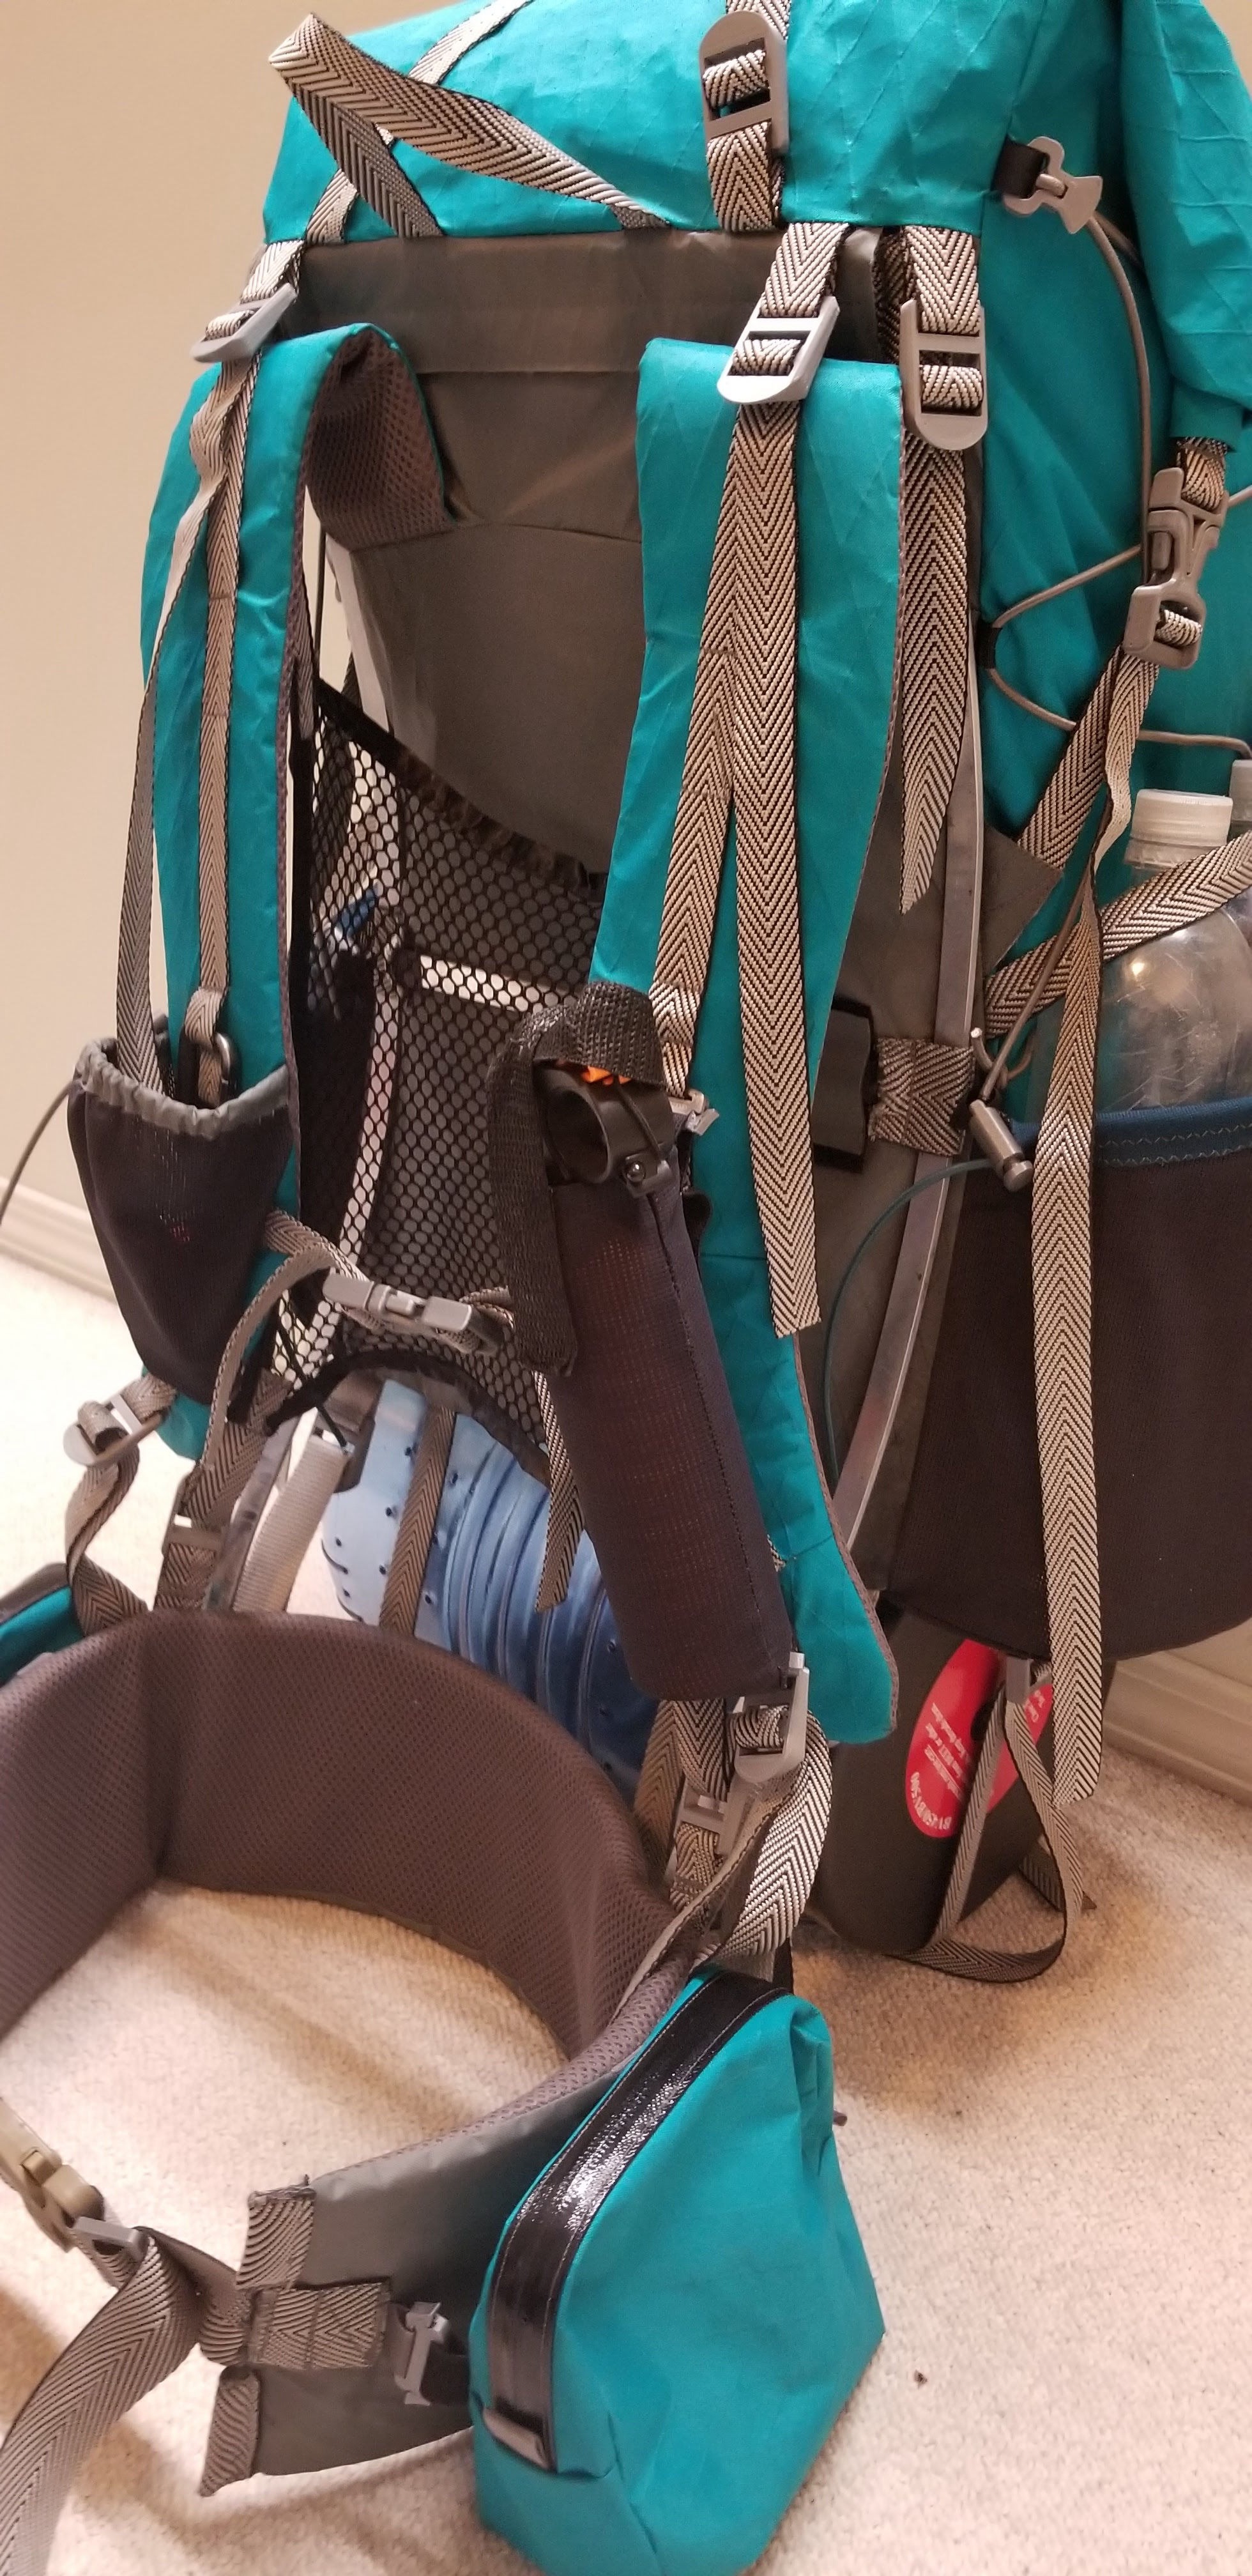
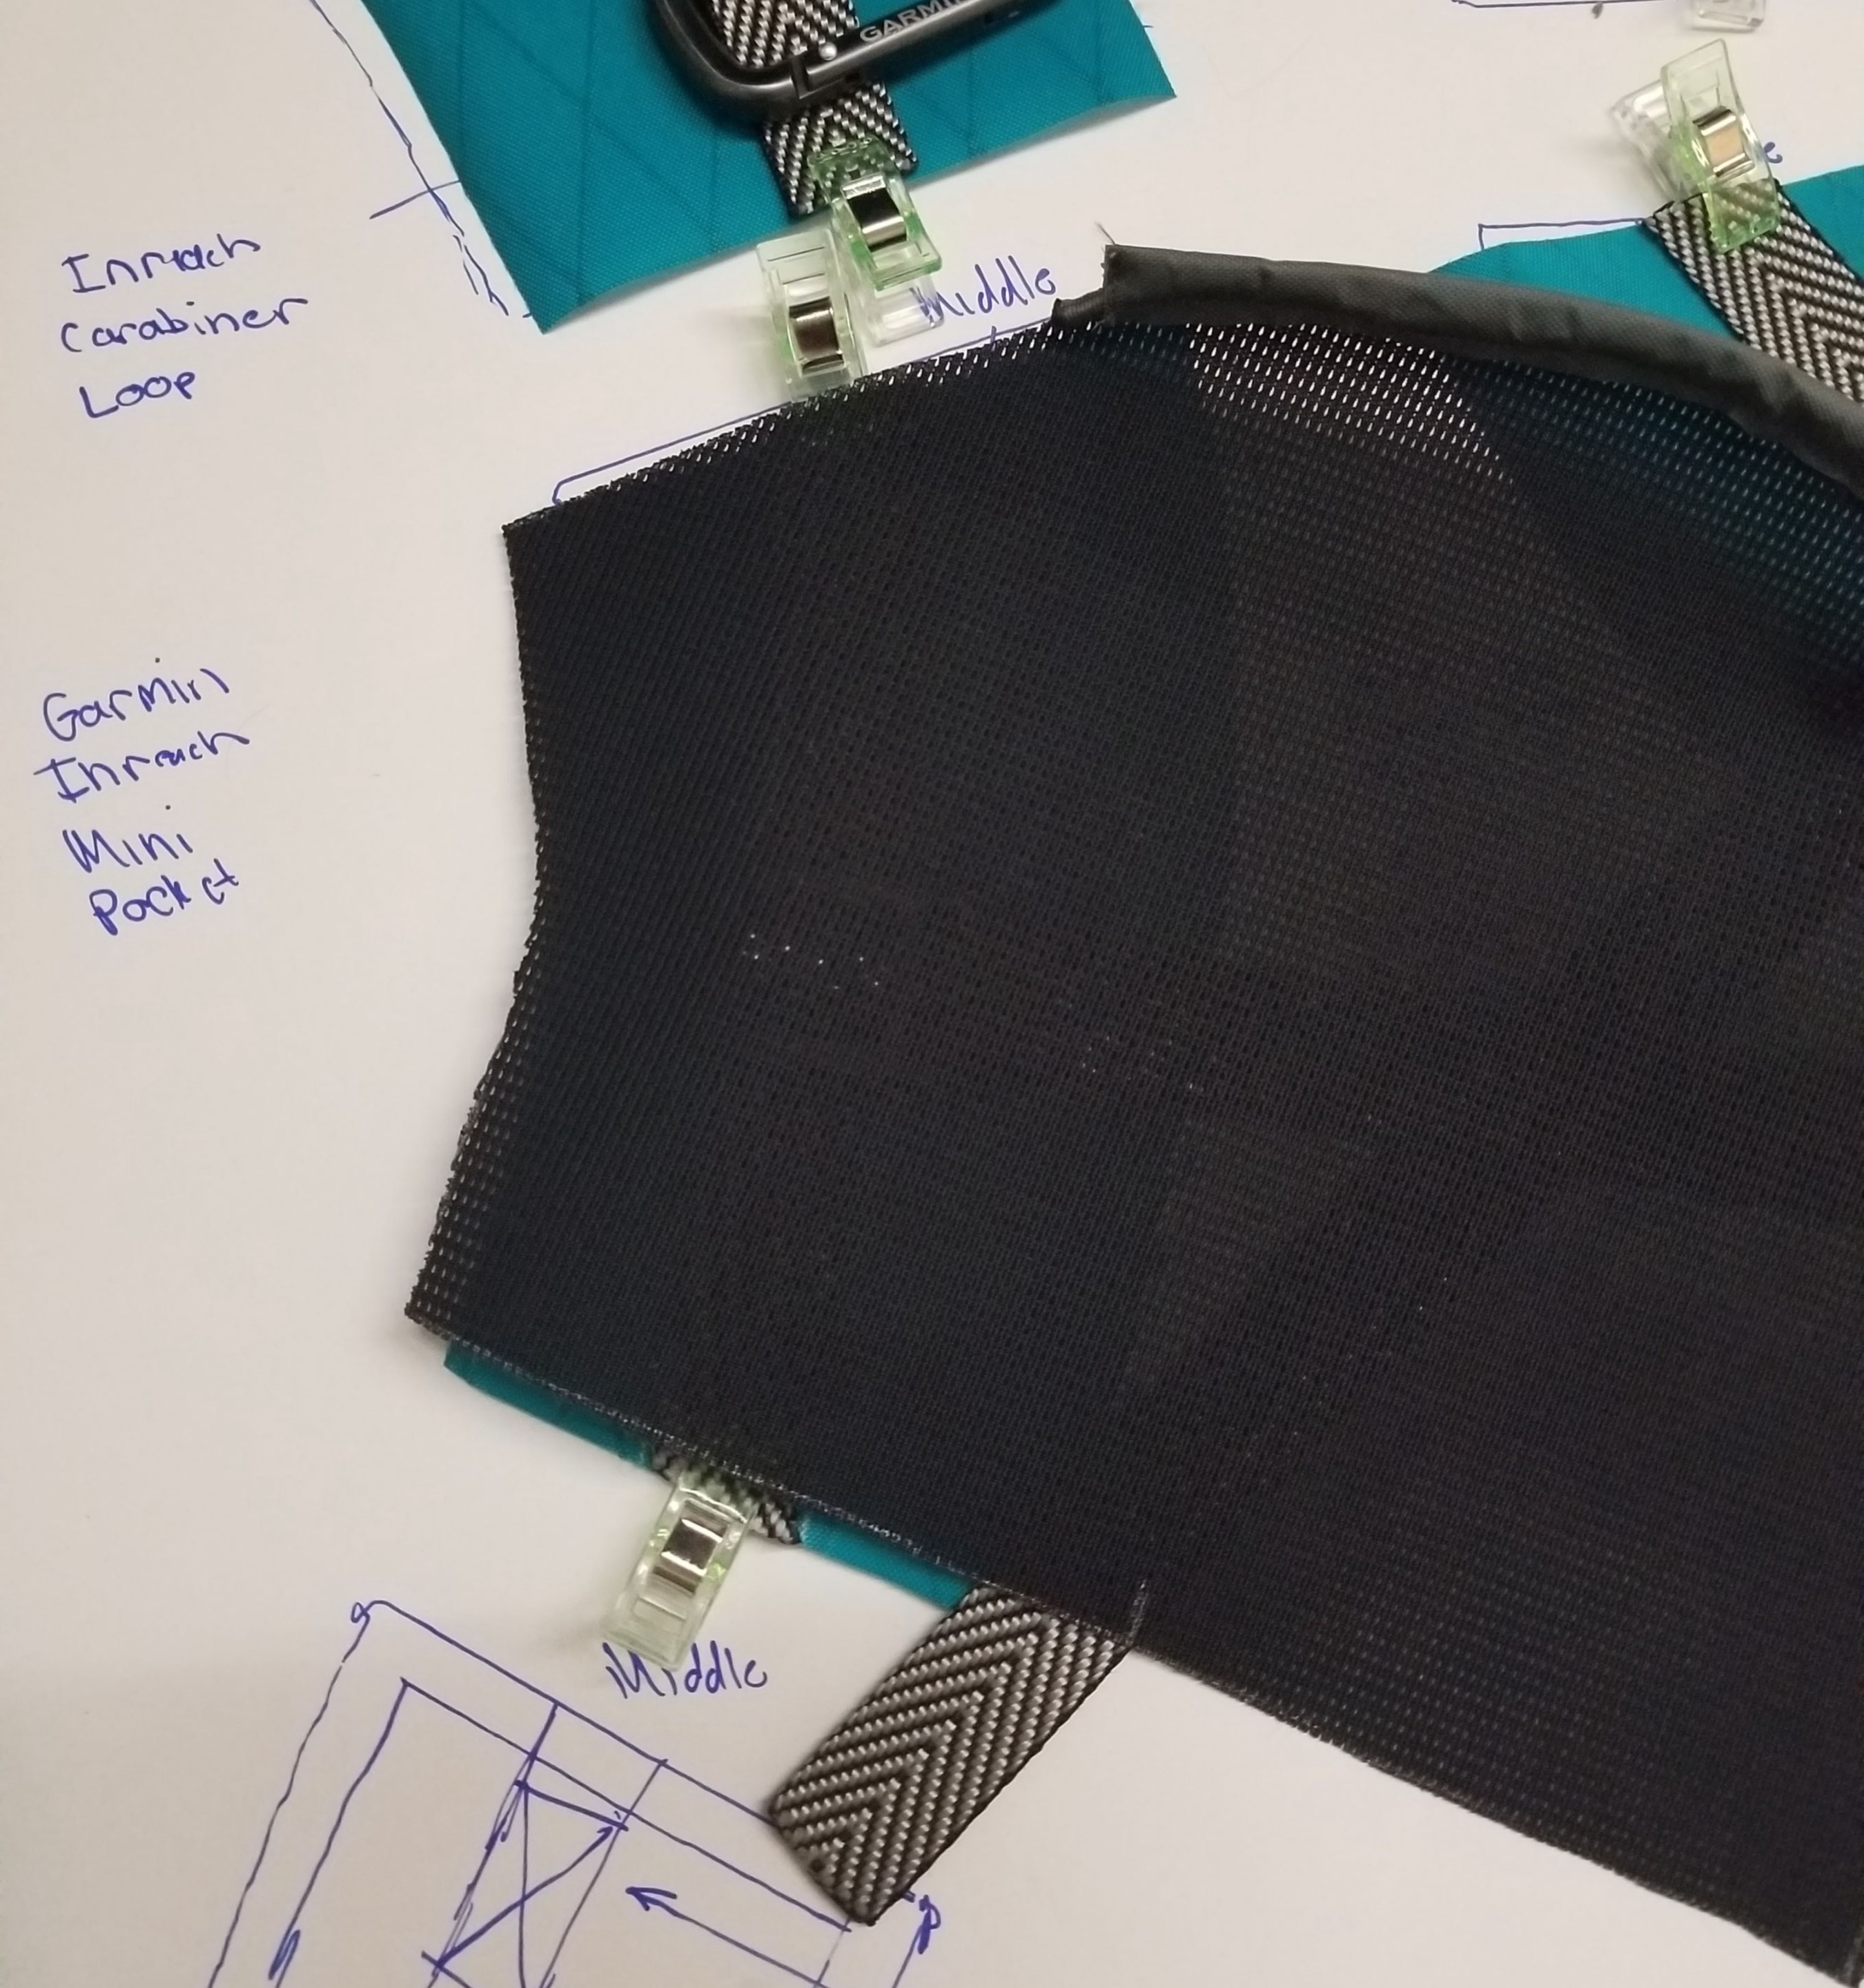
  2. Shoulder Straps - The prototype shoulder straps were created with integrated pockets for bear spray and a Garmin In-Reach Mini, which I found significantly reduced volume and were uncomfortable while worn. They were also quite complex to sew. The new shoulder strap design utilizes a detachable bear spray holster, allowing the wrap of the shoulder strap to be more natural for better comfort. The bear spray holster is also modular and can be easily replaced or moved to other backpacks, and currently works with my unmodified day pack.
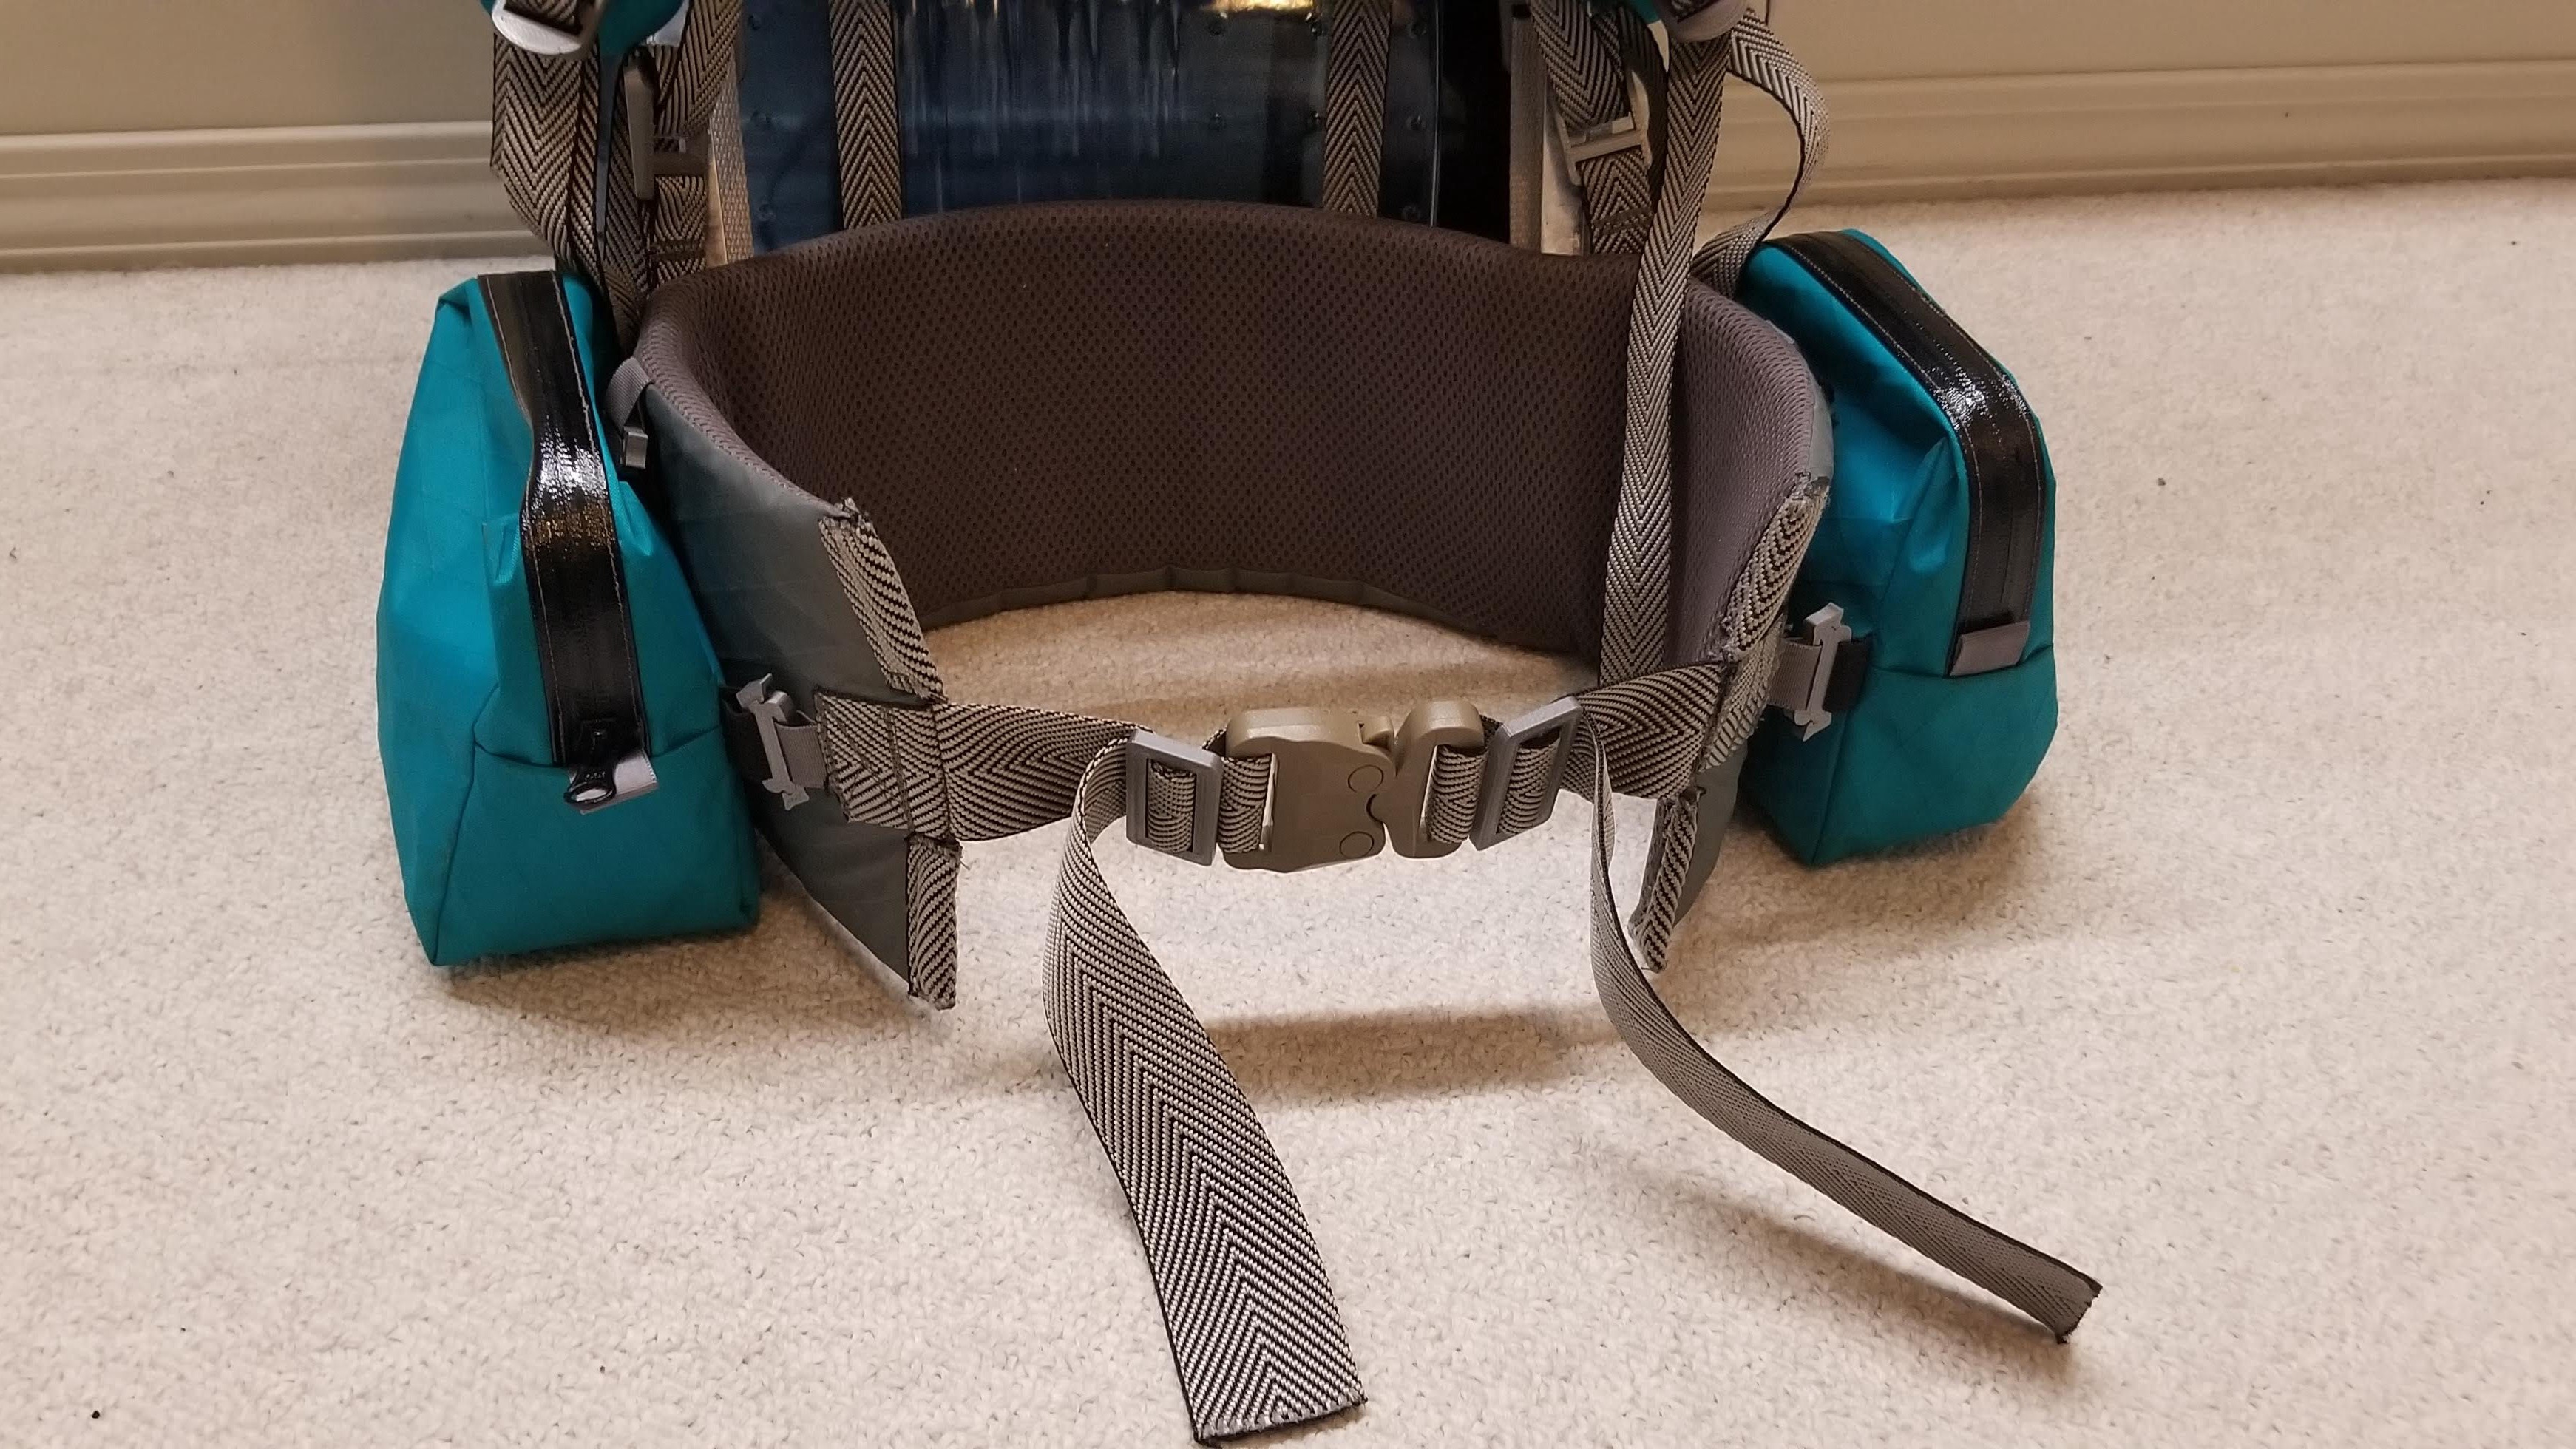
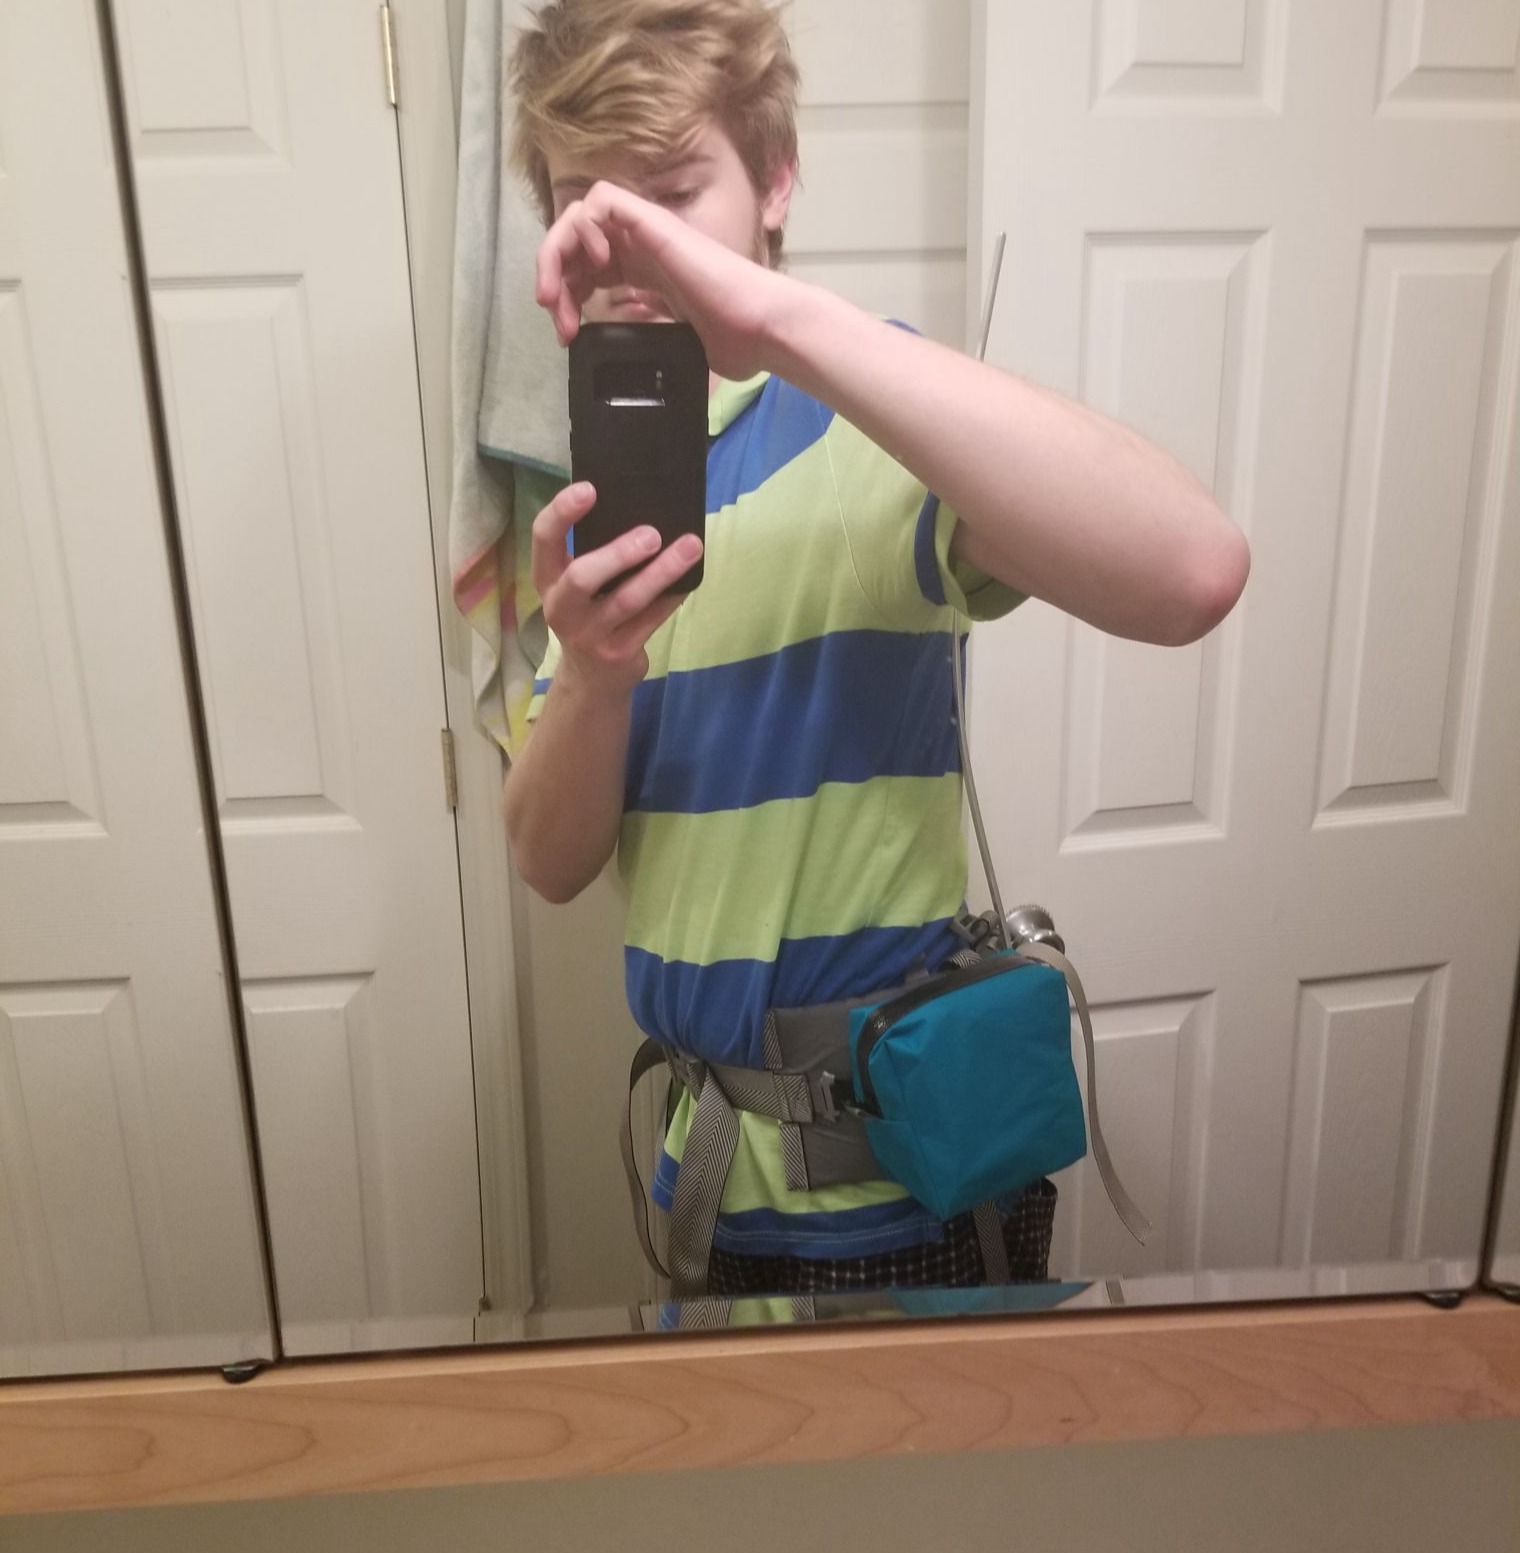
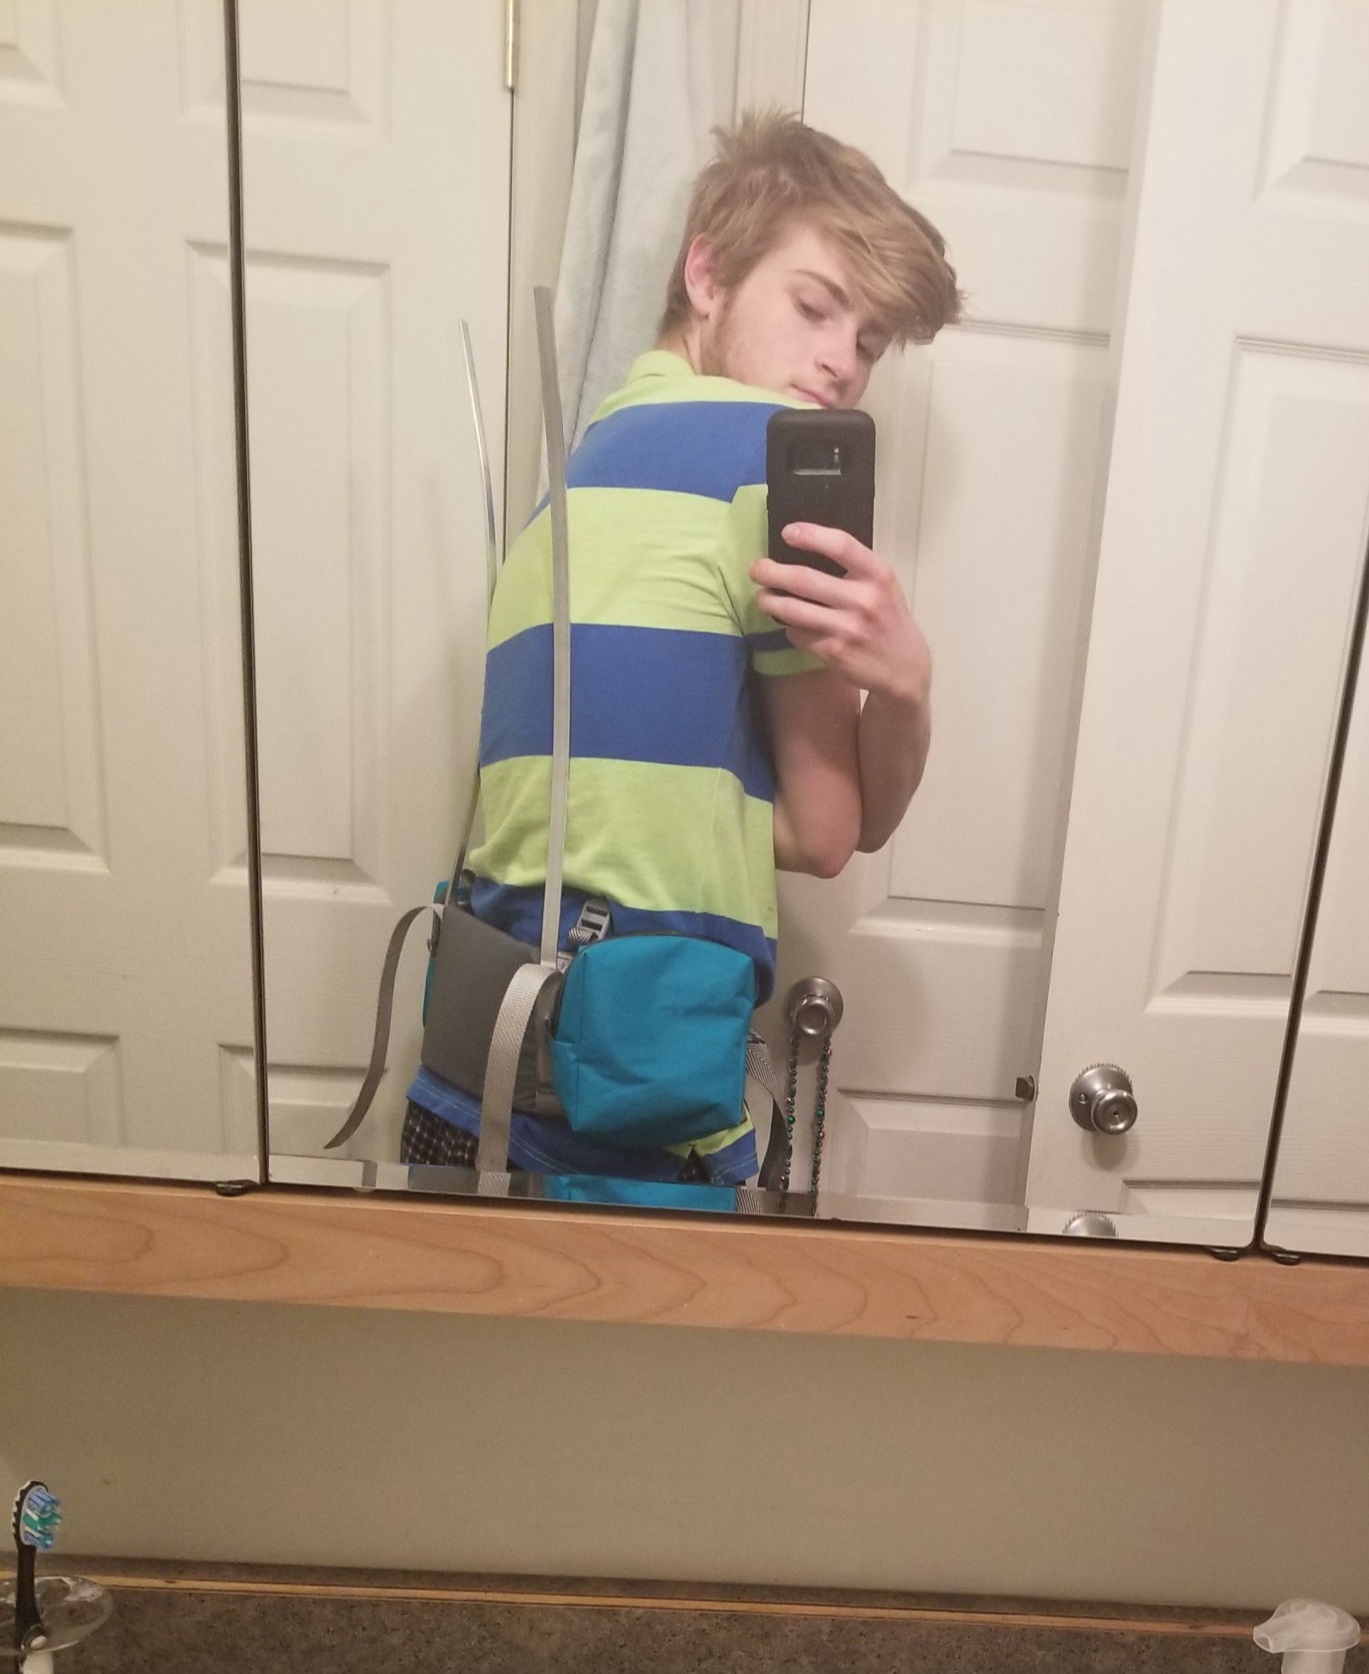
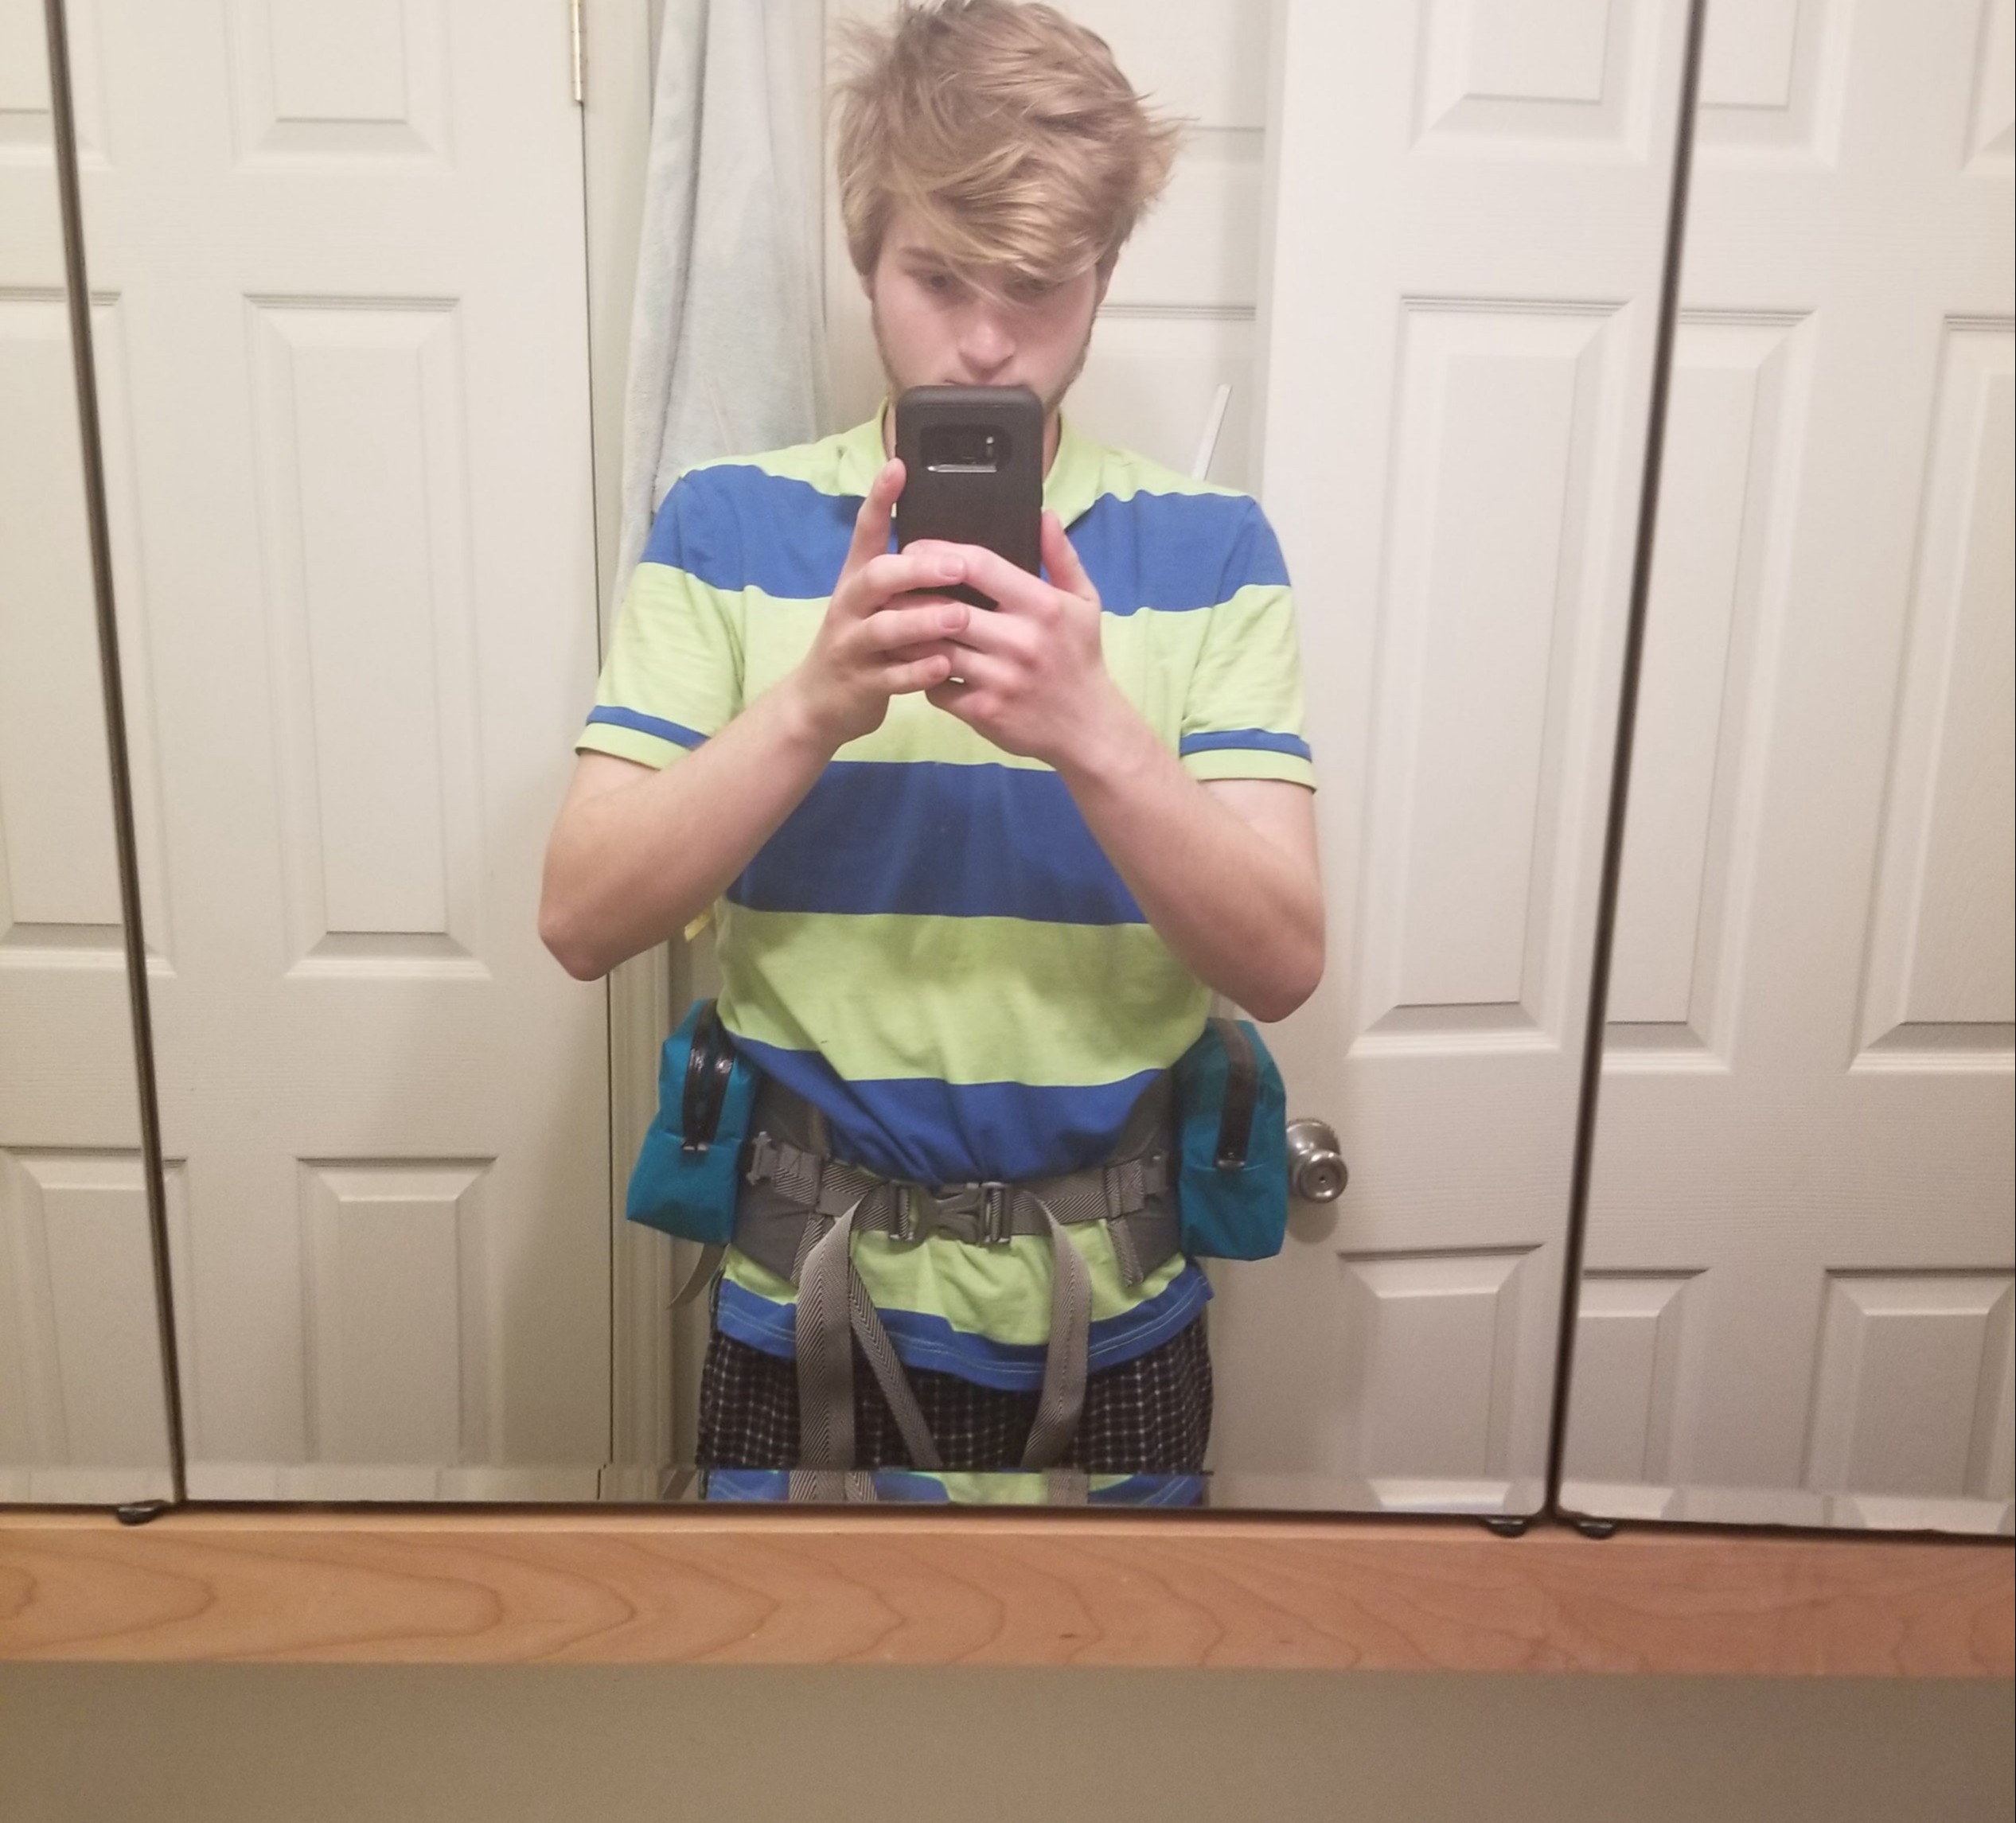
  3. Hip Belt - The prototype hip belt was created with integrated hip-belt pockets, which I found significantly reduced volume while worn. They were quite complex to sew. The hip belt shape itself was also difficult to sew neatly while also adding padding inside. The new pack uses detachable hip belt pockets, preserving storage capacity. These pockets are also modular and can be easily replaced or moved to other compatible hip belts. Furthermore, they are simpler to sew and look better. The hip belt itself was simplified and utilized unique methods to allow it to be stuffed with padding while also concealing seams.
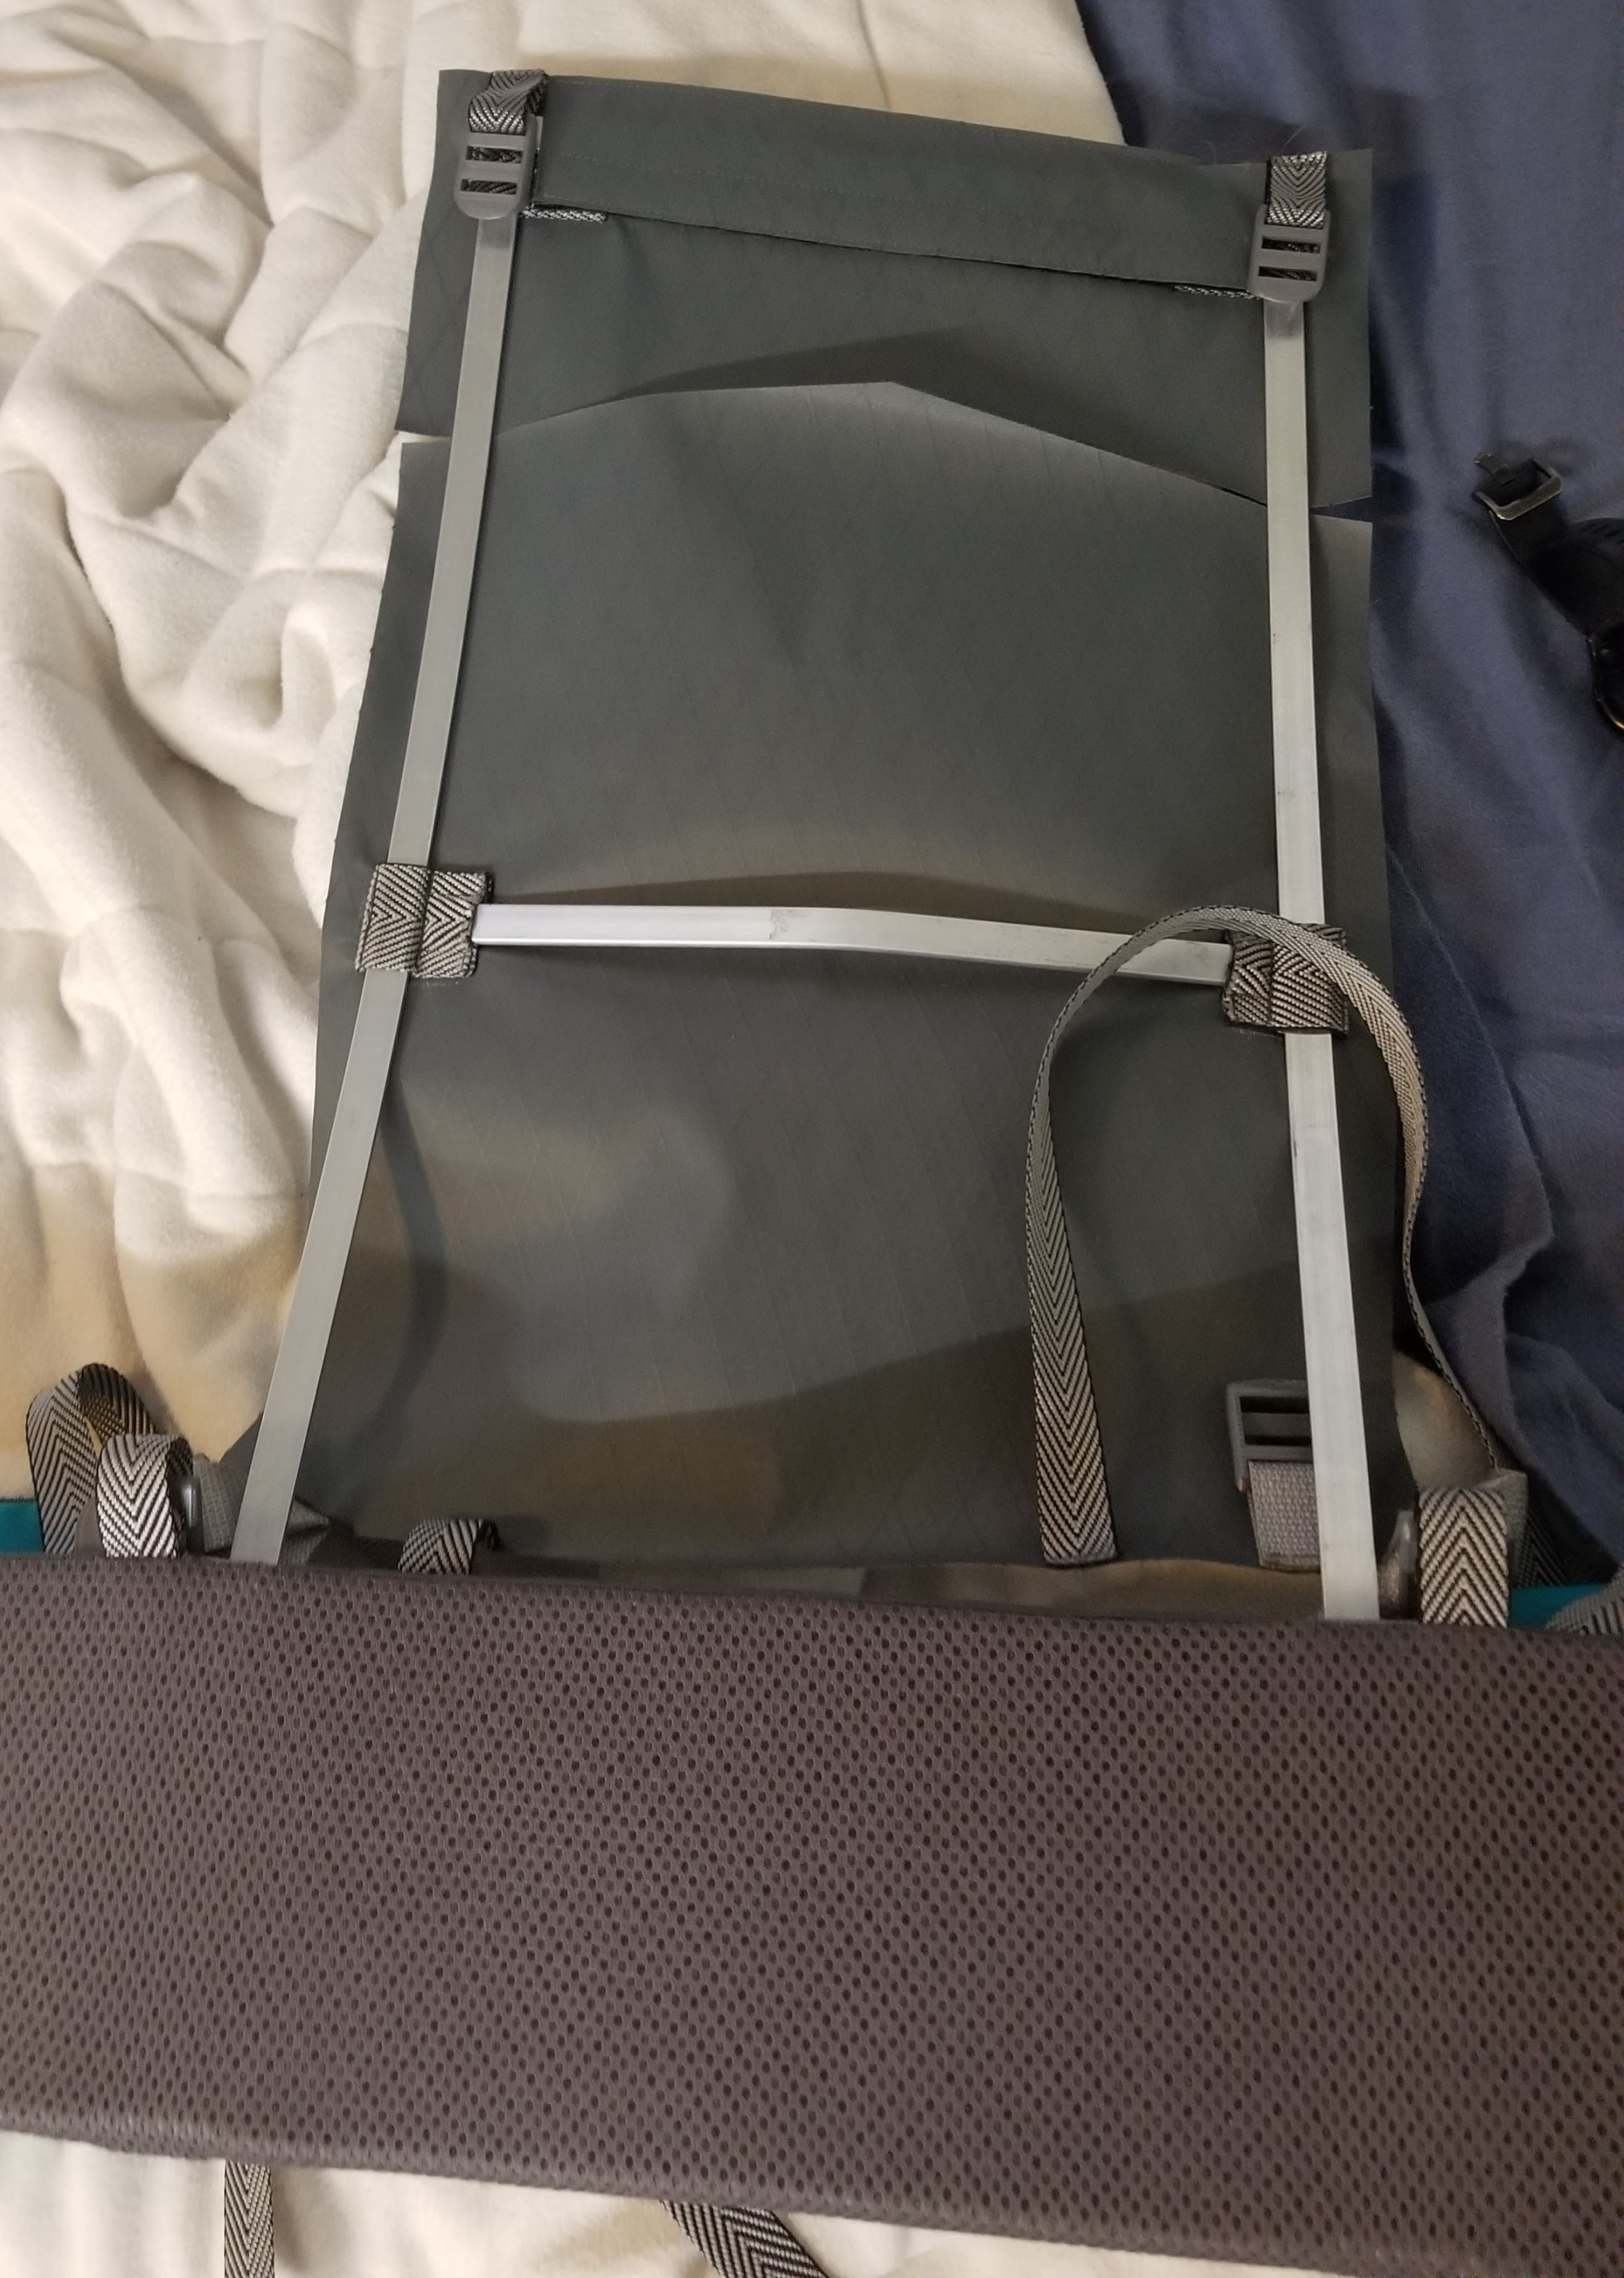
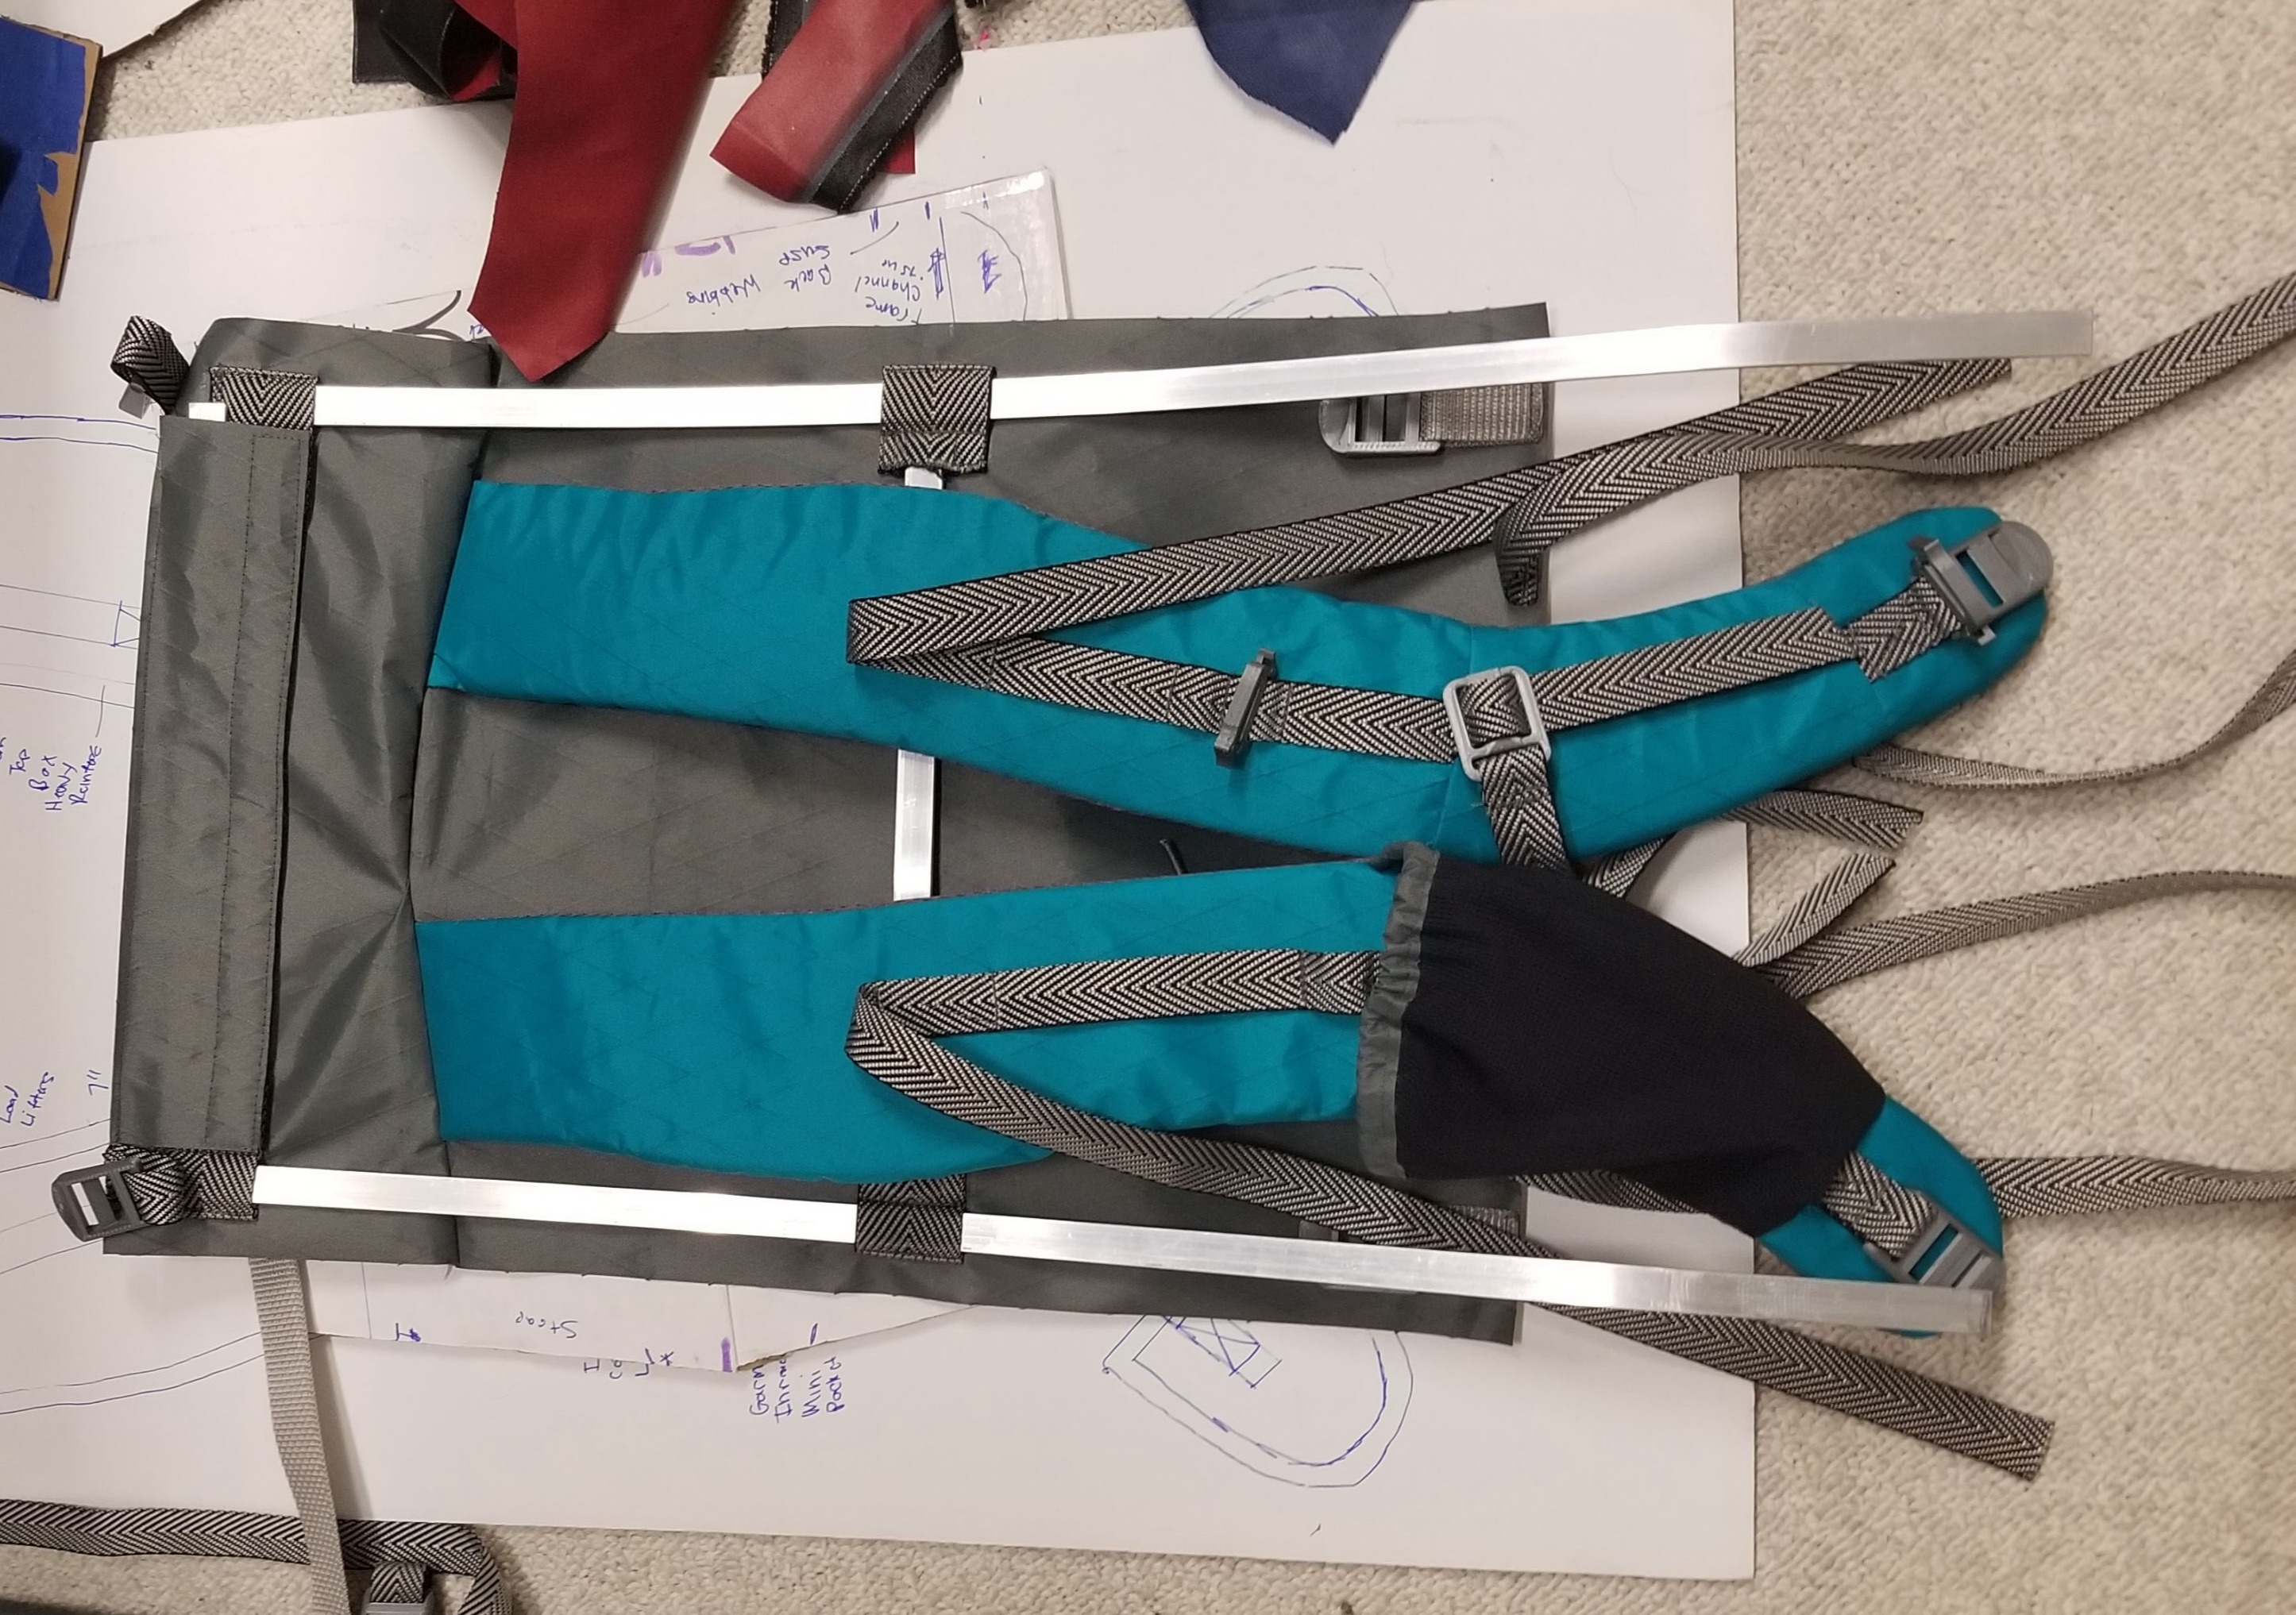
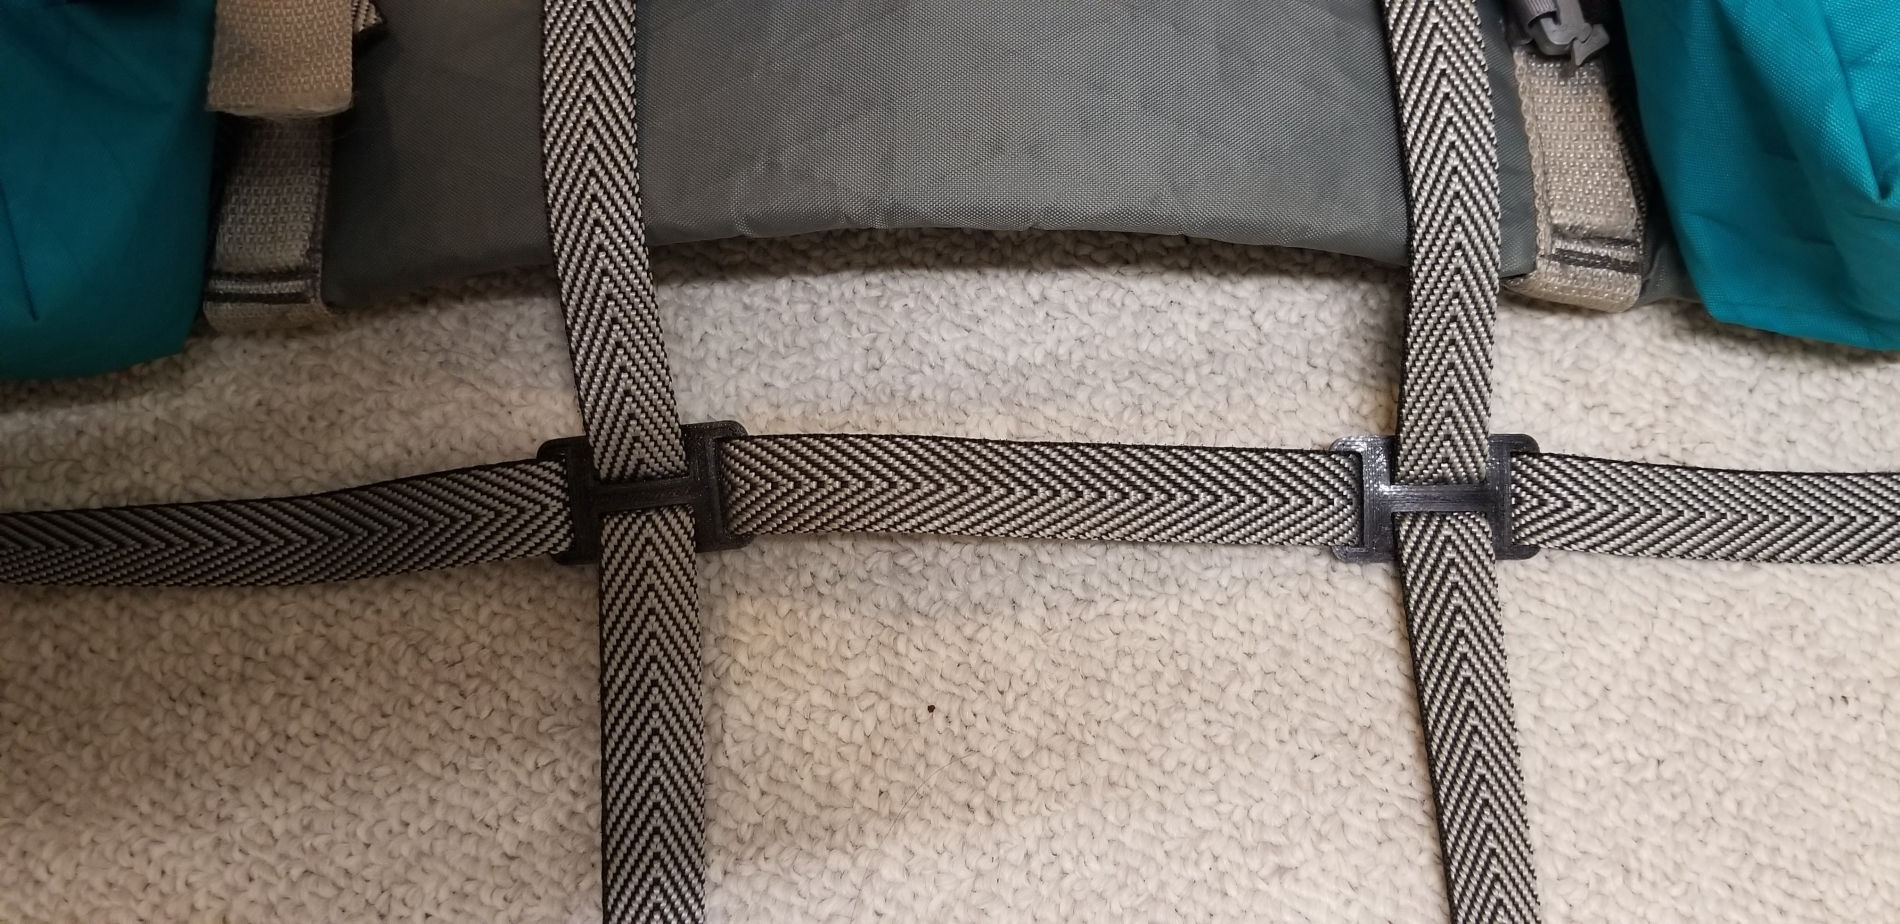
  4. Improved Frame - The prototype backpack only utilized two vertical aluminum frame stays. This caused the pack to barrel when fully stuffed with gear. Backpack 2.0 uses the aforementioned frame stays, but also includes two horizontal cross-beam to prevent barreling and add more structural integrity. In addition, the top horizontal frame stay has a unique pocket for it to slide into, for ease of insertion and removal. To prevent issues with the frame stays wearing through fabric and webbing, TPU end-caps were created to provide a softer buffer between materials.

Design Process

I took inspiration for designing this backpack from a few different sources. The design of the Z-Packs Arc Blast had always intrigued me, as having airflow and a suspension system between the pack and the back seemed like an ingenious feature. I was able to find other examples of this feature in some MYOG designed packs, and I used this design primarily as inspiration for my creation of my own pattern for the prototype pack. My pattern changed immensely after going through the construction of the prototype pack, and is quite locked in for the current version. The other major component of this pack is the bottom bear canister attachment. As someone who backpacks mainly in grizzly territory, having a bear canister provides immense peace of mind. I've been shocked that the backpack market hasn't designed a pack that easily accommodates bear canisters. The two options for hauling a bear canister with a typical pack are to either put it horizontally or vertically inside of the backpack, which basically removes most of the pack capacity for any gear that would not be inside the canister. The other option is to strap the bear canister horizontally to the top of the pack, but usually in lightweight setups the food and bear canister are the heaviest part of the loadout. This results in the backpack being extremely top-heavy, and is an uncomfortable way to backpack. While researching for backpack inspiration, I stumbled upon an experimental pack design by Nunatak, which utilized a bottom bear canister attachment, and my mind was blown!

With these two main sources of inspiration, I then began to learn how to properly pattern a backpack to incorporate seam allowances, and understand critical pack dimensions. I settled on a pack with a rough rectangular prism volume of 8" thick, 12" wide along the back, and 20" tall, with the roll-top having the ability to expand an additional 12". This gave me a rough estimate of a pack volume of about 30L and a max capacity of about 50L with the roll-top fully expanded. This capacity was quite a decline from my previous 65L pack; however, many features were designed to increase capacity to other areas of the pack. The bear canister attachment system allows for an additional 11.5L of capacity with a BV500, or 10L of capacity with a food bag for areas where a bear canister is unnecessary. The front mesh pocket can also fit approximately 5L of gear for easy access, and each side pocket can fit 2L of water, or 3.5L of water and a backpacking cooking pot set. Finally, the hip belt pockets can store around 1.5L each of gear. Once I had rough dimensions figured out, I needed to combine the ideas of a mesh suspension, along with a bottom bear canister attachment system. This required that the pack have an external frame system, which was integral for properly distributing loads and allowing the backpack to have capabilities of carrying 30lbs.

I used X-Pac VX21 For the main fabric for the pack, as it had desirable structural and abrasion resistant properties, and looks absolutely gorgeous. Teal was used as the main color, and gray was supplemented as a secondary color in areas of less visibility. The front and side pockets used Duraweave Stretch fabric, an extremely durable and stretchy fabric. 1/4" hole size mesh rawhide was used for the back suspension panel. A variety of silver webbing was used, both 3/4" and 1-1/2" polypro herringbone webbing, and 1" polypro webbing, as I was unable to find 1" herringbone webbing. Gray 3/4" grosgrain was used for various attachment points. 1-5/8" stretch binding was used for side and top pocket shock cord channels. Both 3/16" charcoal and turquoise shock cord was used for adjusting pack volume, cinching pockets, and providing exterior attachment space. #5 Uretek waterproof zippers were used for the hip belt pockets. 1/2" by 1/8" thick aluminum bars were used for the back suspension frame. 3/8" thick mini cell foam was used for the shoulder strap and hip belt padding, along with gray 3D spacer mesh. Gray Guterman Tera 80 Thread was used, along with Smetz Sharp 90/14 needles. The hardware was all 3D printed from Space Gray PETG, with the exception of frame end caps and bear canister strap holder printed from TPU, and currently an injection molded Cobra Buckle which I plan on reverse engineering for 3D printability. Again, the design process of the hardware is covered on the 3D Printed Hardware page.

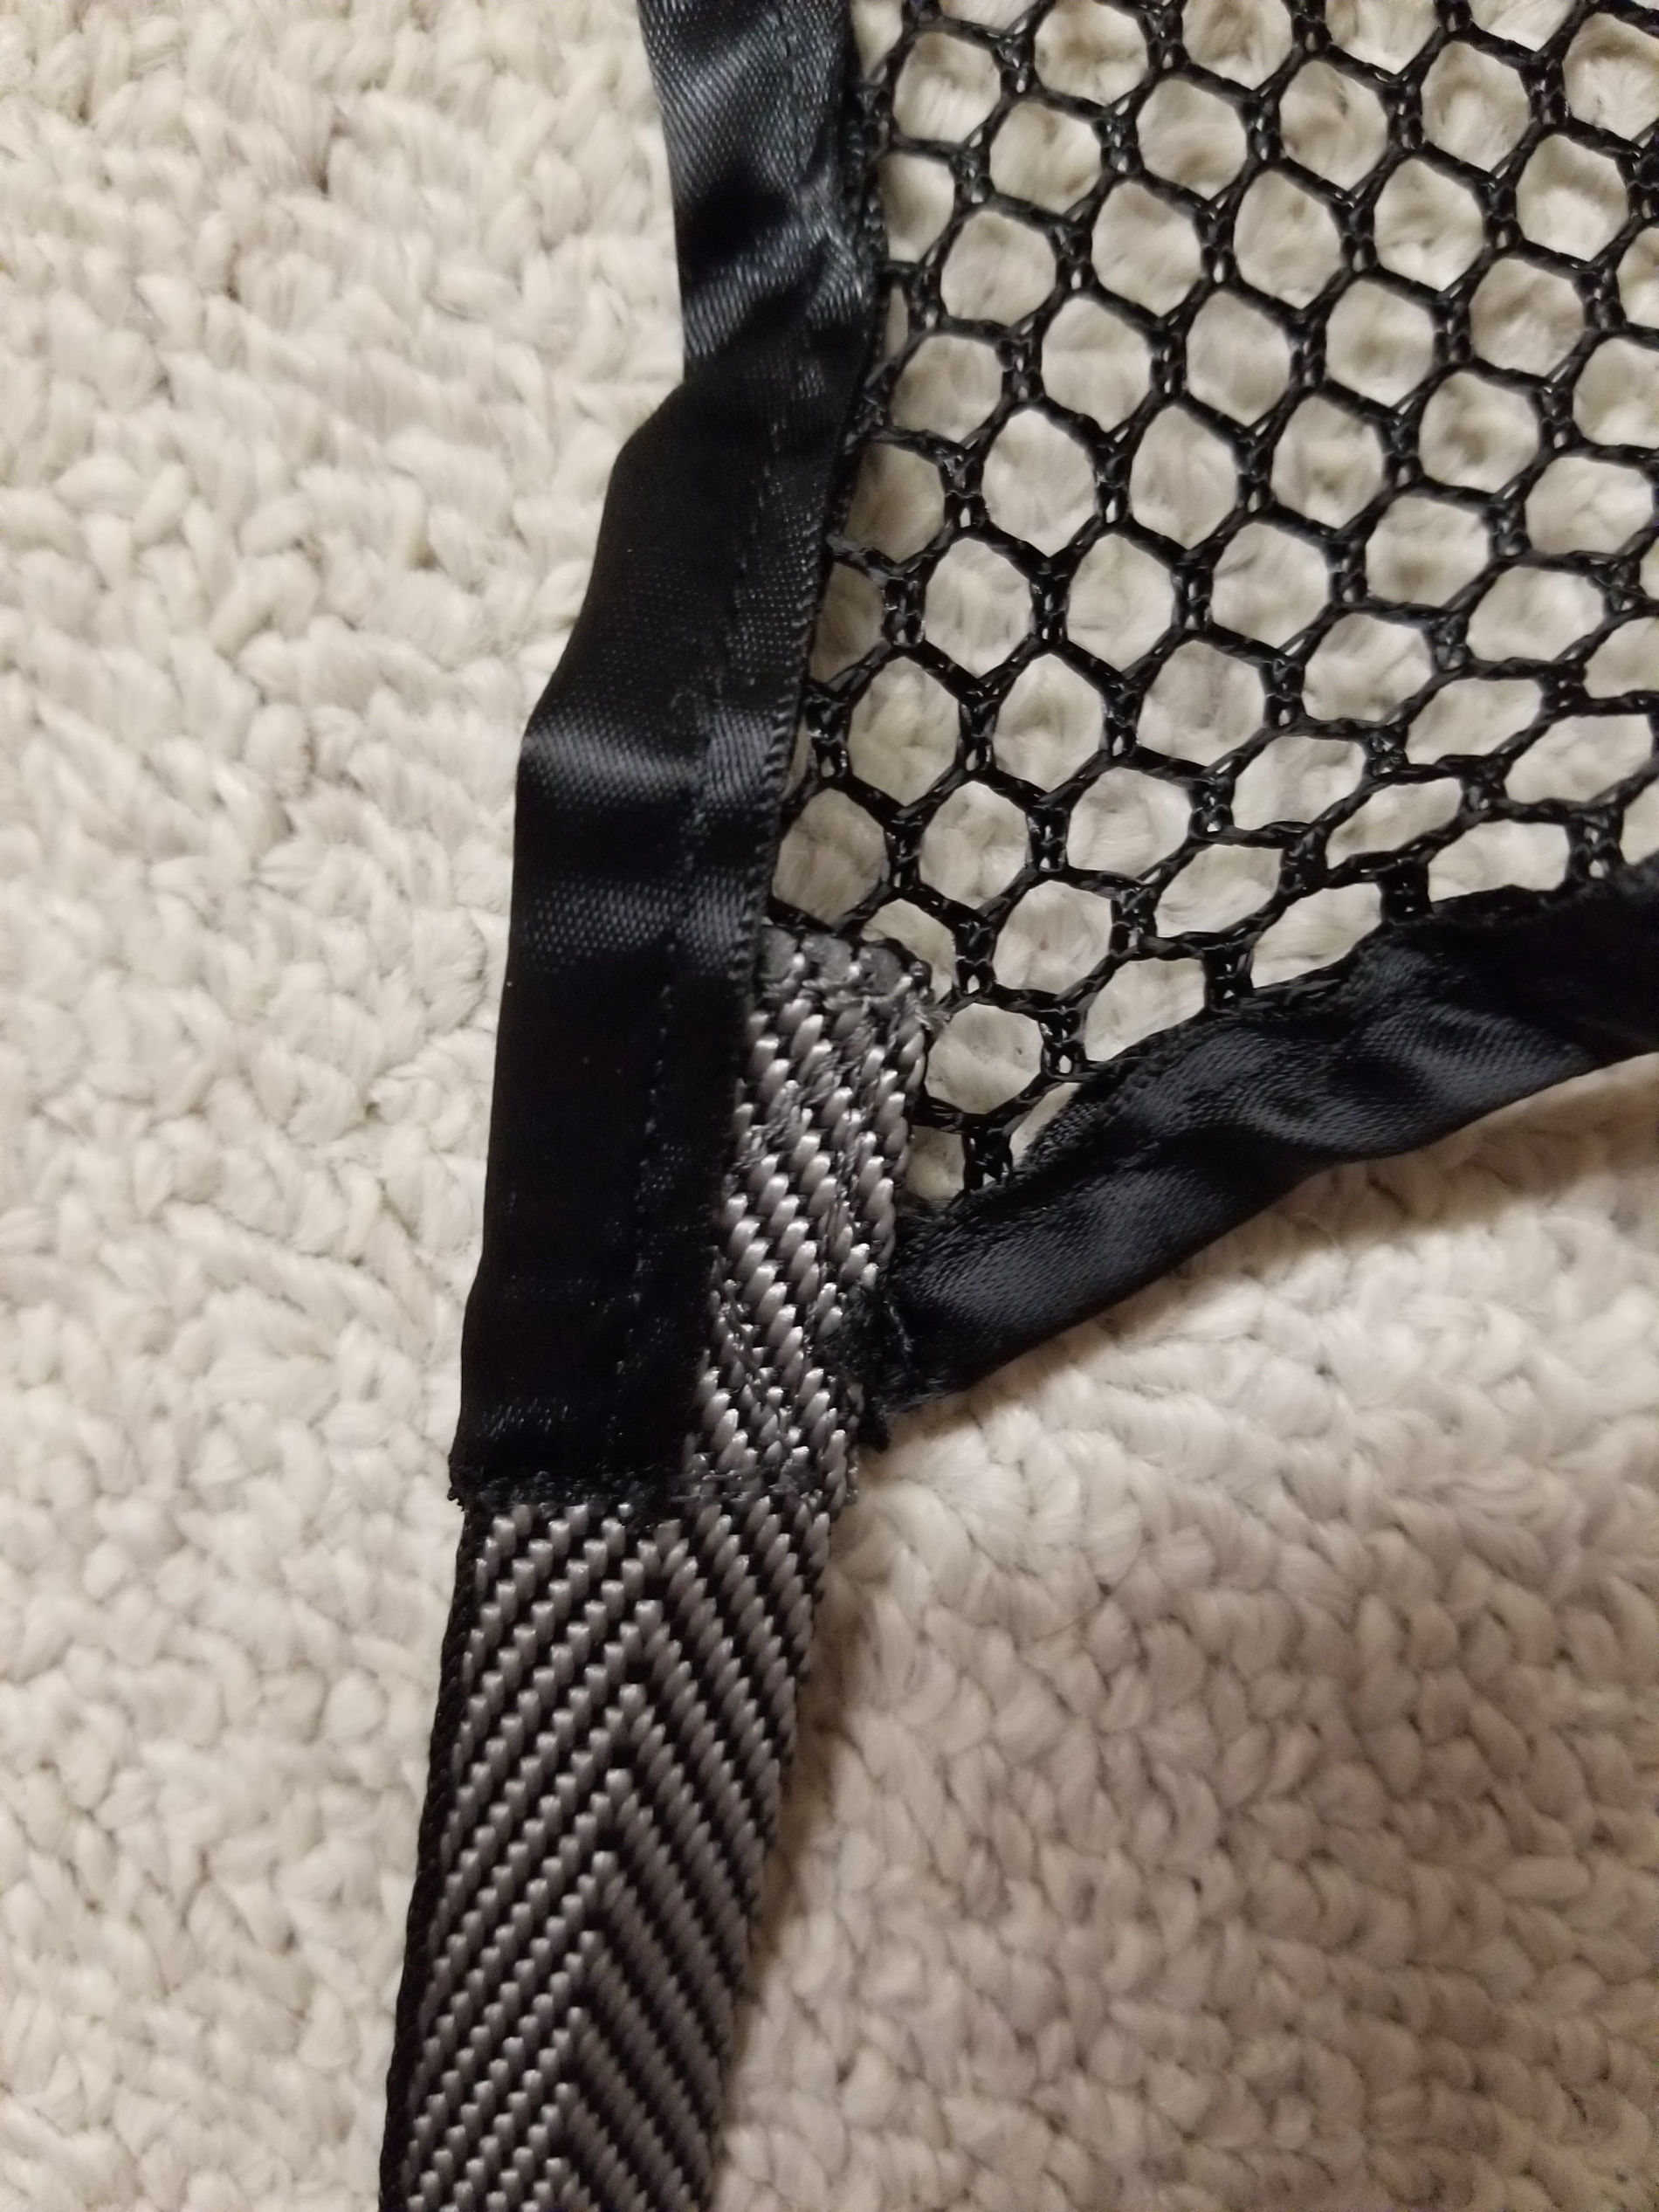
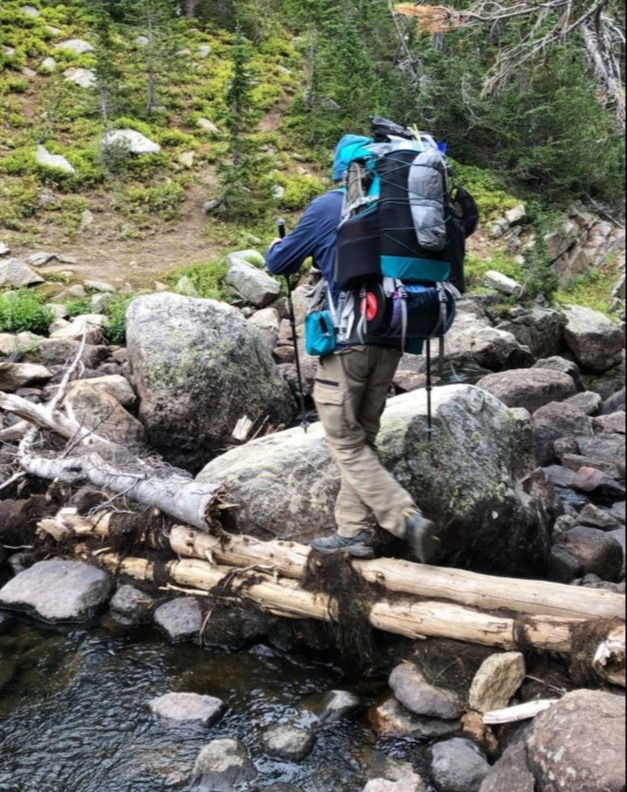
After sewing the pack, it has been used on over 100 miles of trail so far, fully loaded for the most part. It has held up nicely so far, only needing a minor shoulder strap seam repair resulting from being picked up too forcefully, along with a back suspension webbing repair where the webbing has frayed. Furthermore, to prevent the frame from rubbing through the webbing reinforcement, frame end caps were designed from TPU. I am extremely satisfied with the changes that I made deviating from the prototype, and feel that future versions will likely be 95% of the same construction methods and design. If you are interested in having one of these packs made for yourself, feel free to contact me!
Construction Process


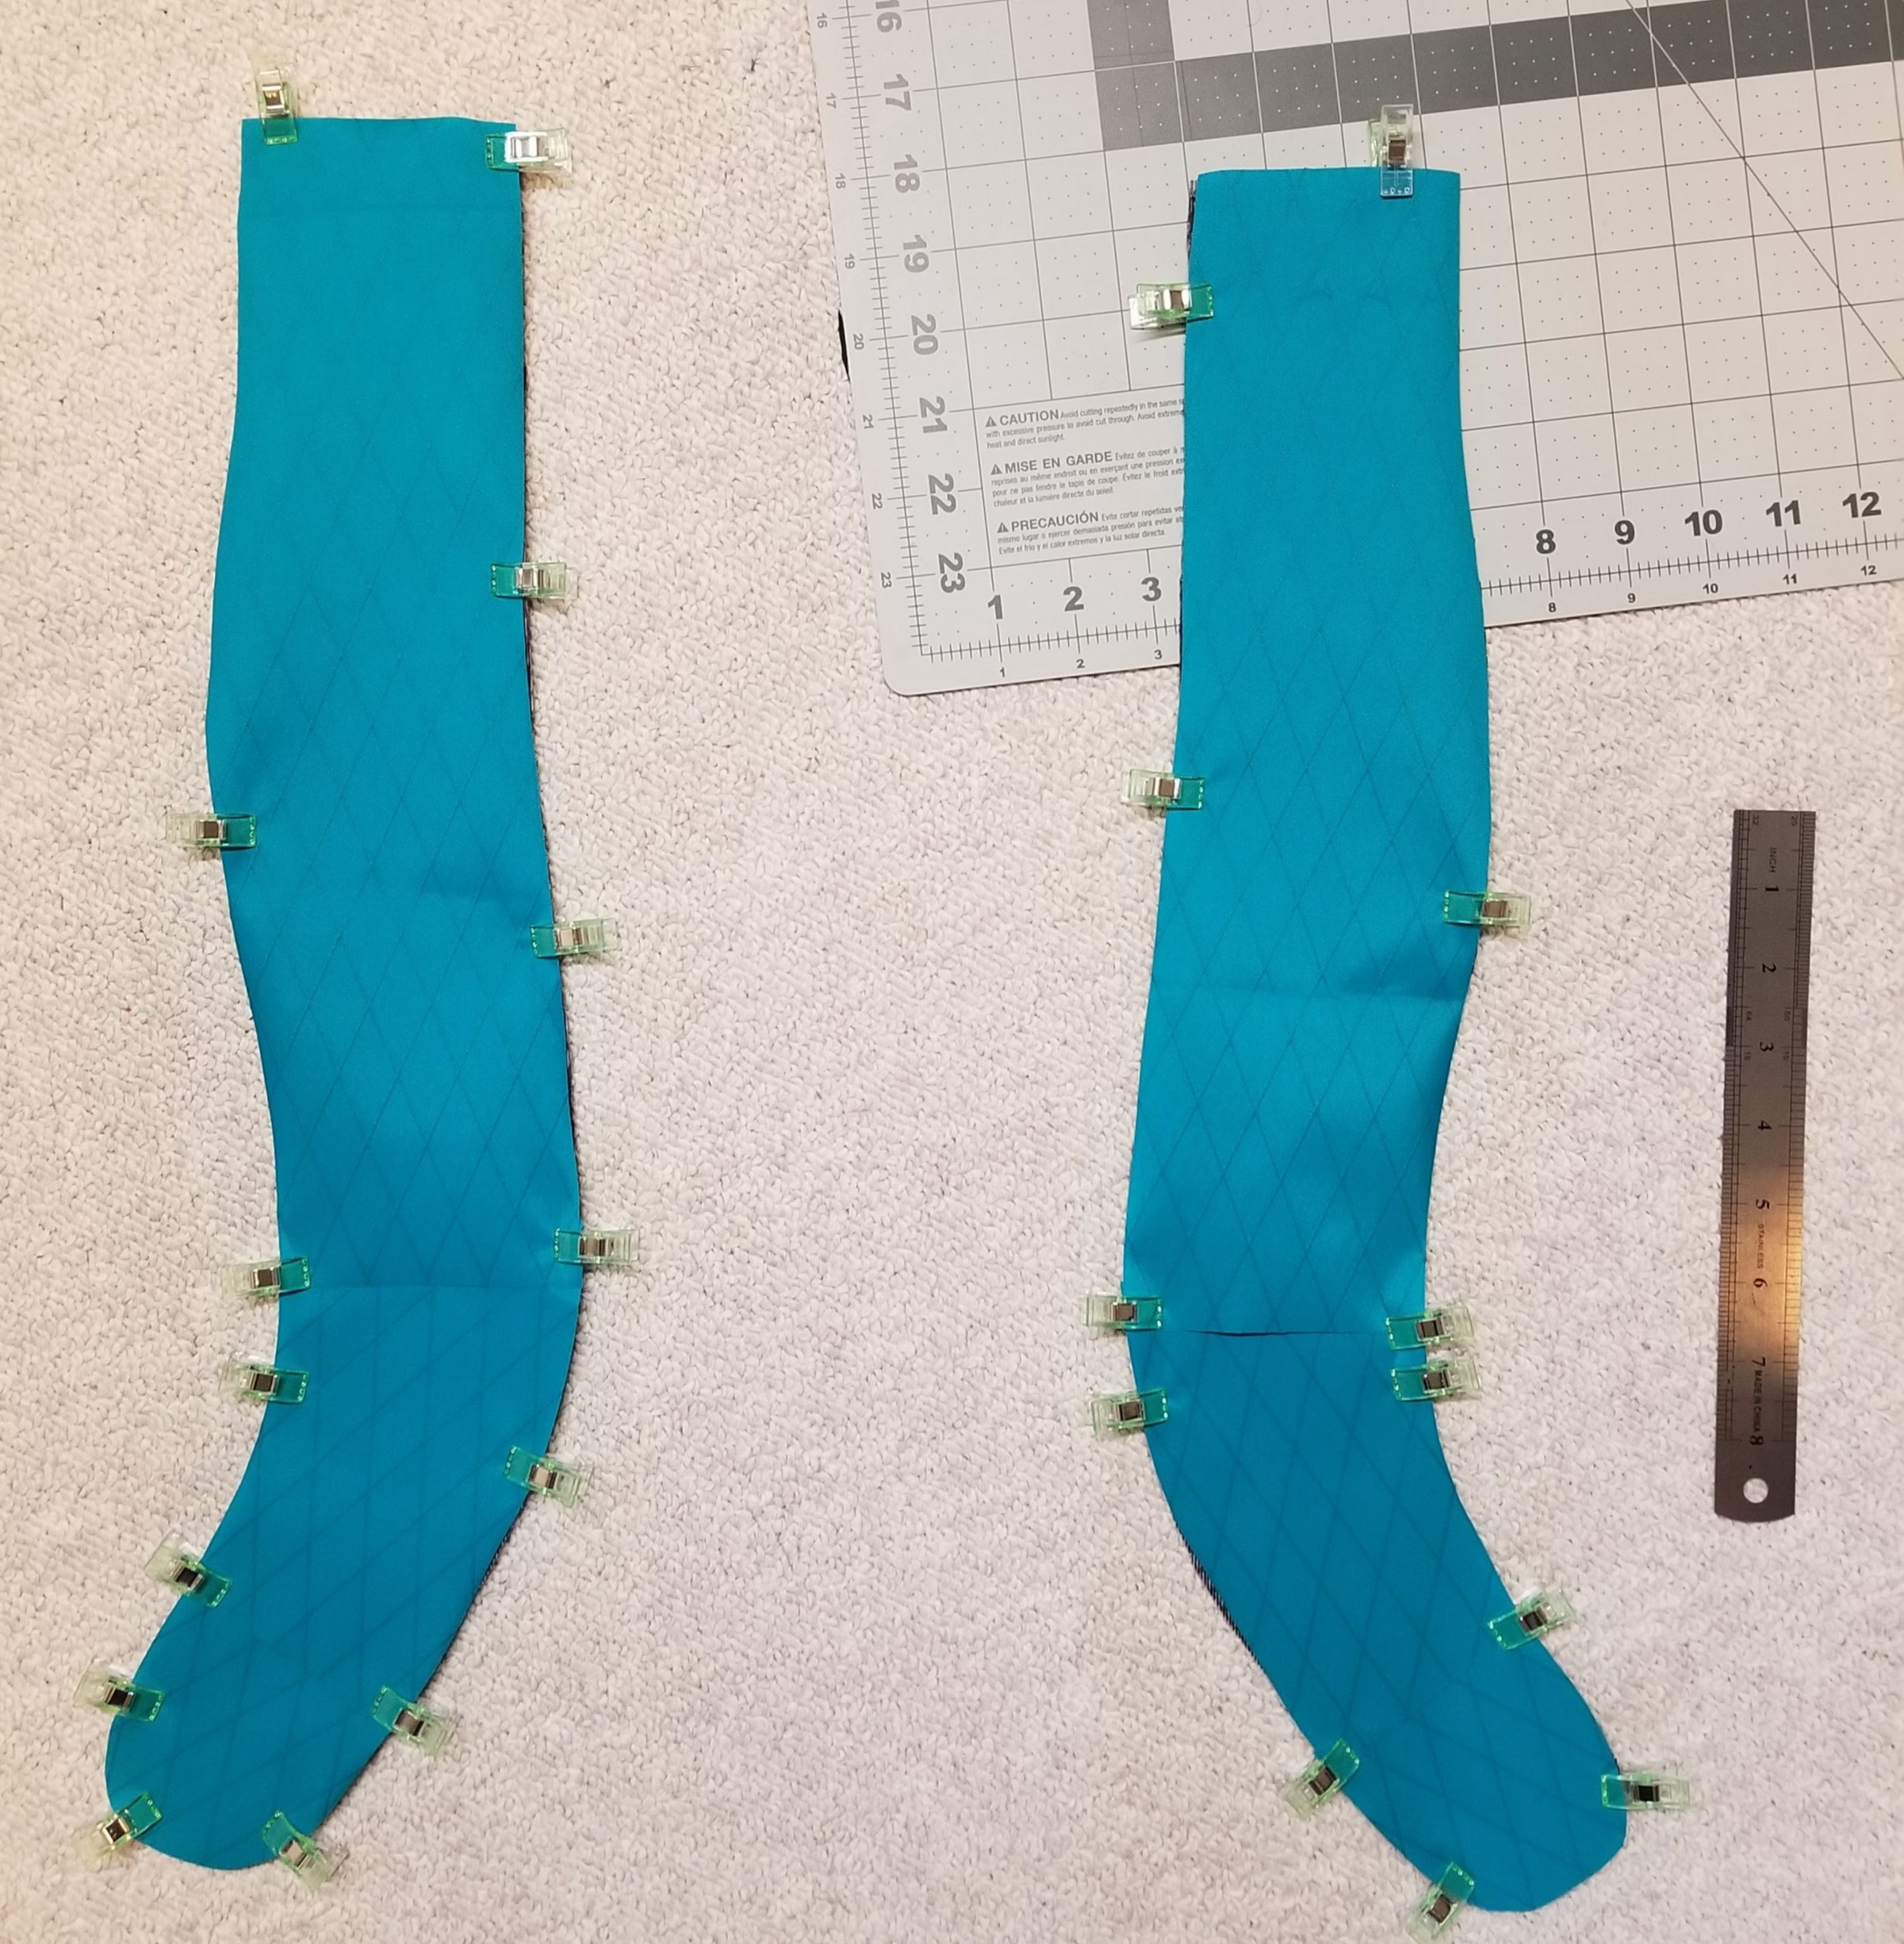
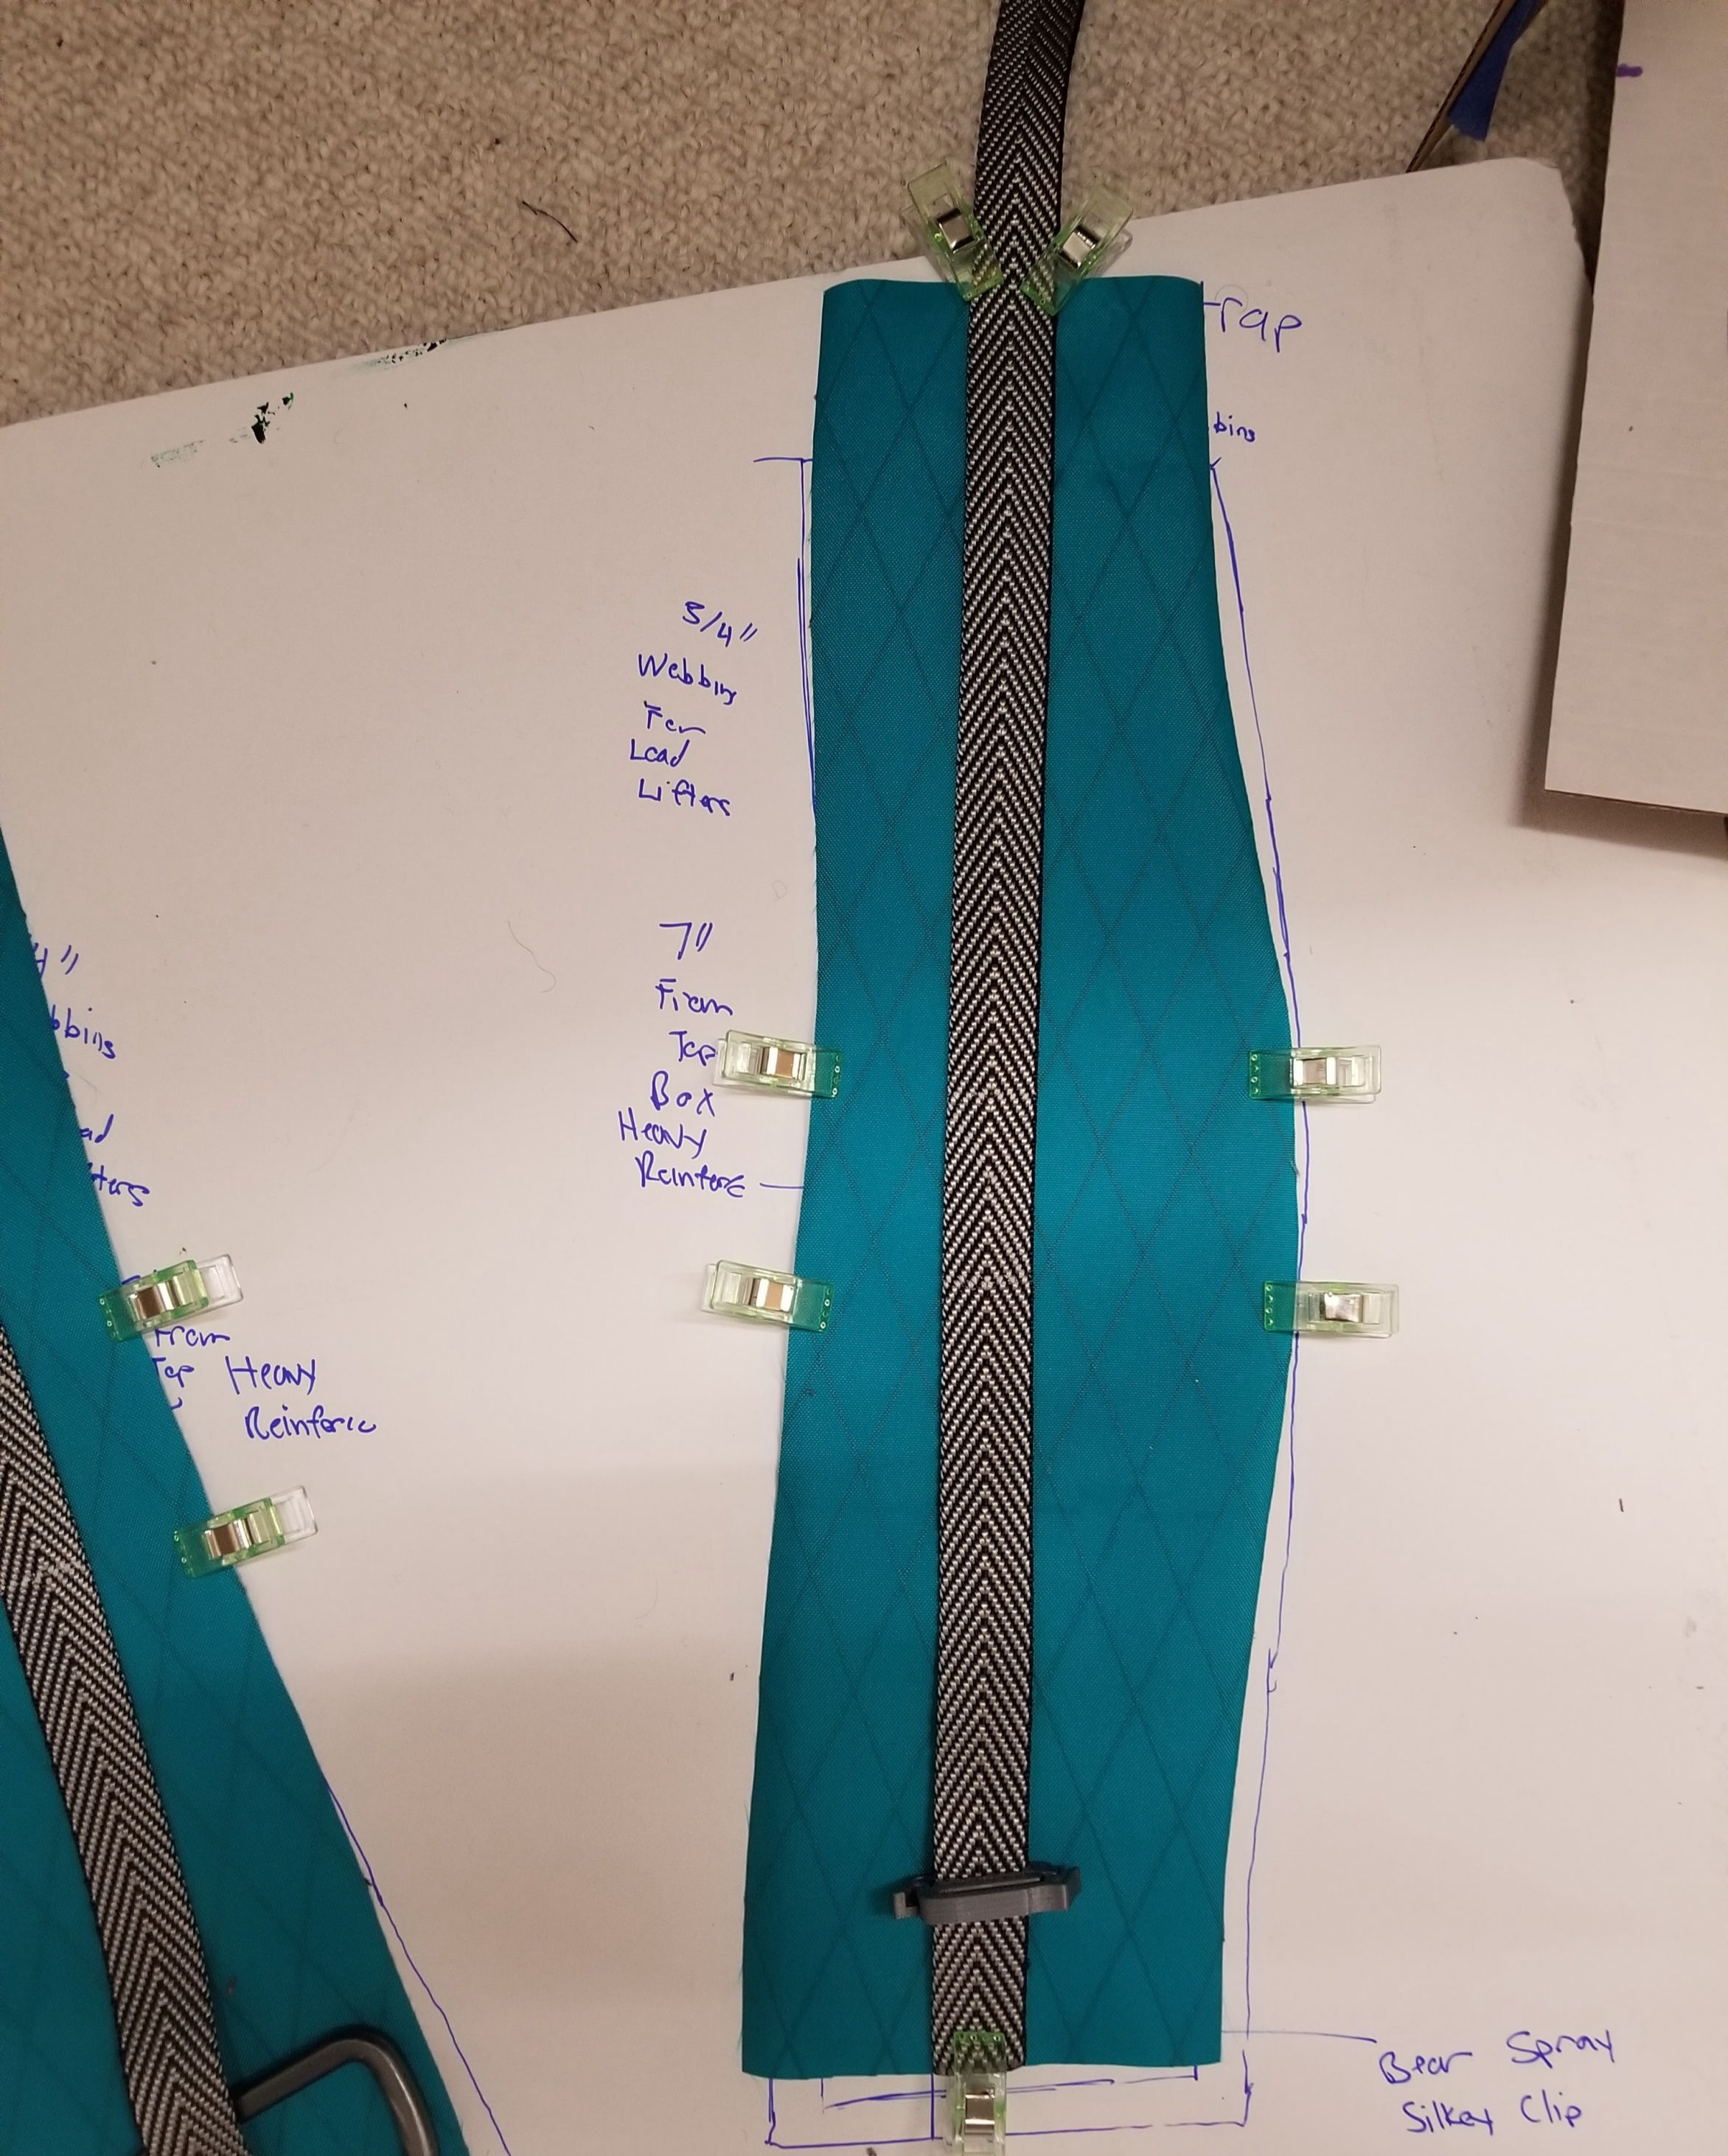
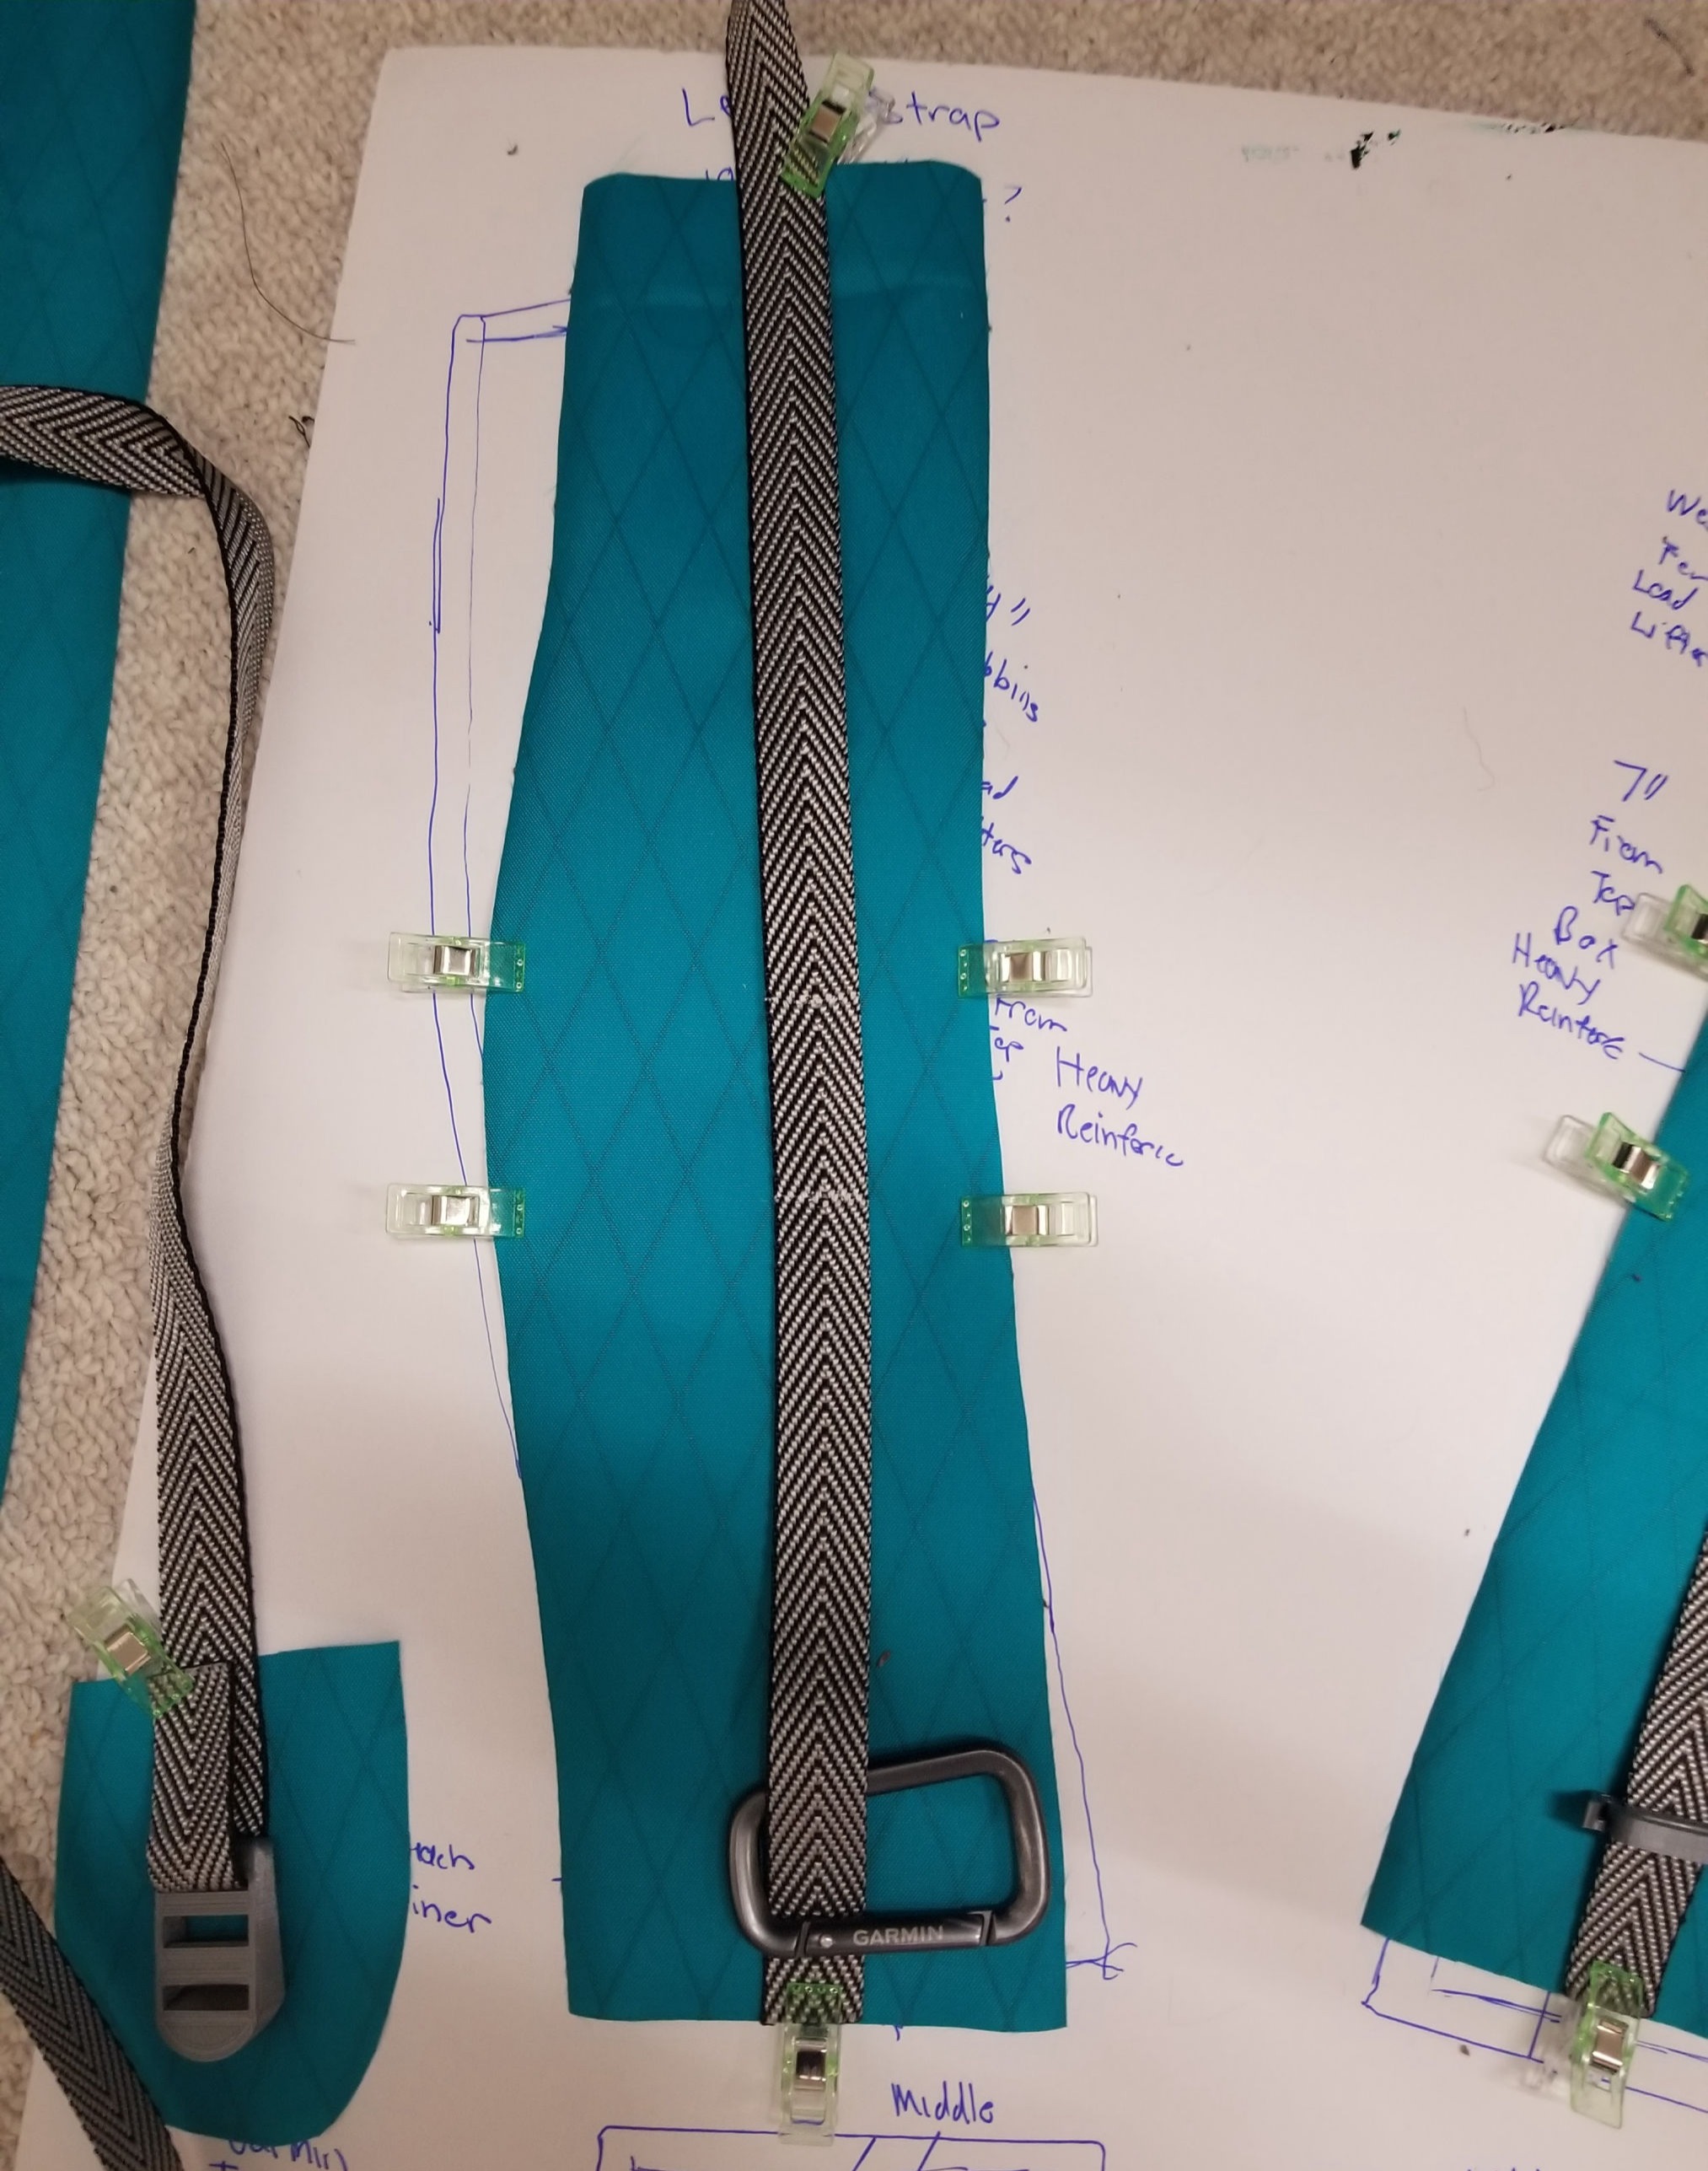
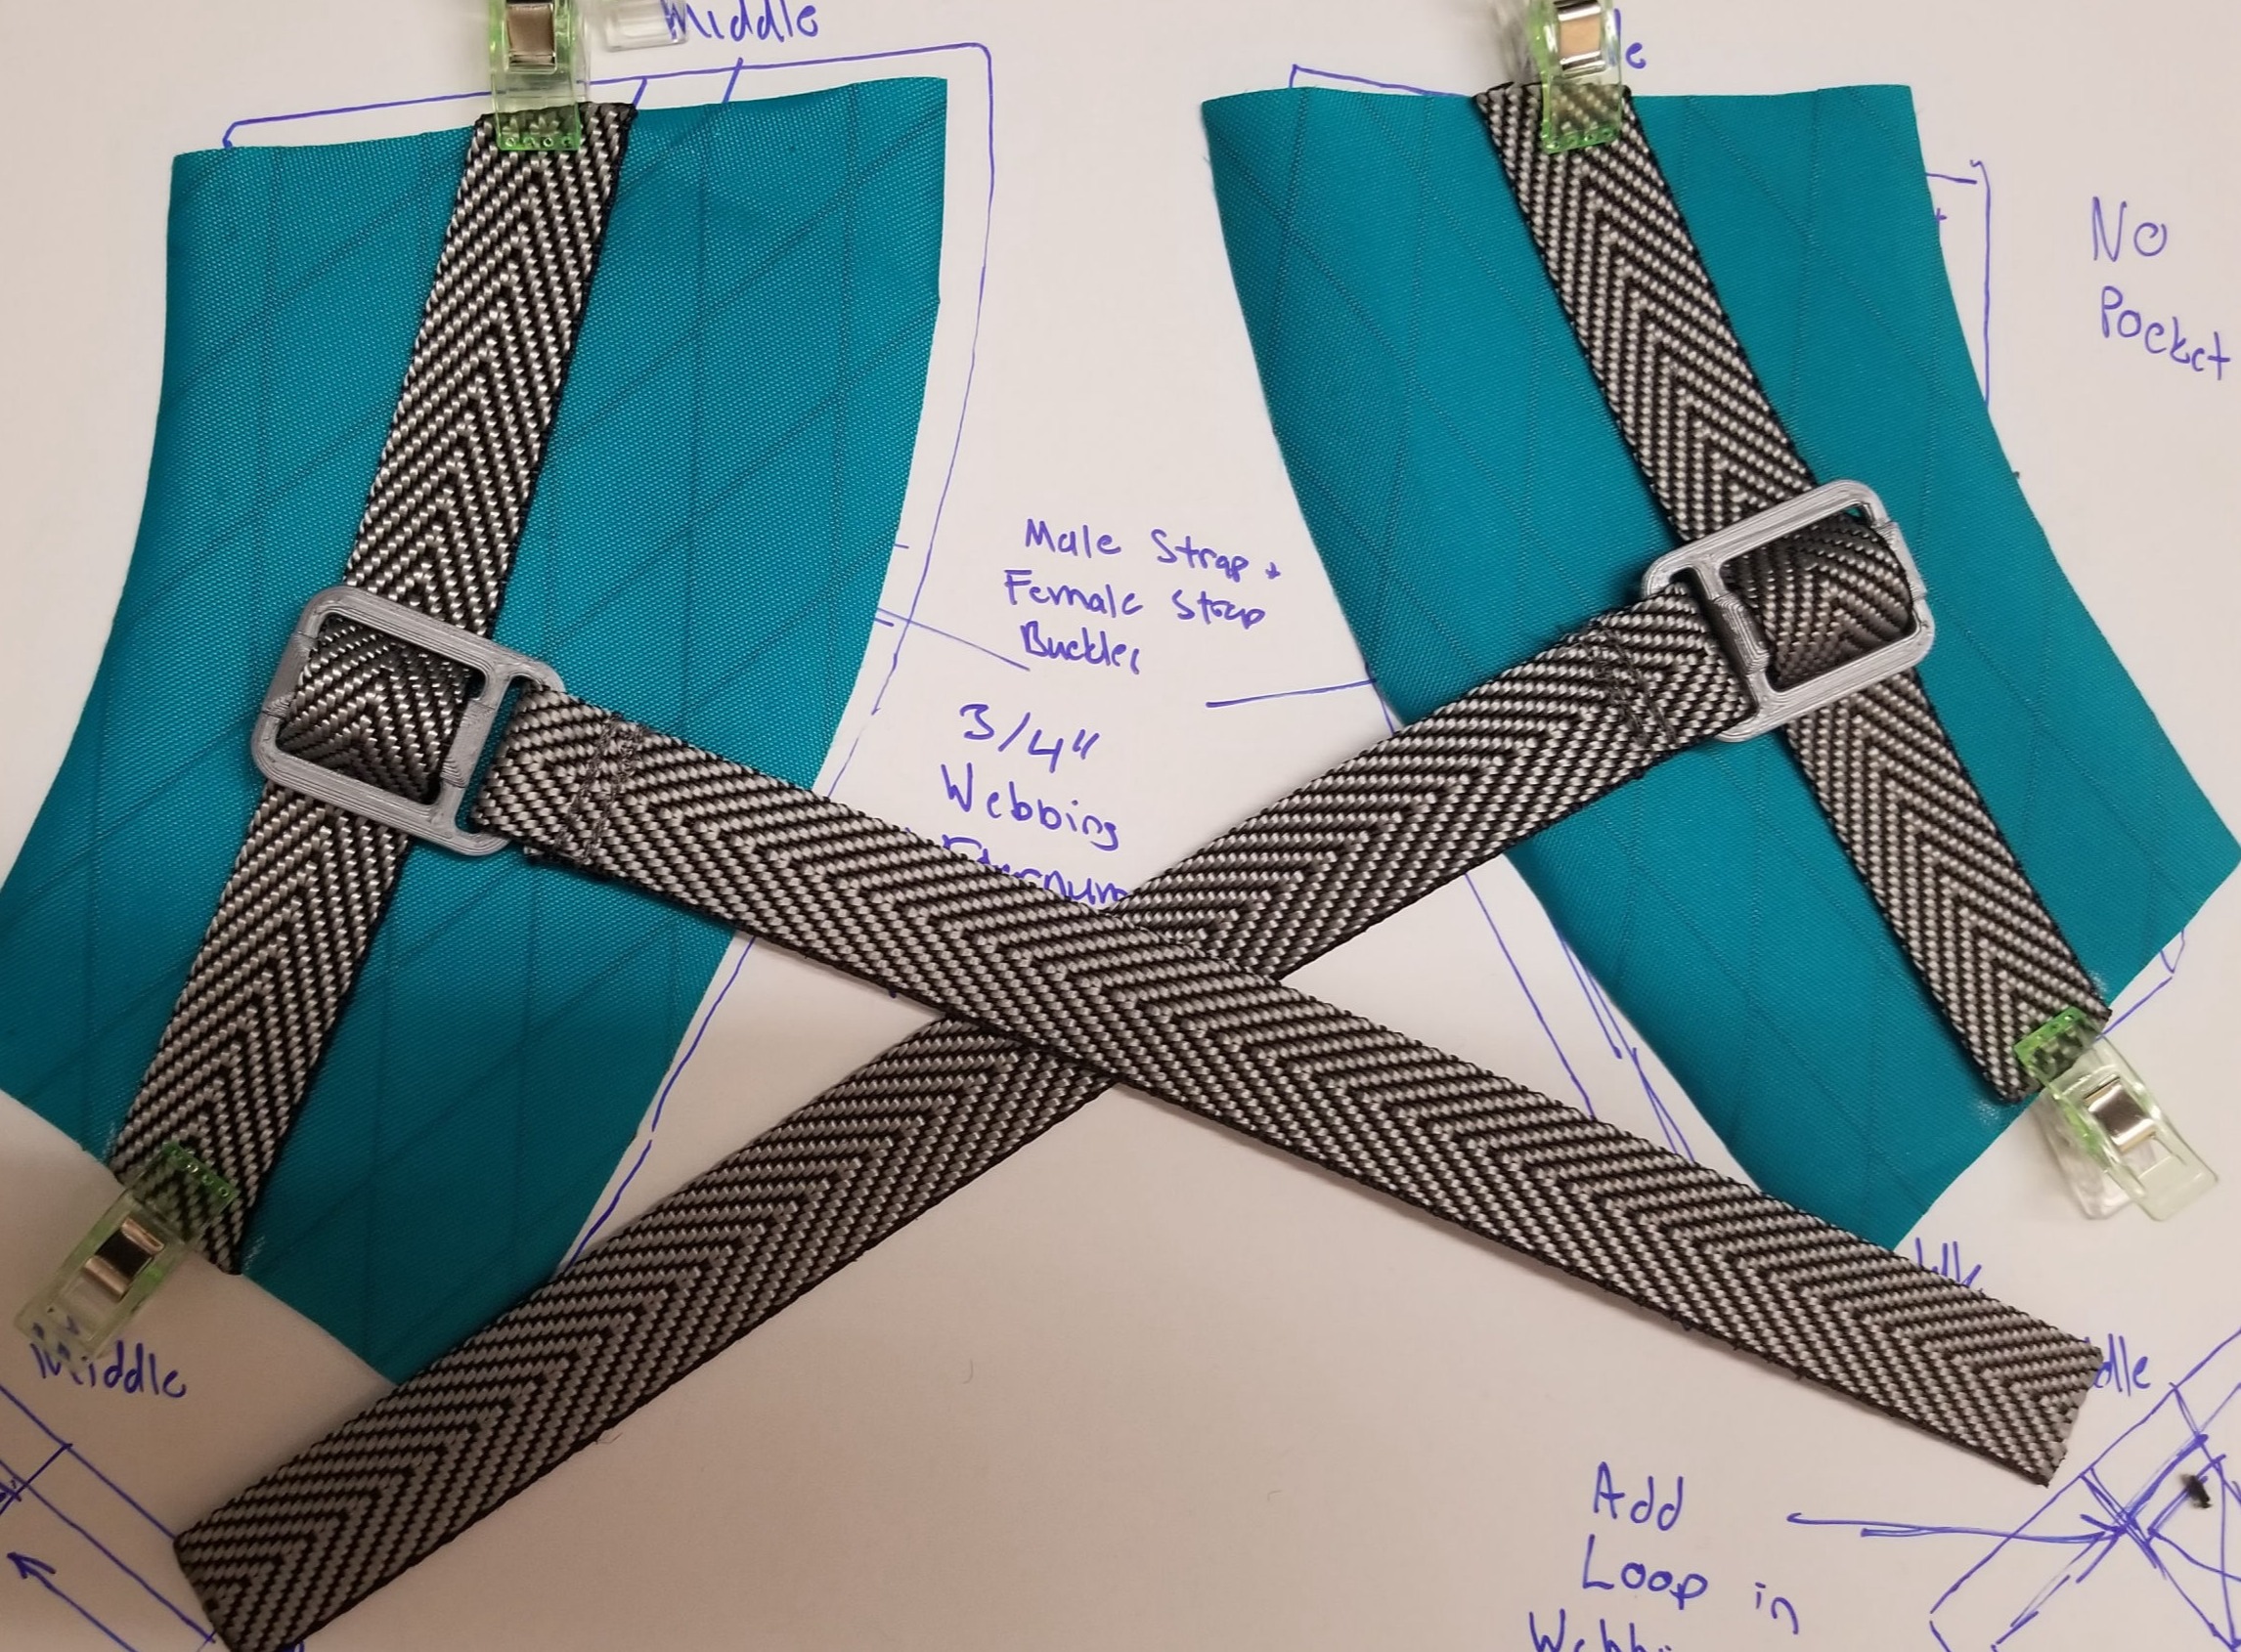
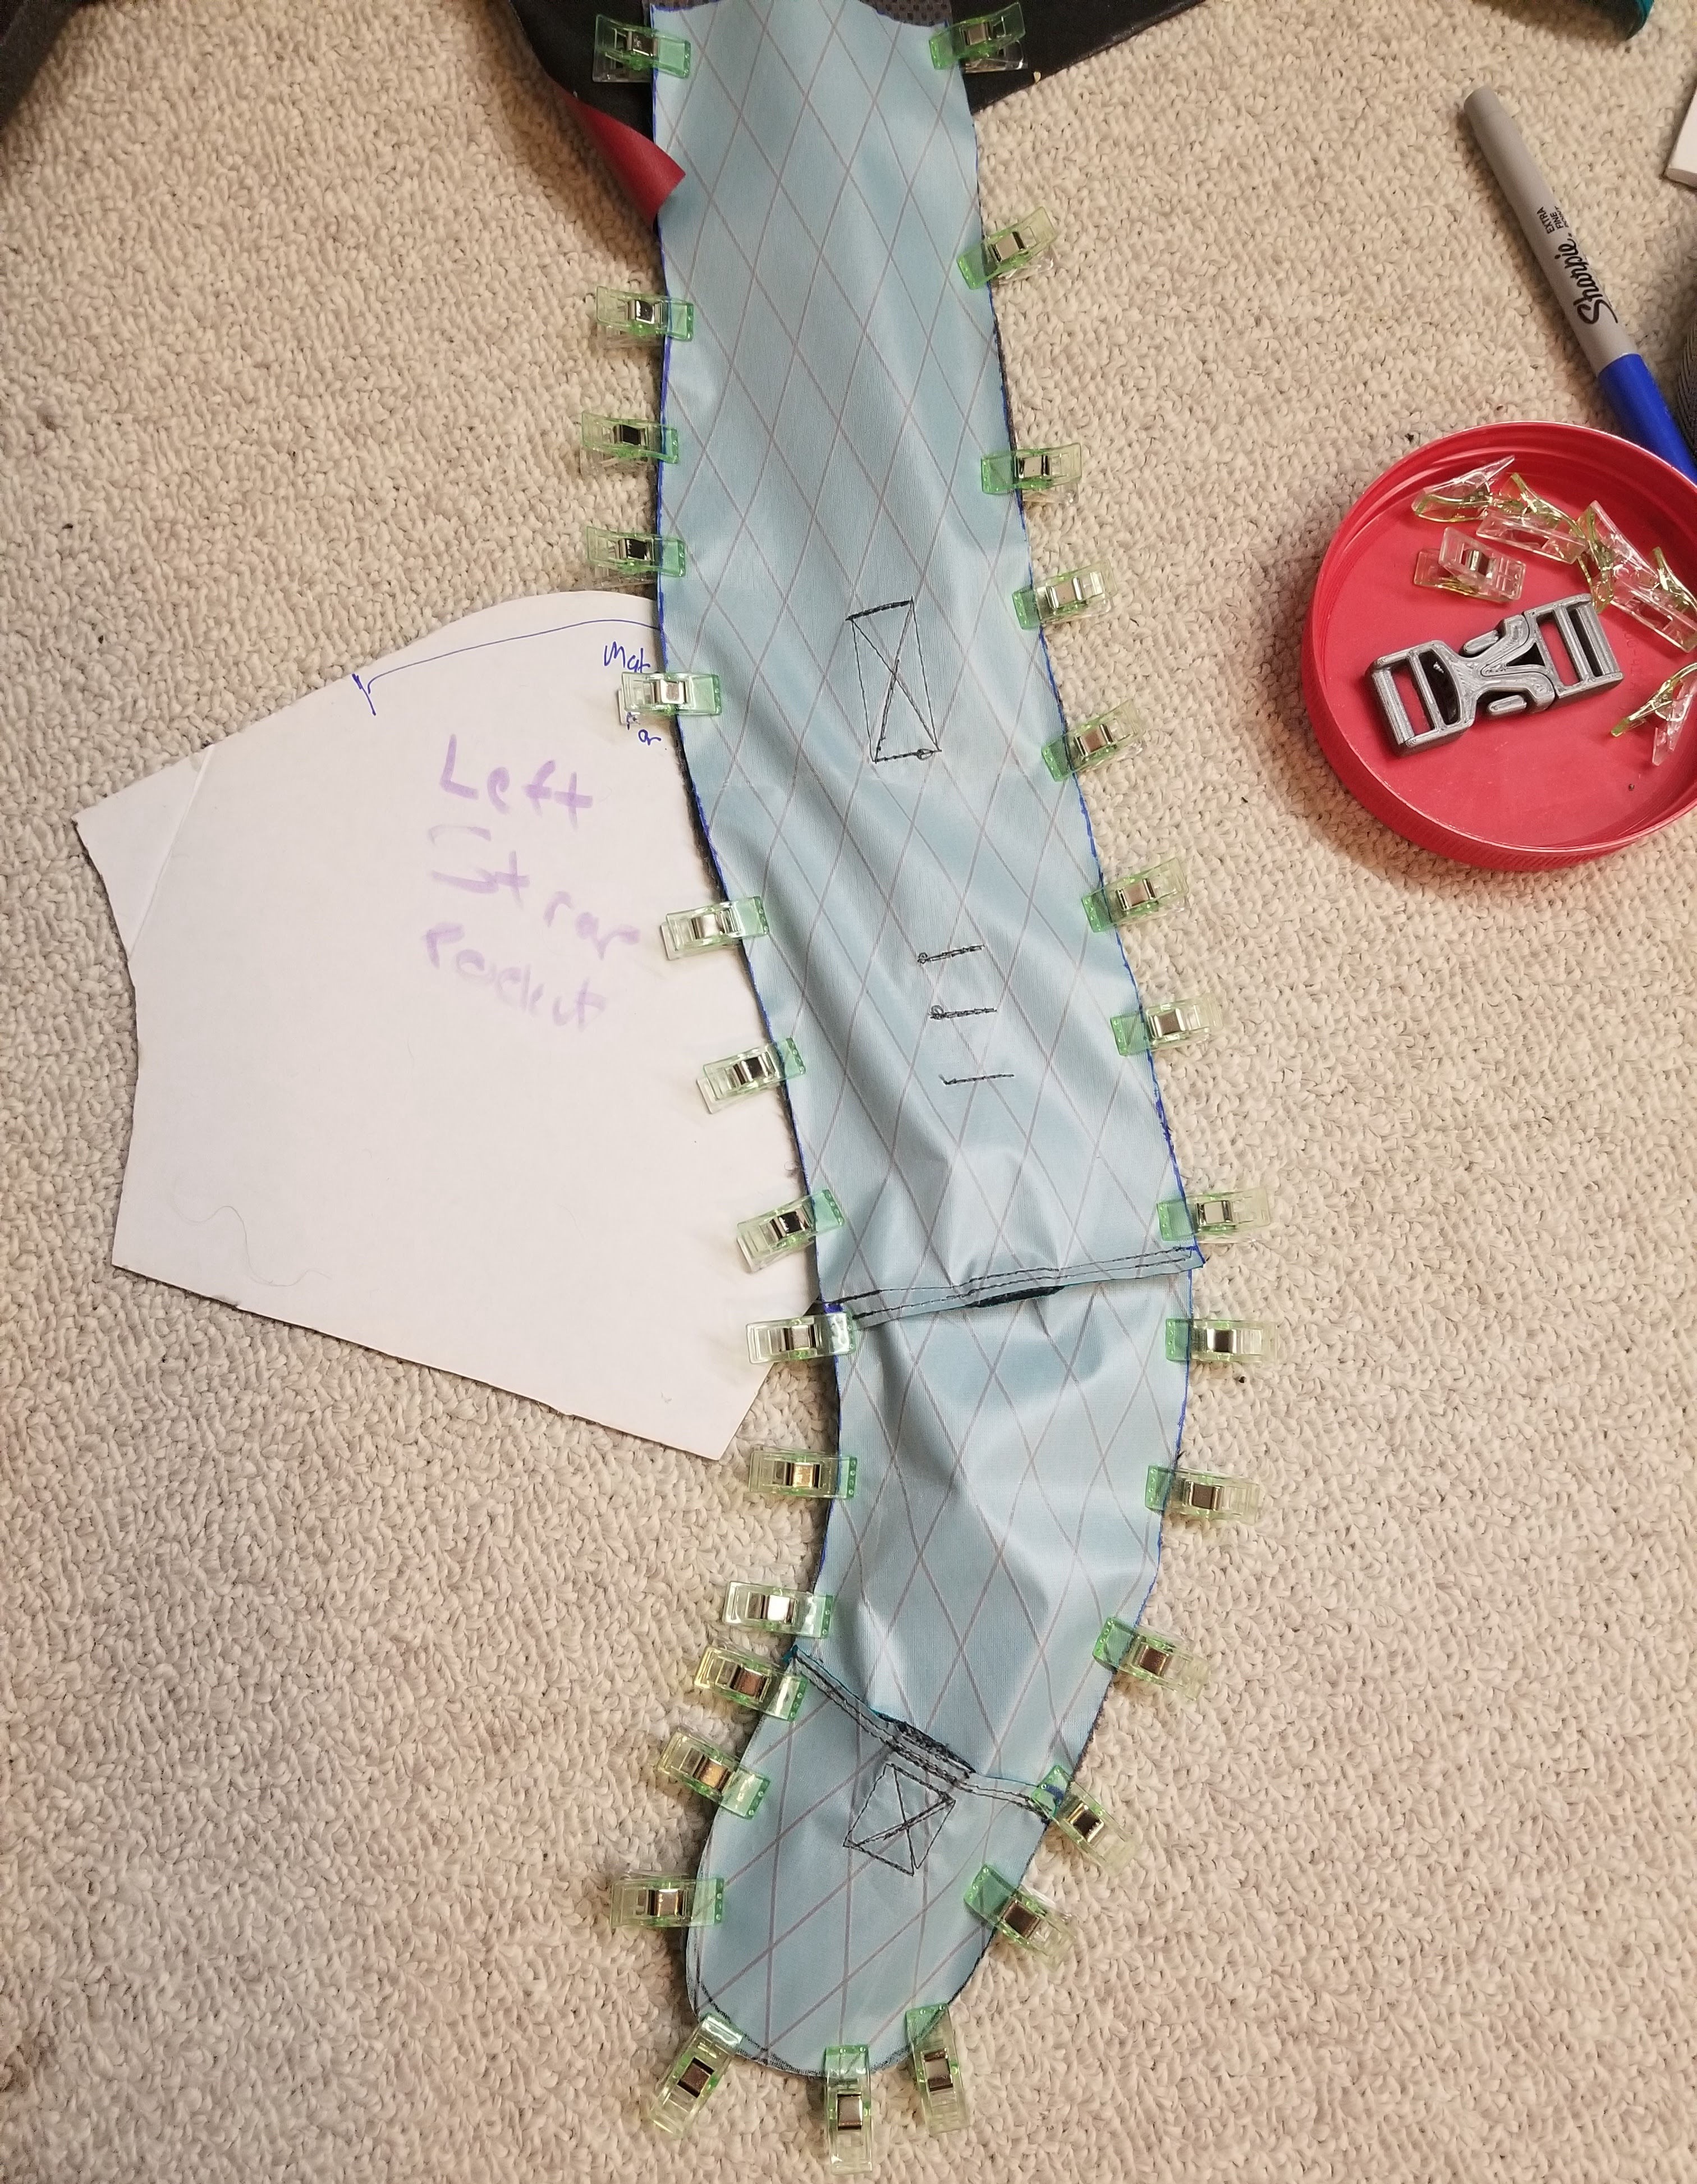
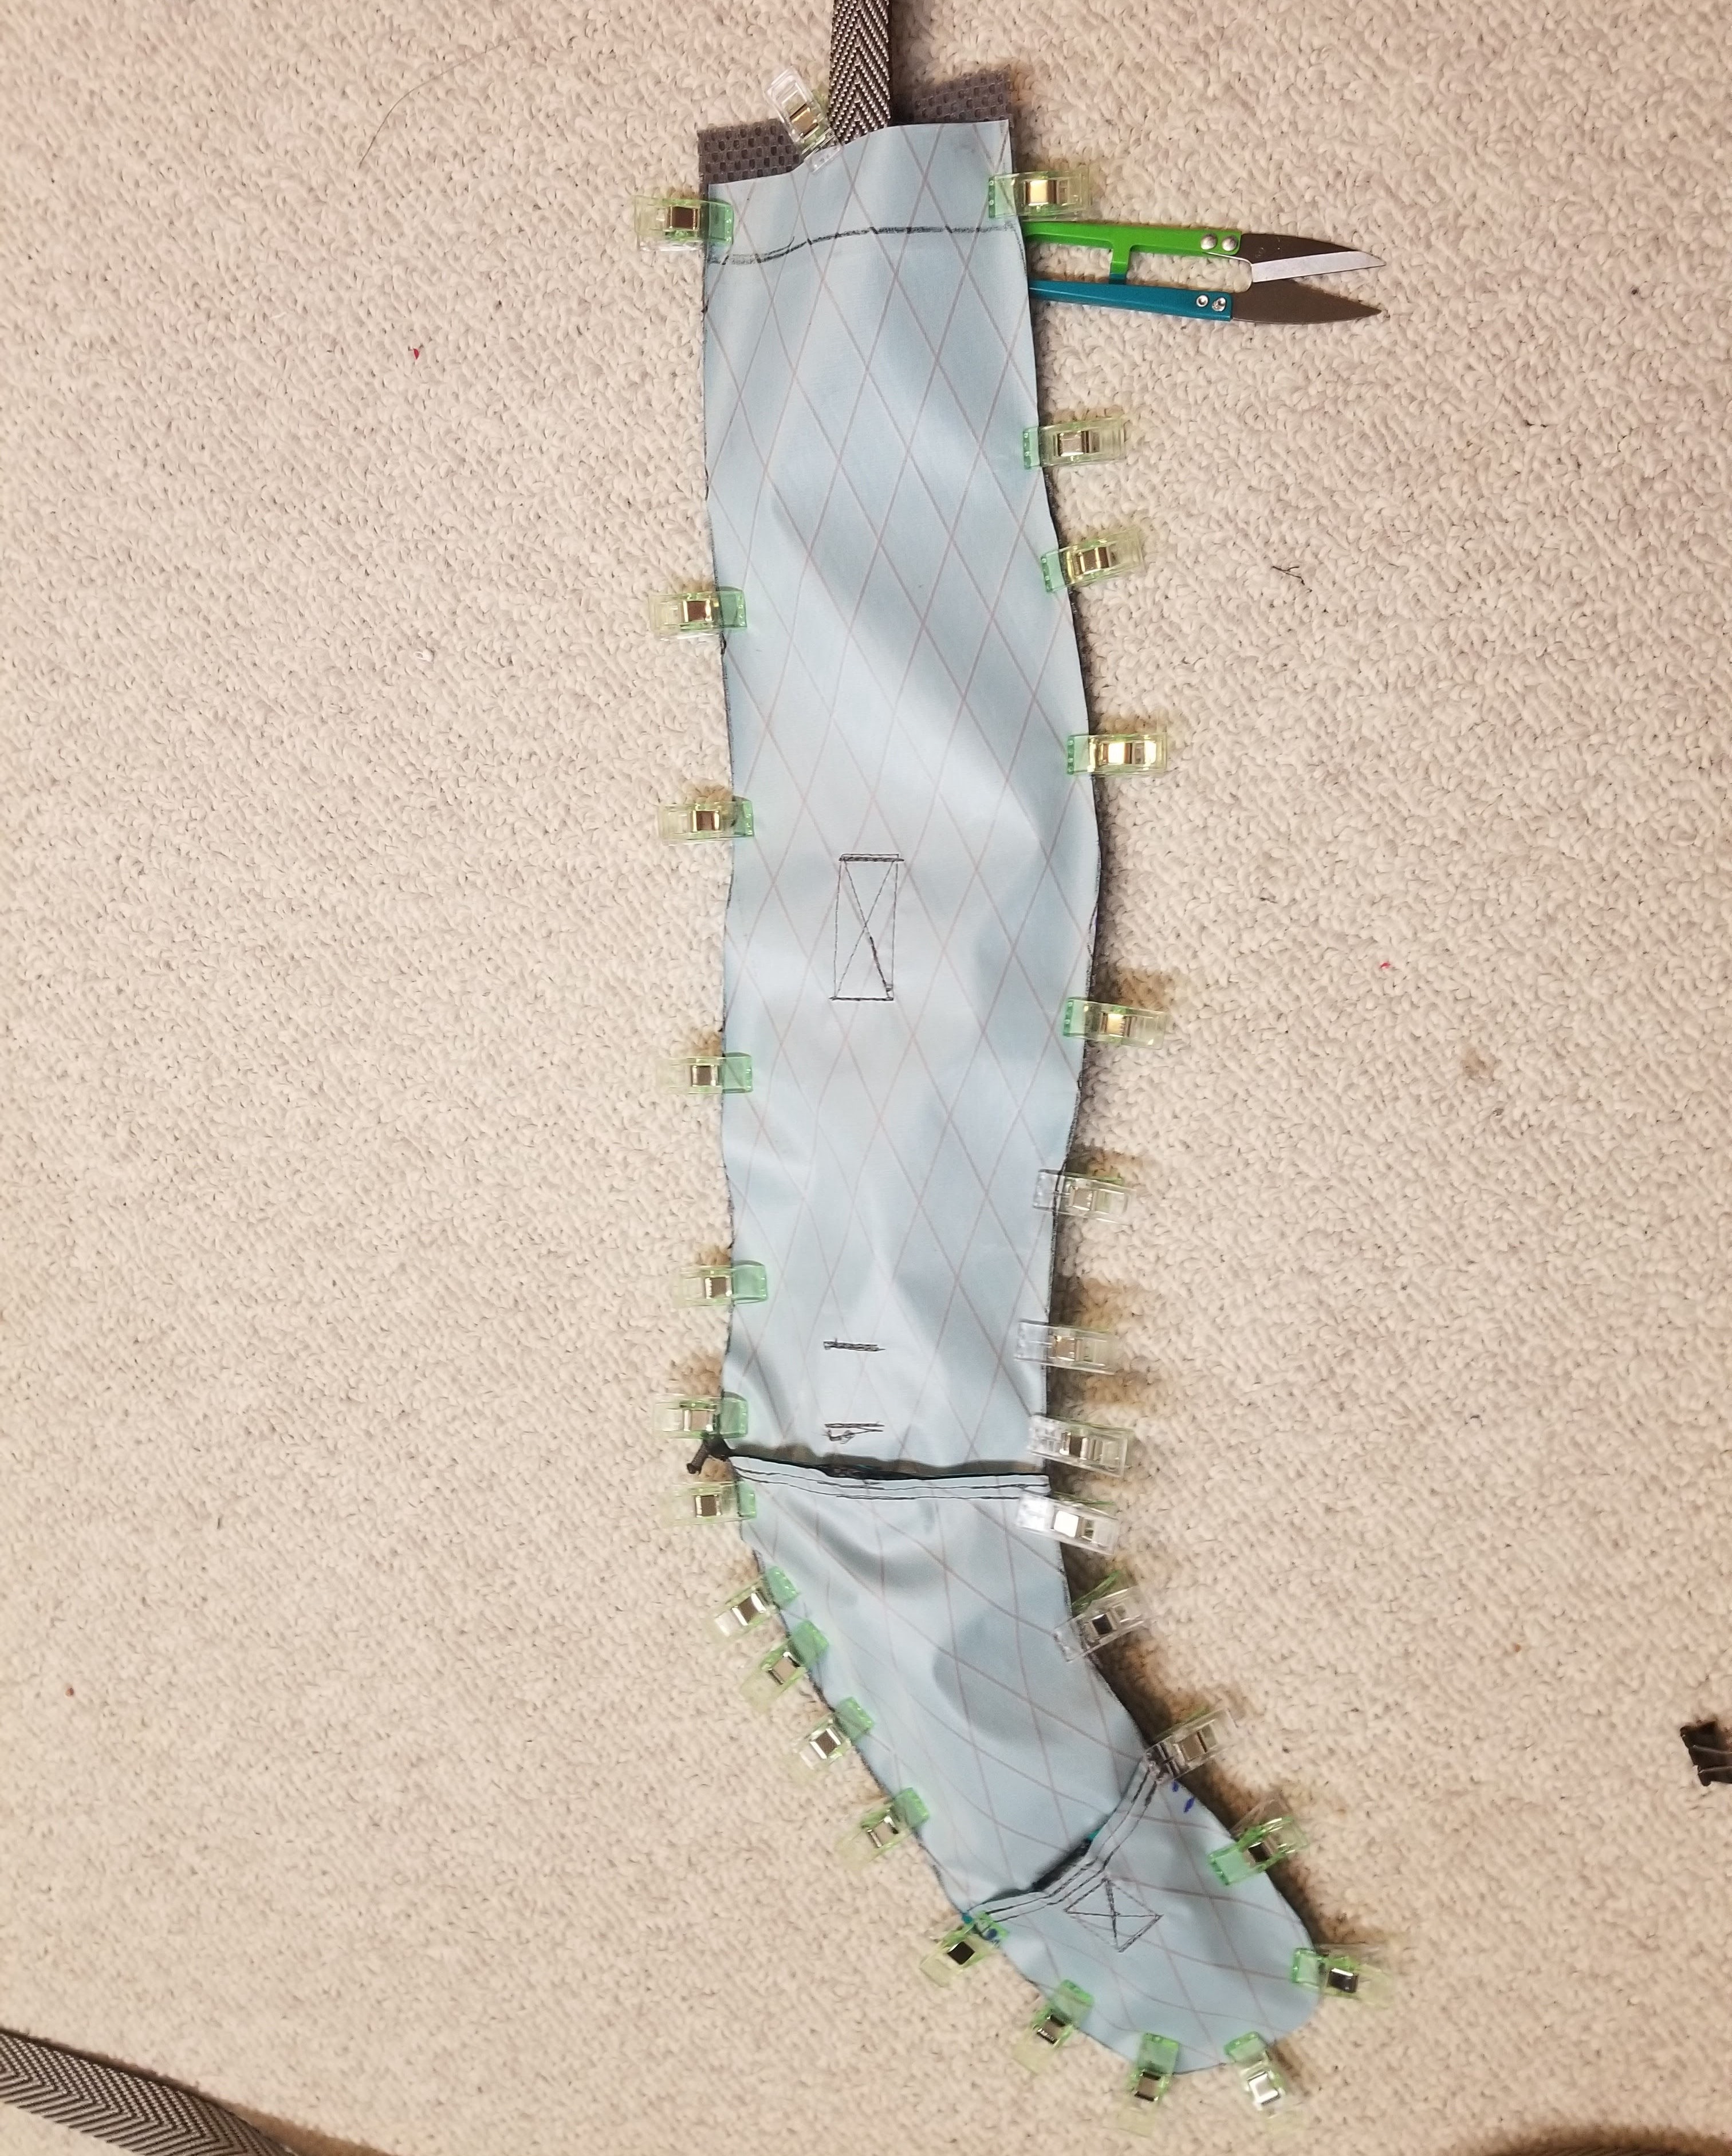
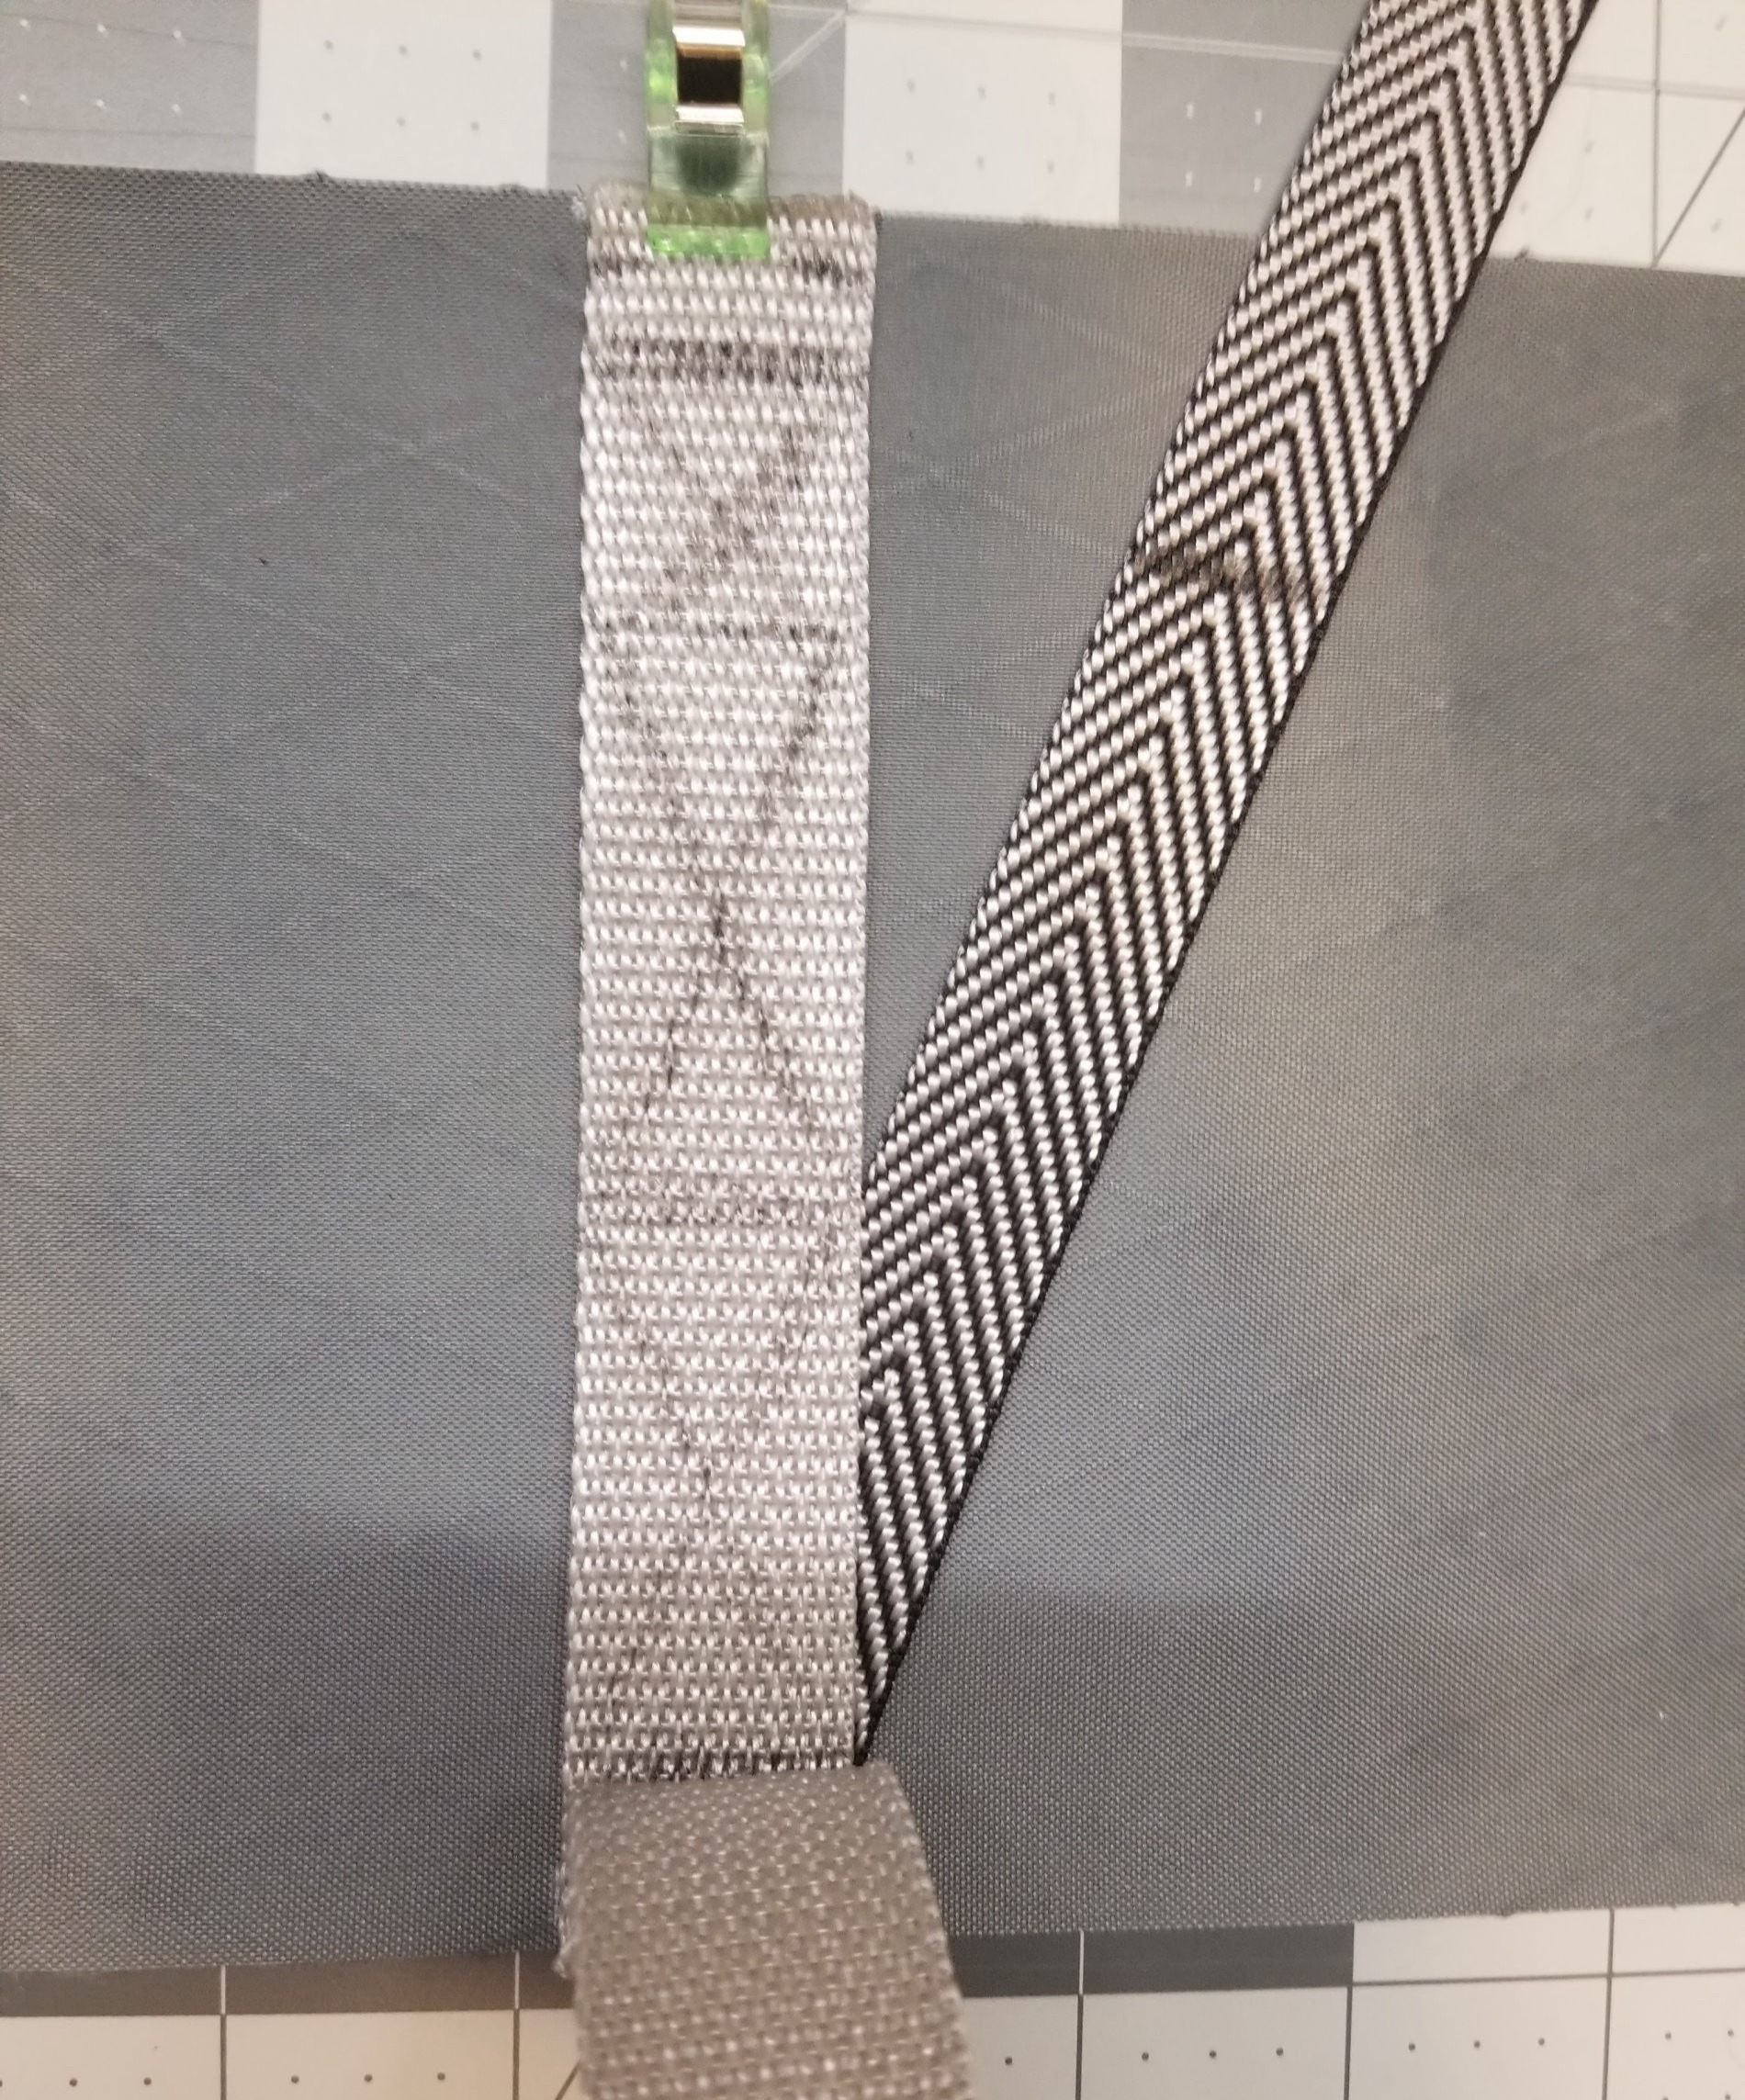
1. Shoulder Straps: Materials were traced, 3D mesh for back, foam for inserts, Teal X-Pac for three outer segments, Duraweave only for the InReach pocket, webbing for InReach side carabiner, and a webbing set up for the bear spray side. The shoulder strap guide was followed to make the straps. Webbing was attached to the middle pieces for the sternum strap, webbing to the top, boxed at about 6-7.5” under the top of the top piece for the load lifters, and about 3-4” of webbing on the bottom piece with a ladder lock attached. Once the straps are sewn, they were turned right-side out and stuff with foam. Shoulder Strap Guide

Shoulder Straps

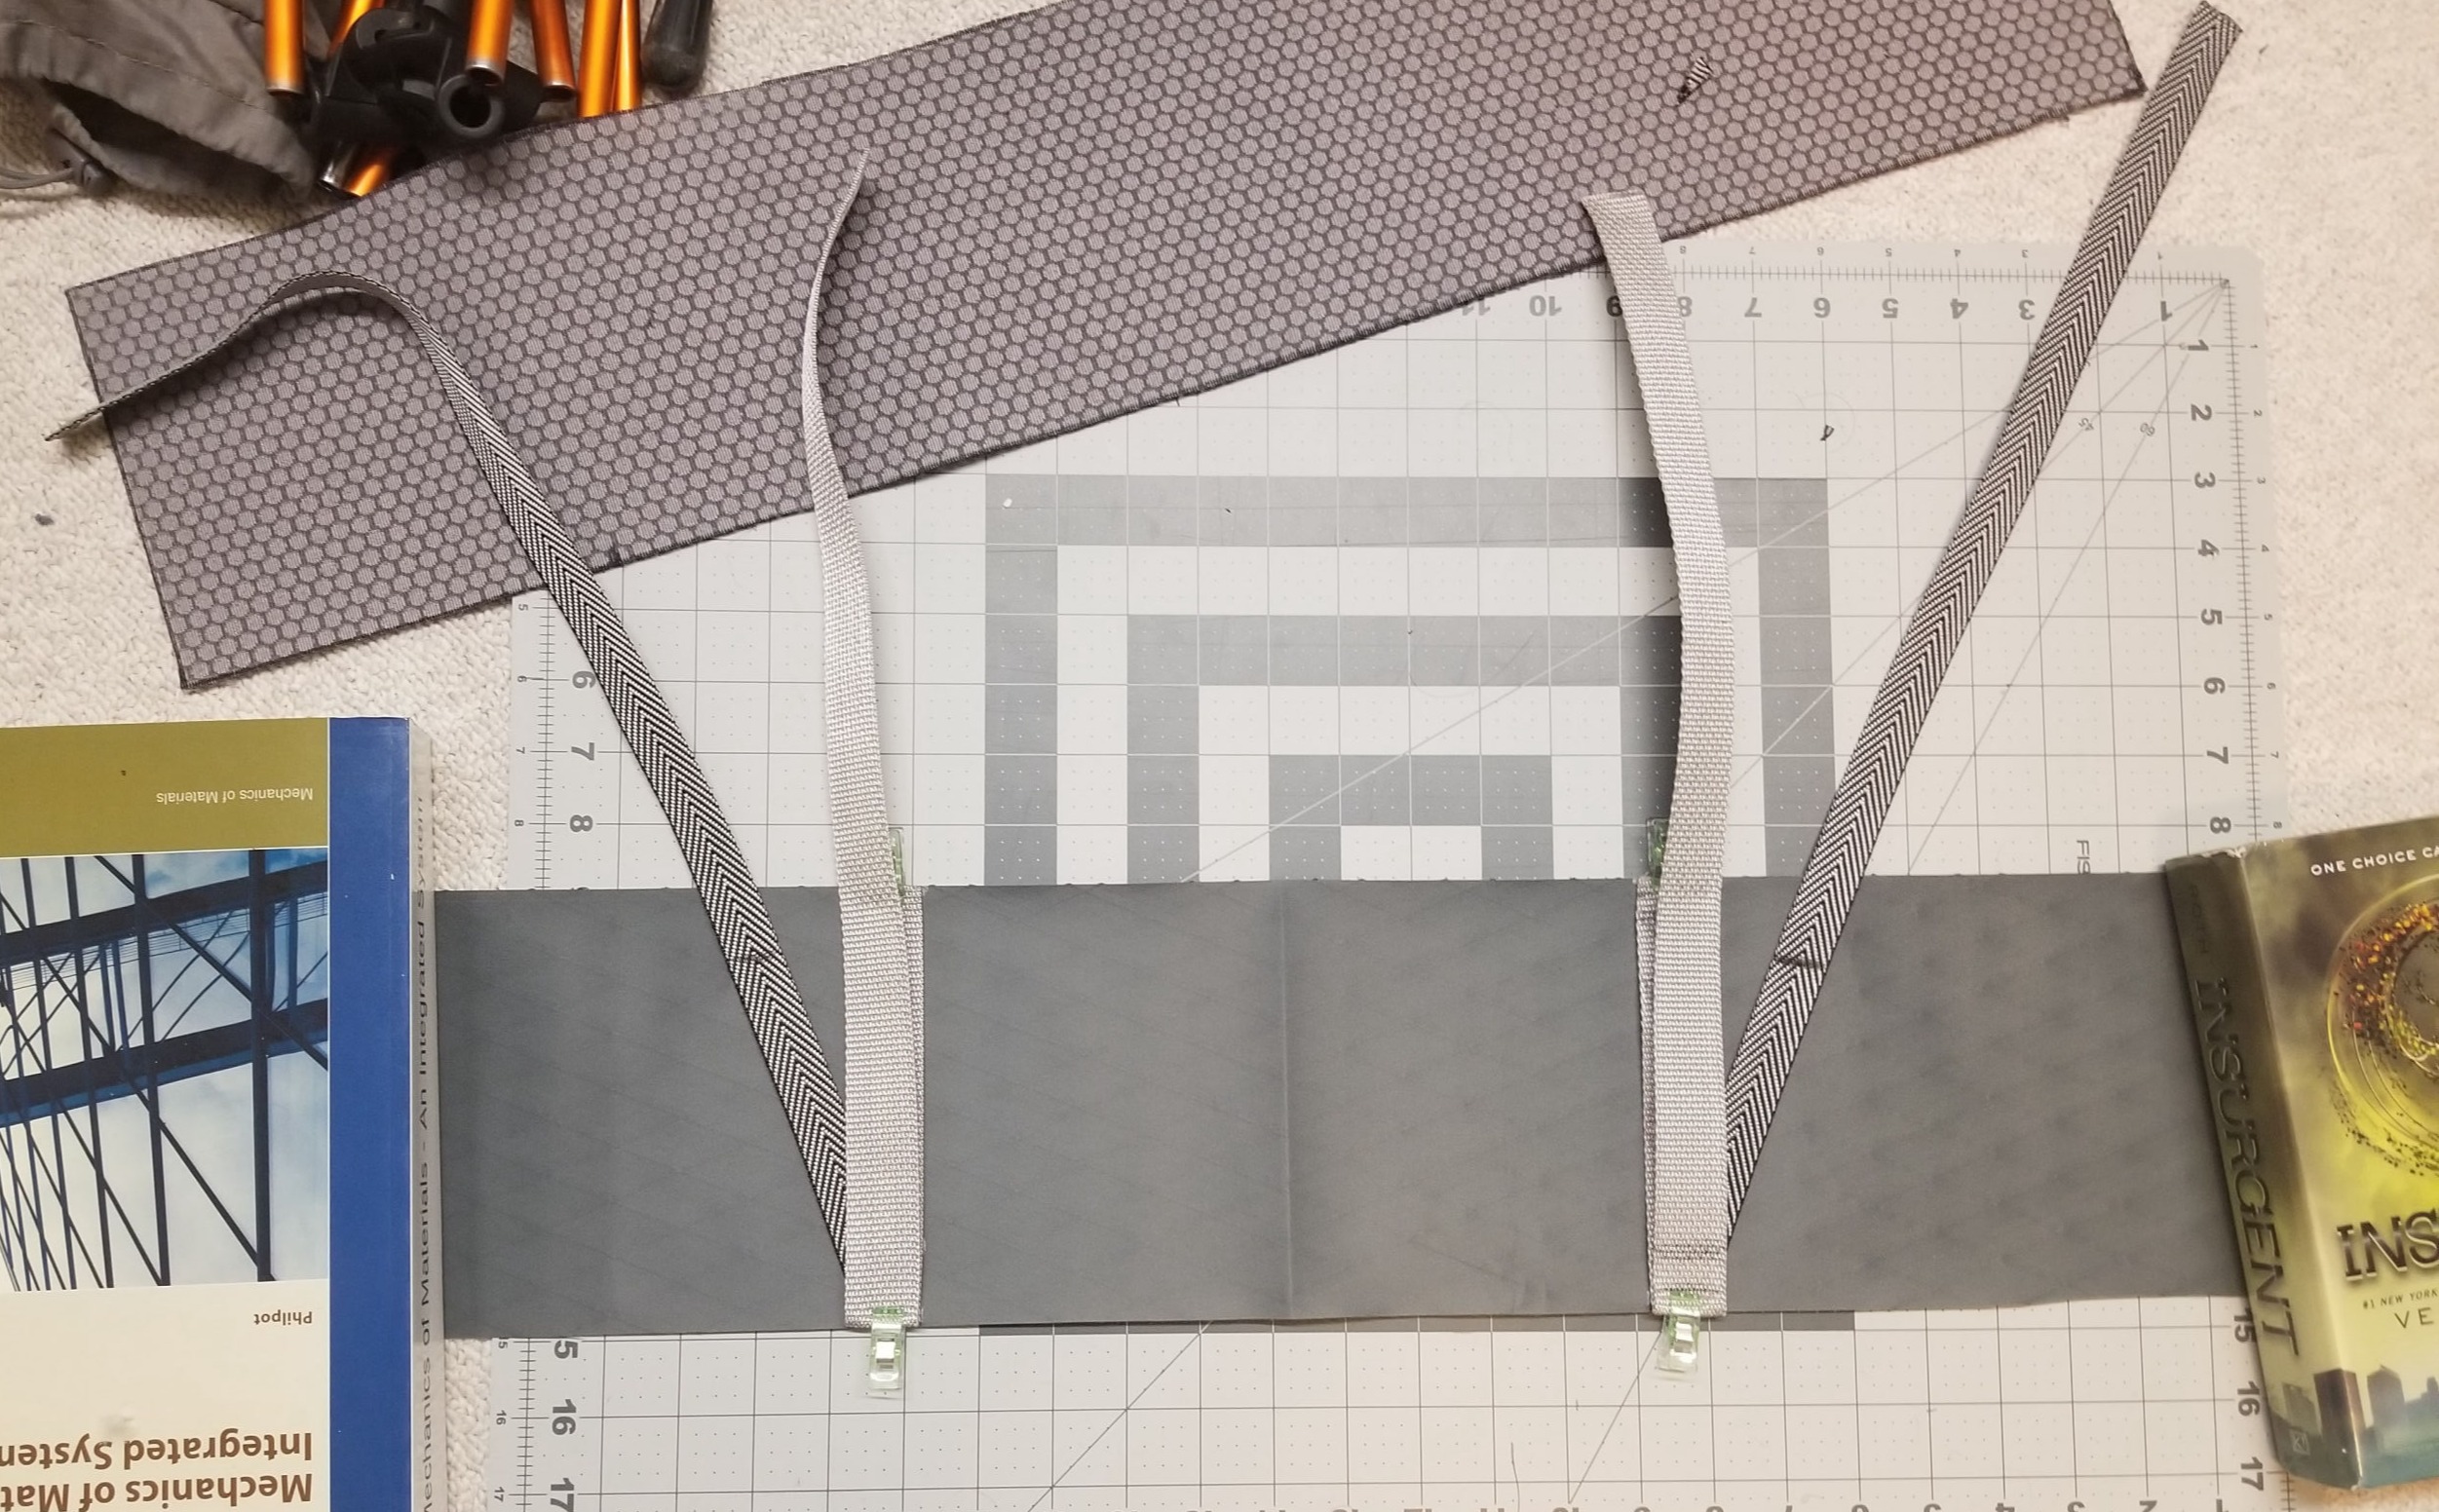
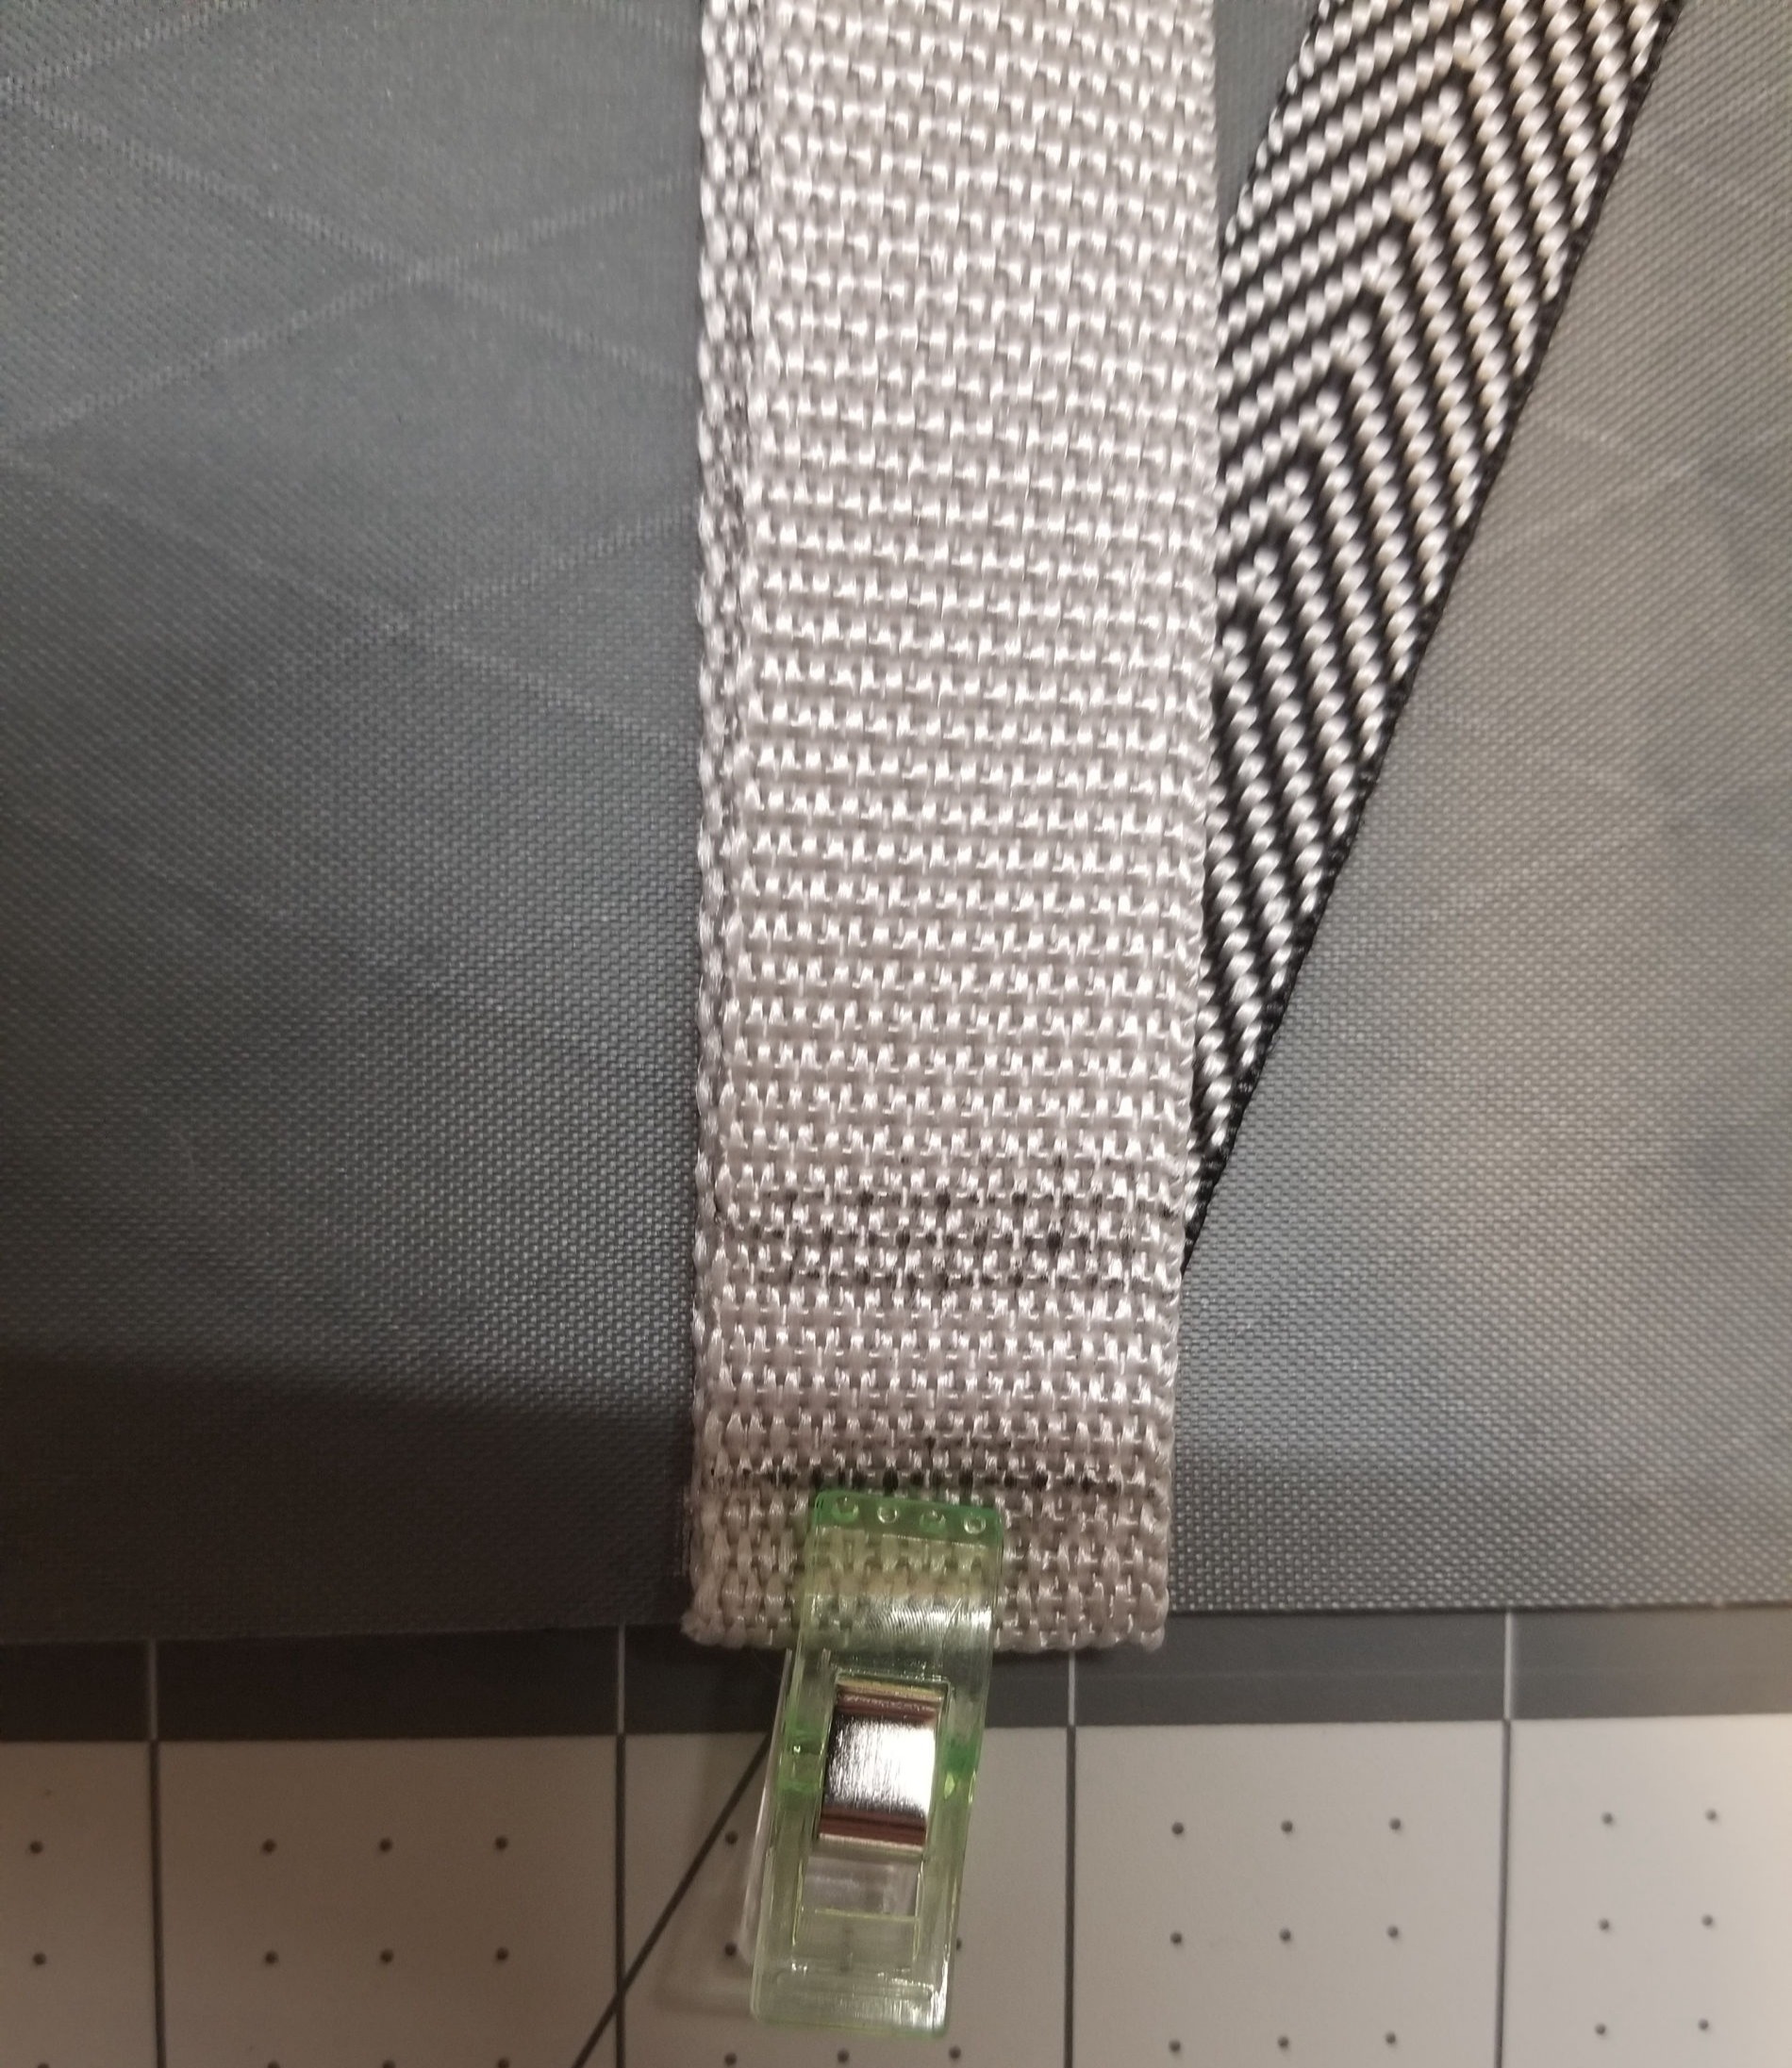
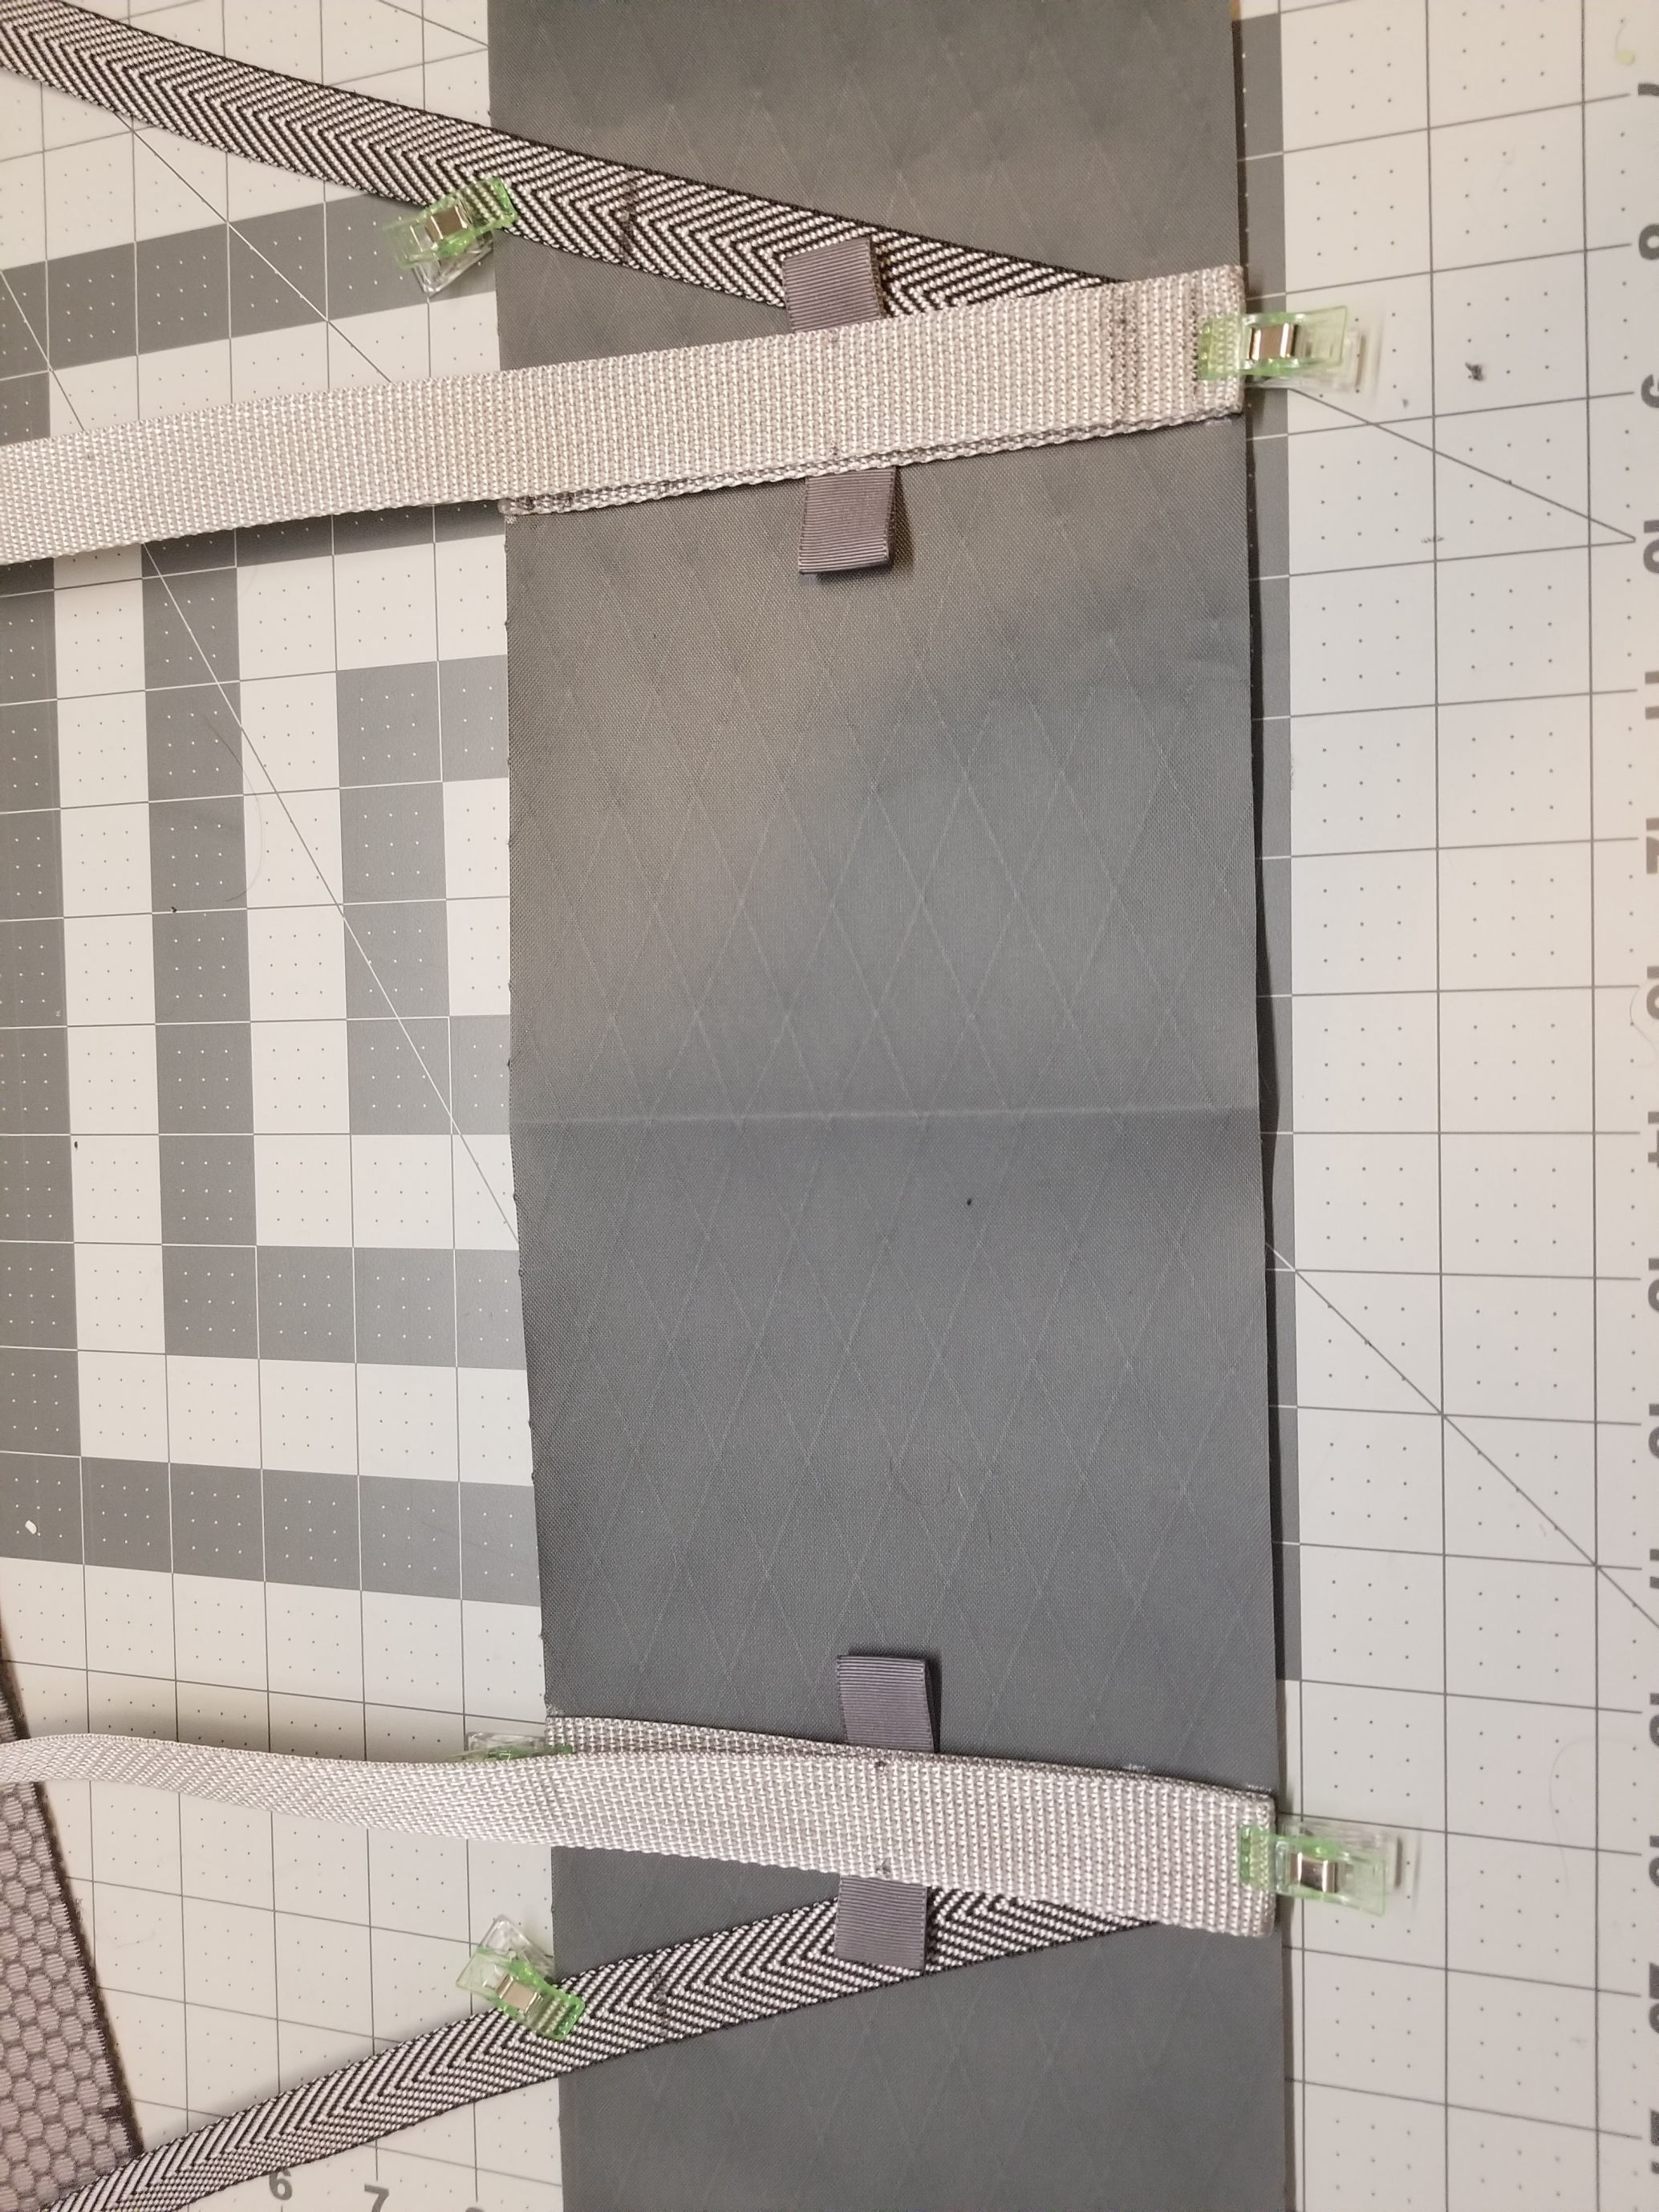
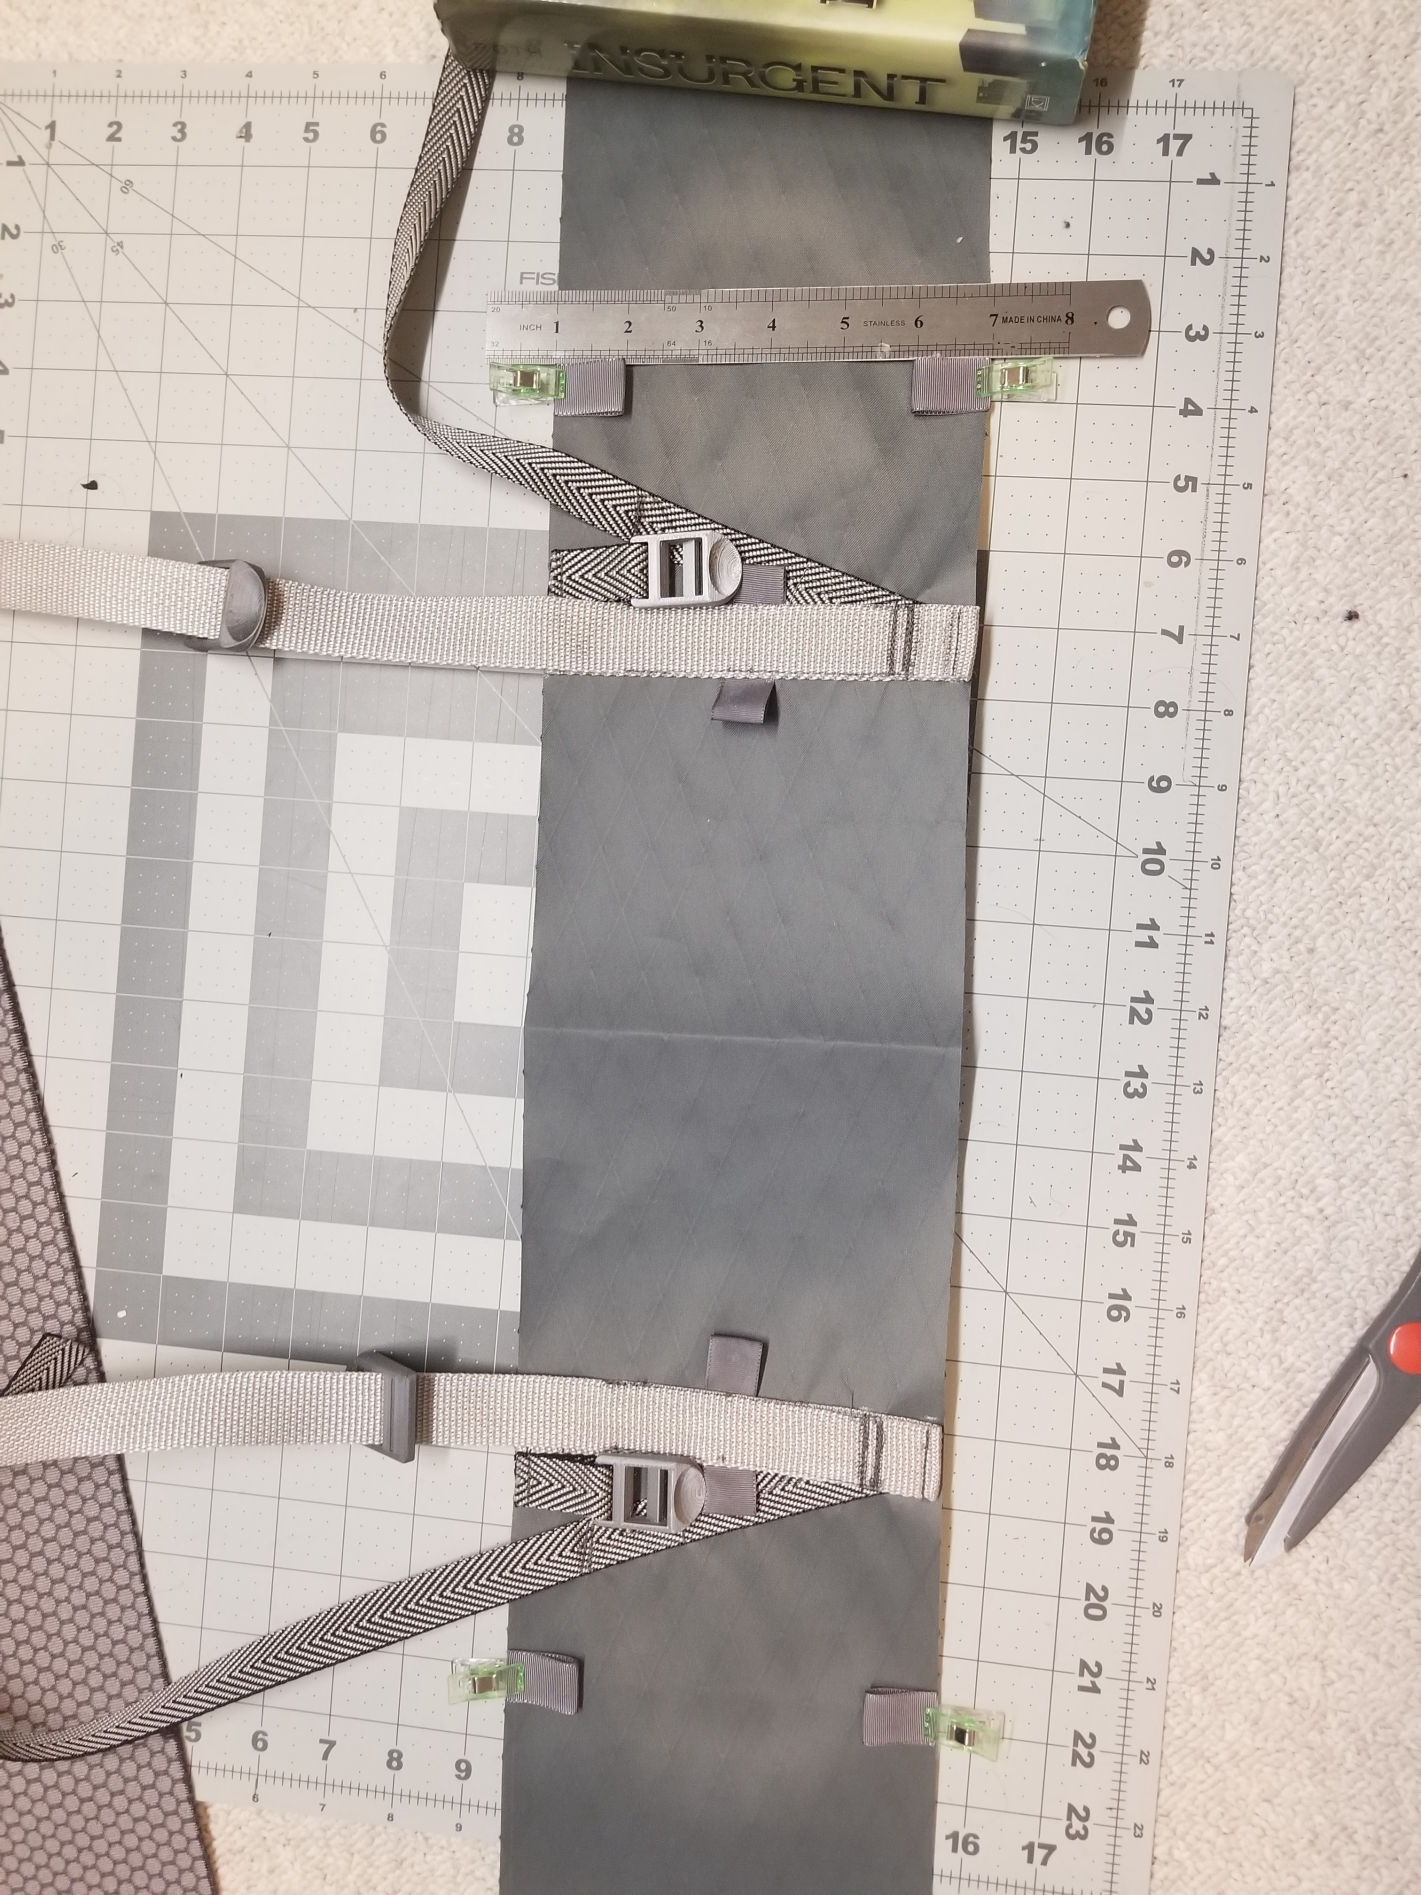
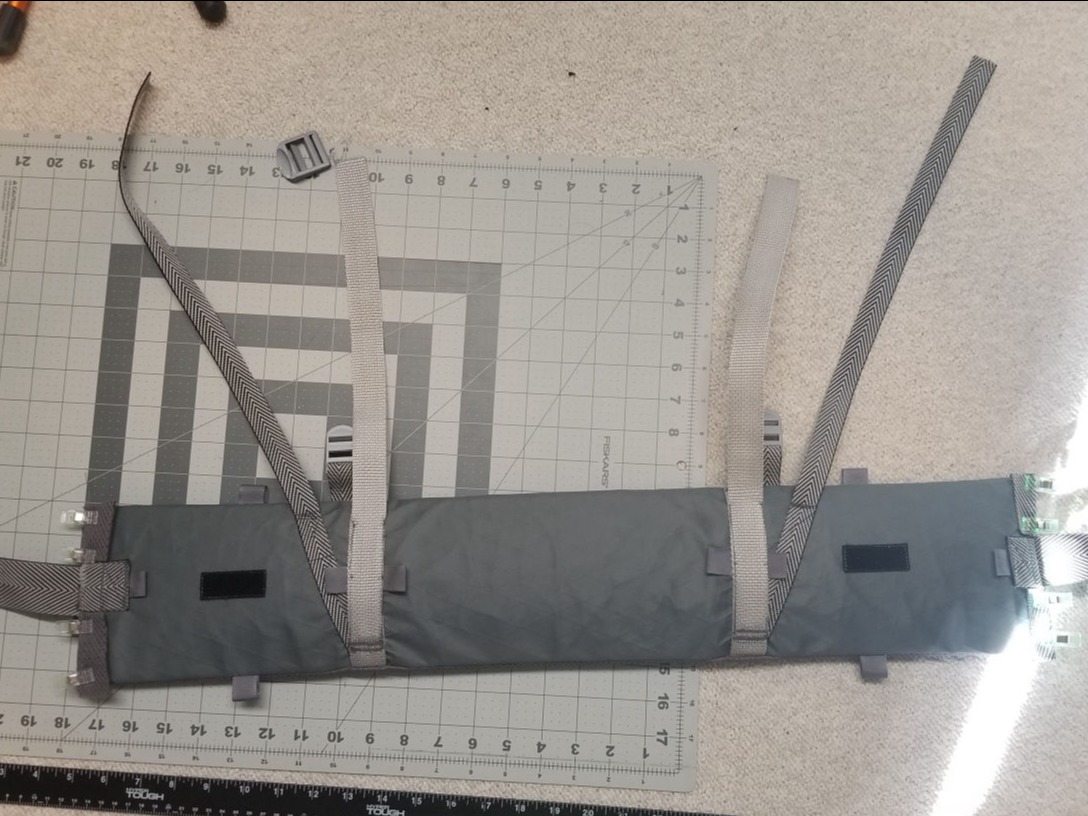
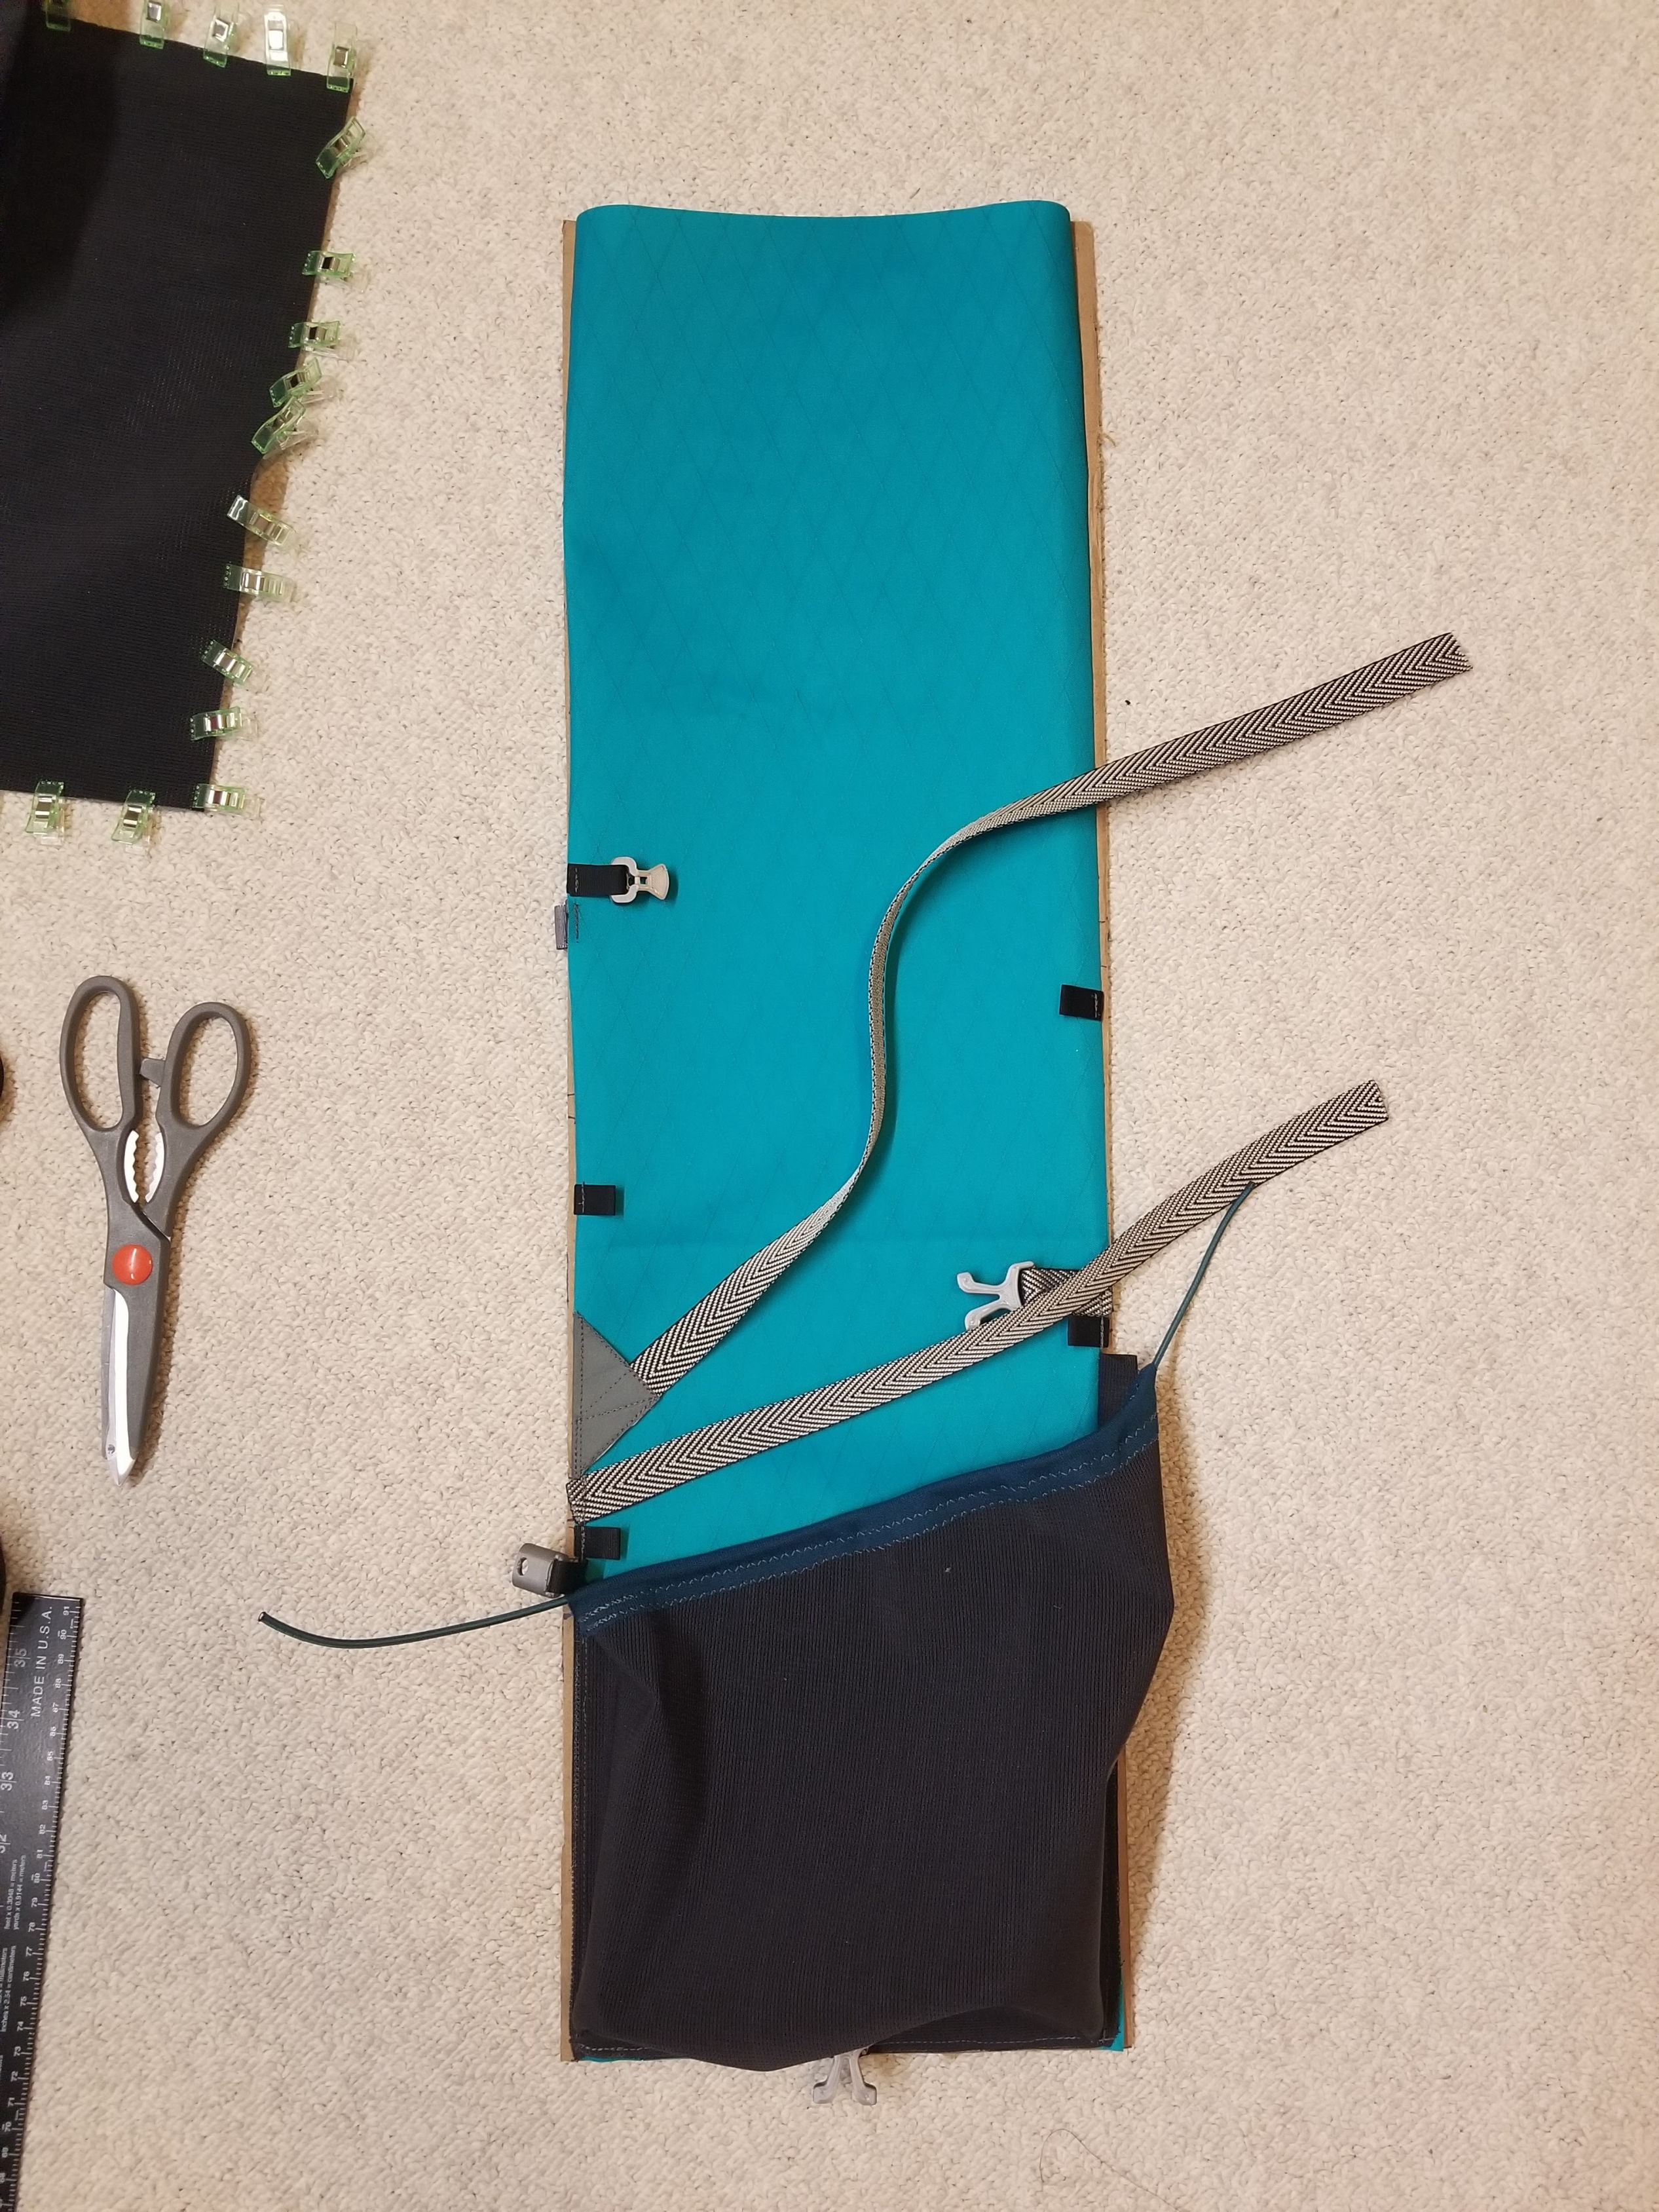
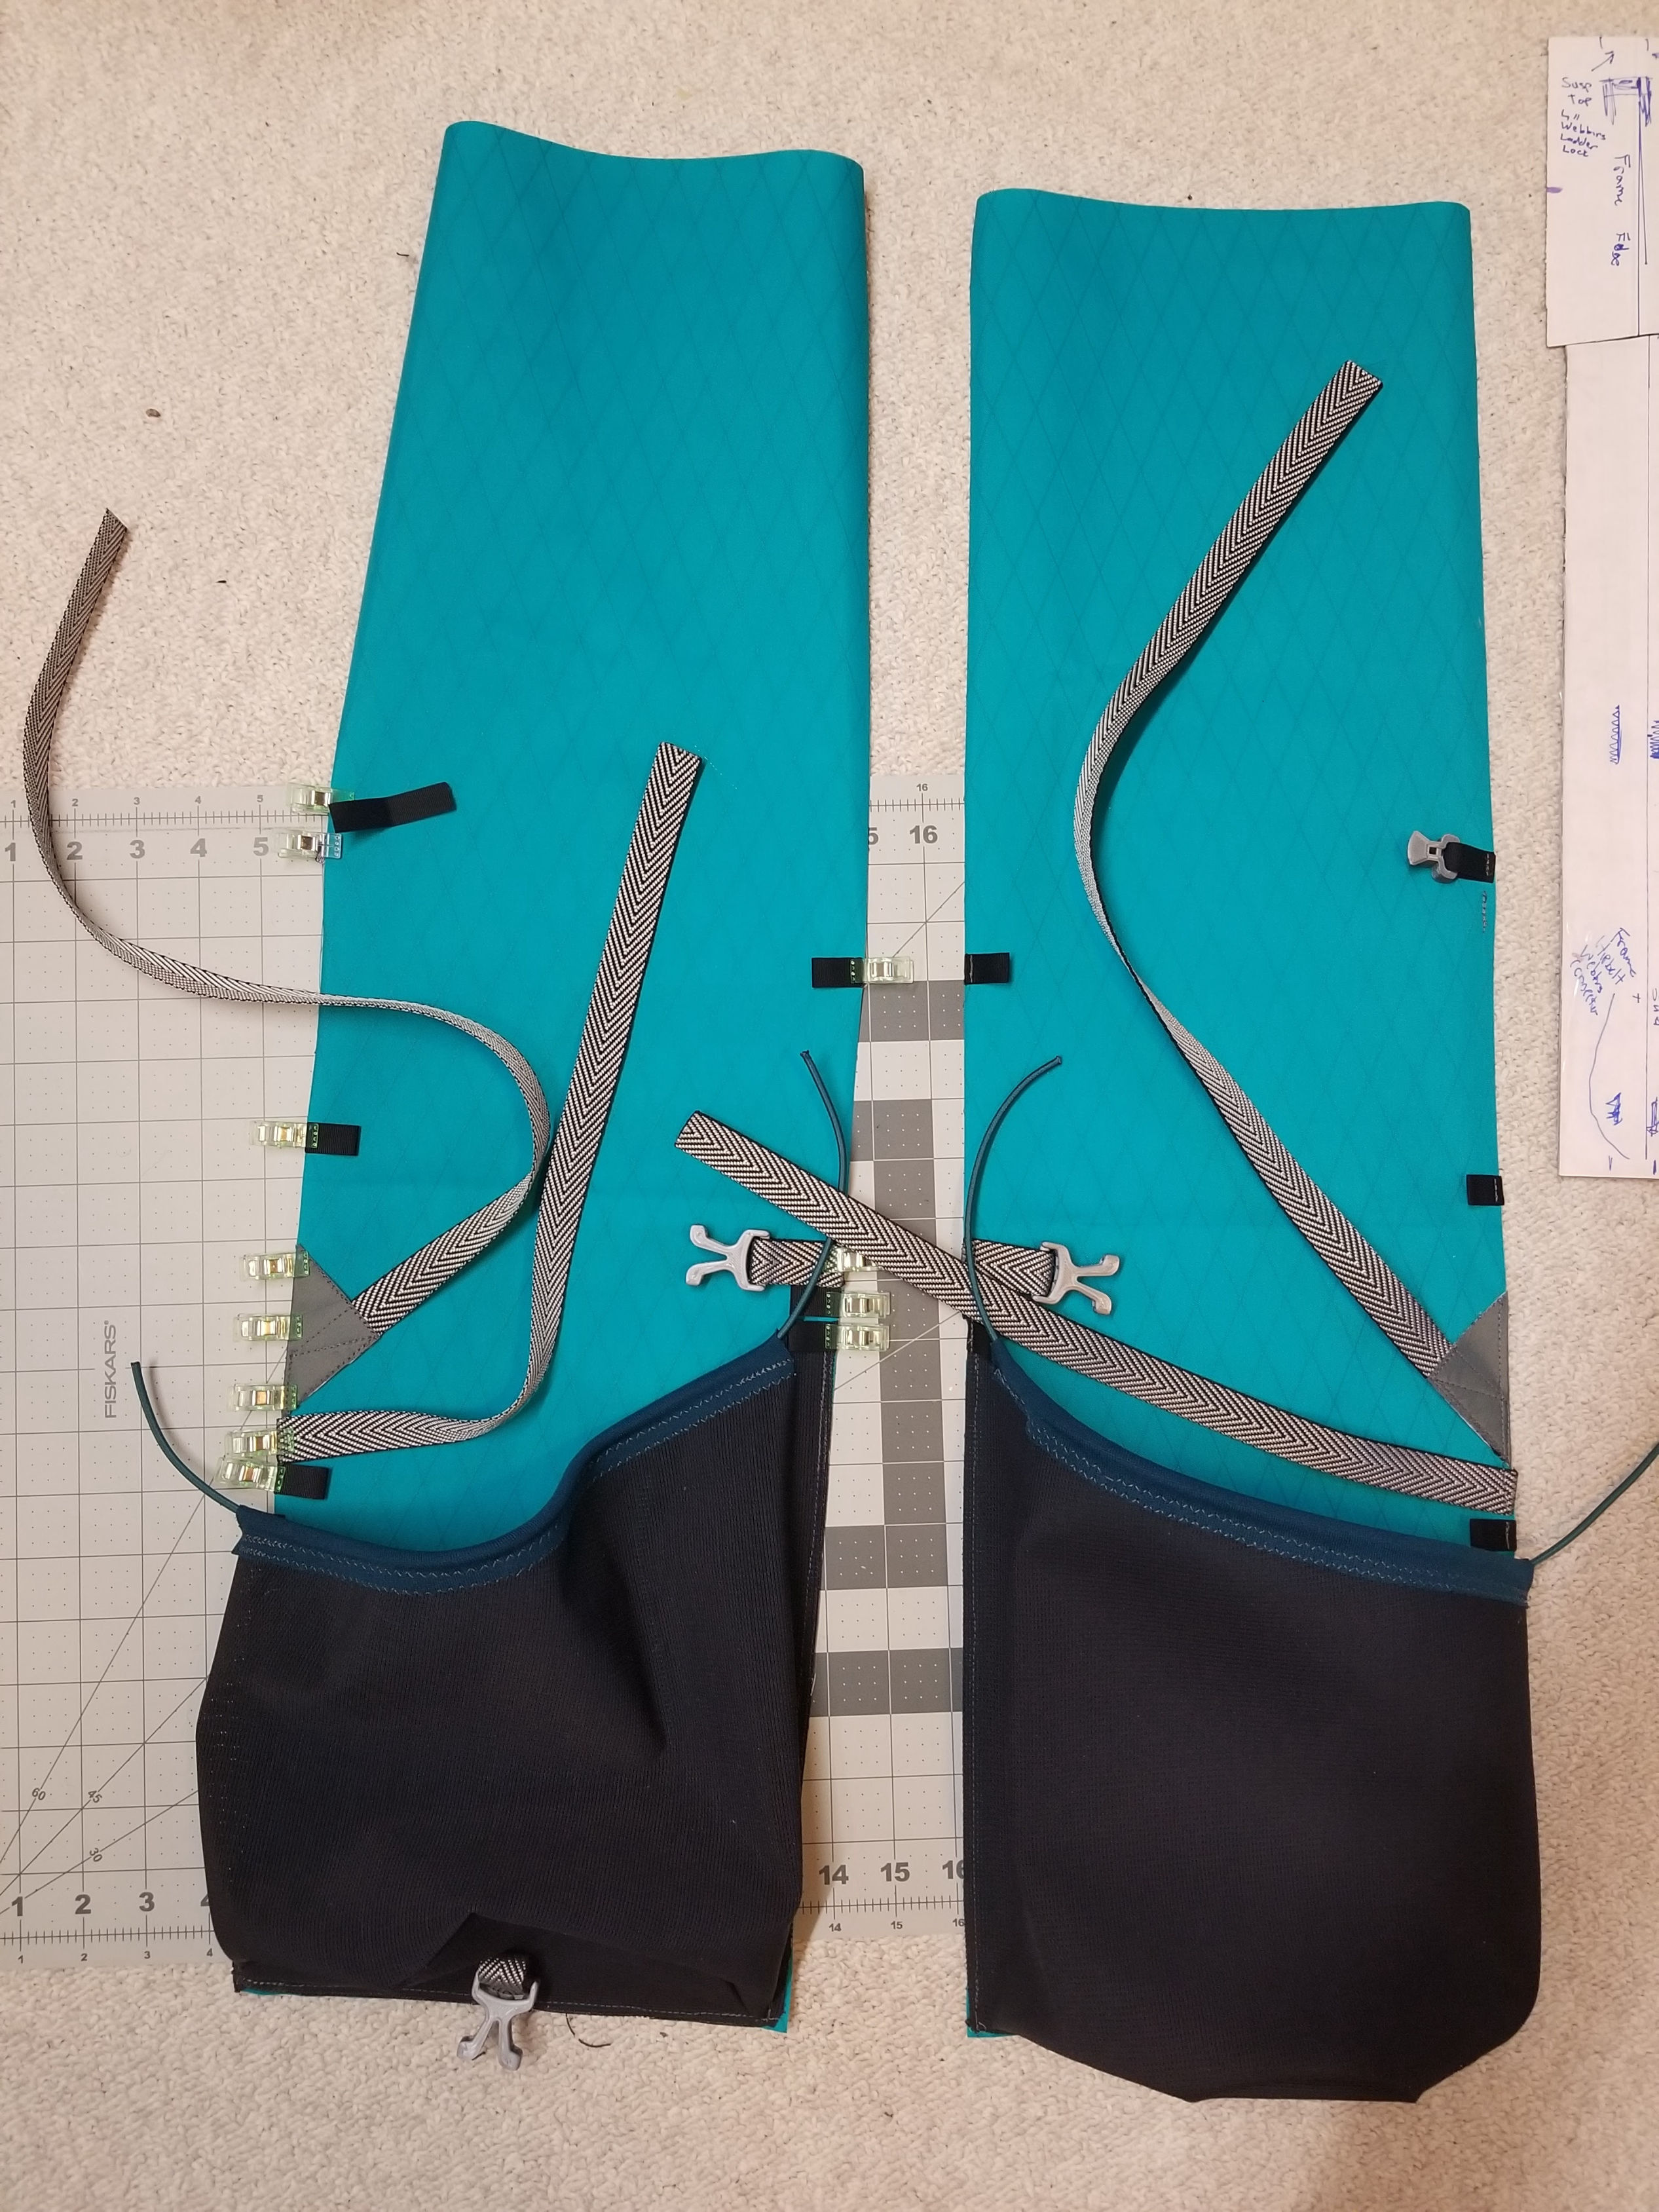
2. Hip Belt Frame Bottom Stop Assembly: Shoulder strap webbing was sewn onto hip belt back panel first at a slight angle. The frame bottom stop was sewn next with a single piece following the layout below. A pattern guide was referenced to create the frame bottom stop webbing assembly. It was reinforced extremely well, as the frame carries most of the forces on the pack to this location. The Silkey Clip attachment points were sewn into the frame channel assembly. Finally,  the suspension ladderlocks and the hip pocket top and bottom Silkey Clip attachment points were sewn on.

Hip Belt Frame Bottom Stop Assembly

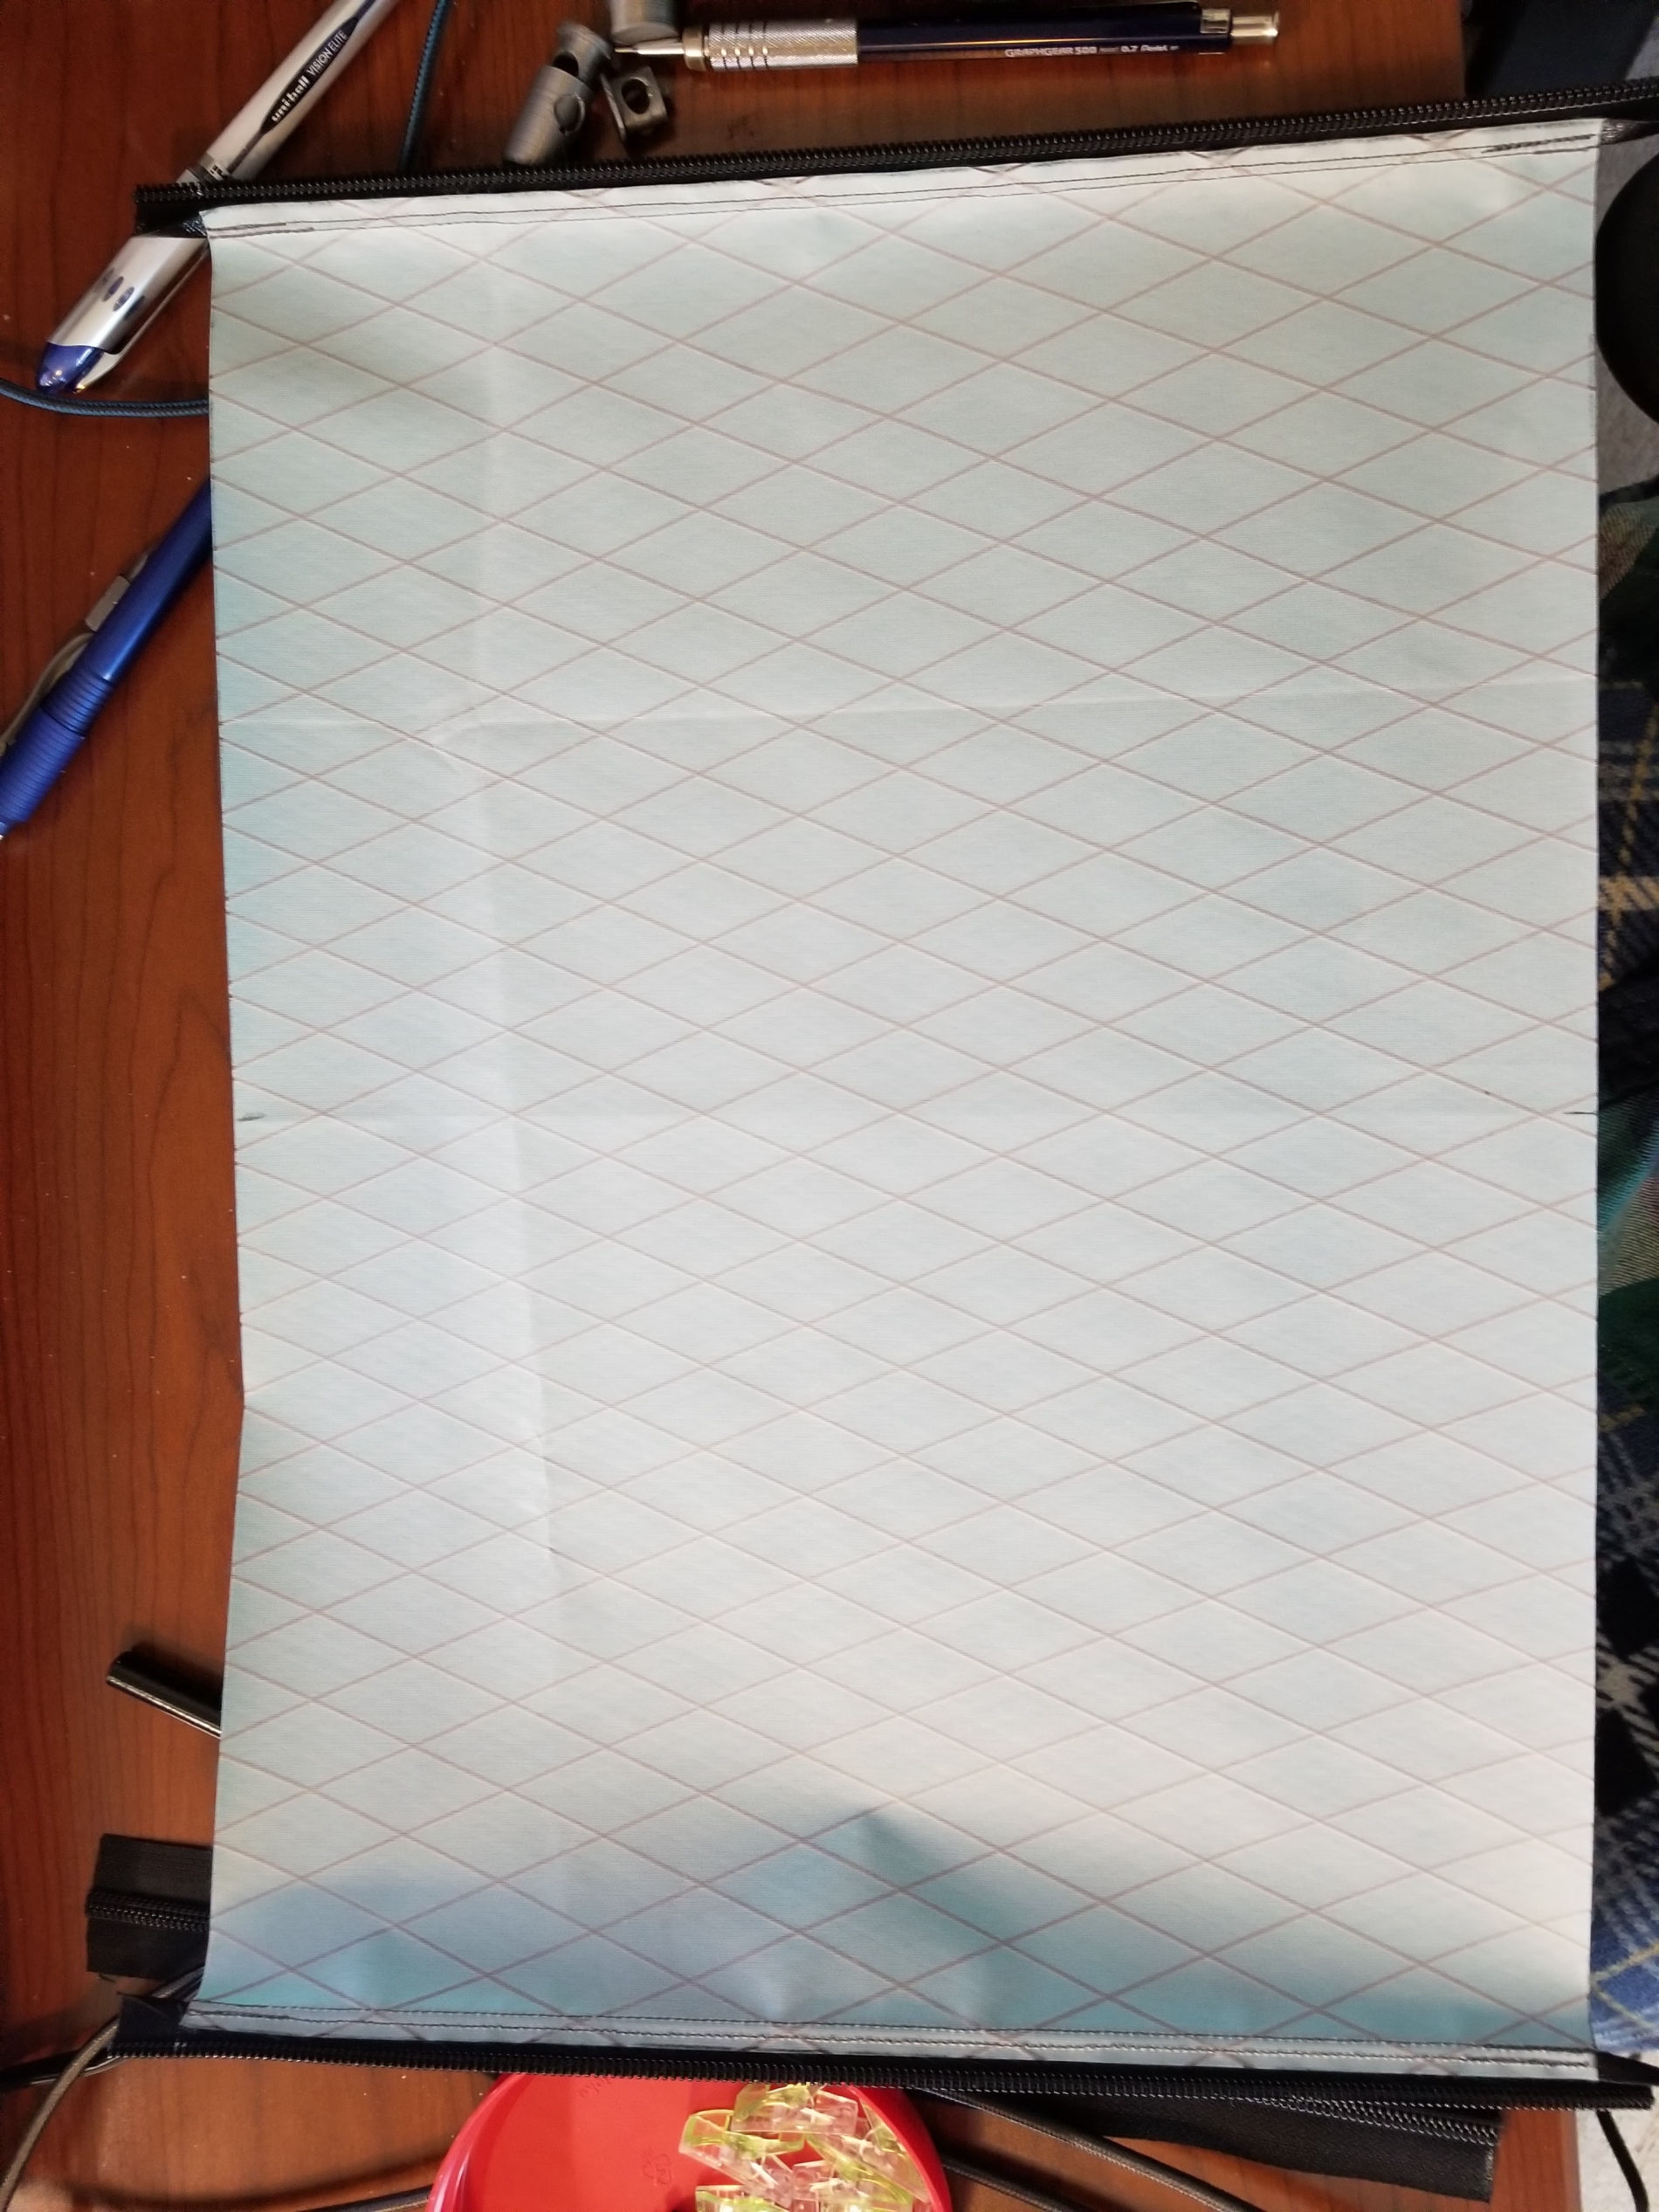
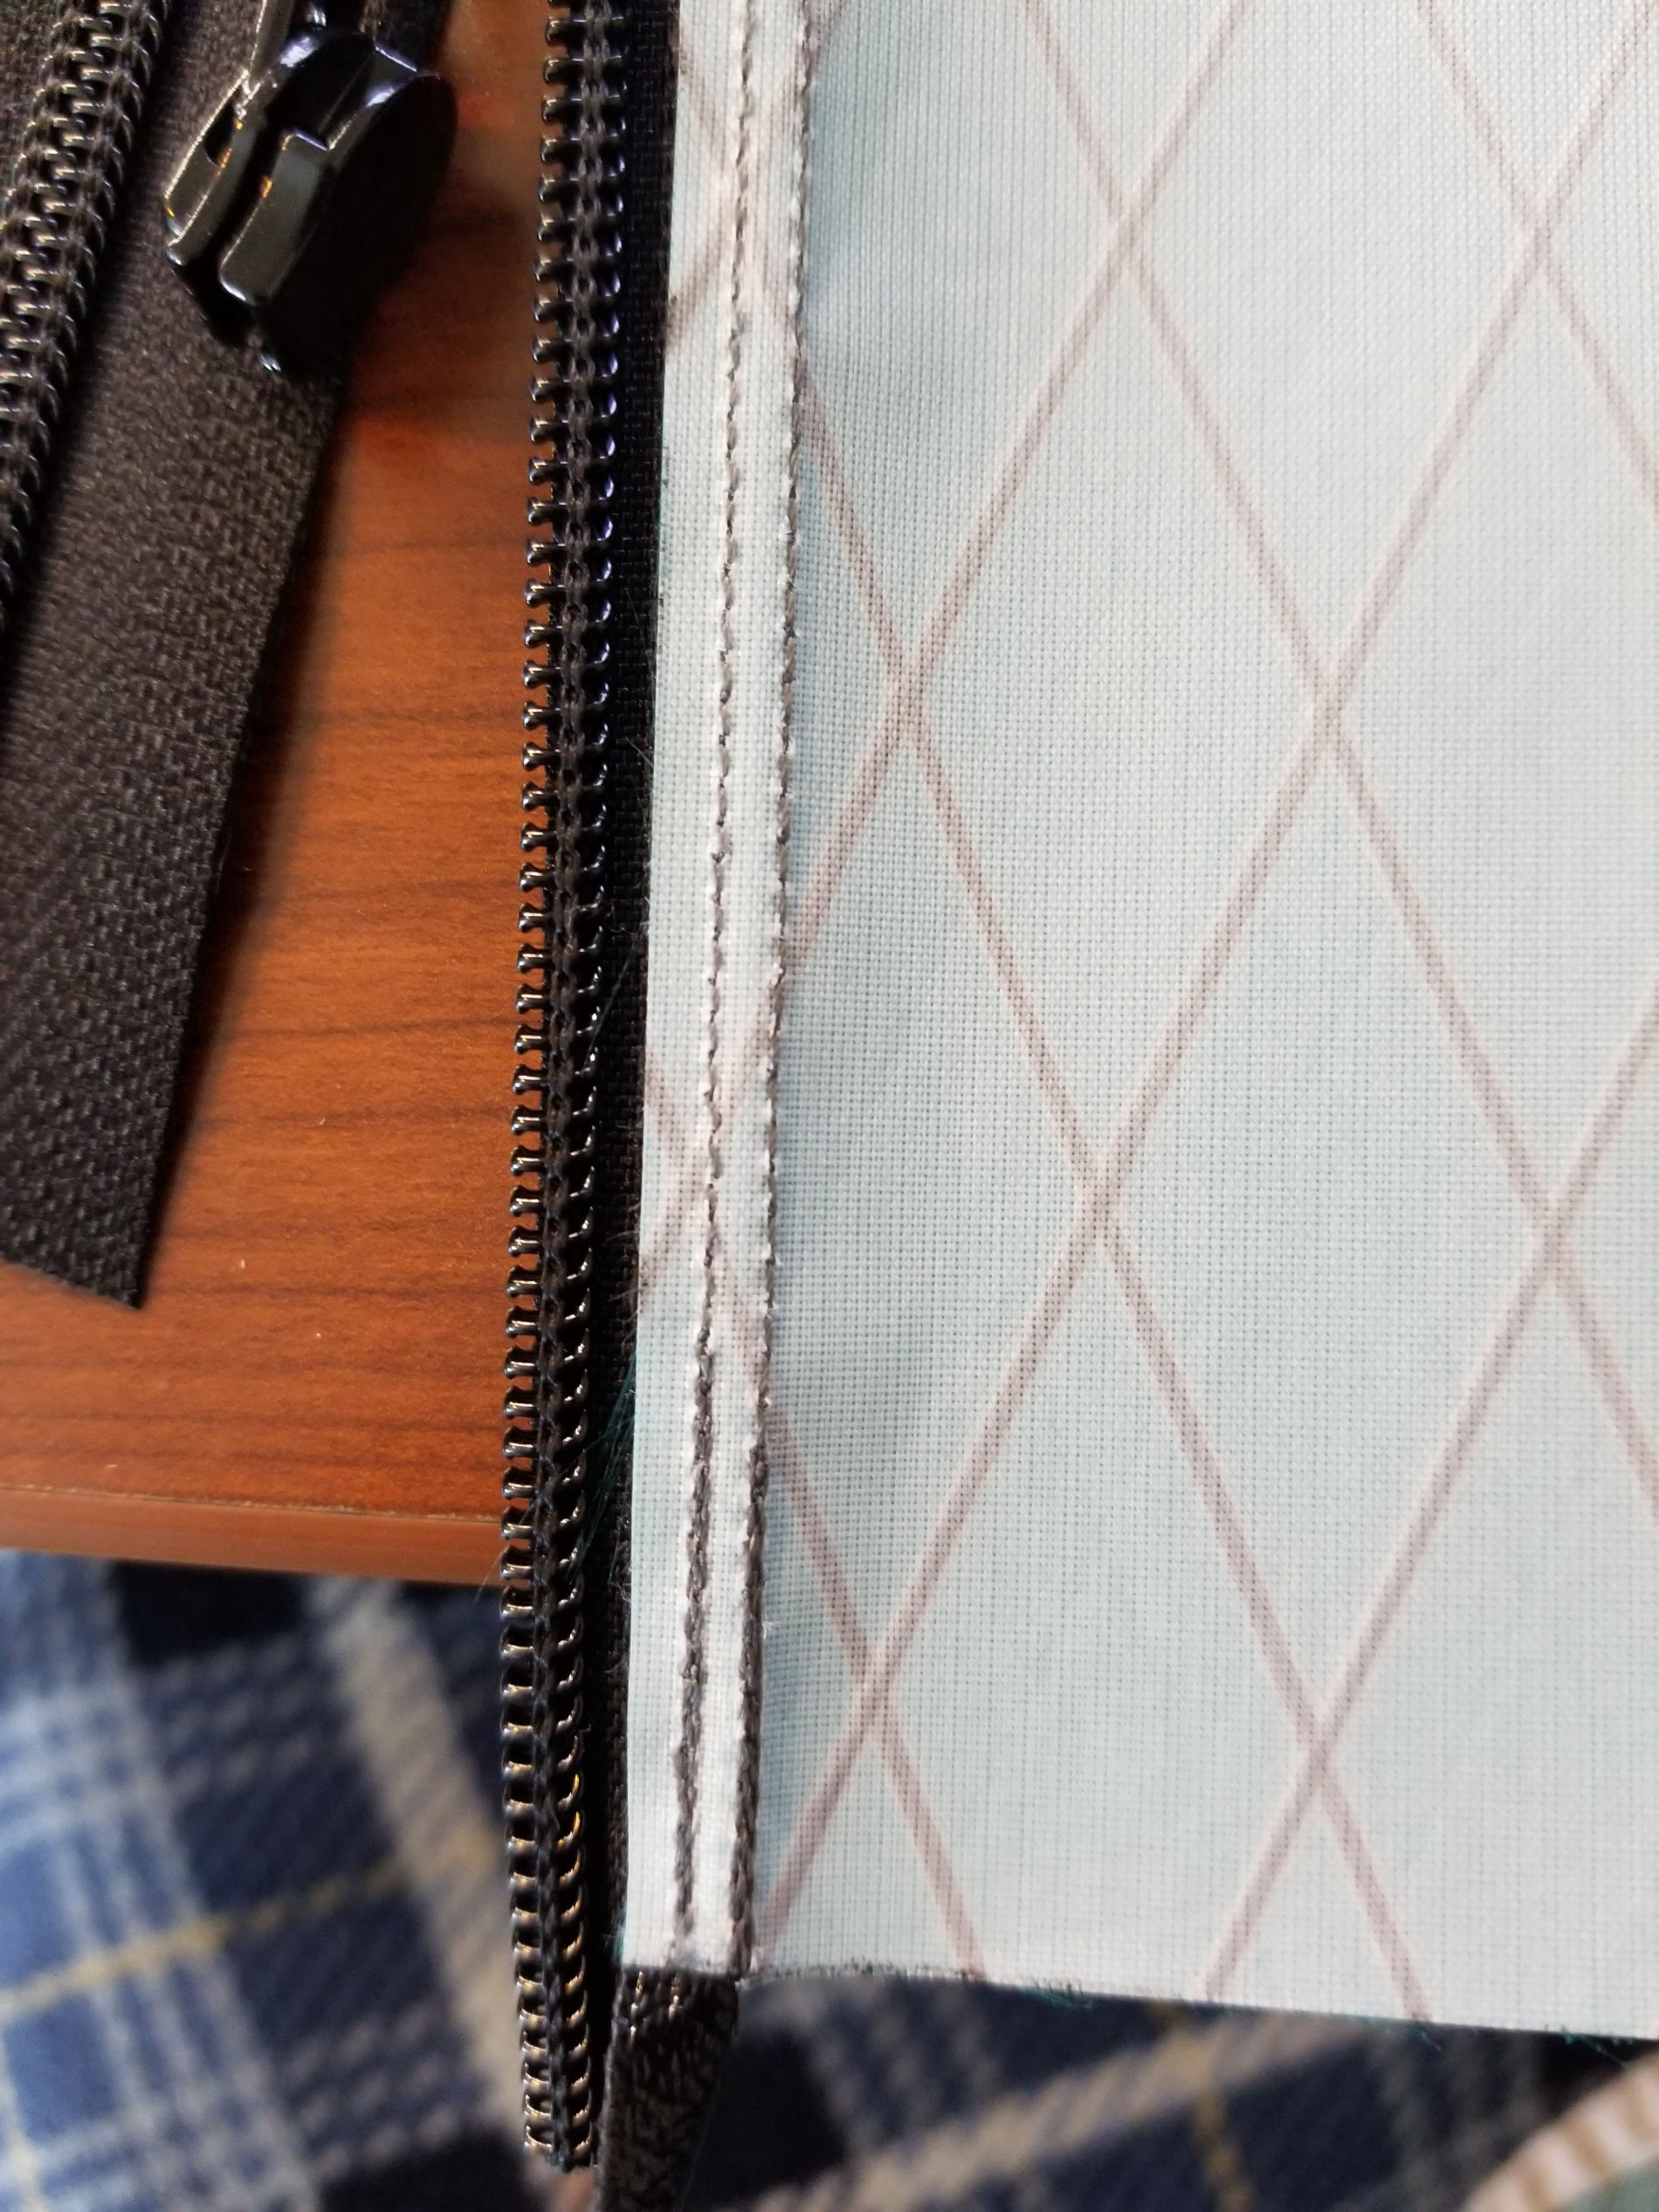
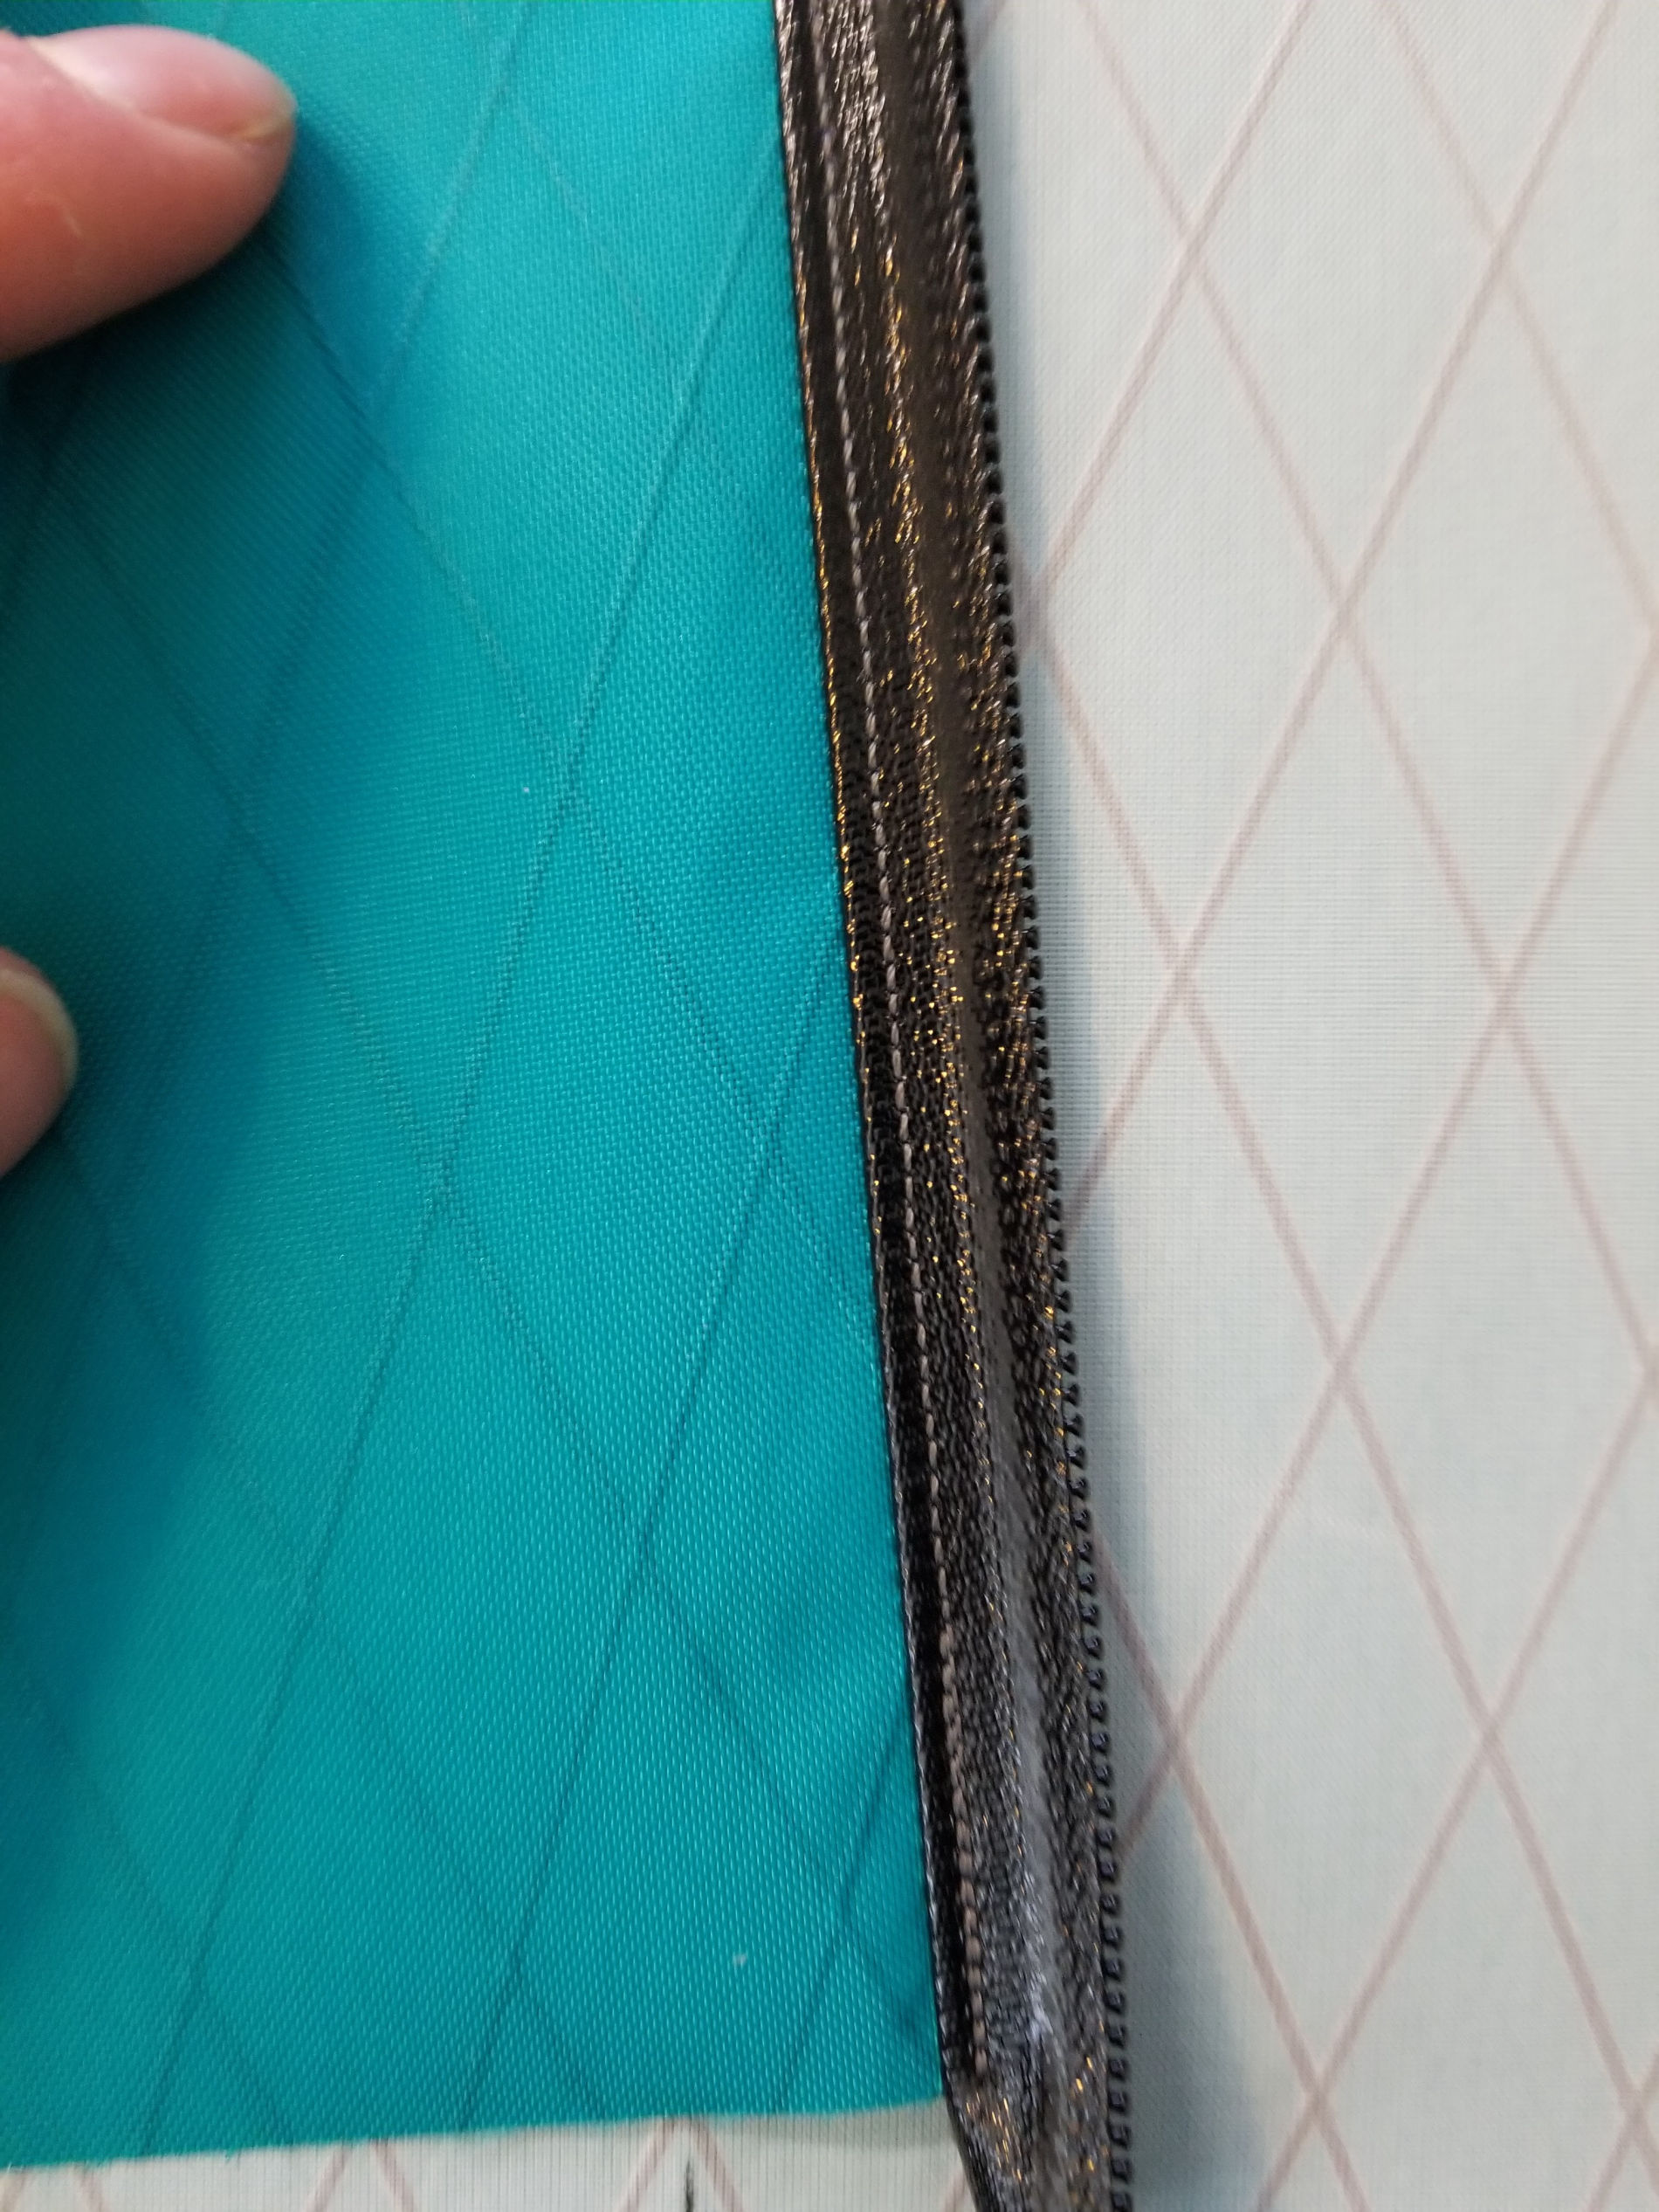
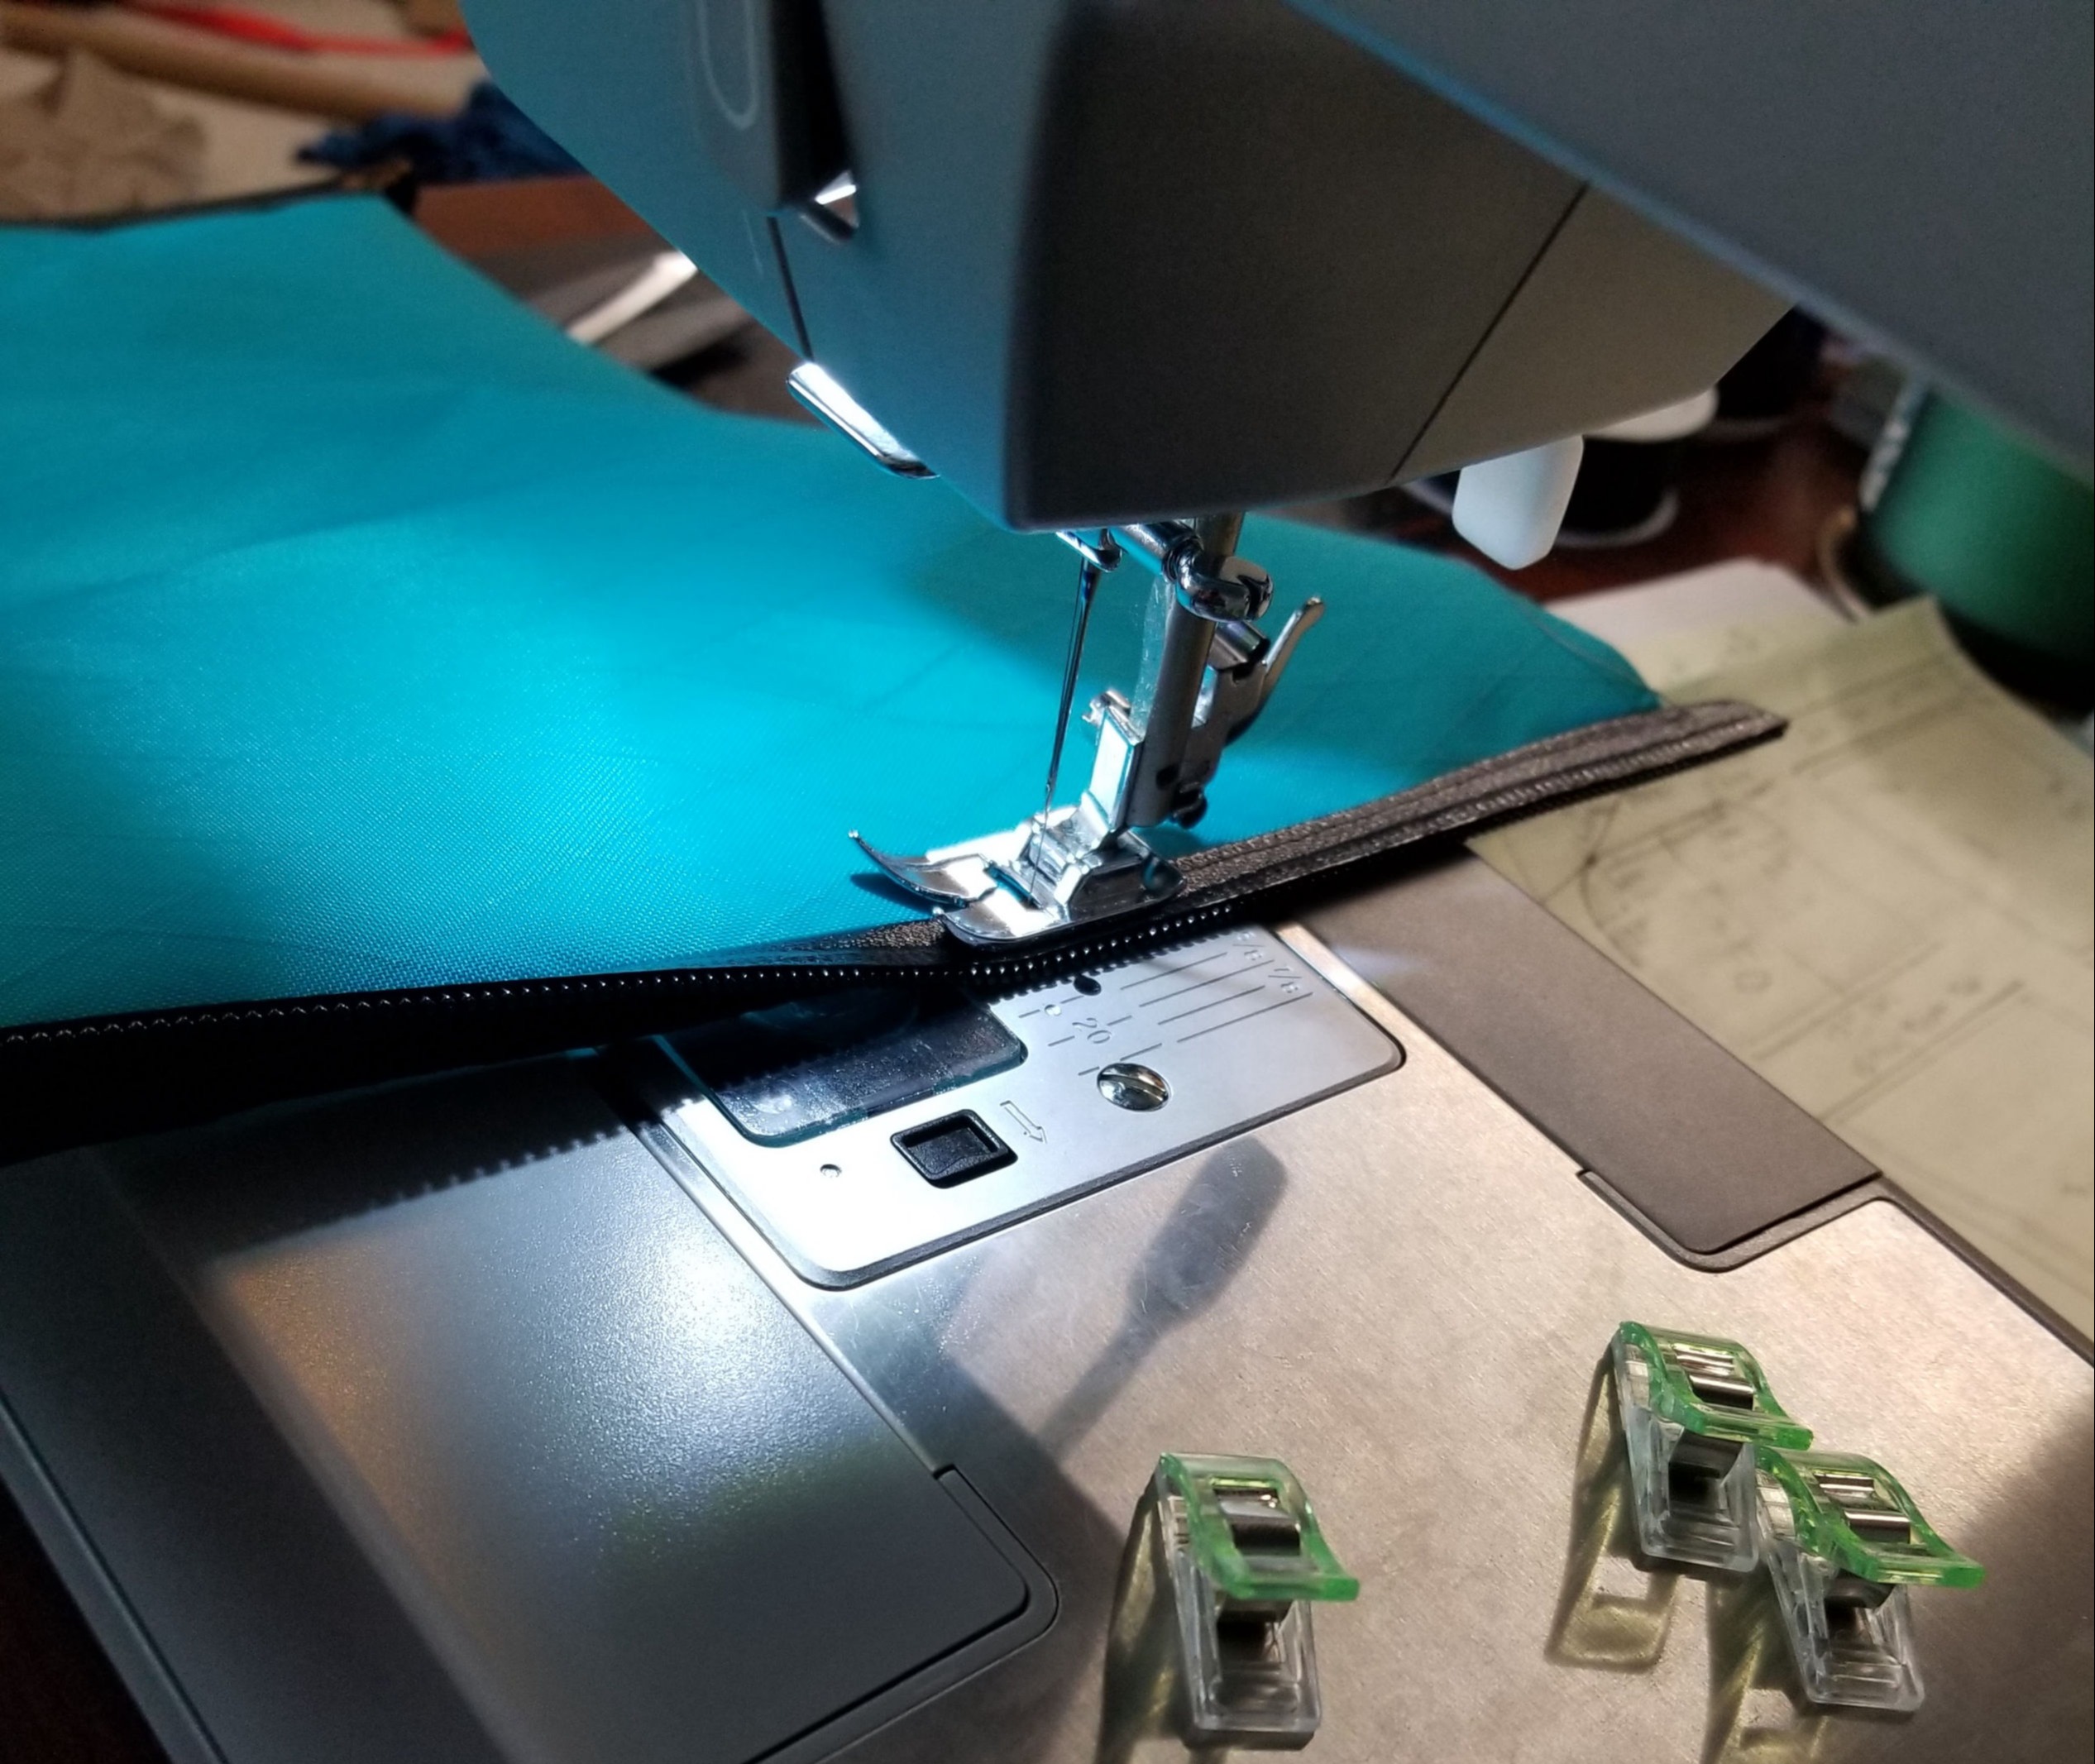
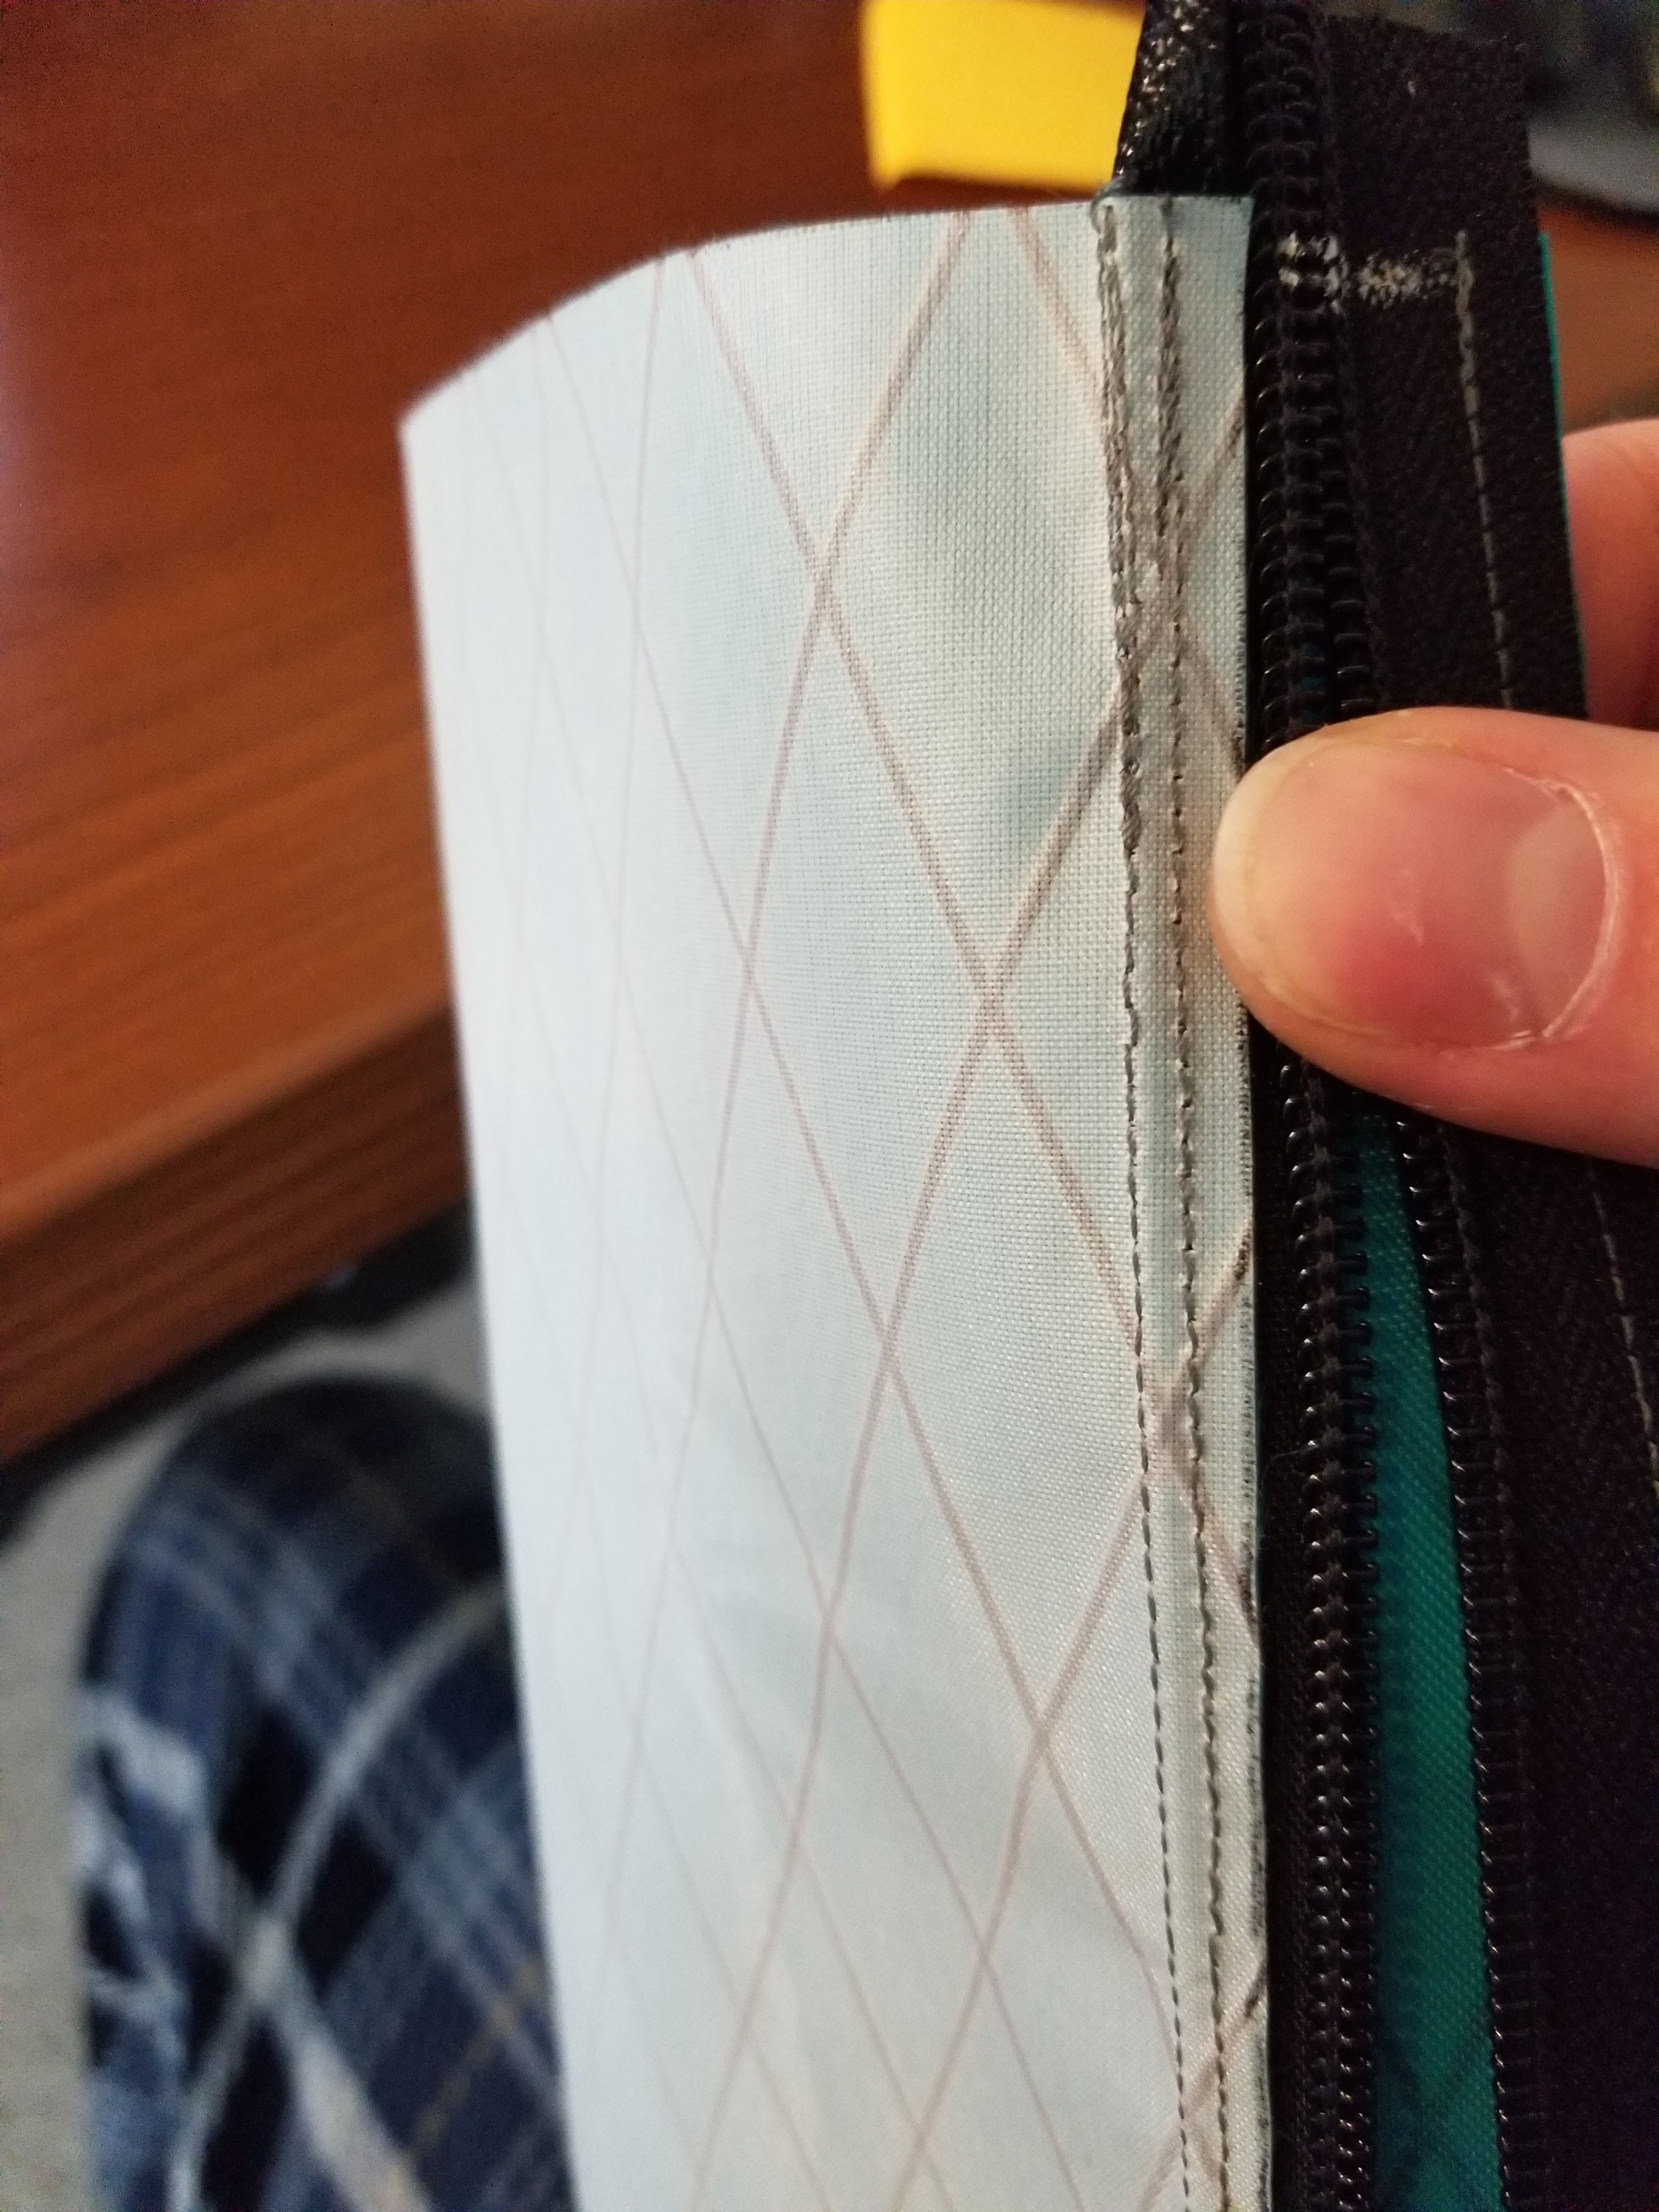
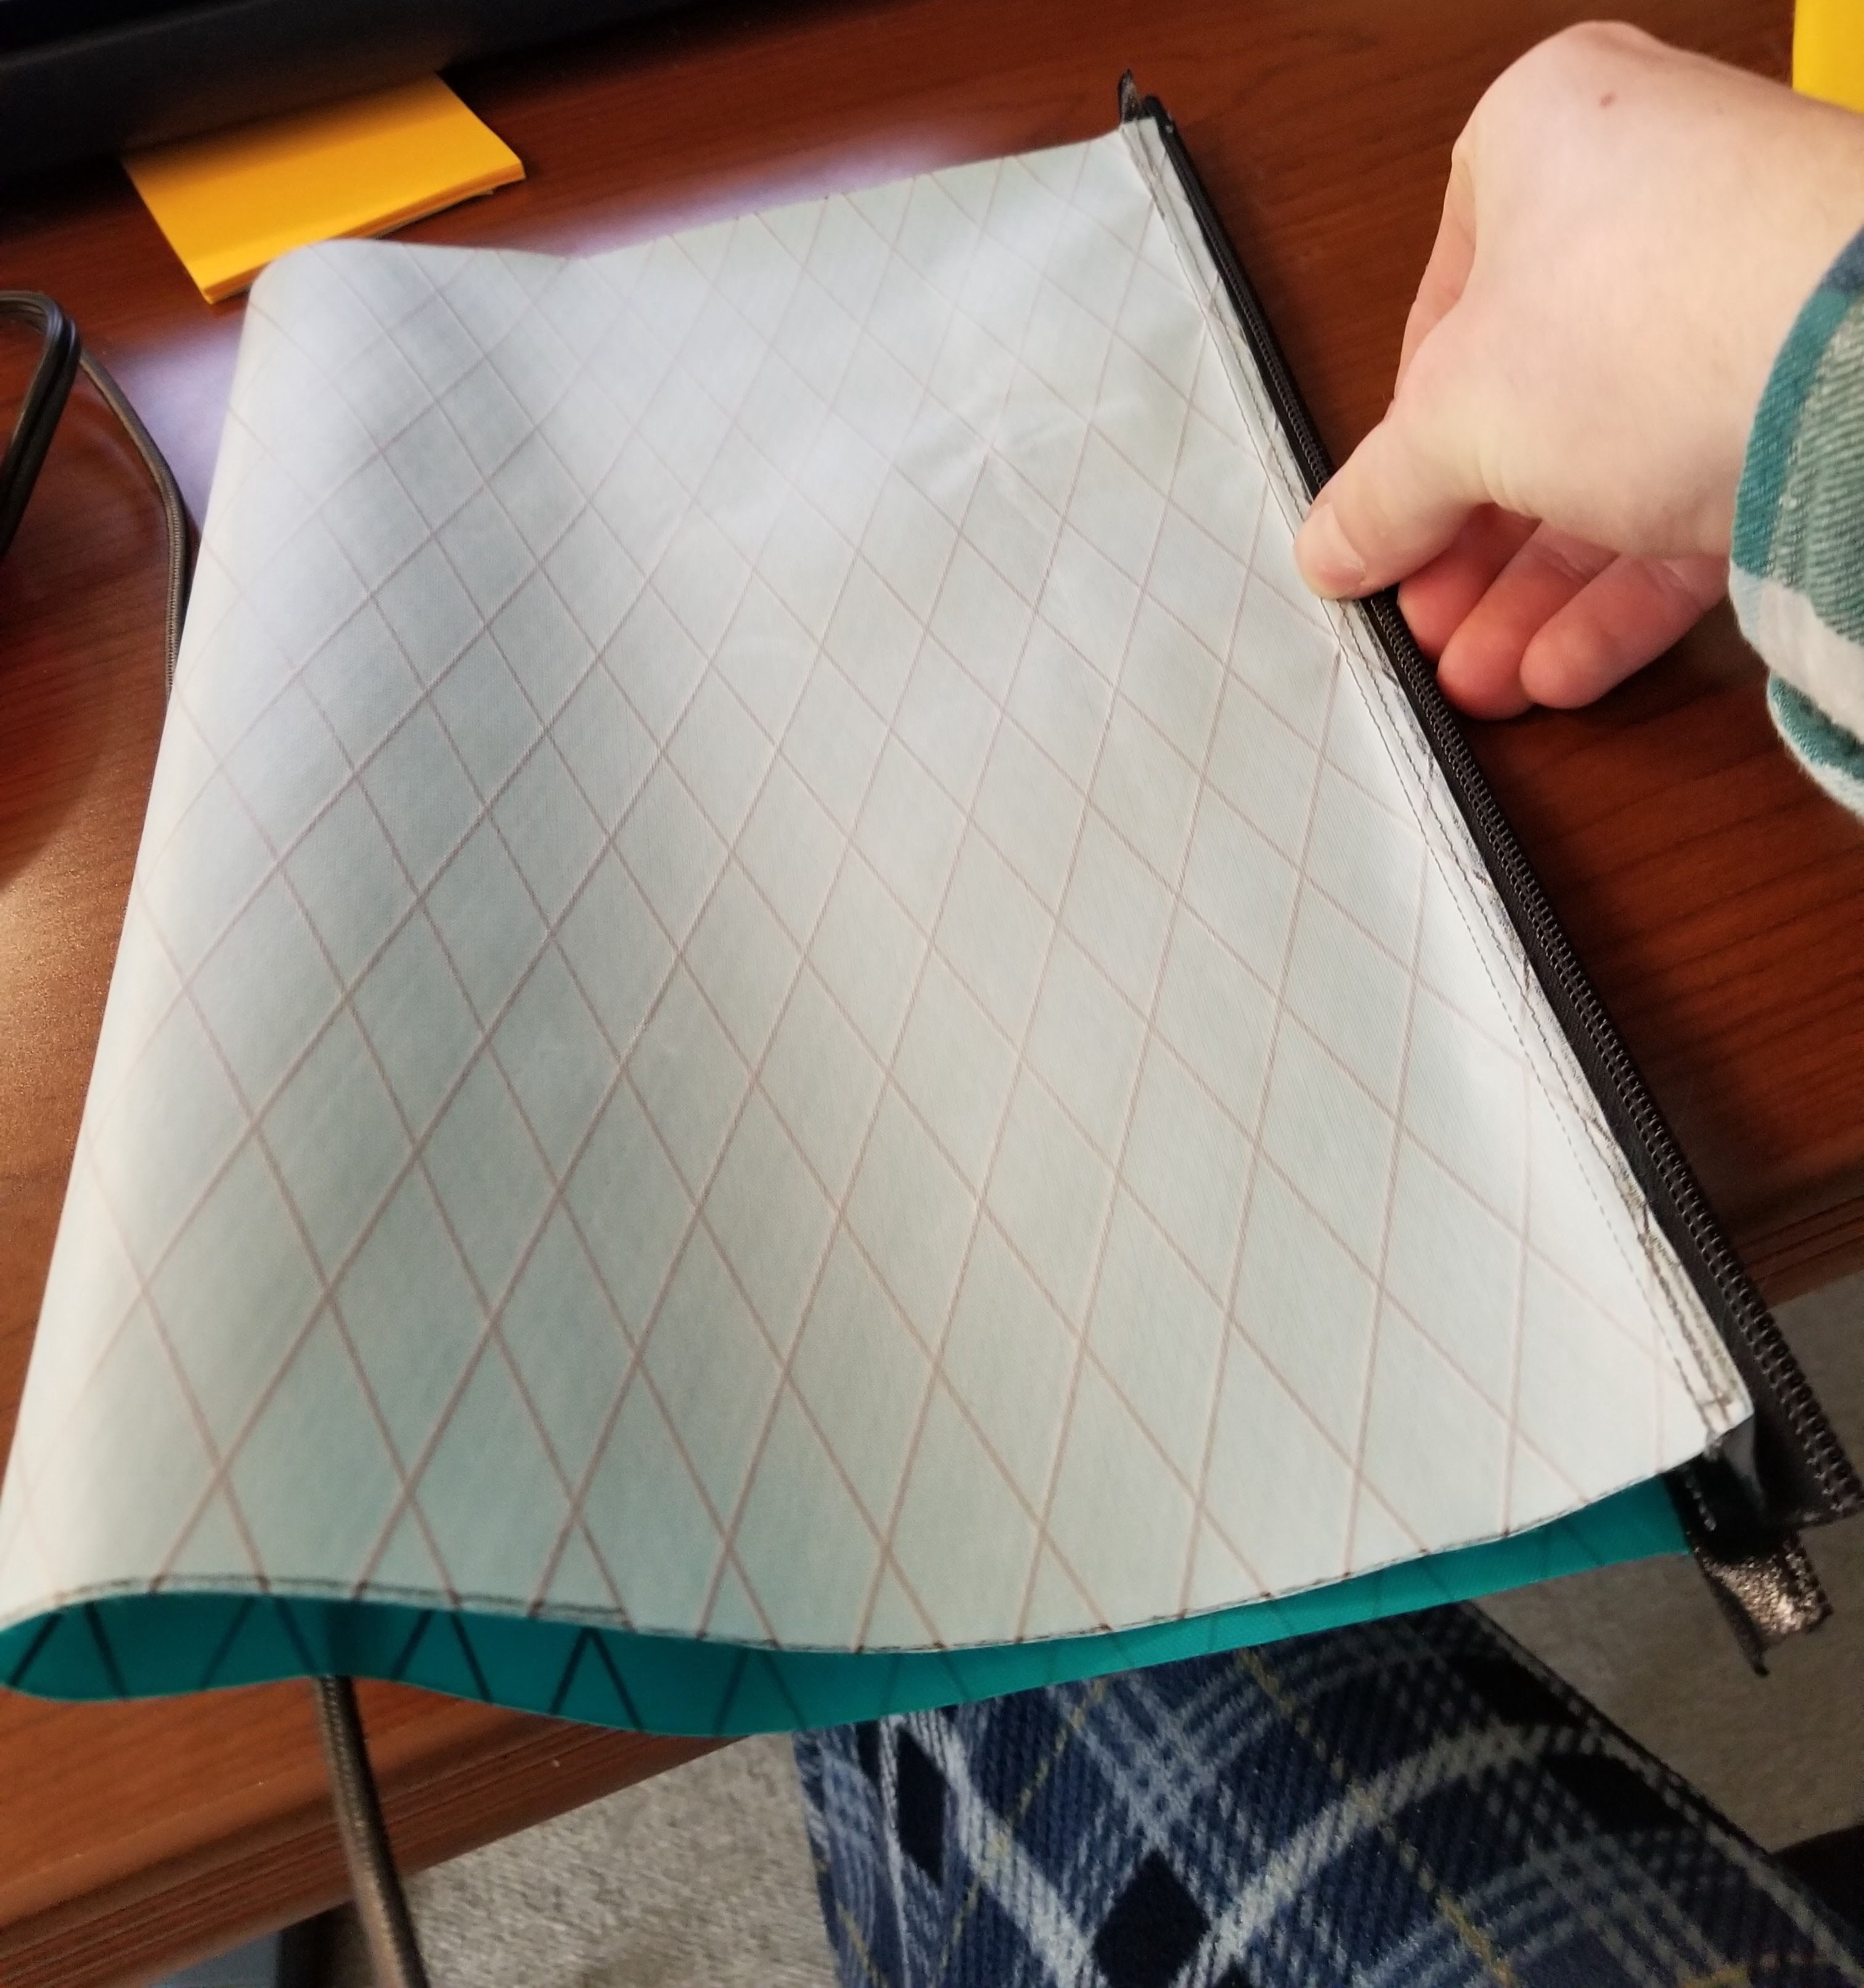
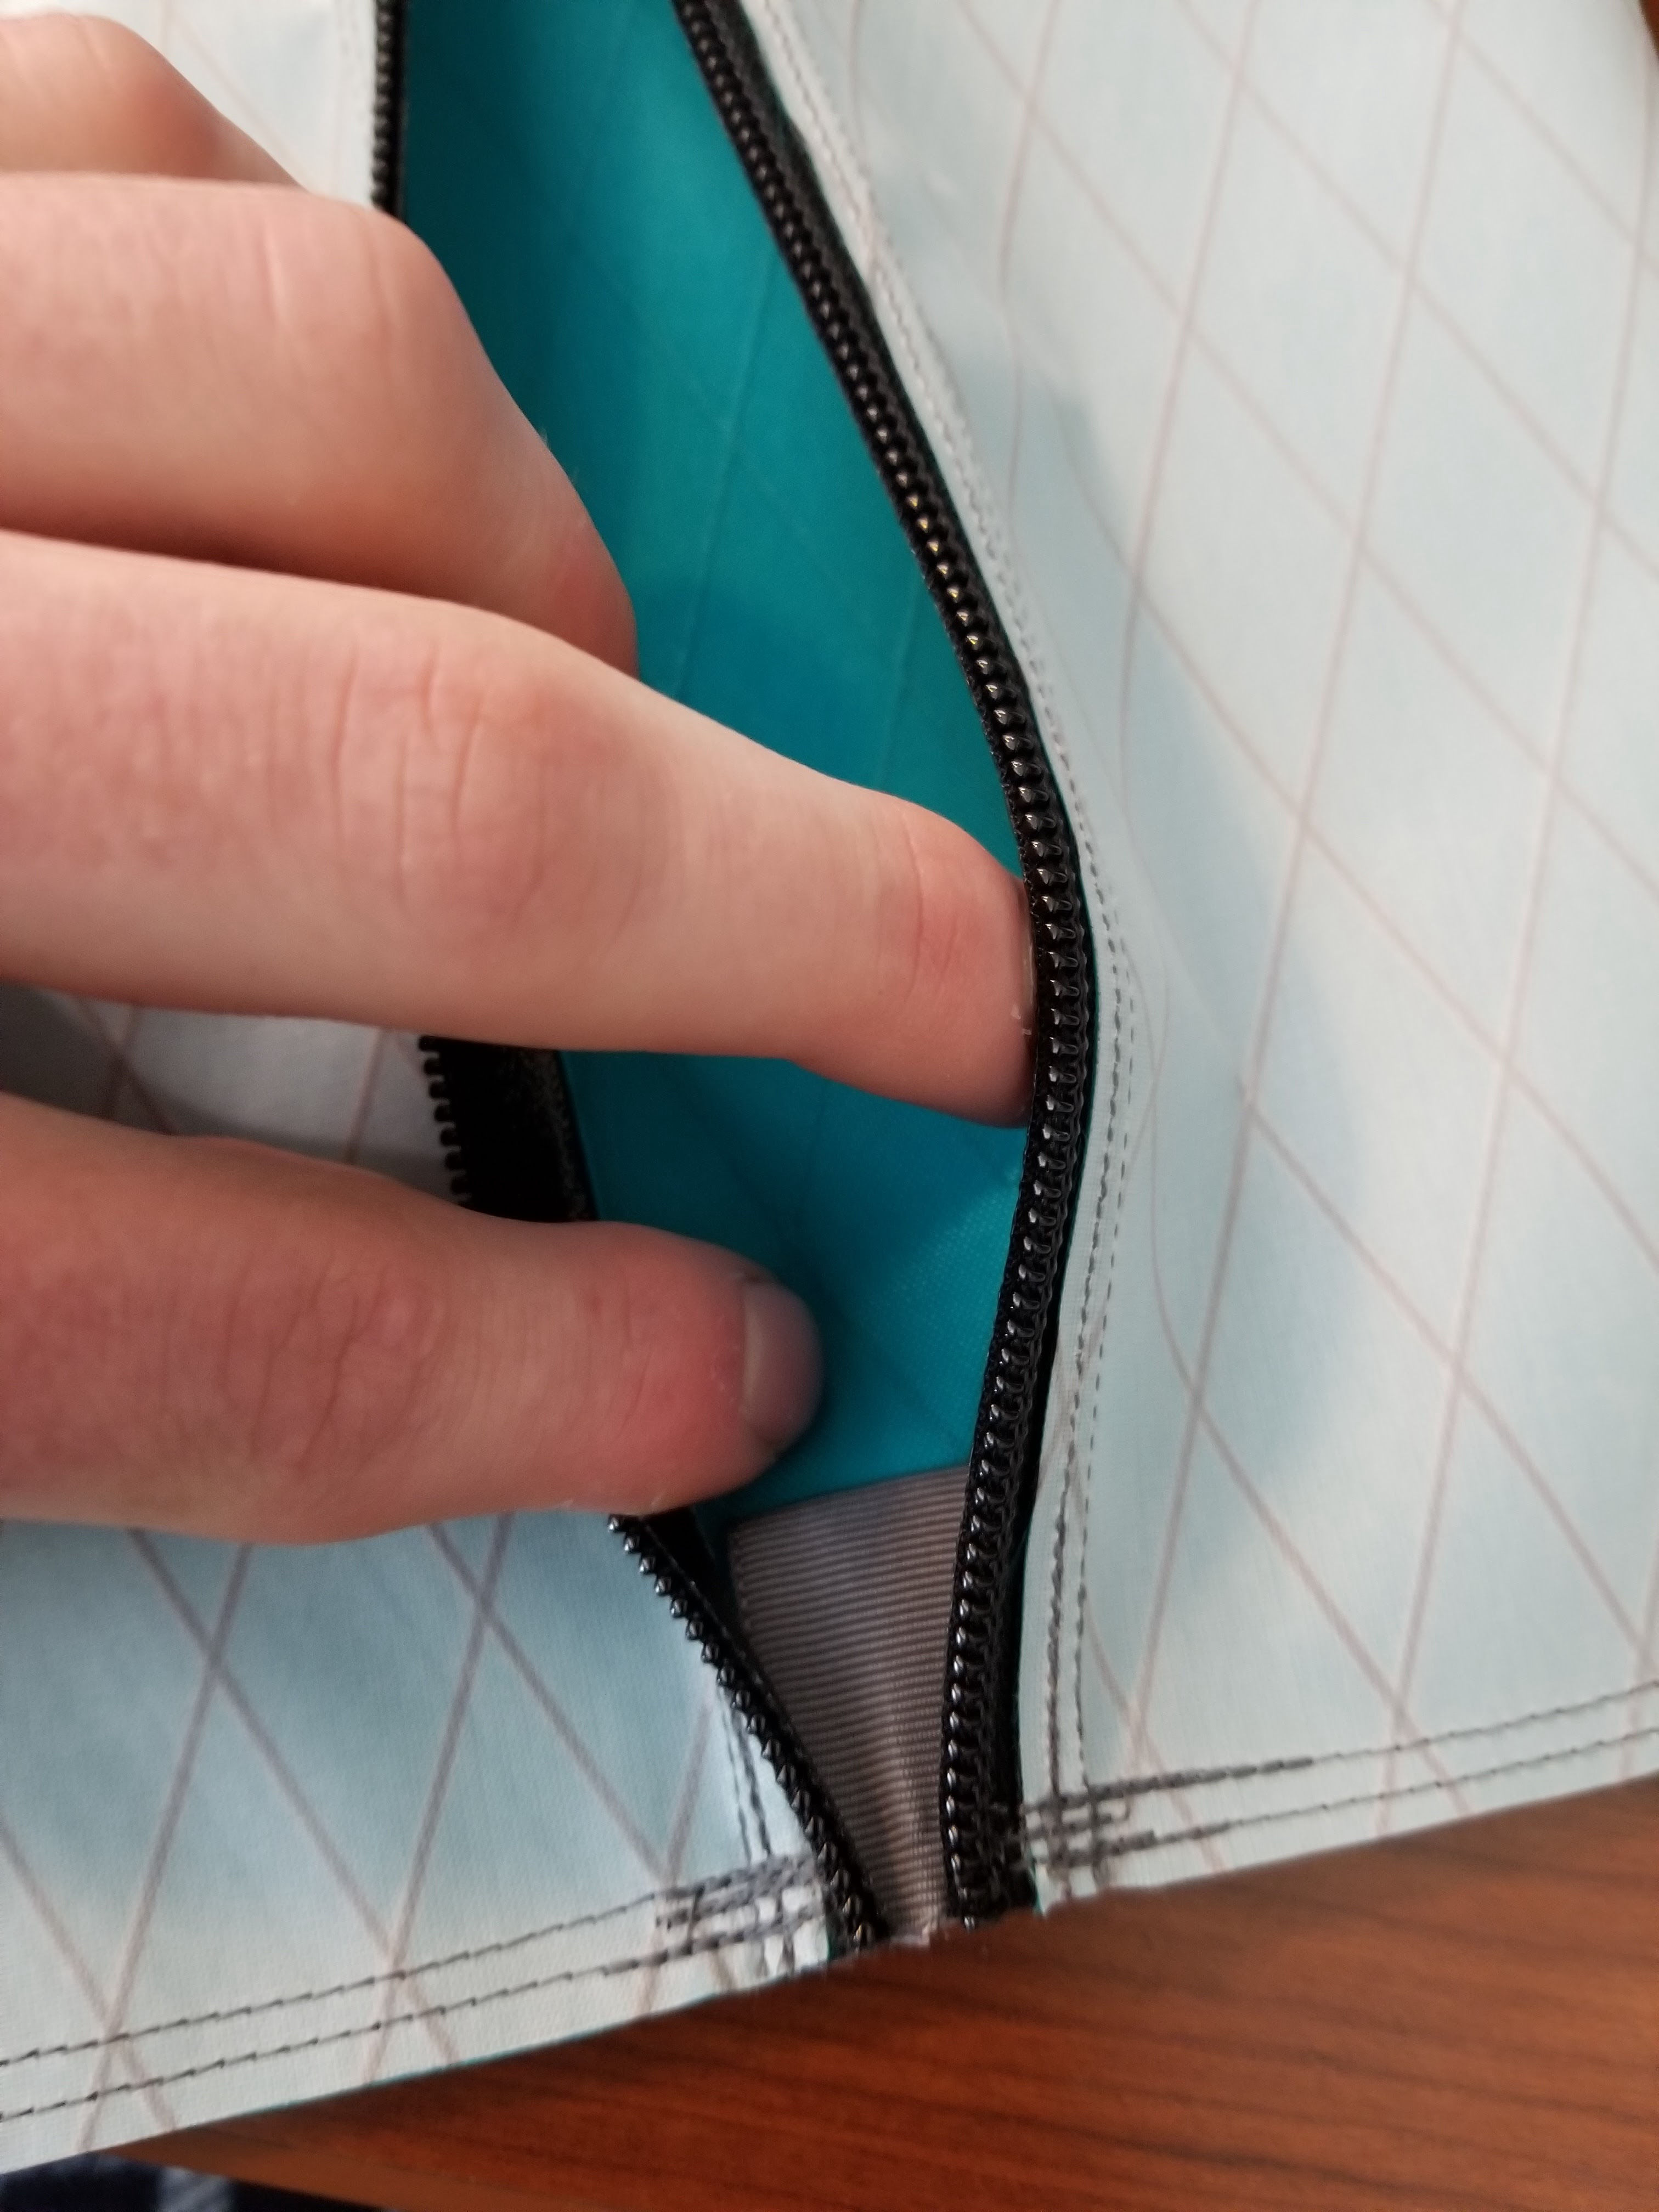
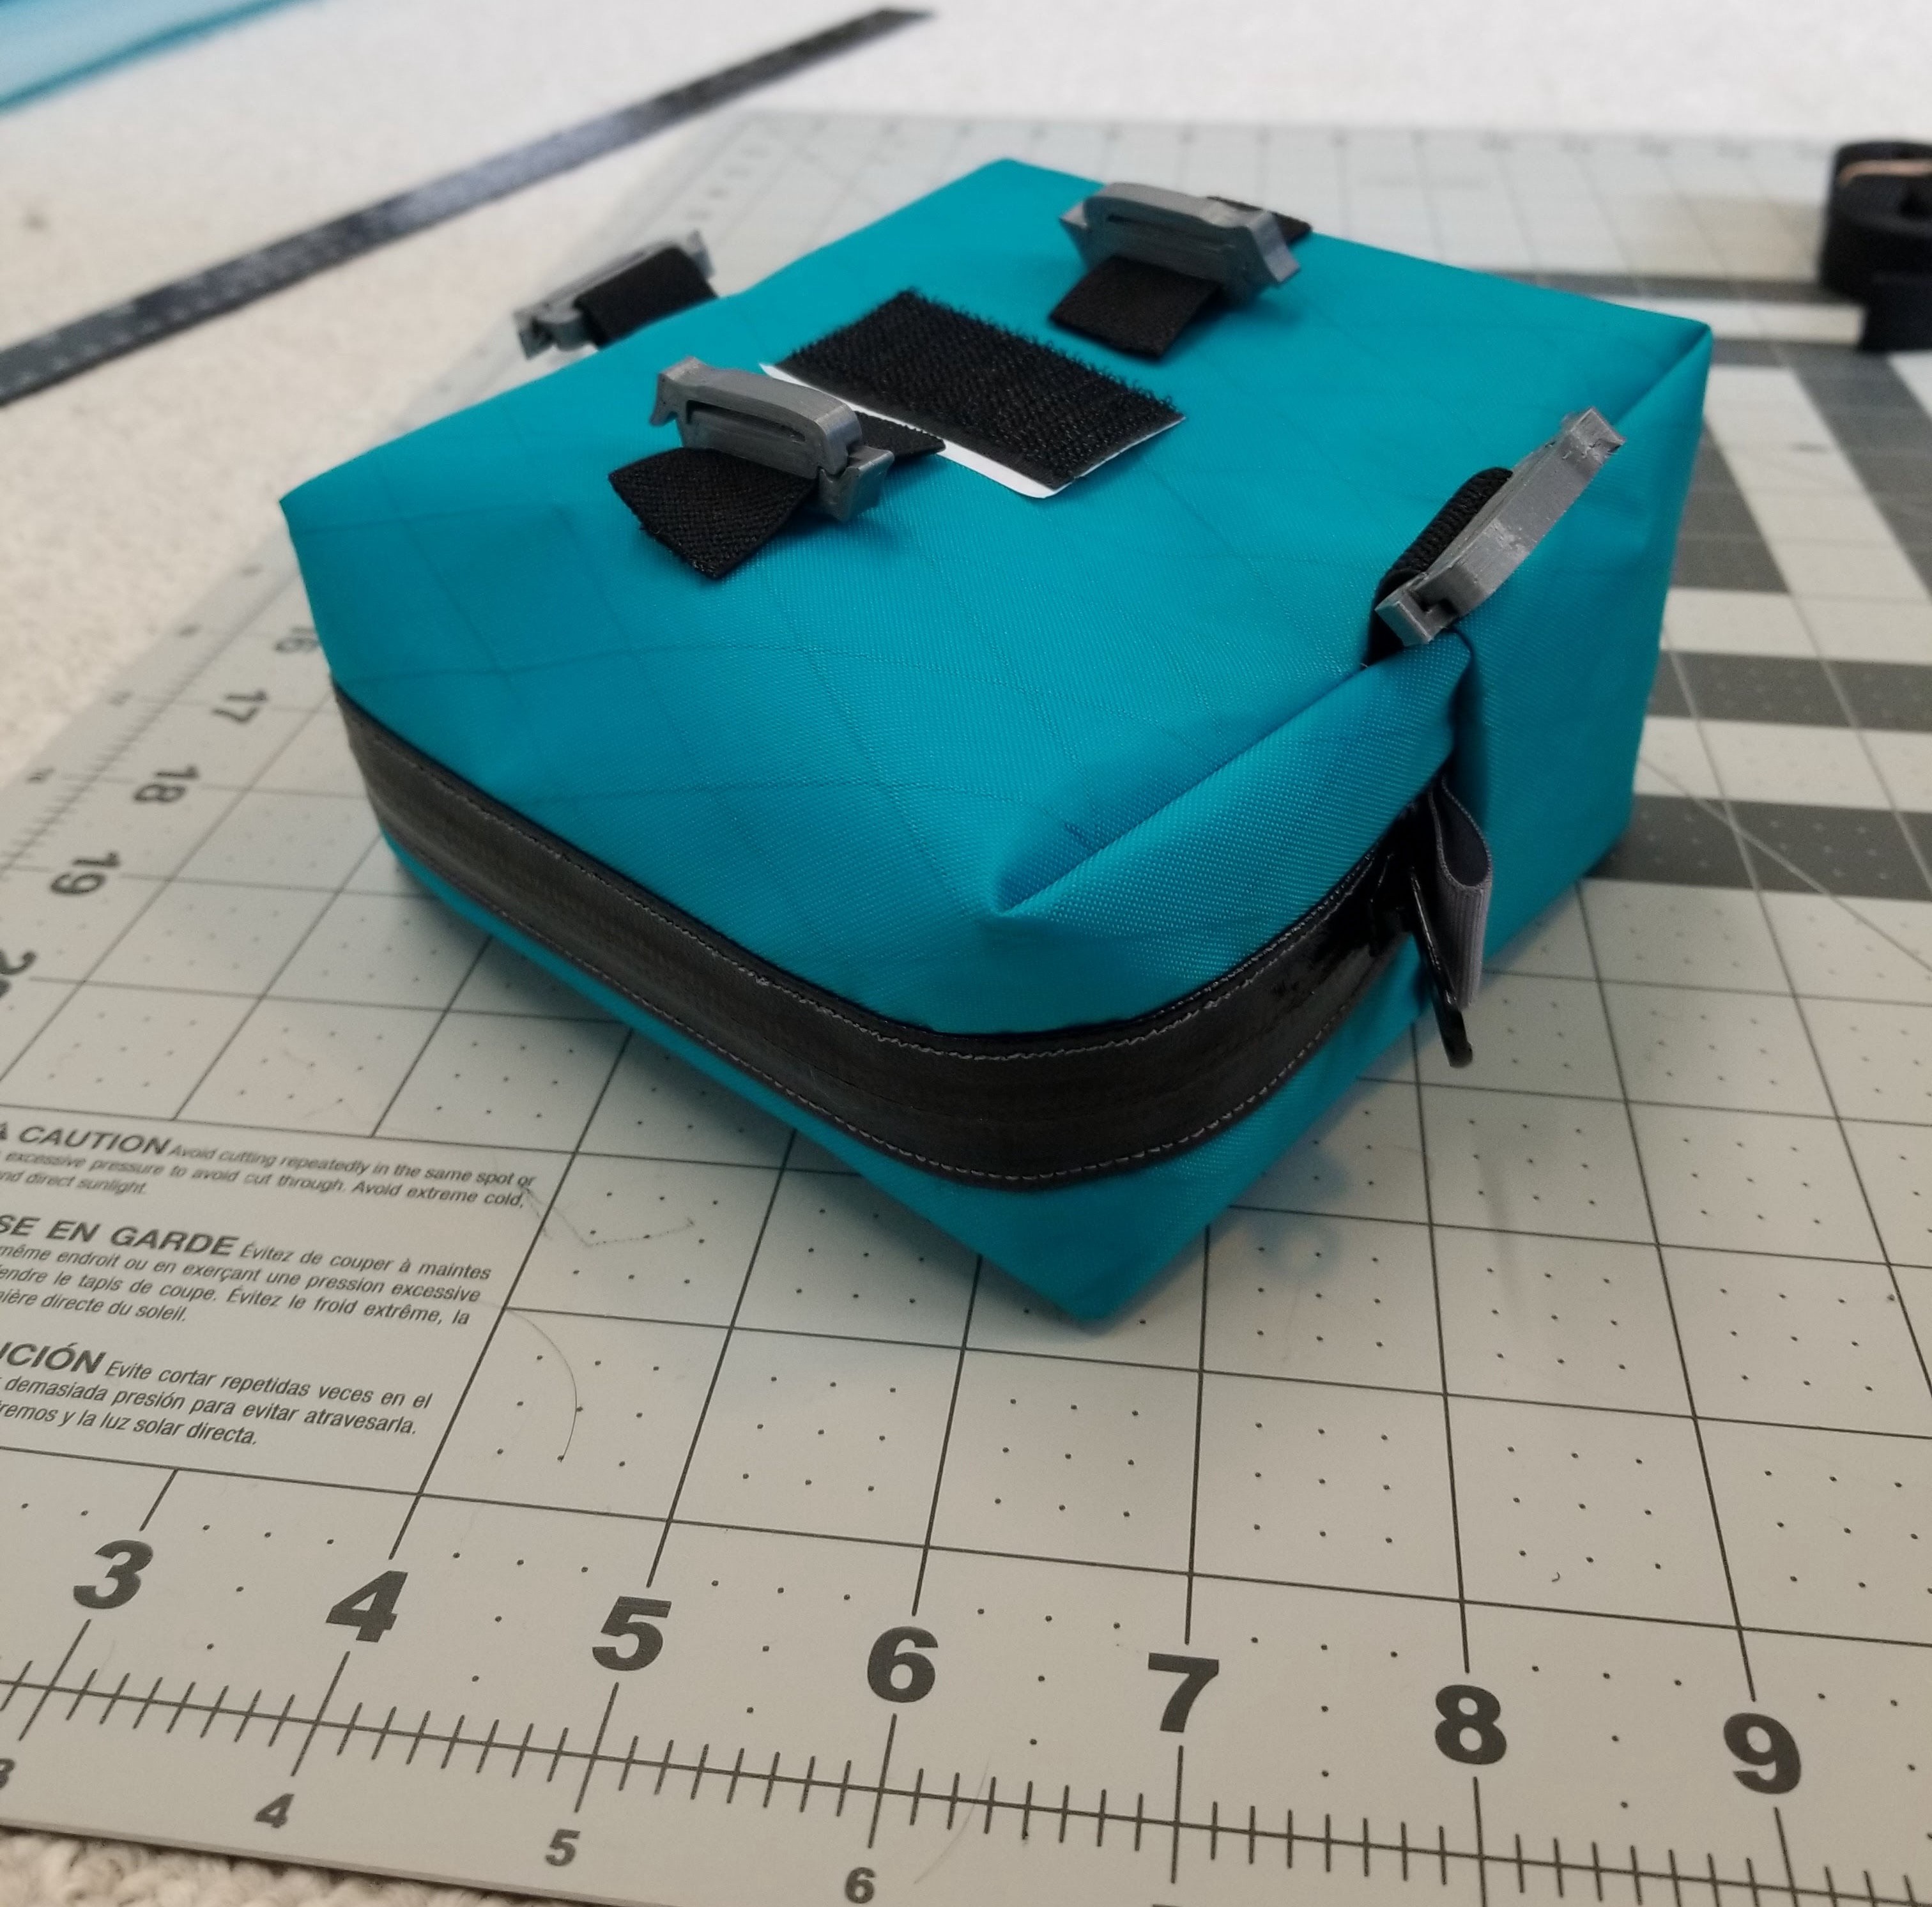
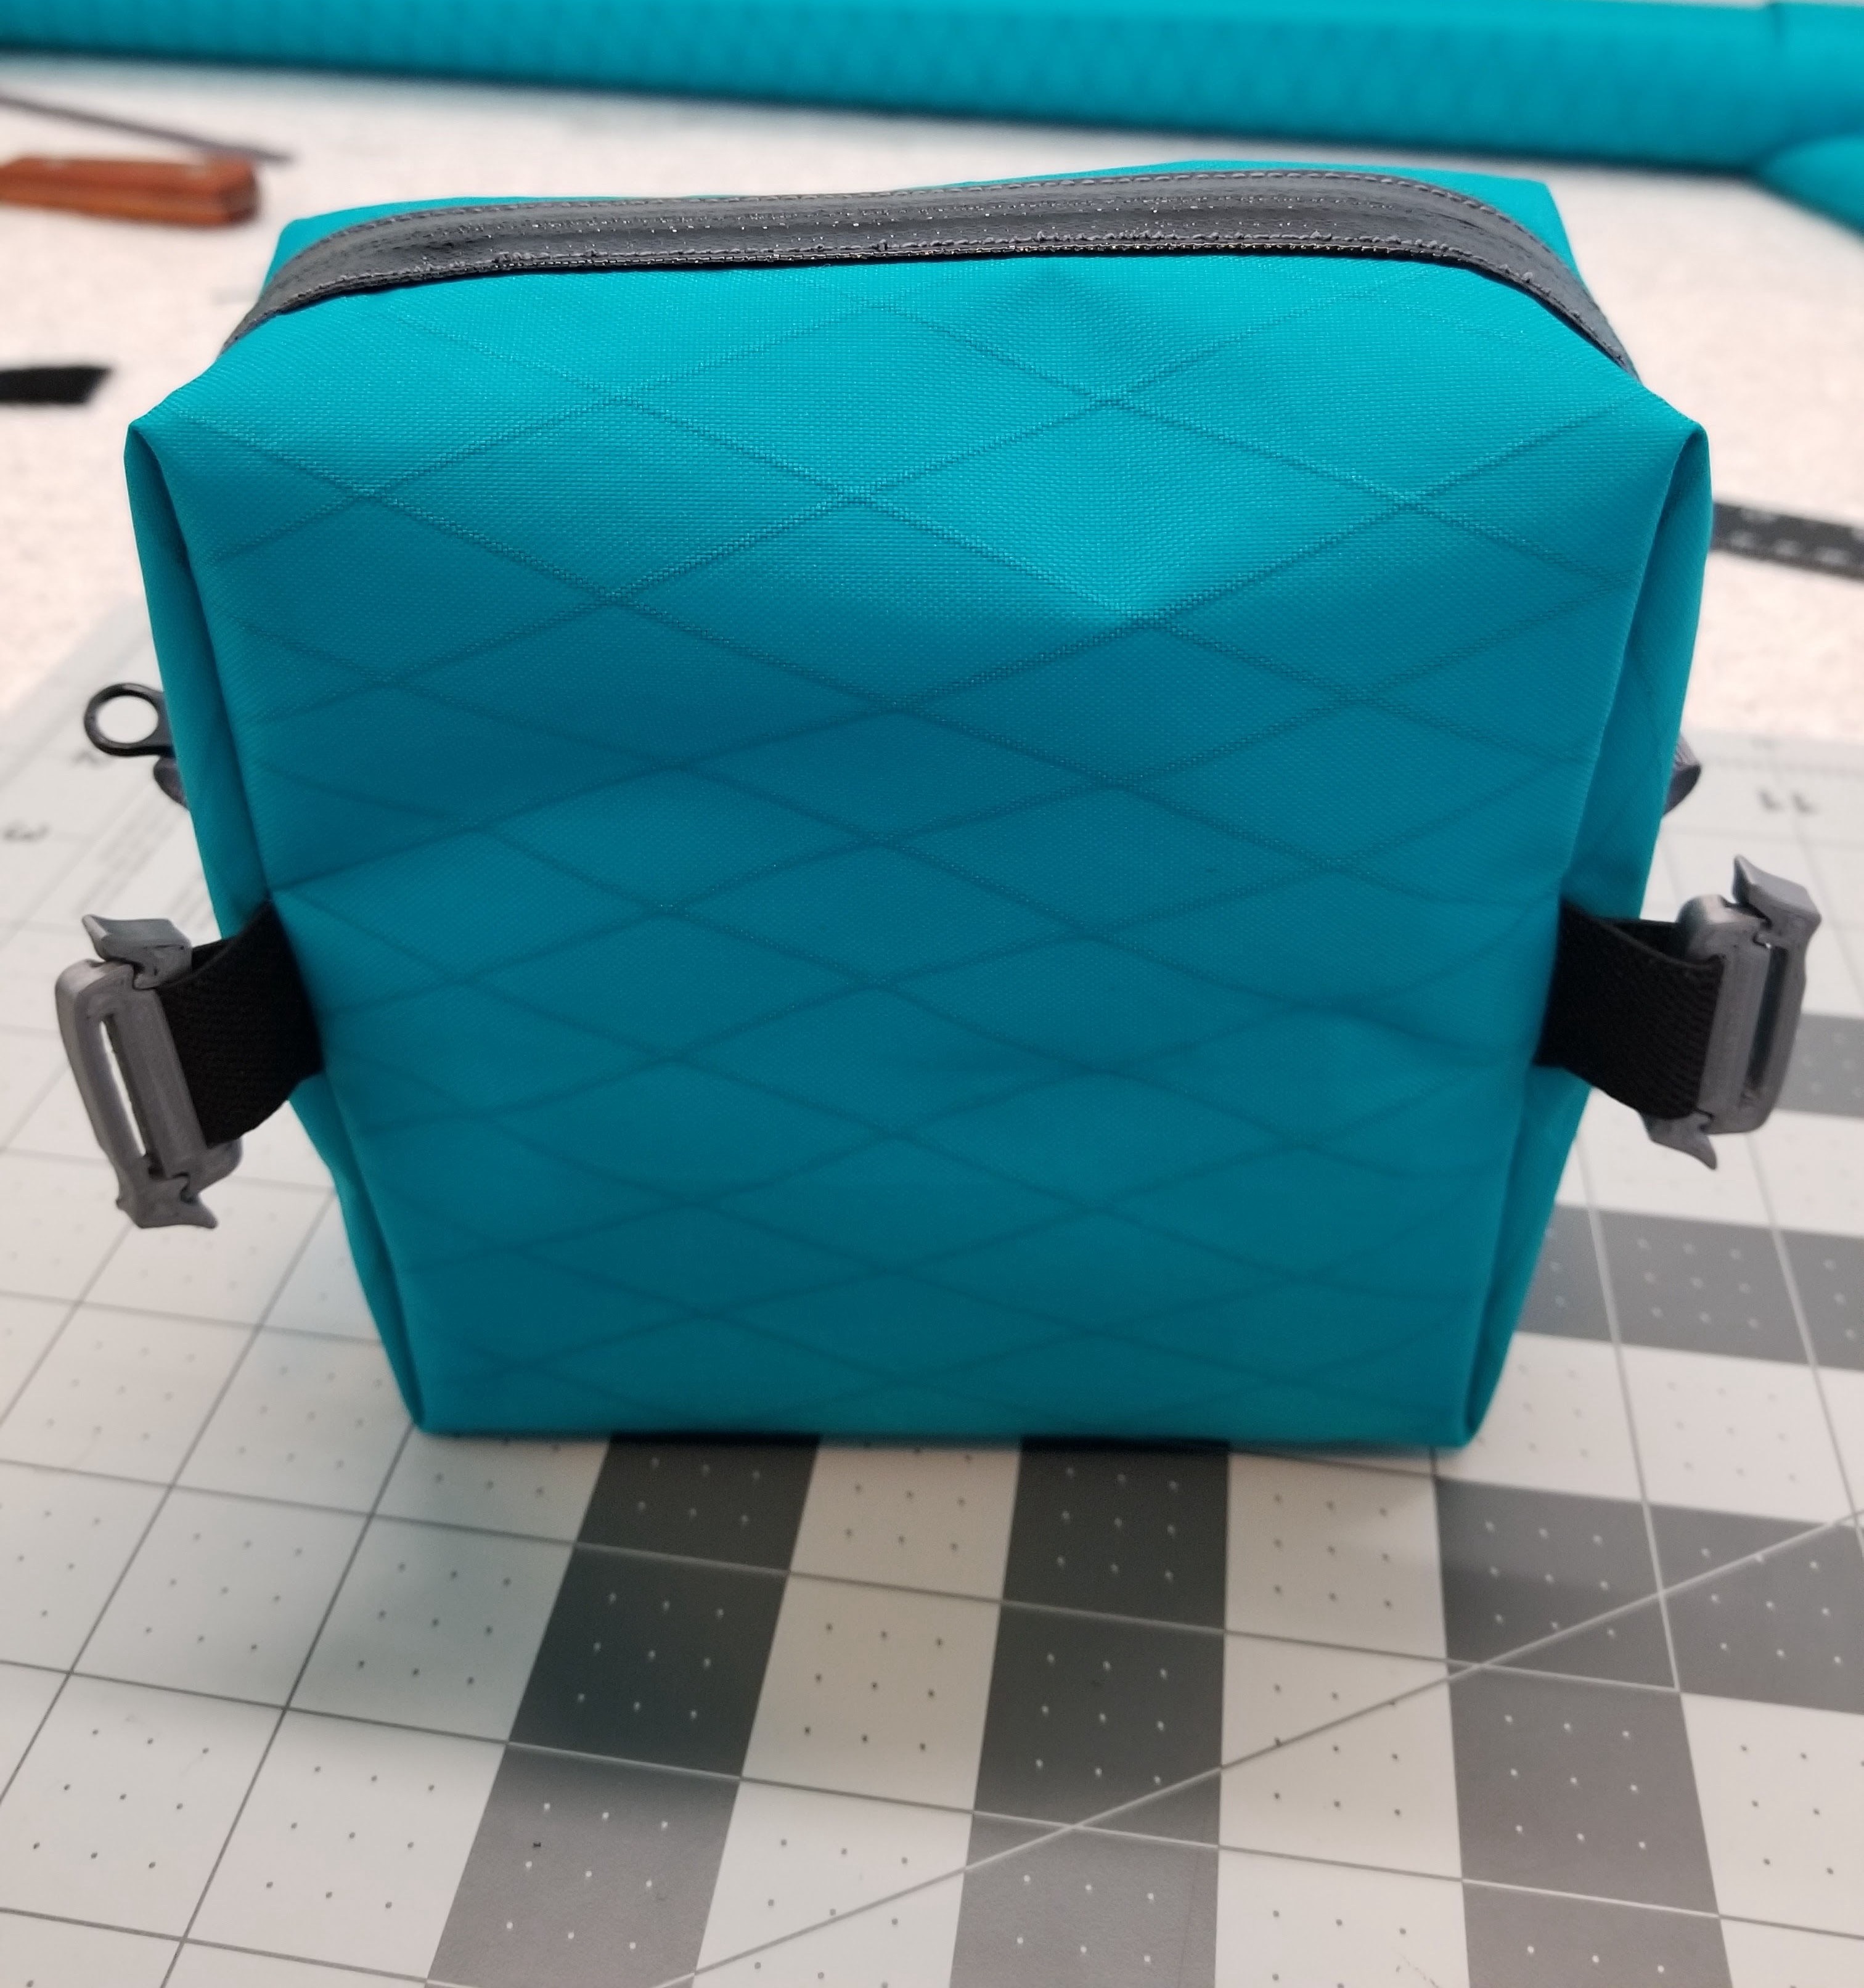
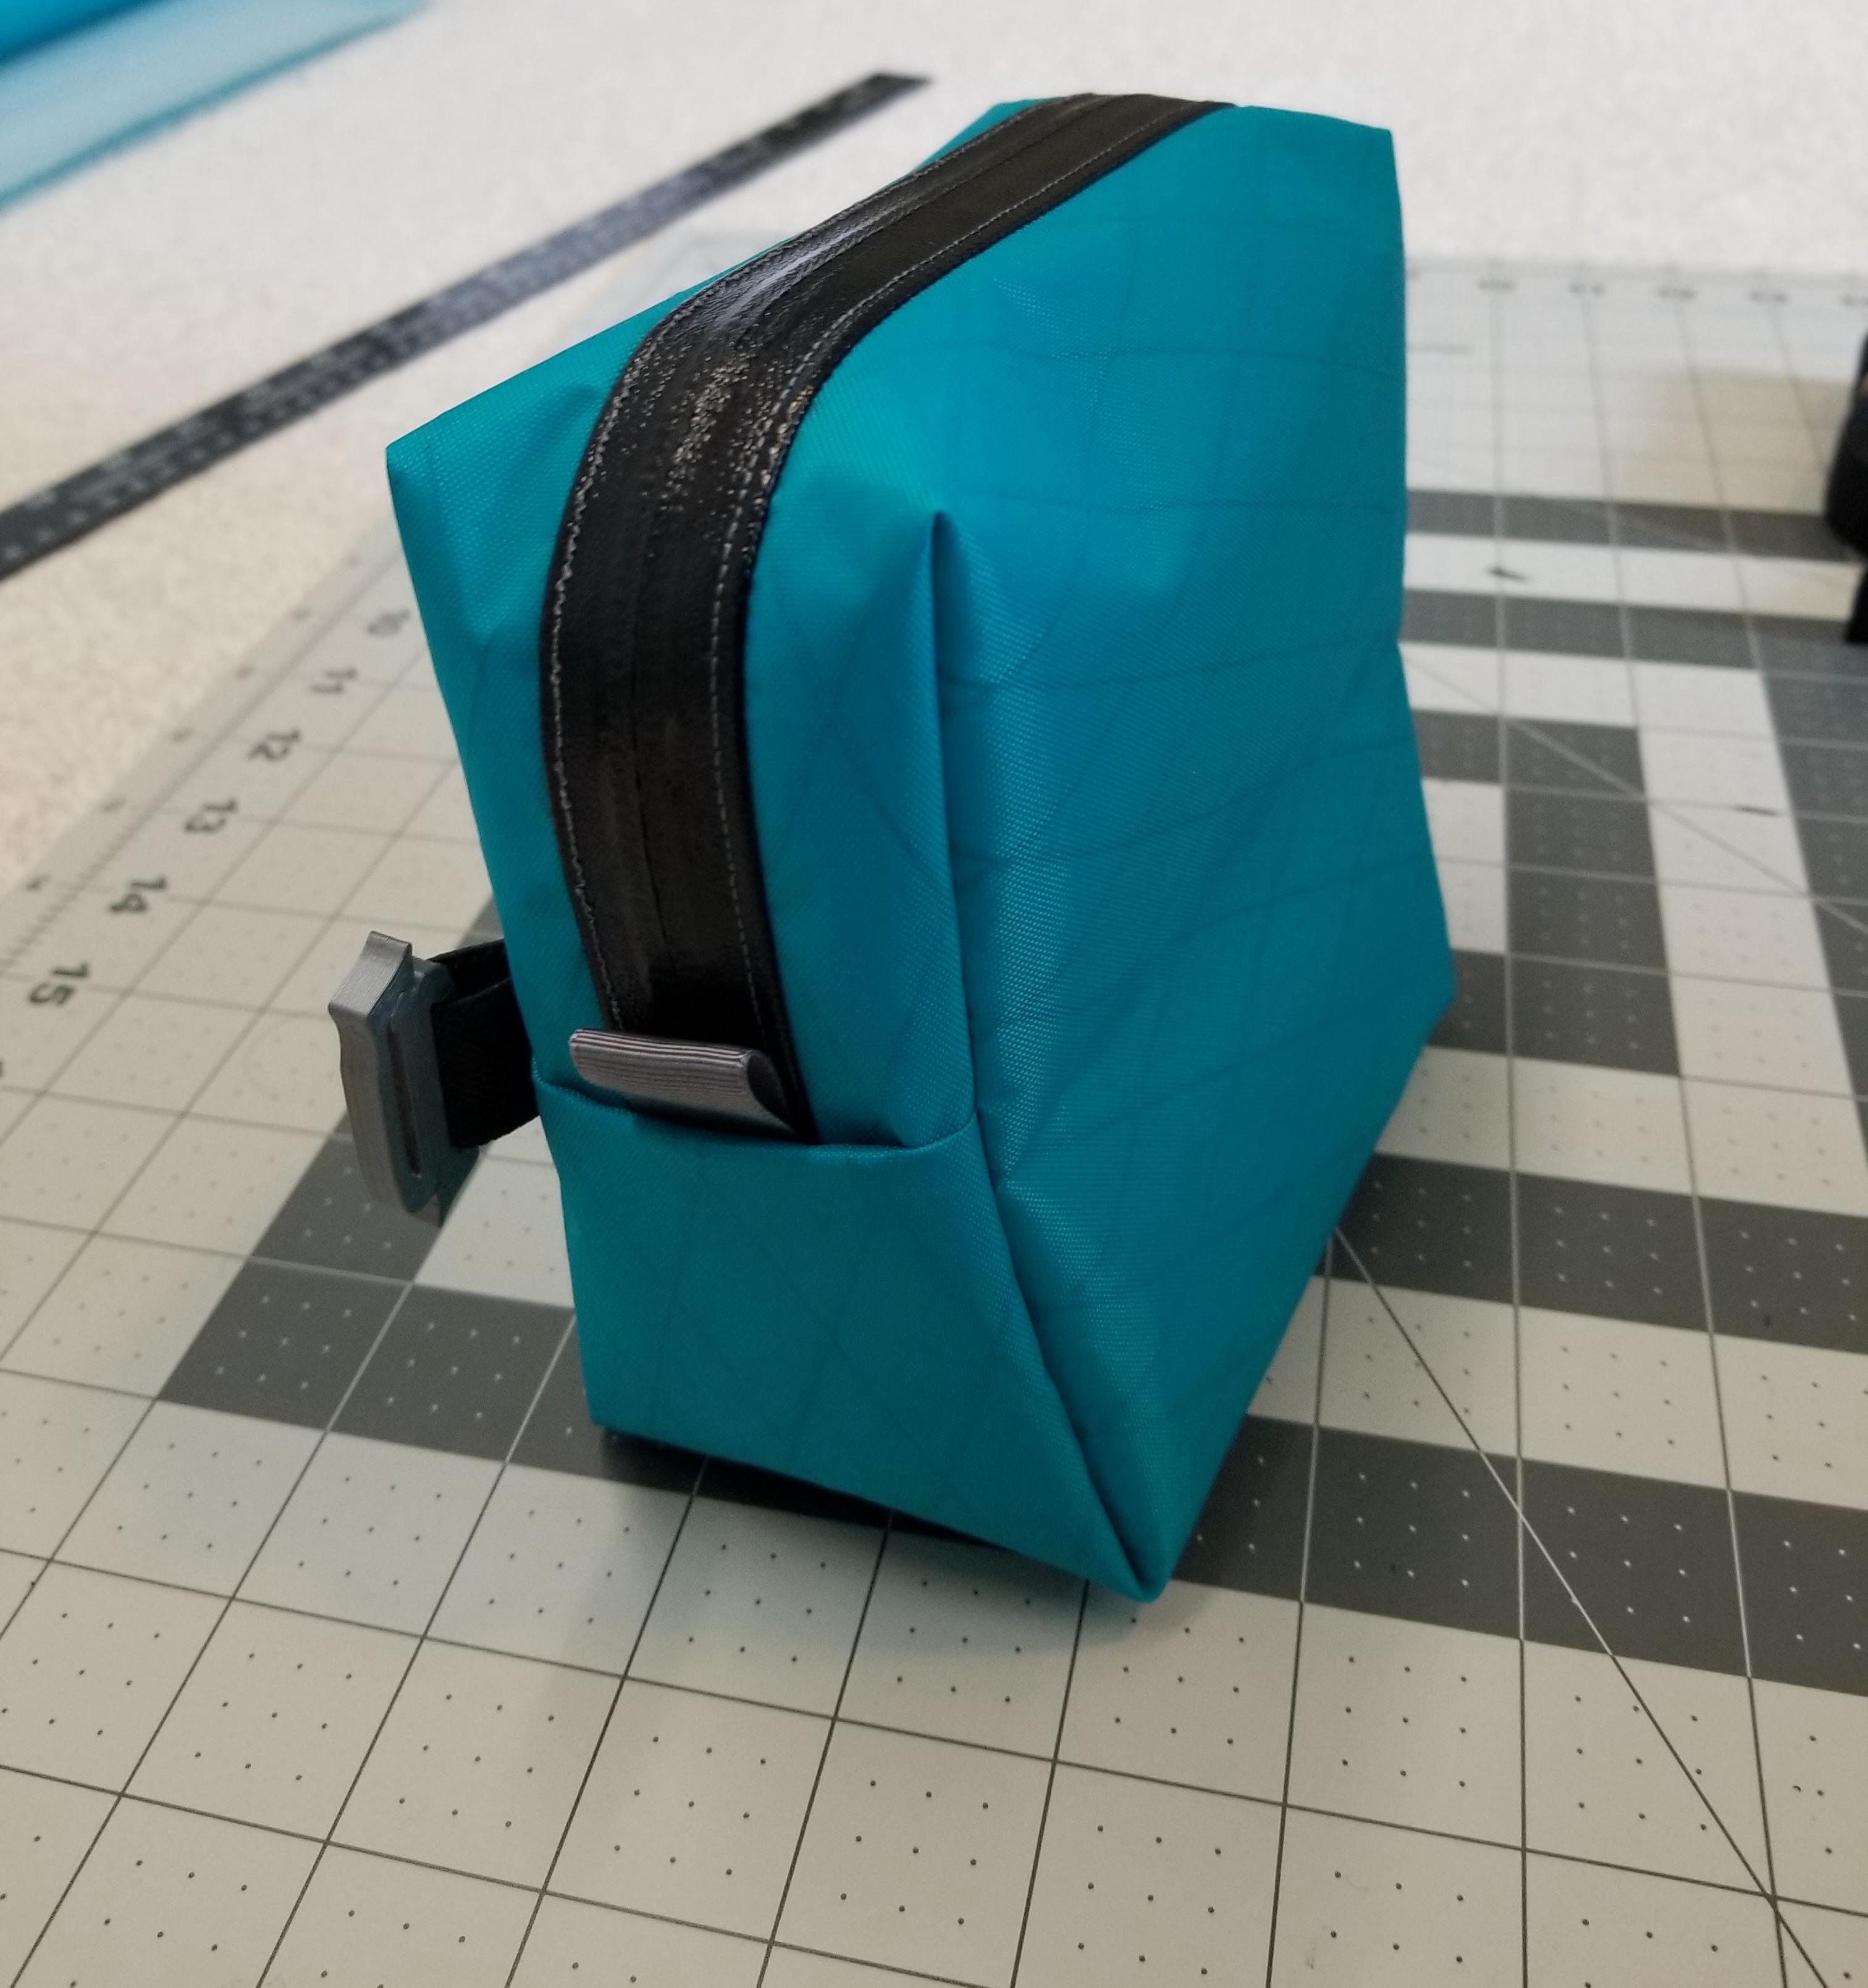
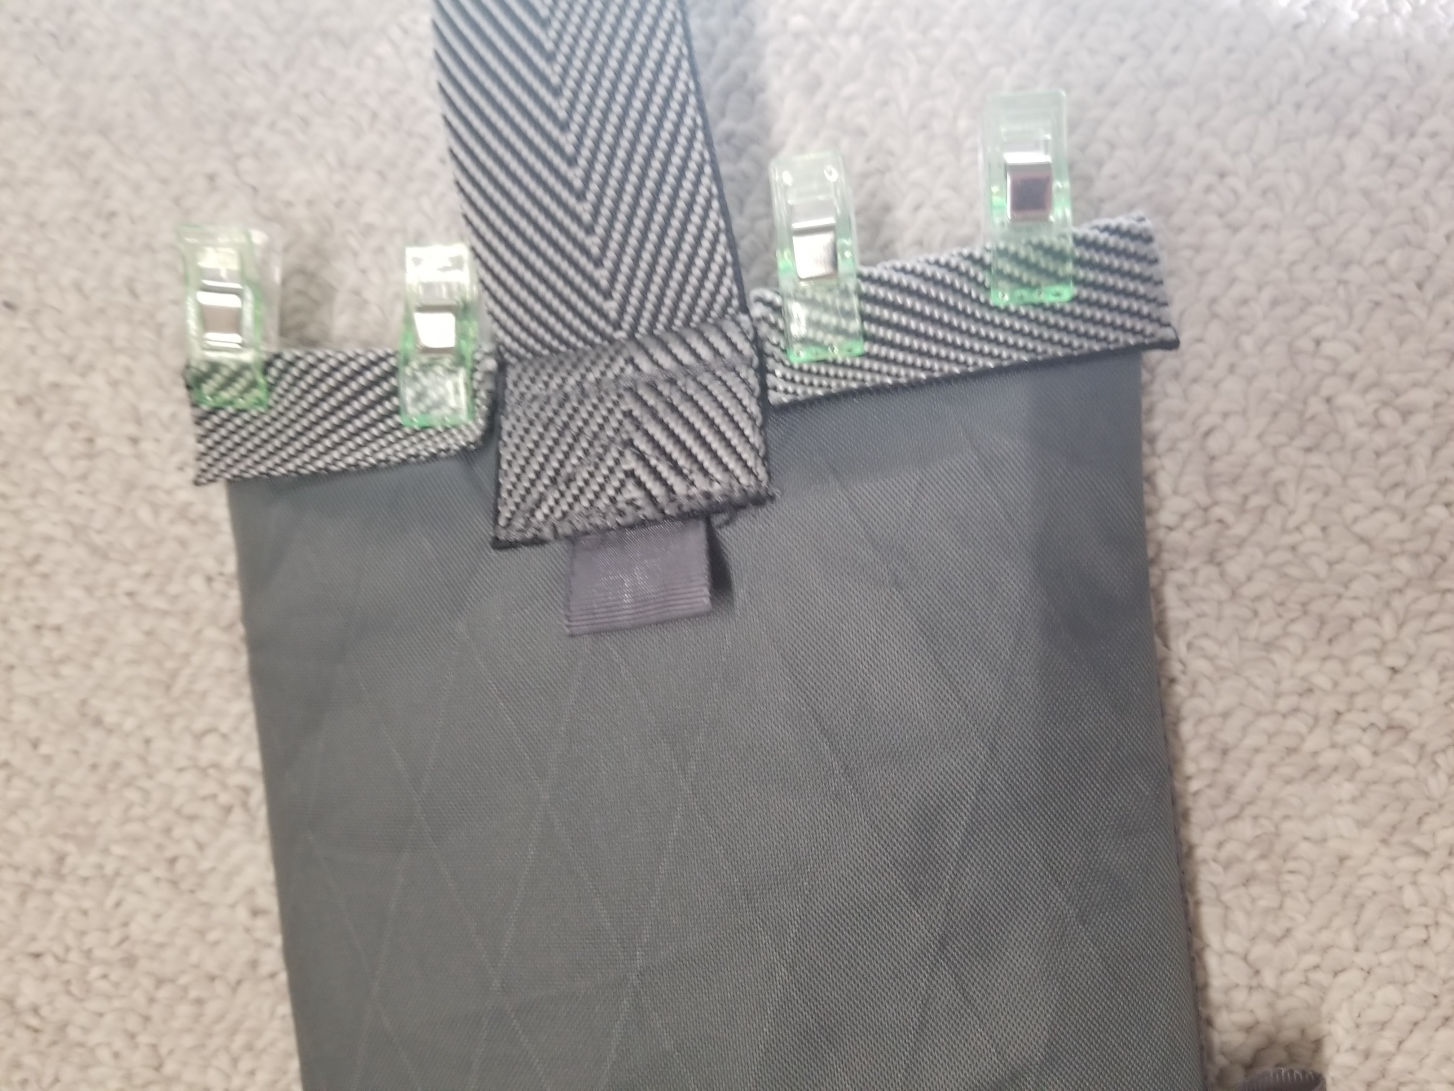
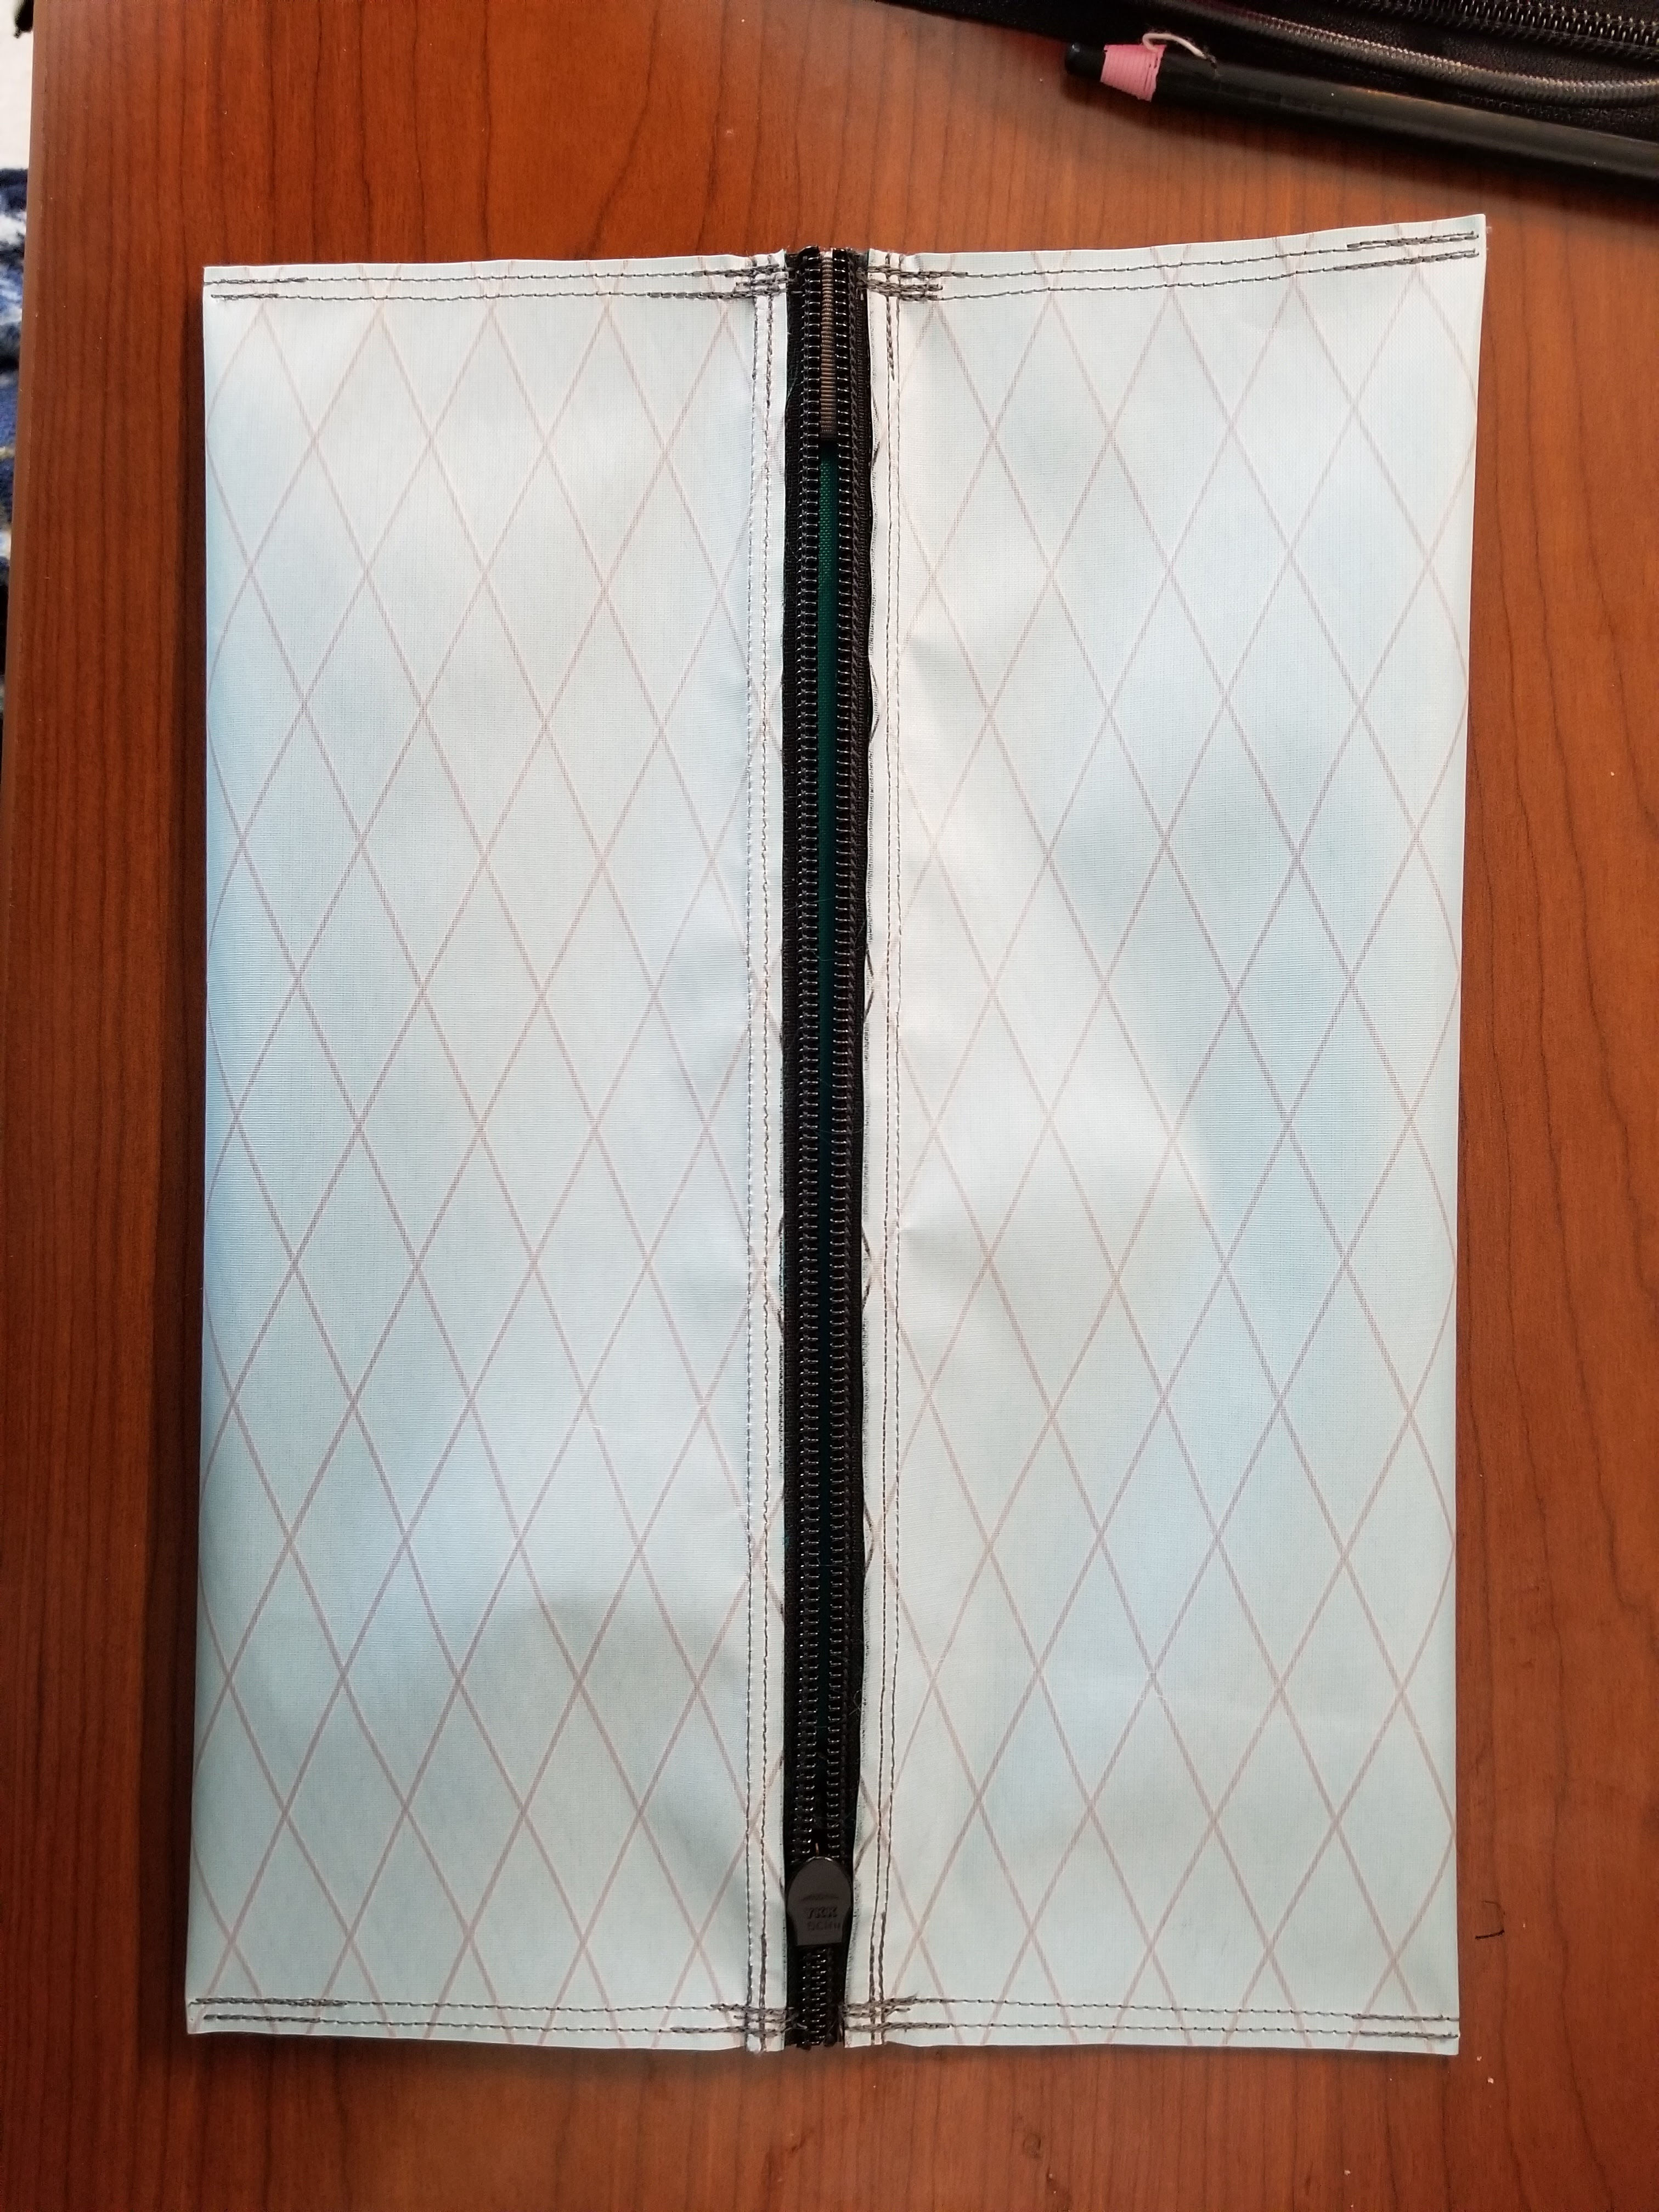
3. Hip Belt Pockets:  The hip belt pockets were sewn next. These deviate from the prototype in the aspect that they're removable pockets, resulting in something easier to sew and more modular, providing much needed additional space in the pockets. These pockets were created following this hip belt pocket tutorial. Teal X-Pac was used, keeping in mind the desired pattern orientation, along with waterproof zippers to keep moisture out of the pockets. The main areas of focus while sewing the hip belt pocket were to making sure to add the elastic for the Silkey Clip attachment while squaring the corners, and also adding grosgrain zipper end stops while sewing the envelope. The hardware and velcro on the back of the hip belt pocket were sewn on with alignment to the attachment points on the hip belt.

Hip Belt Pockets

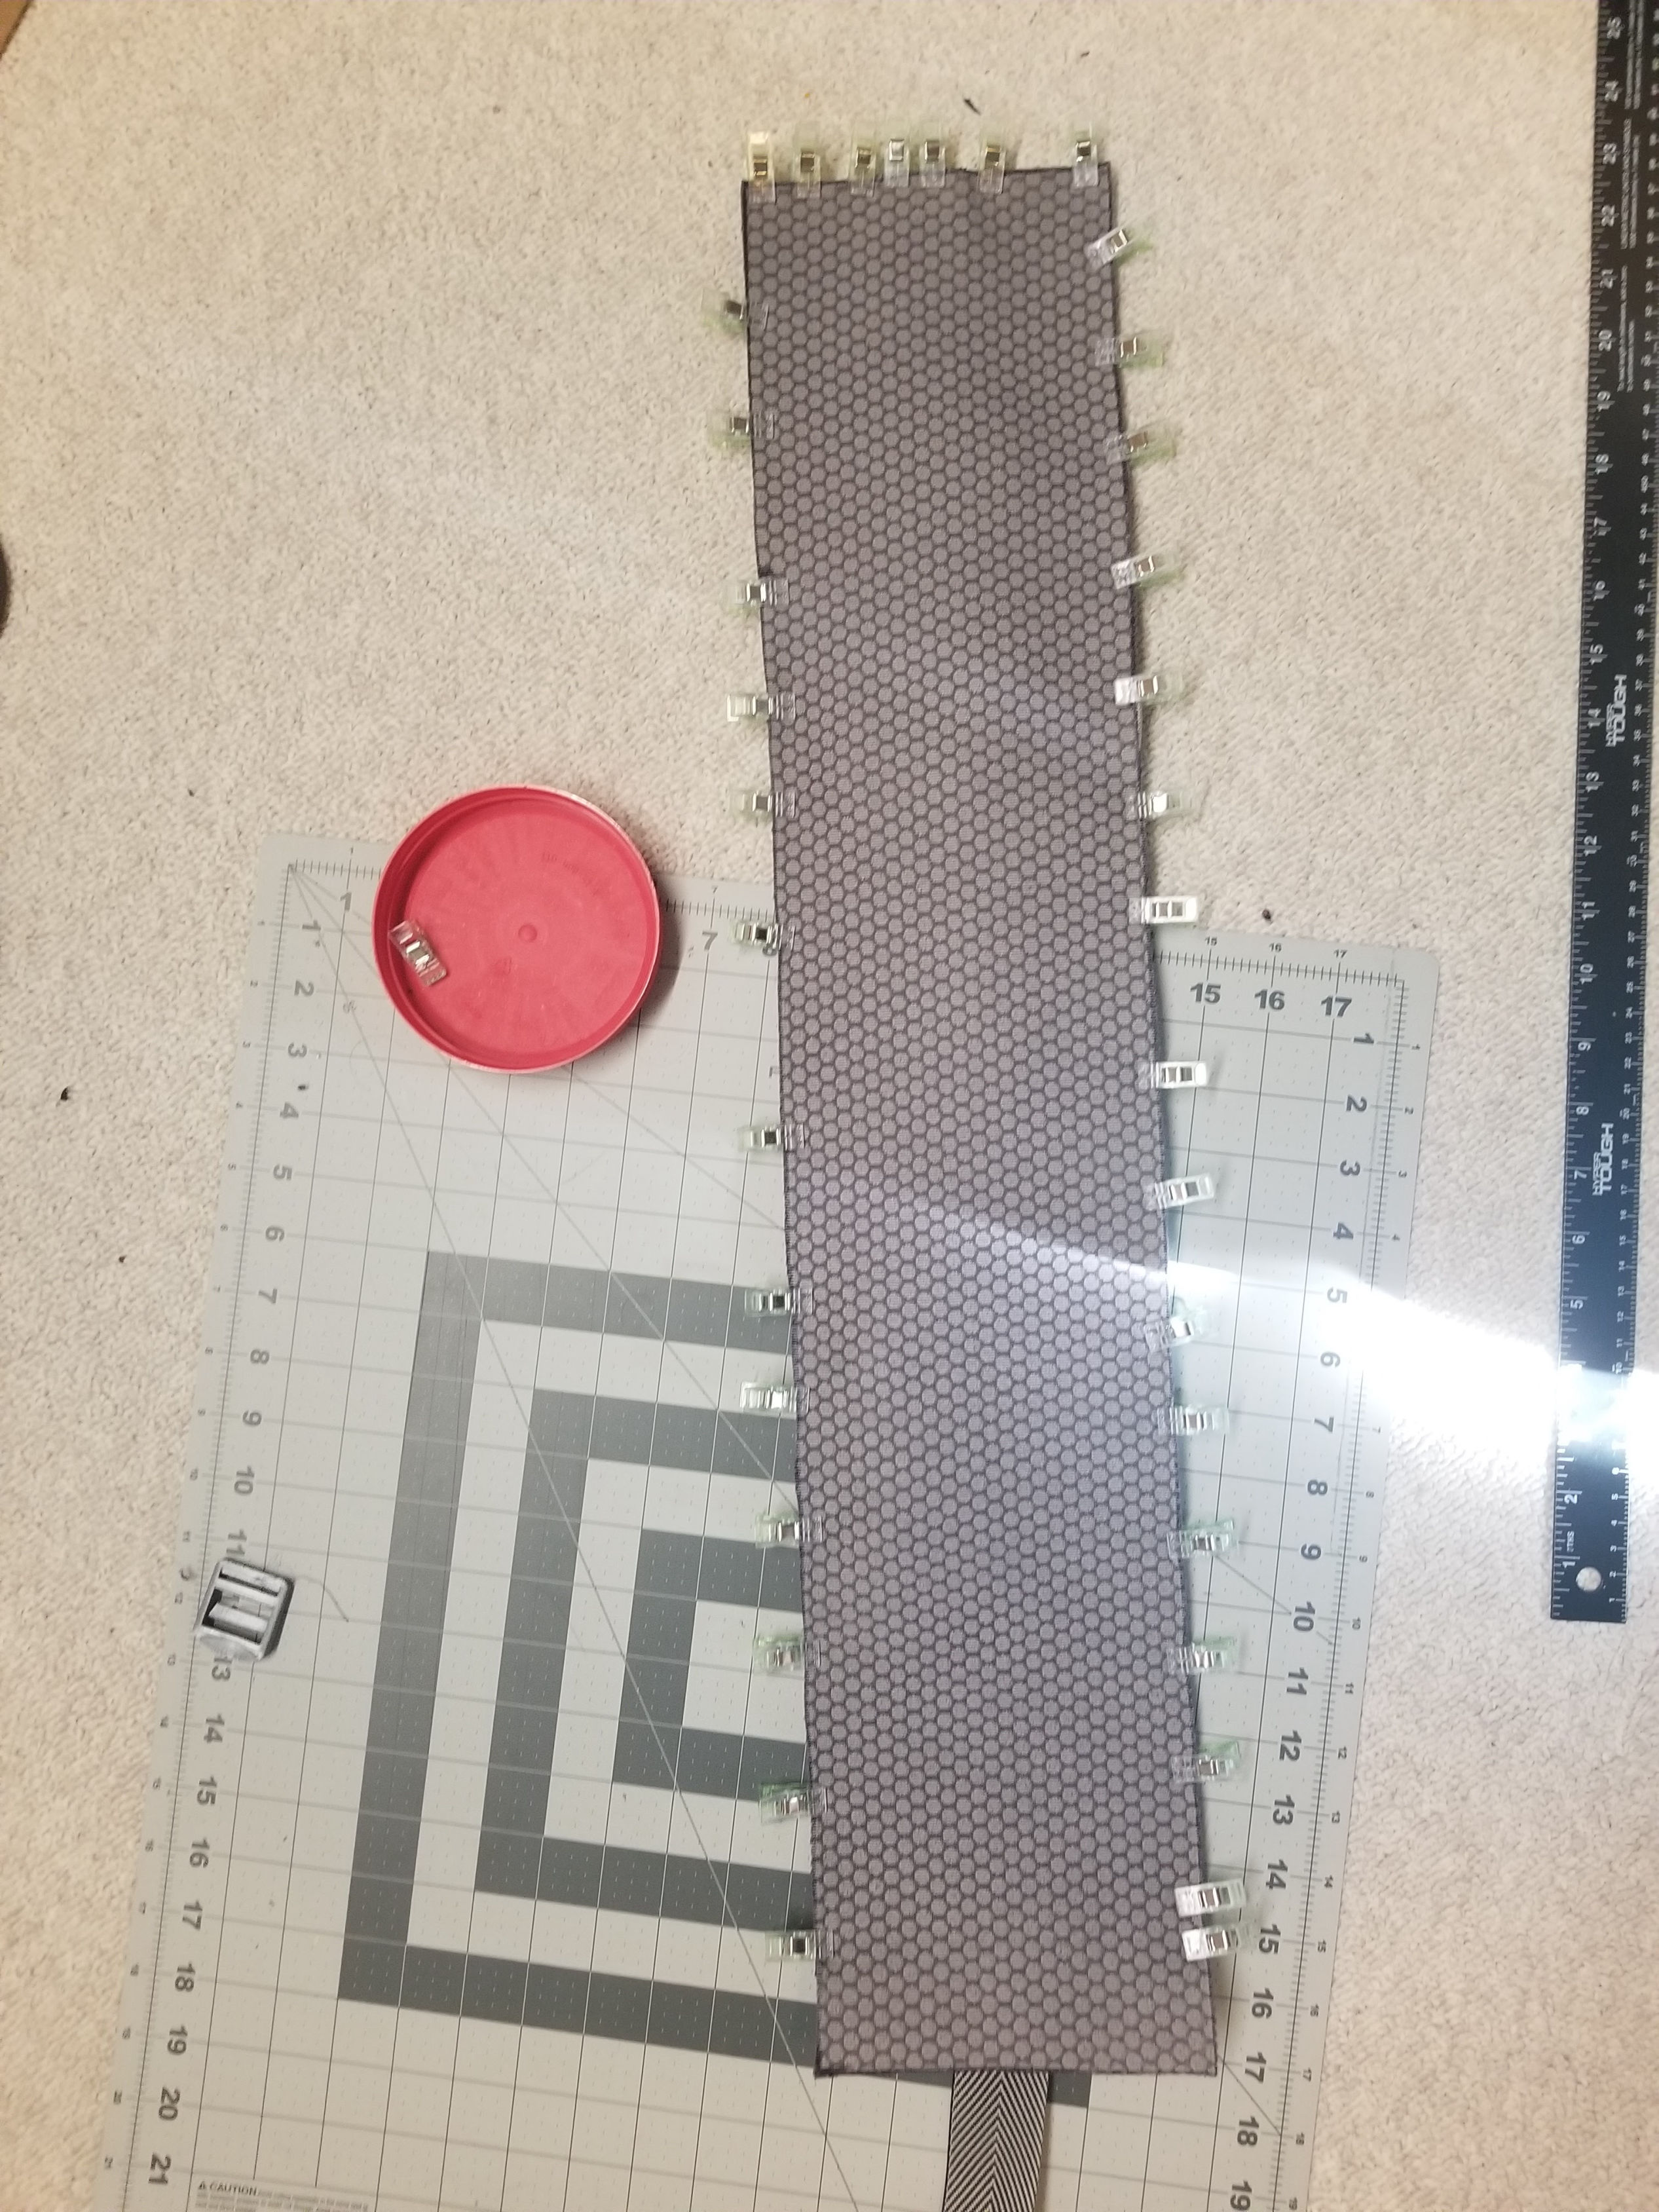
4. Finish Hip Belt: The back hip belt panel was checked to make sure everything was sewn on correctly. Hip belt length was measured to allow for a proper fit around the waist! After the whole back piece was completed, it was sewn inside out, leaving one side unsewn, then flipped right side out to stuff the foam inside. The hip belt was then sewn closed, using webbing to hide the seam.

Finished Hip Belt

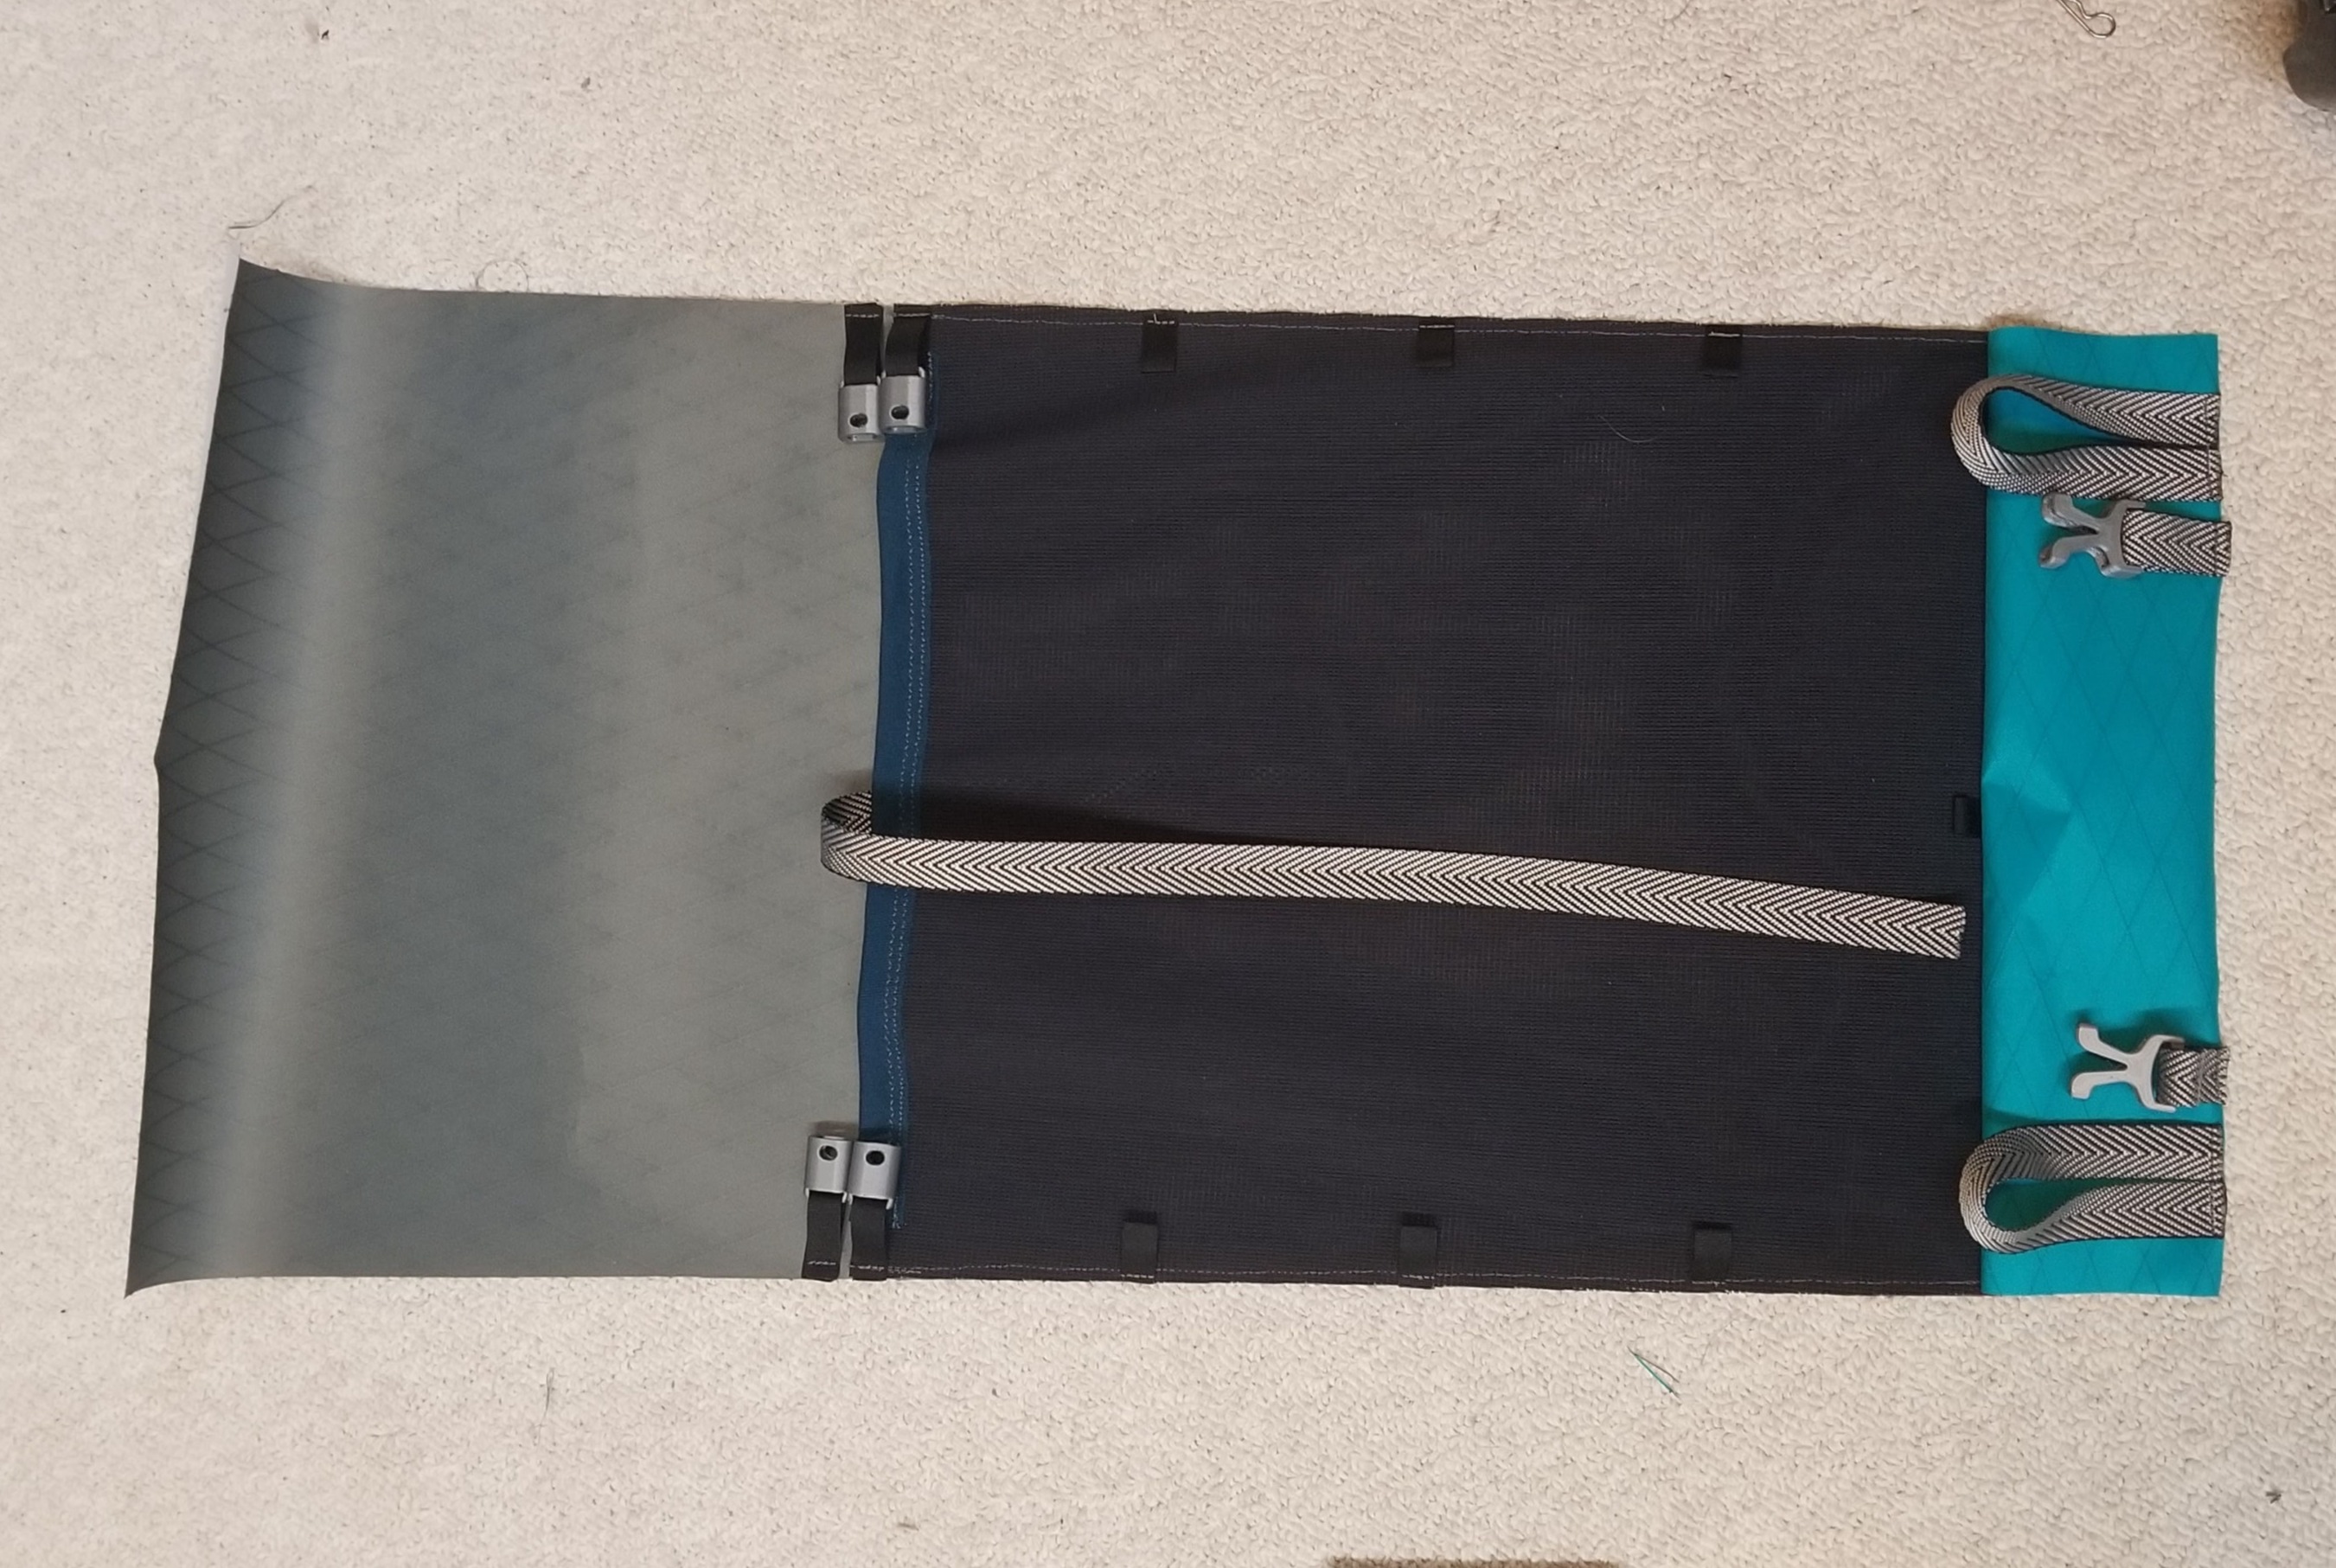
5. Back Panel: The webbing top stop for the aluminum frame was sewn onto the Back Mid Panel, along with additional sleeve for the top horizontal frame stay. The sleeve utilizes velcro to open and close for easy access to the top horizontal frame stay. Ladderlocks were also added above the webbing top stops for best transfer of forces. Next, channels for an additional horizontal frame stay and also to support the vertical frame stays. Ladderlocks for the hip belt attachment and webbing for the bear canister attachment were also sewn onto the Back Bottom Panel.

Back Panel

Mobirise

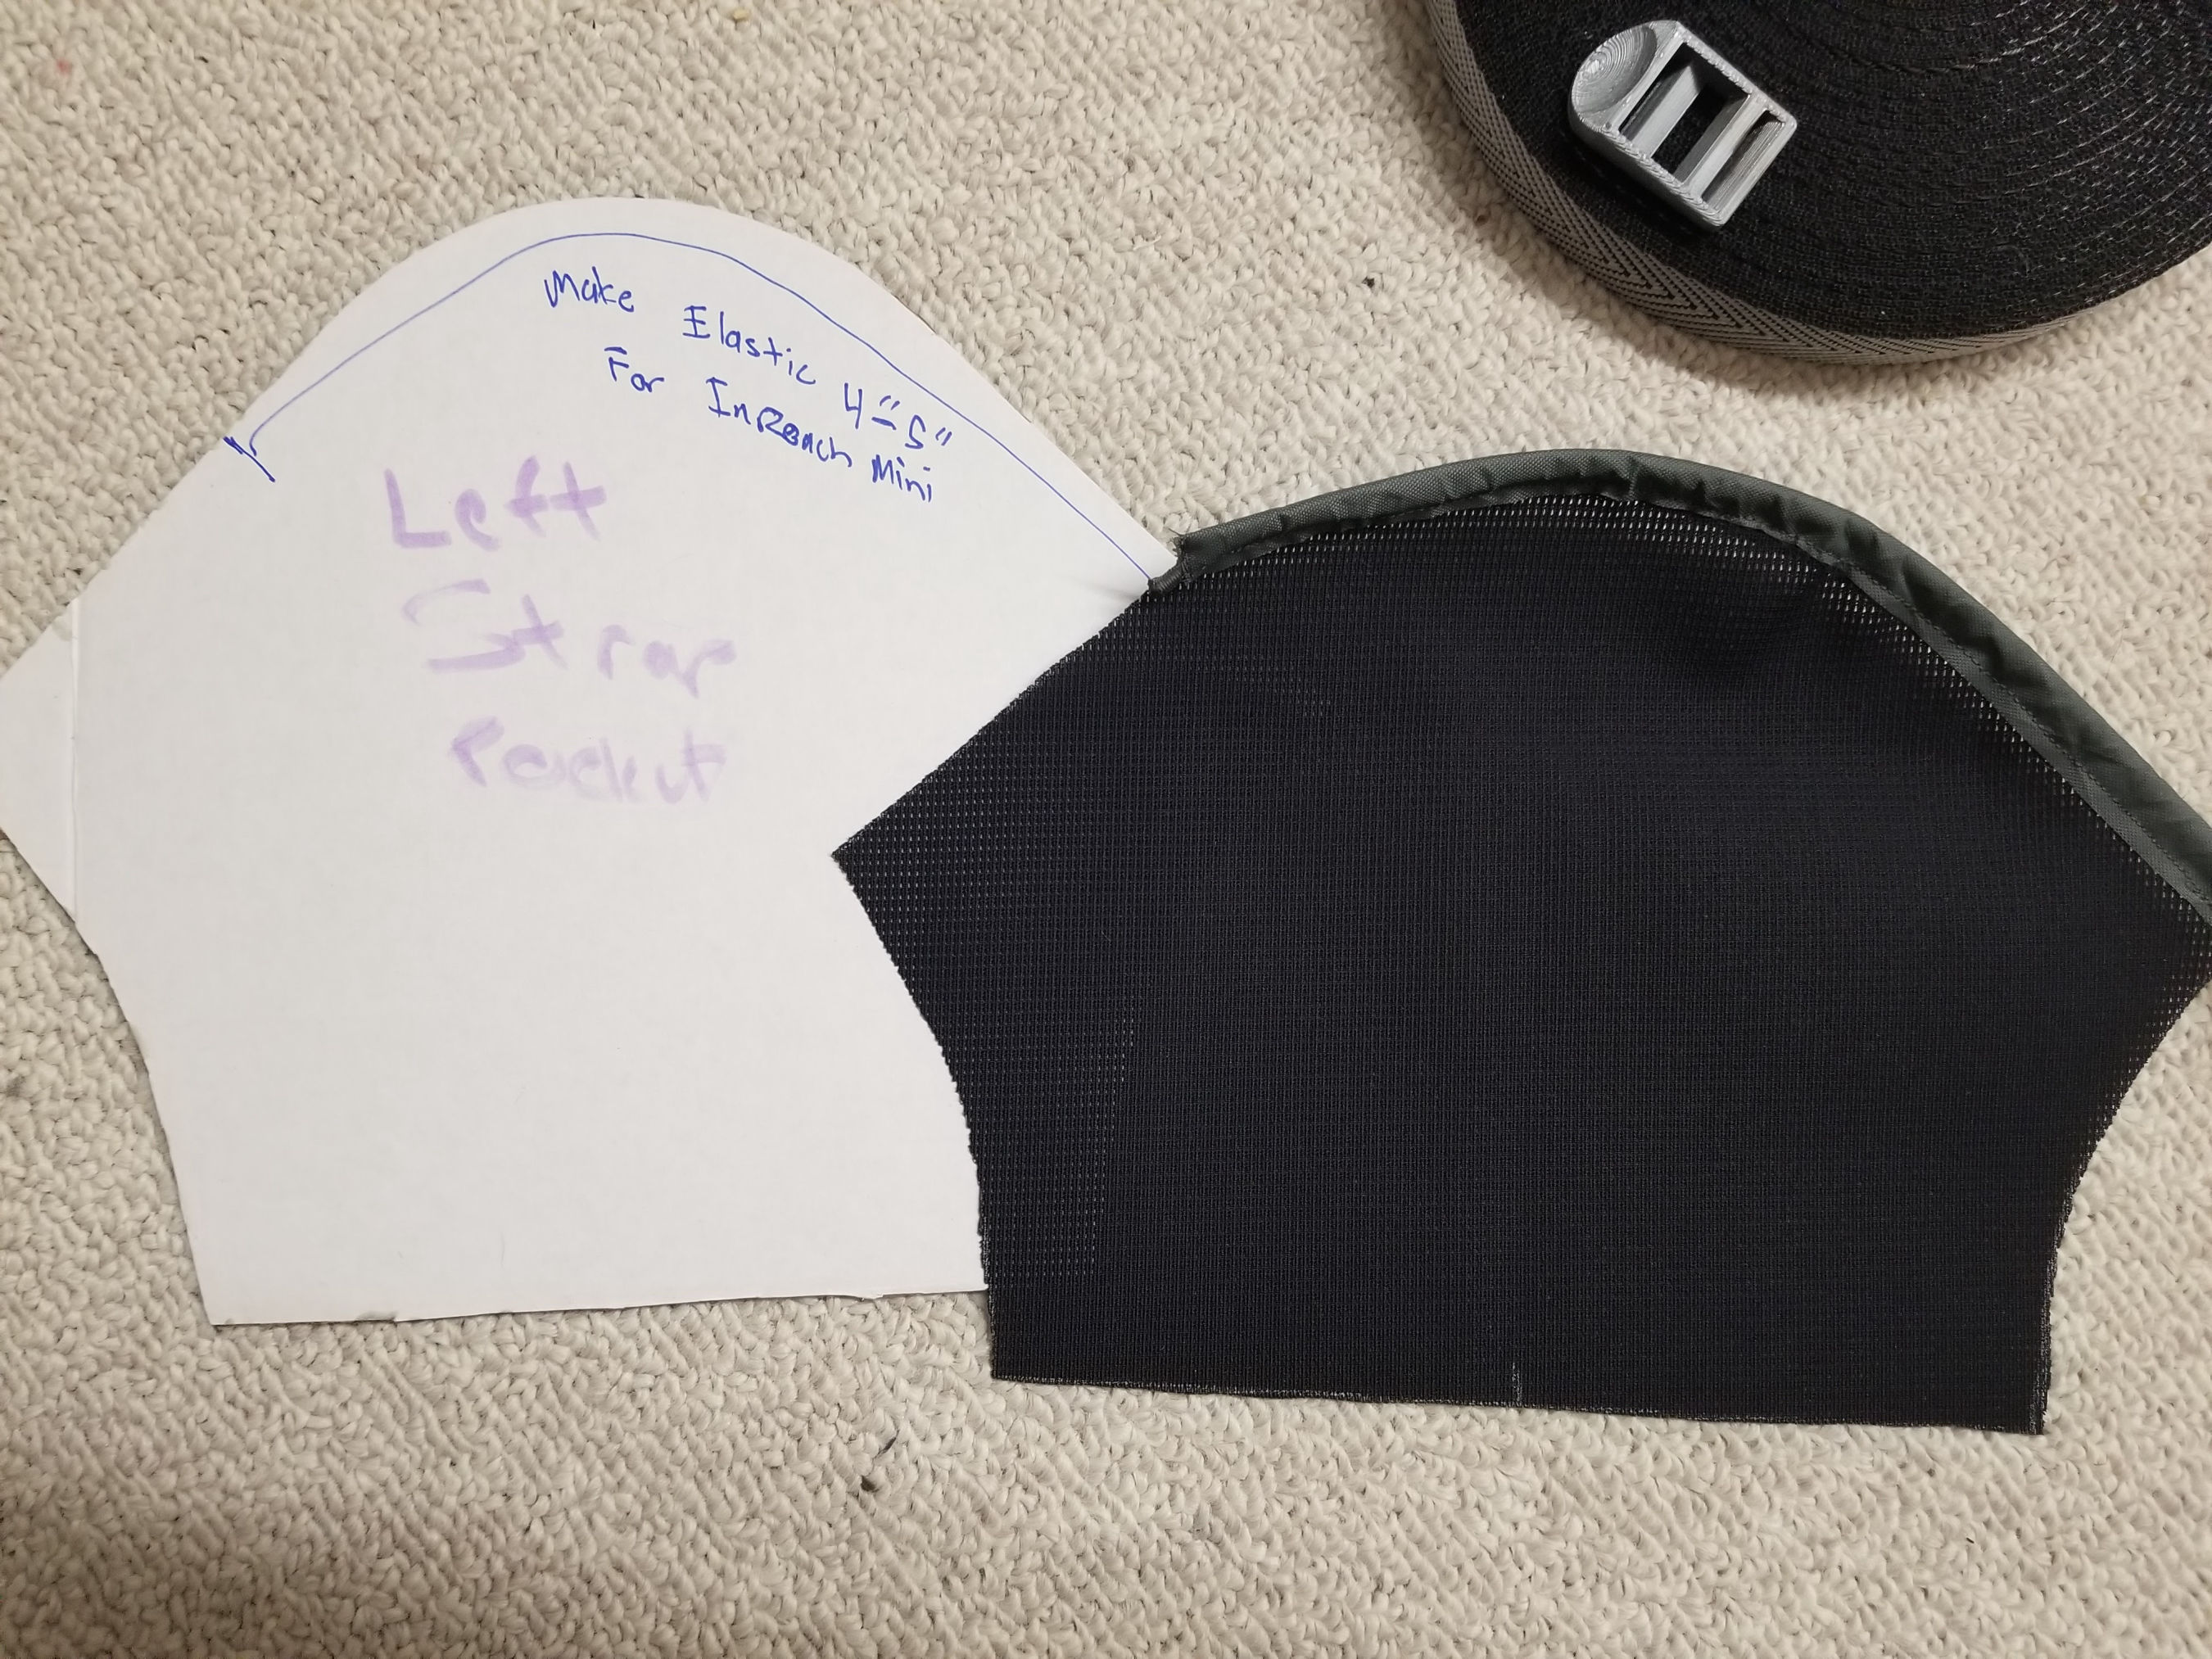
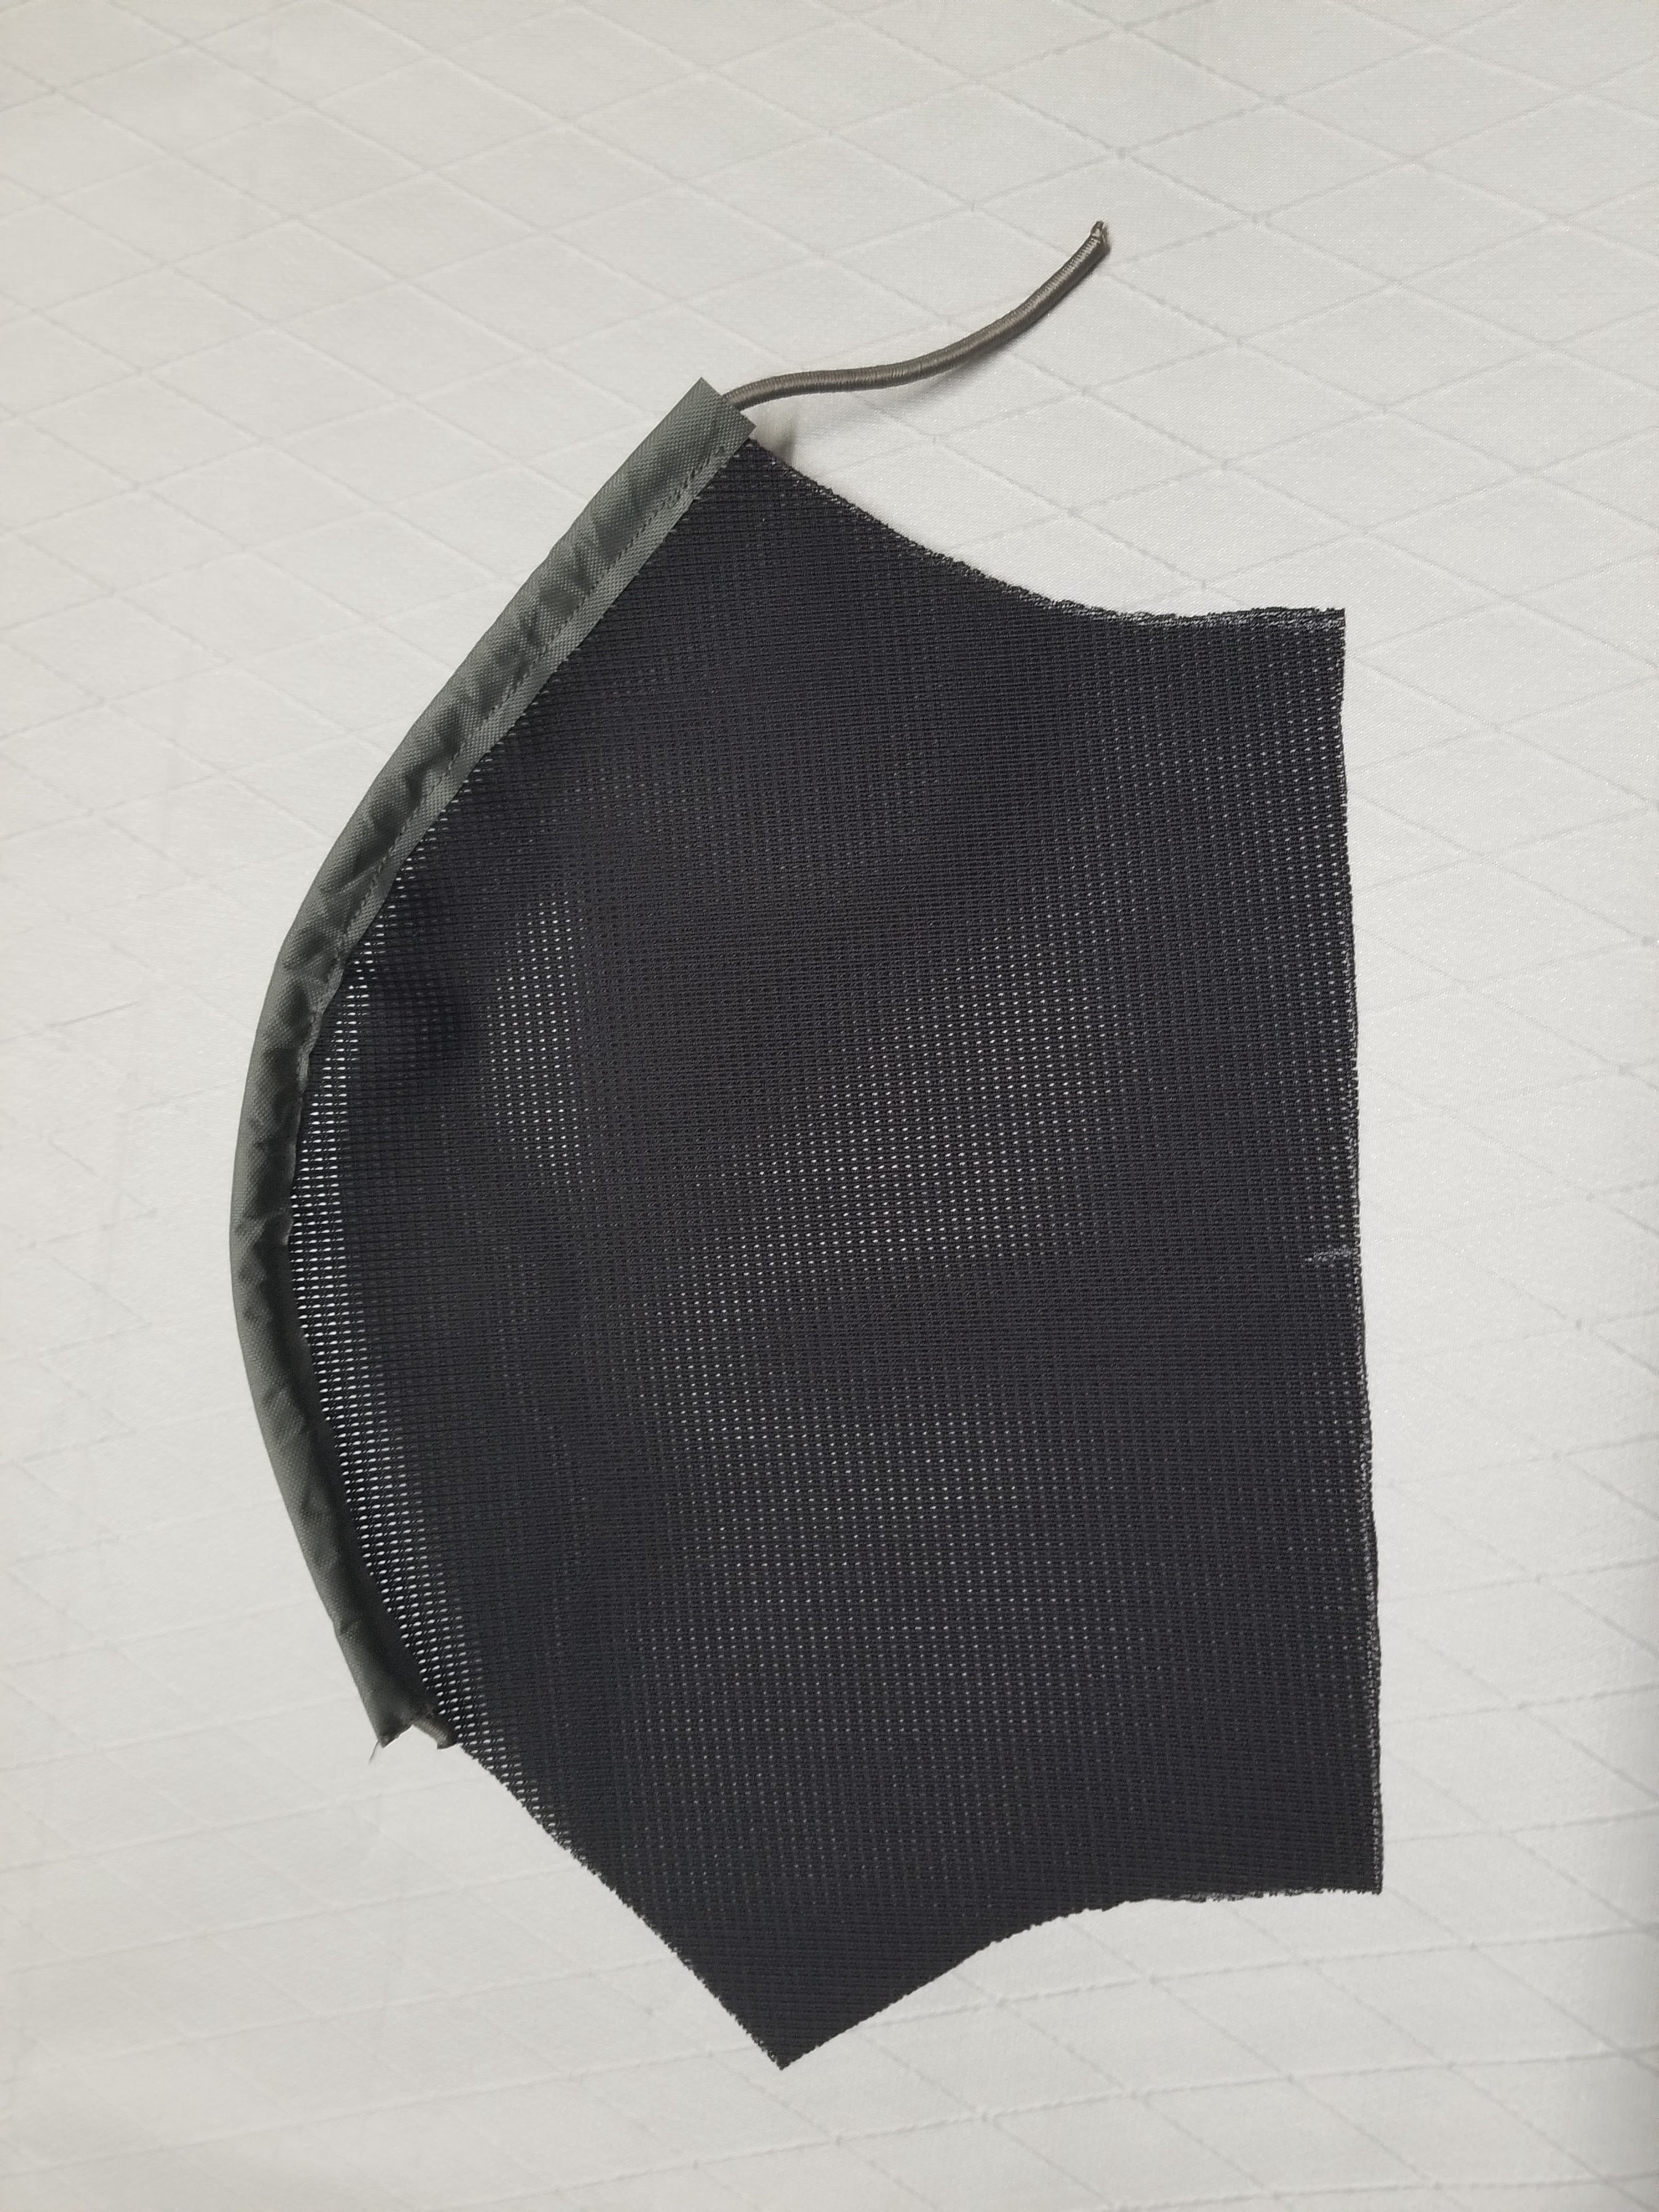
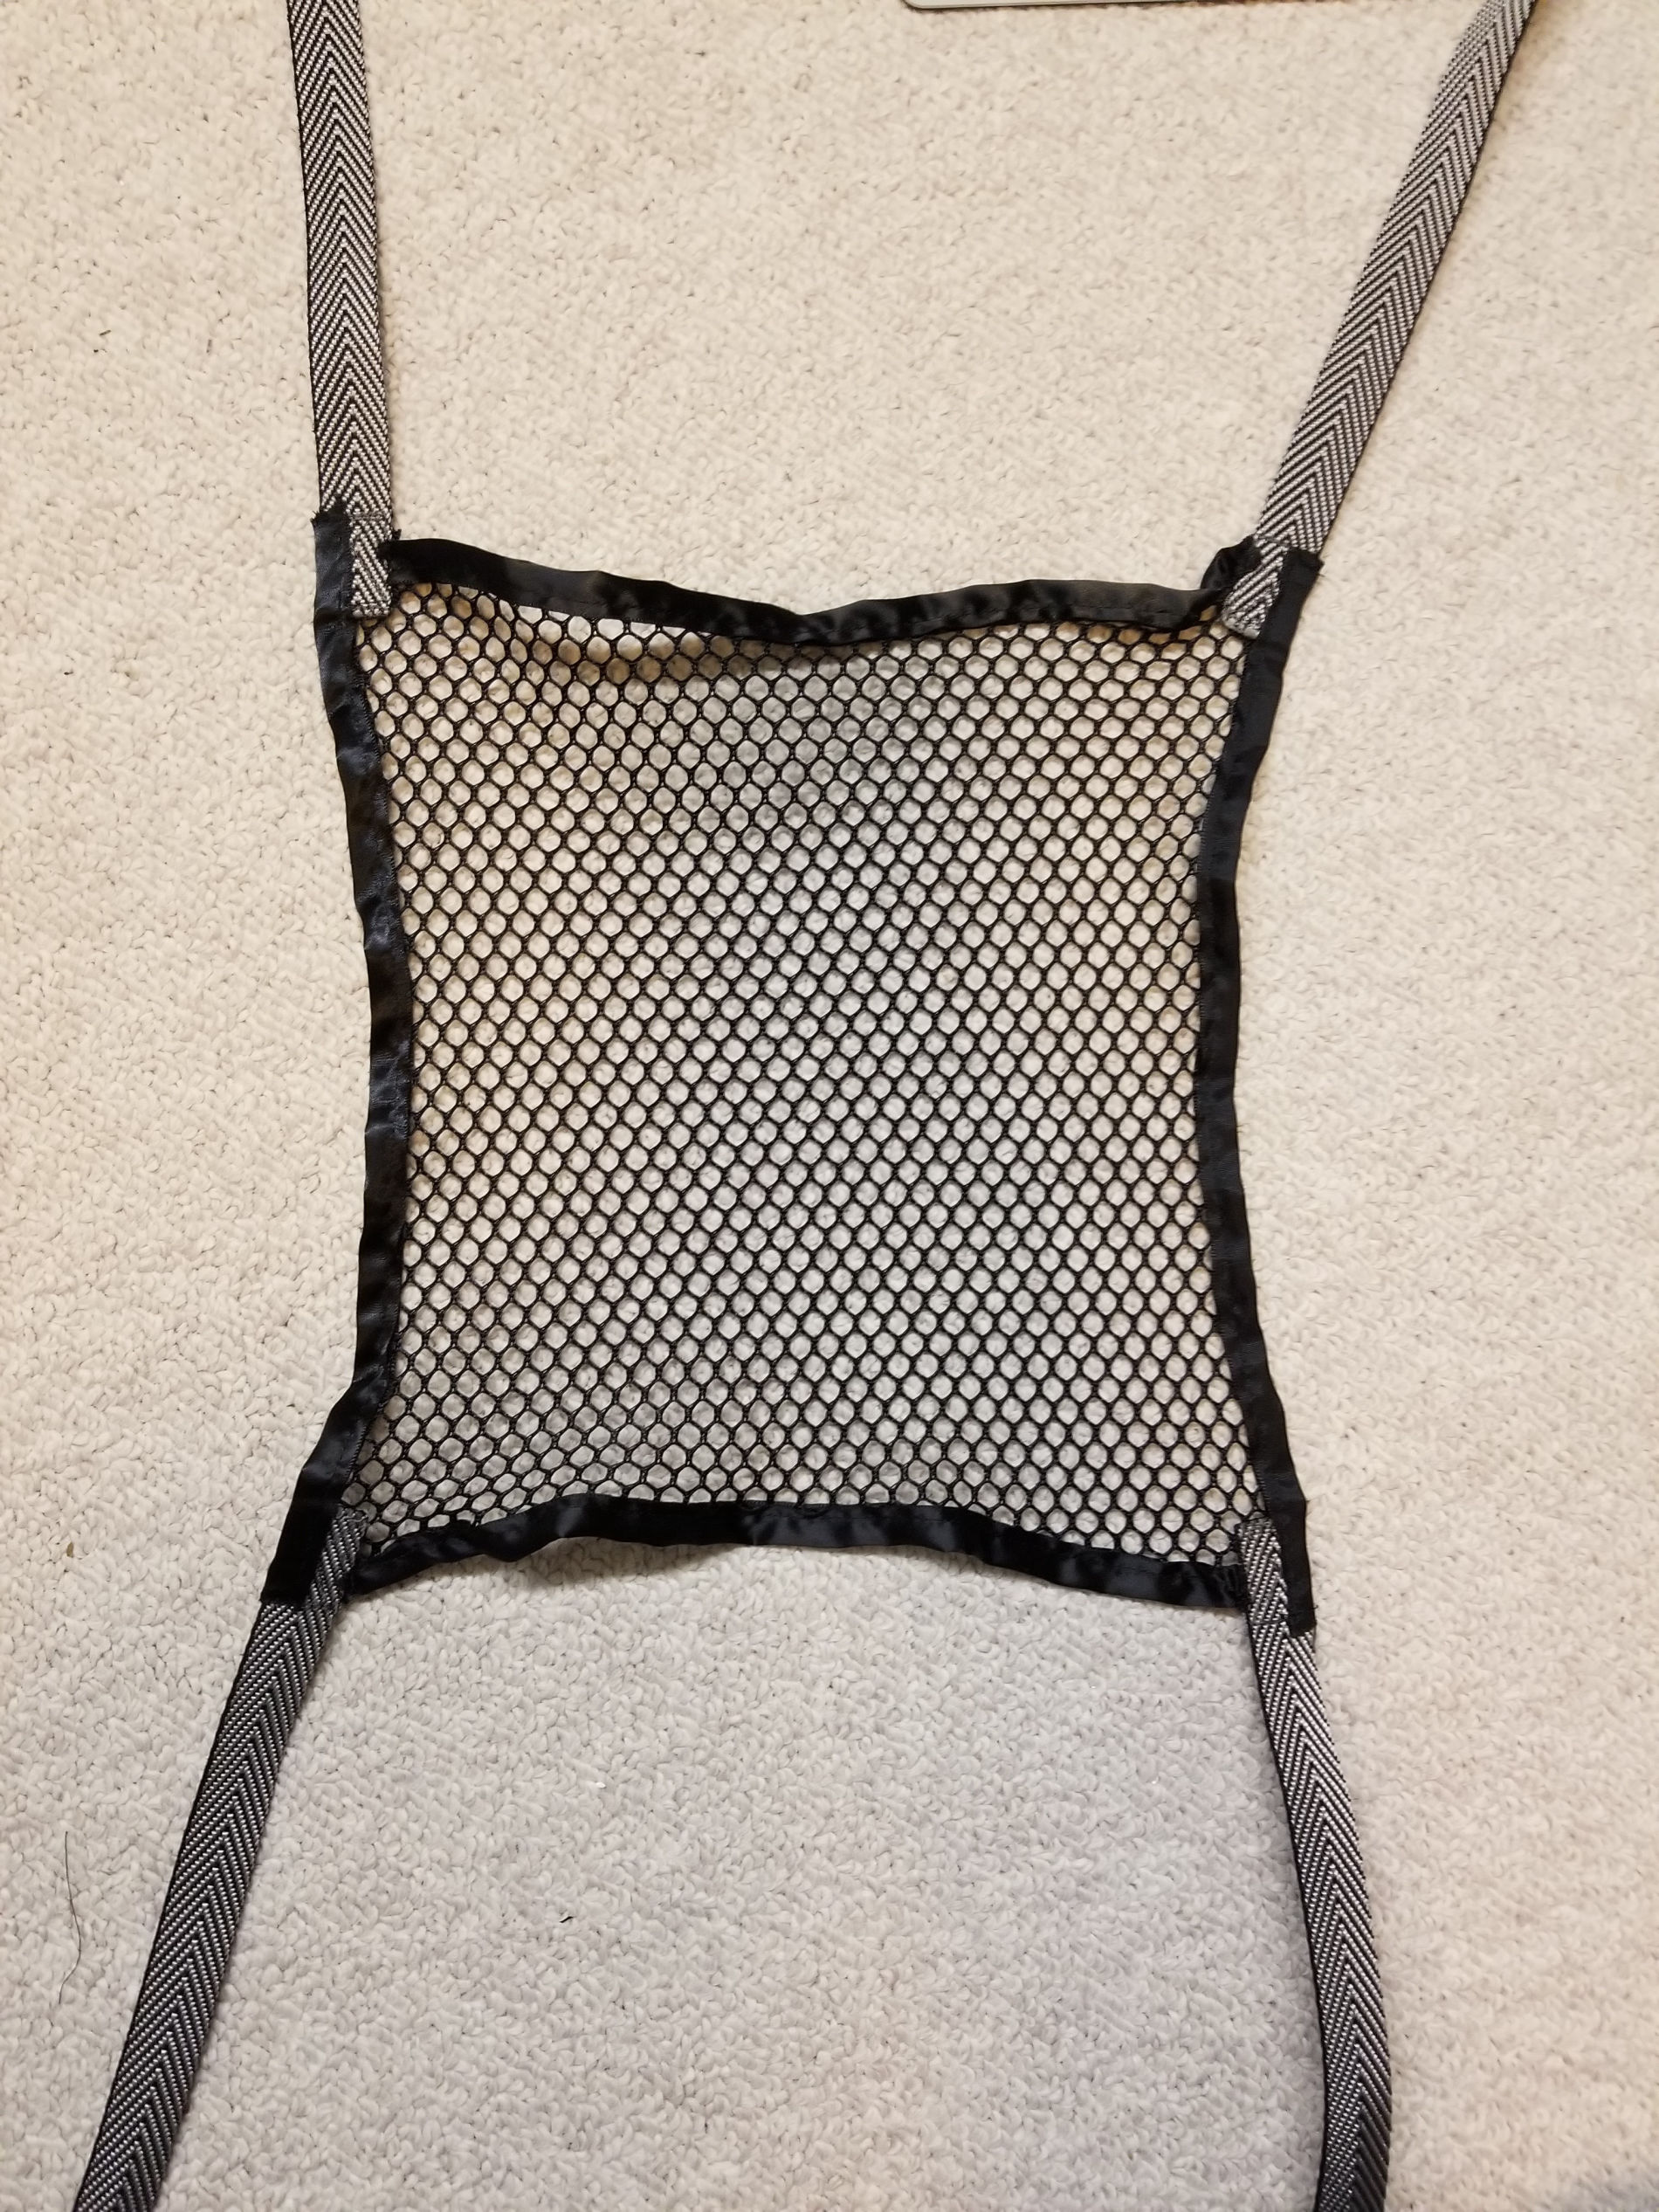
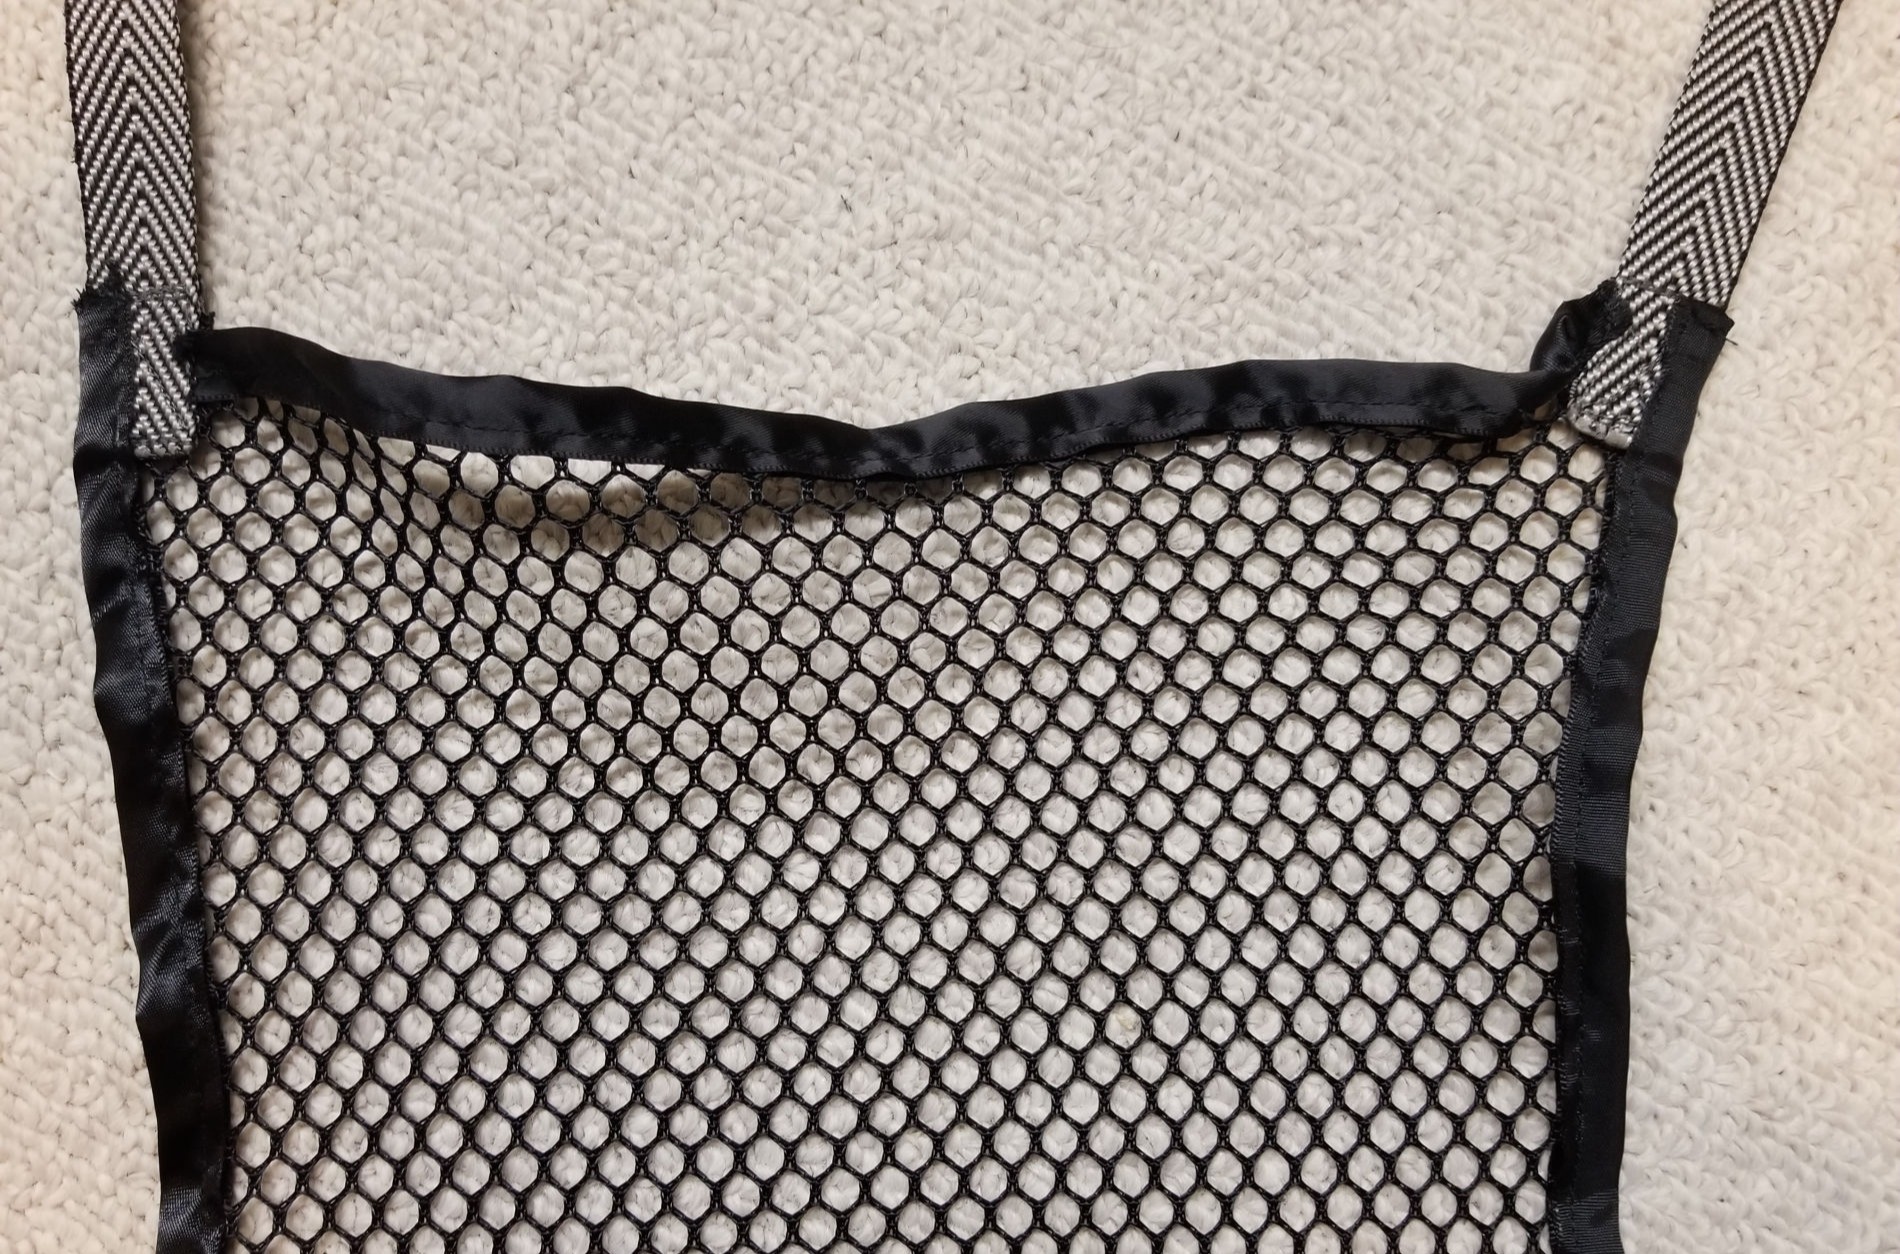
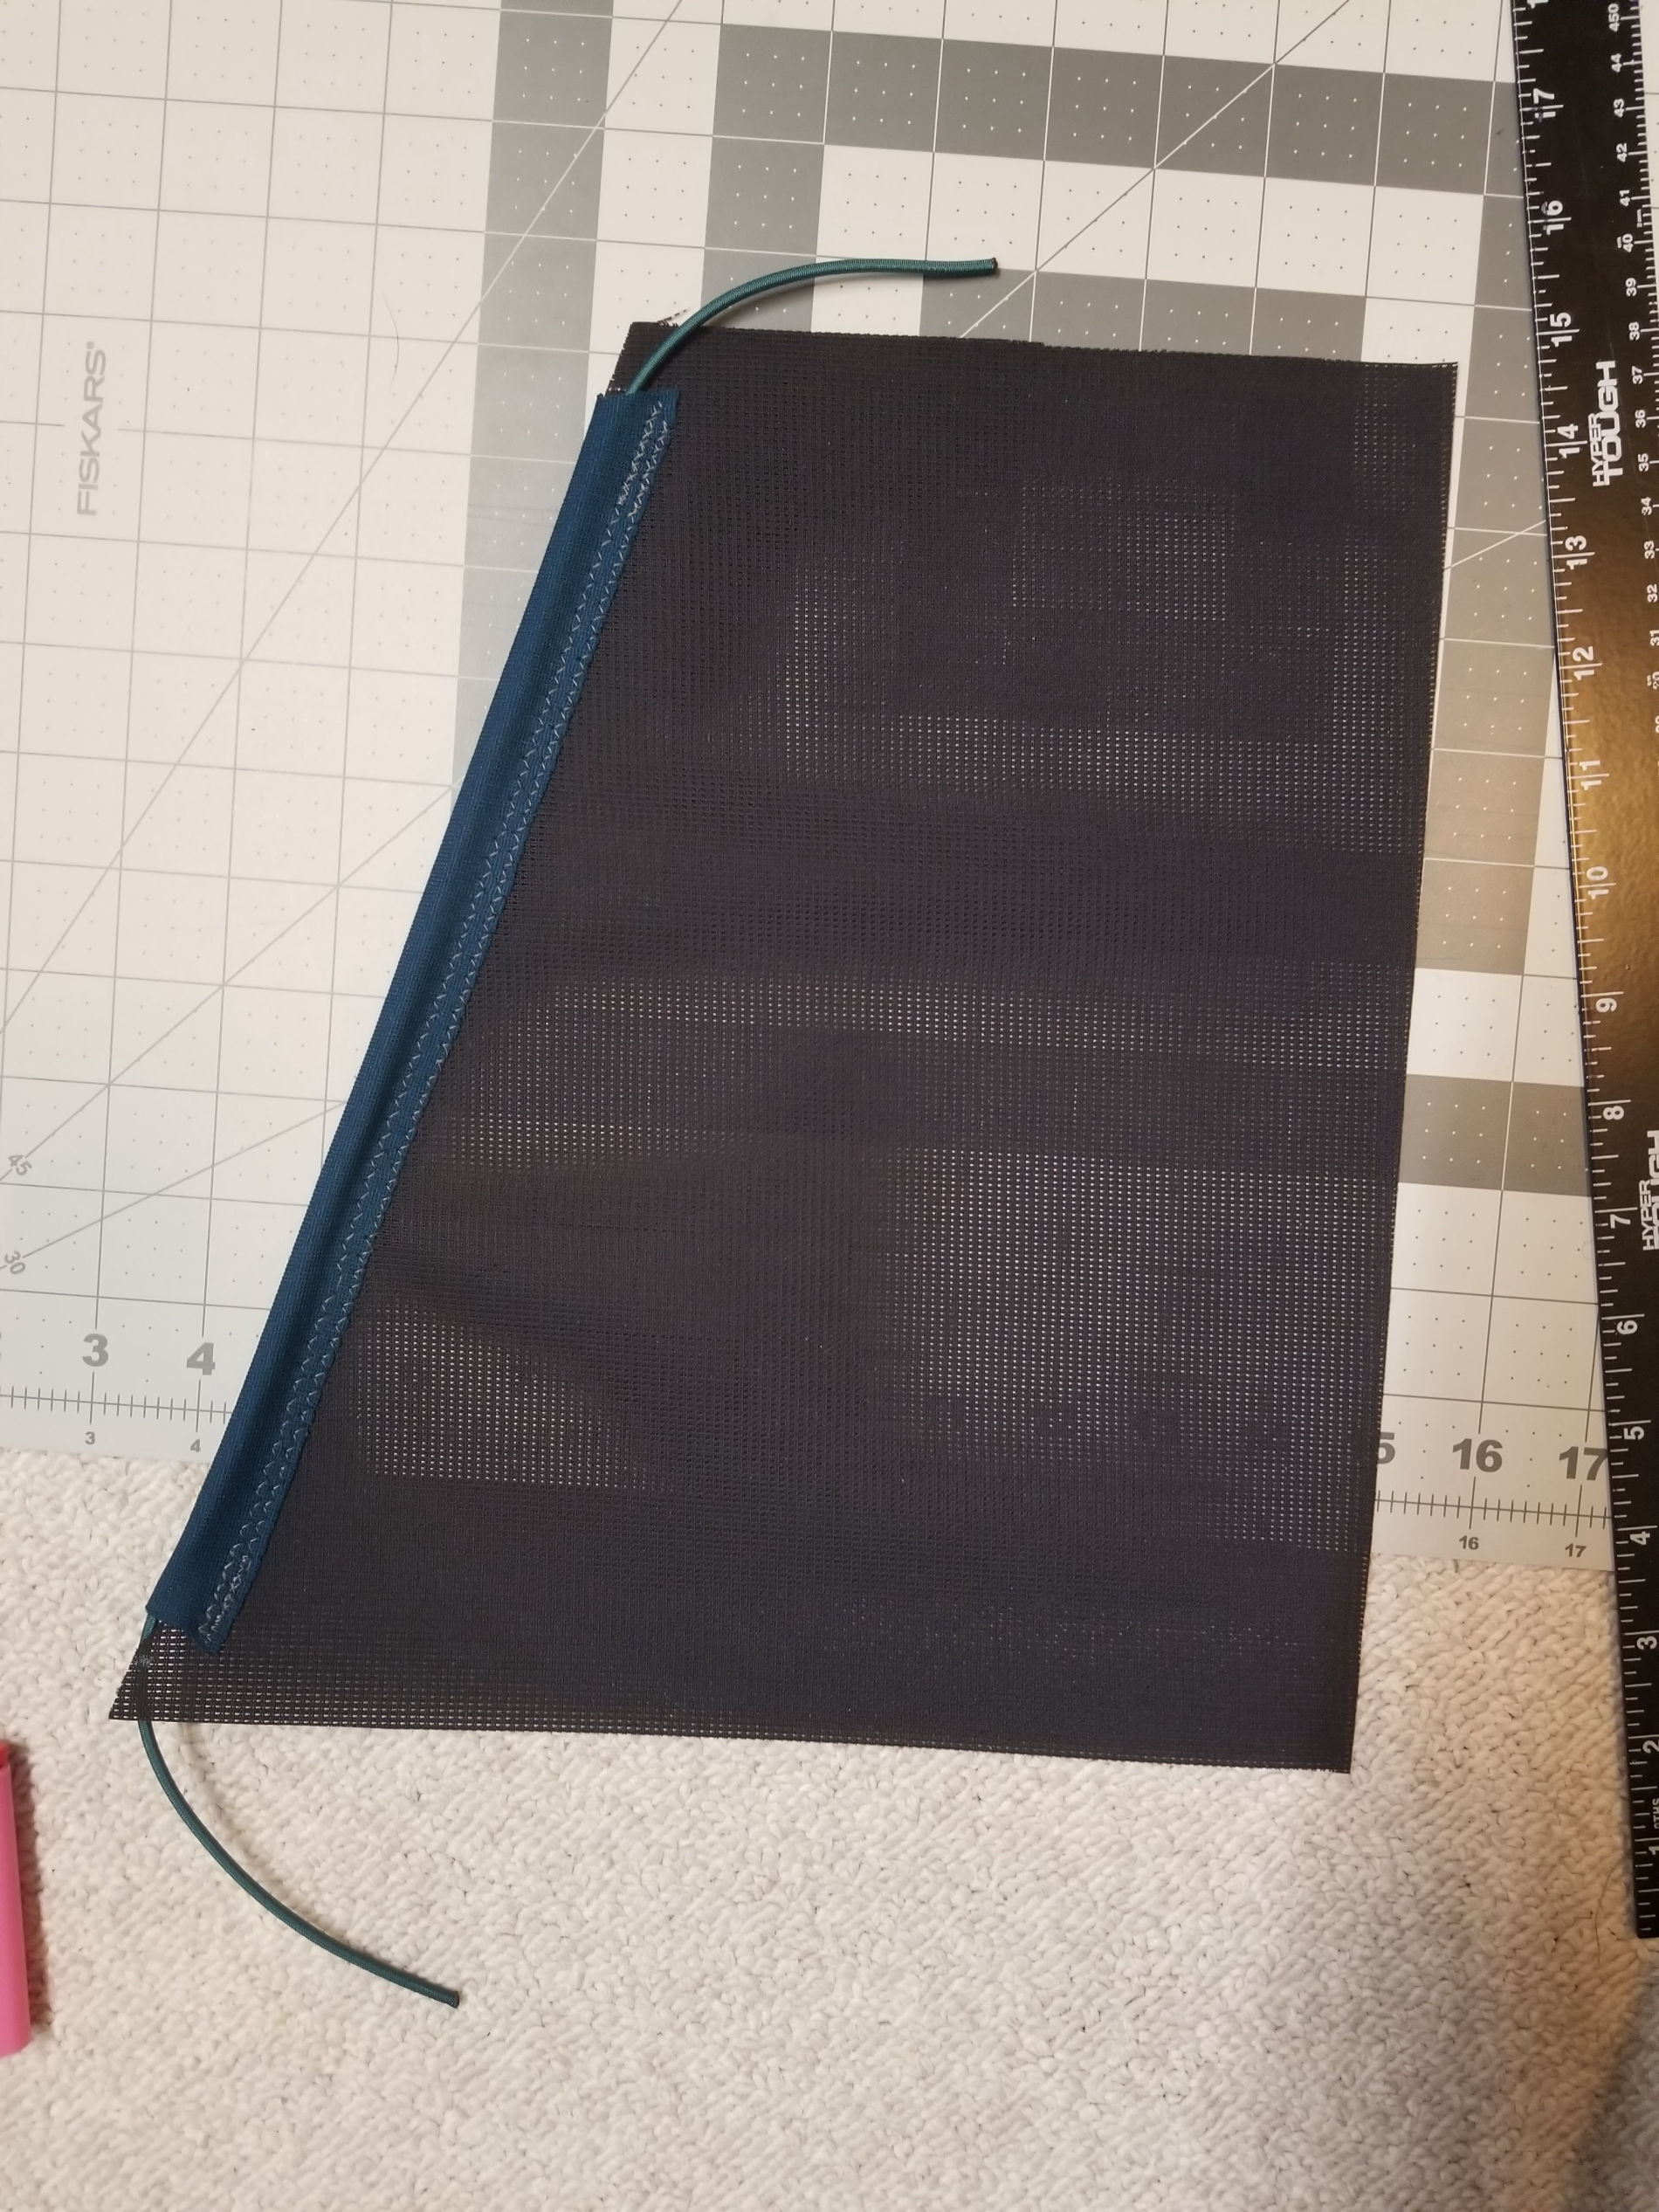
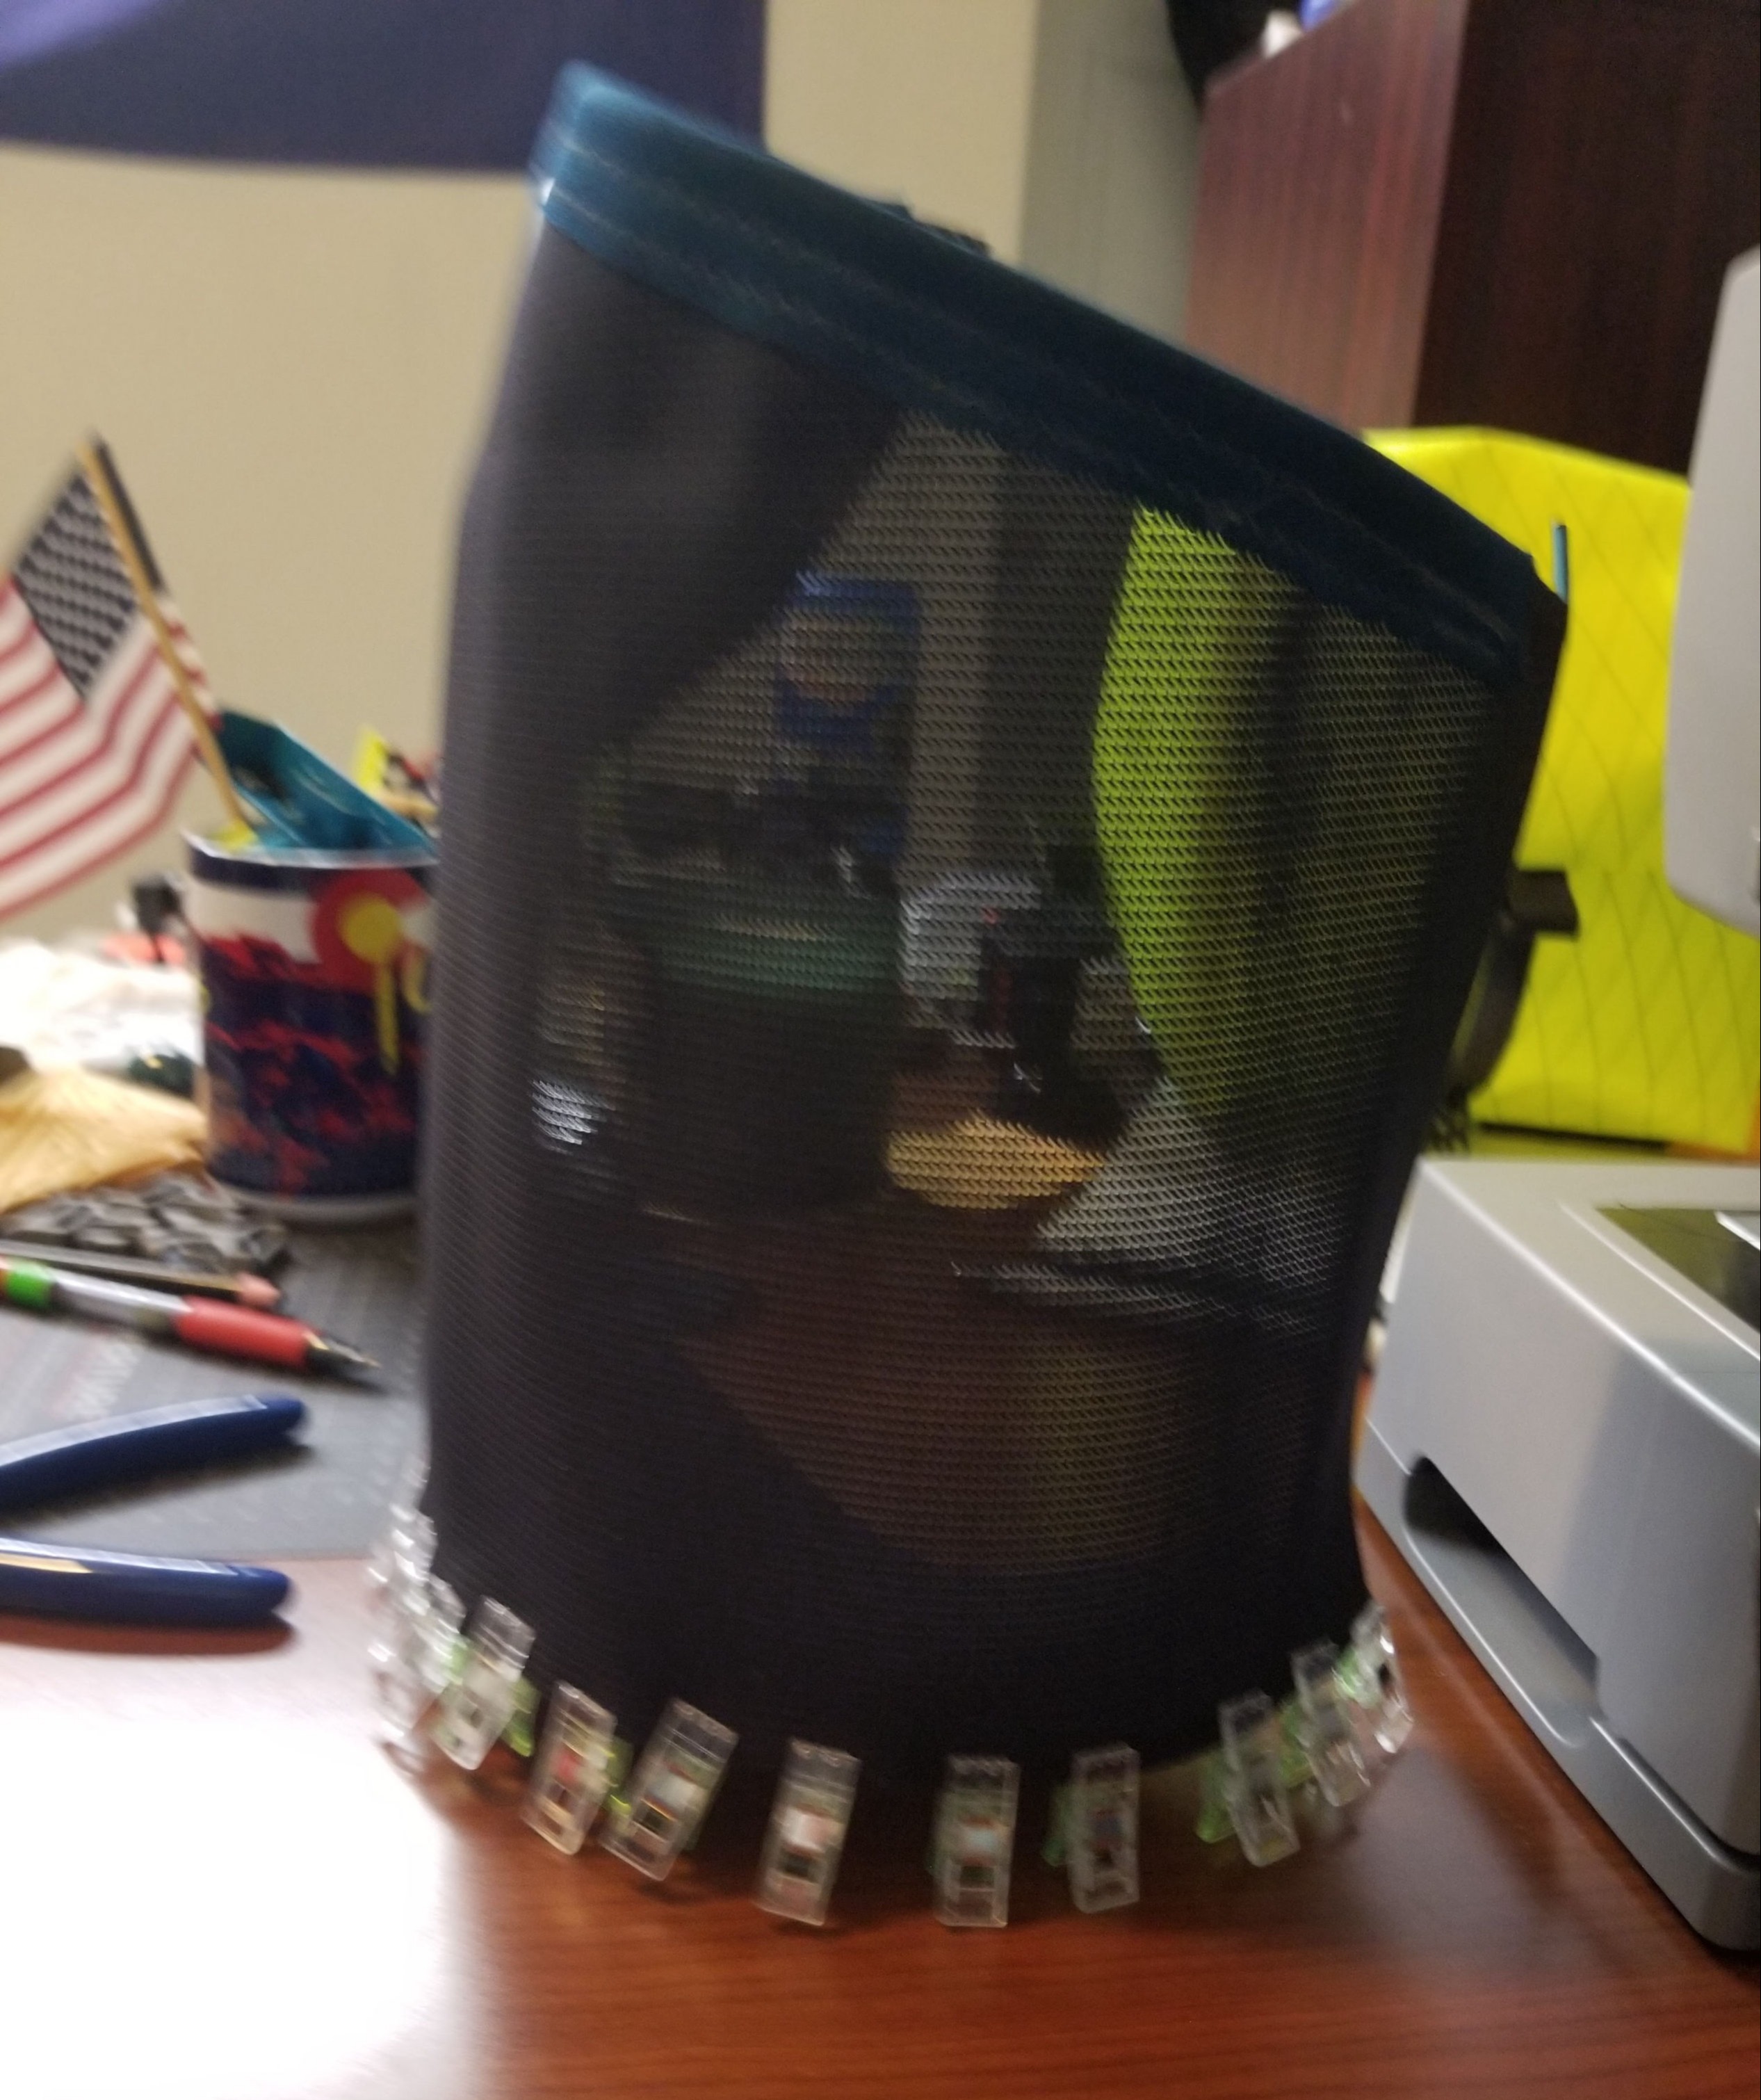
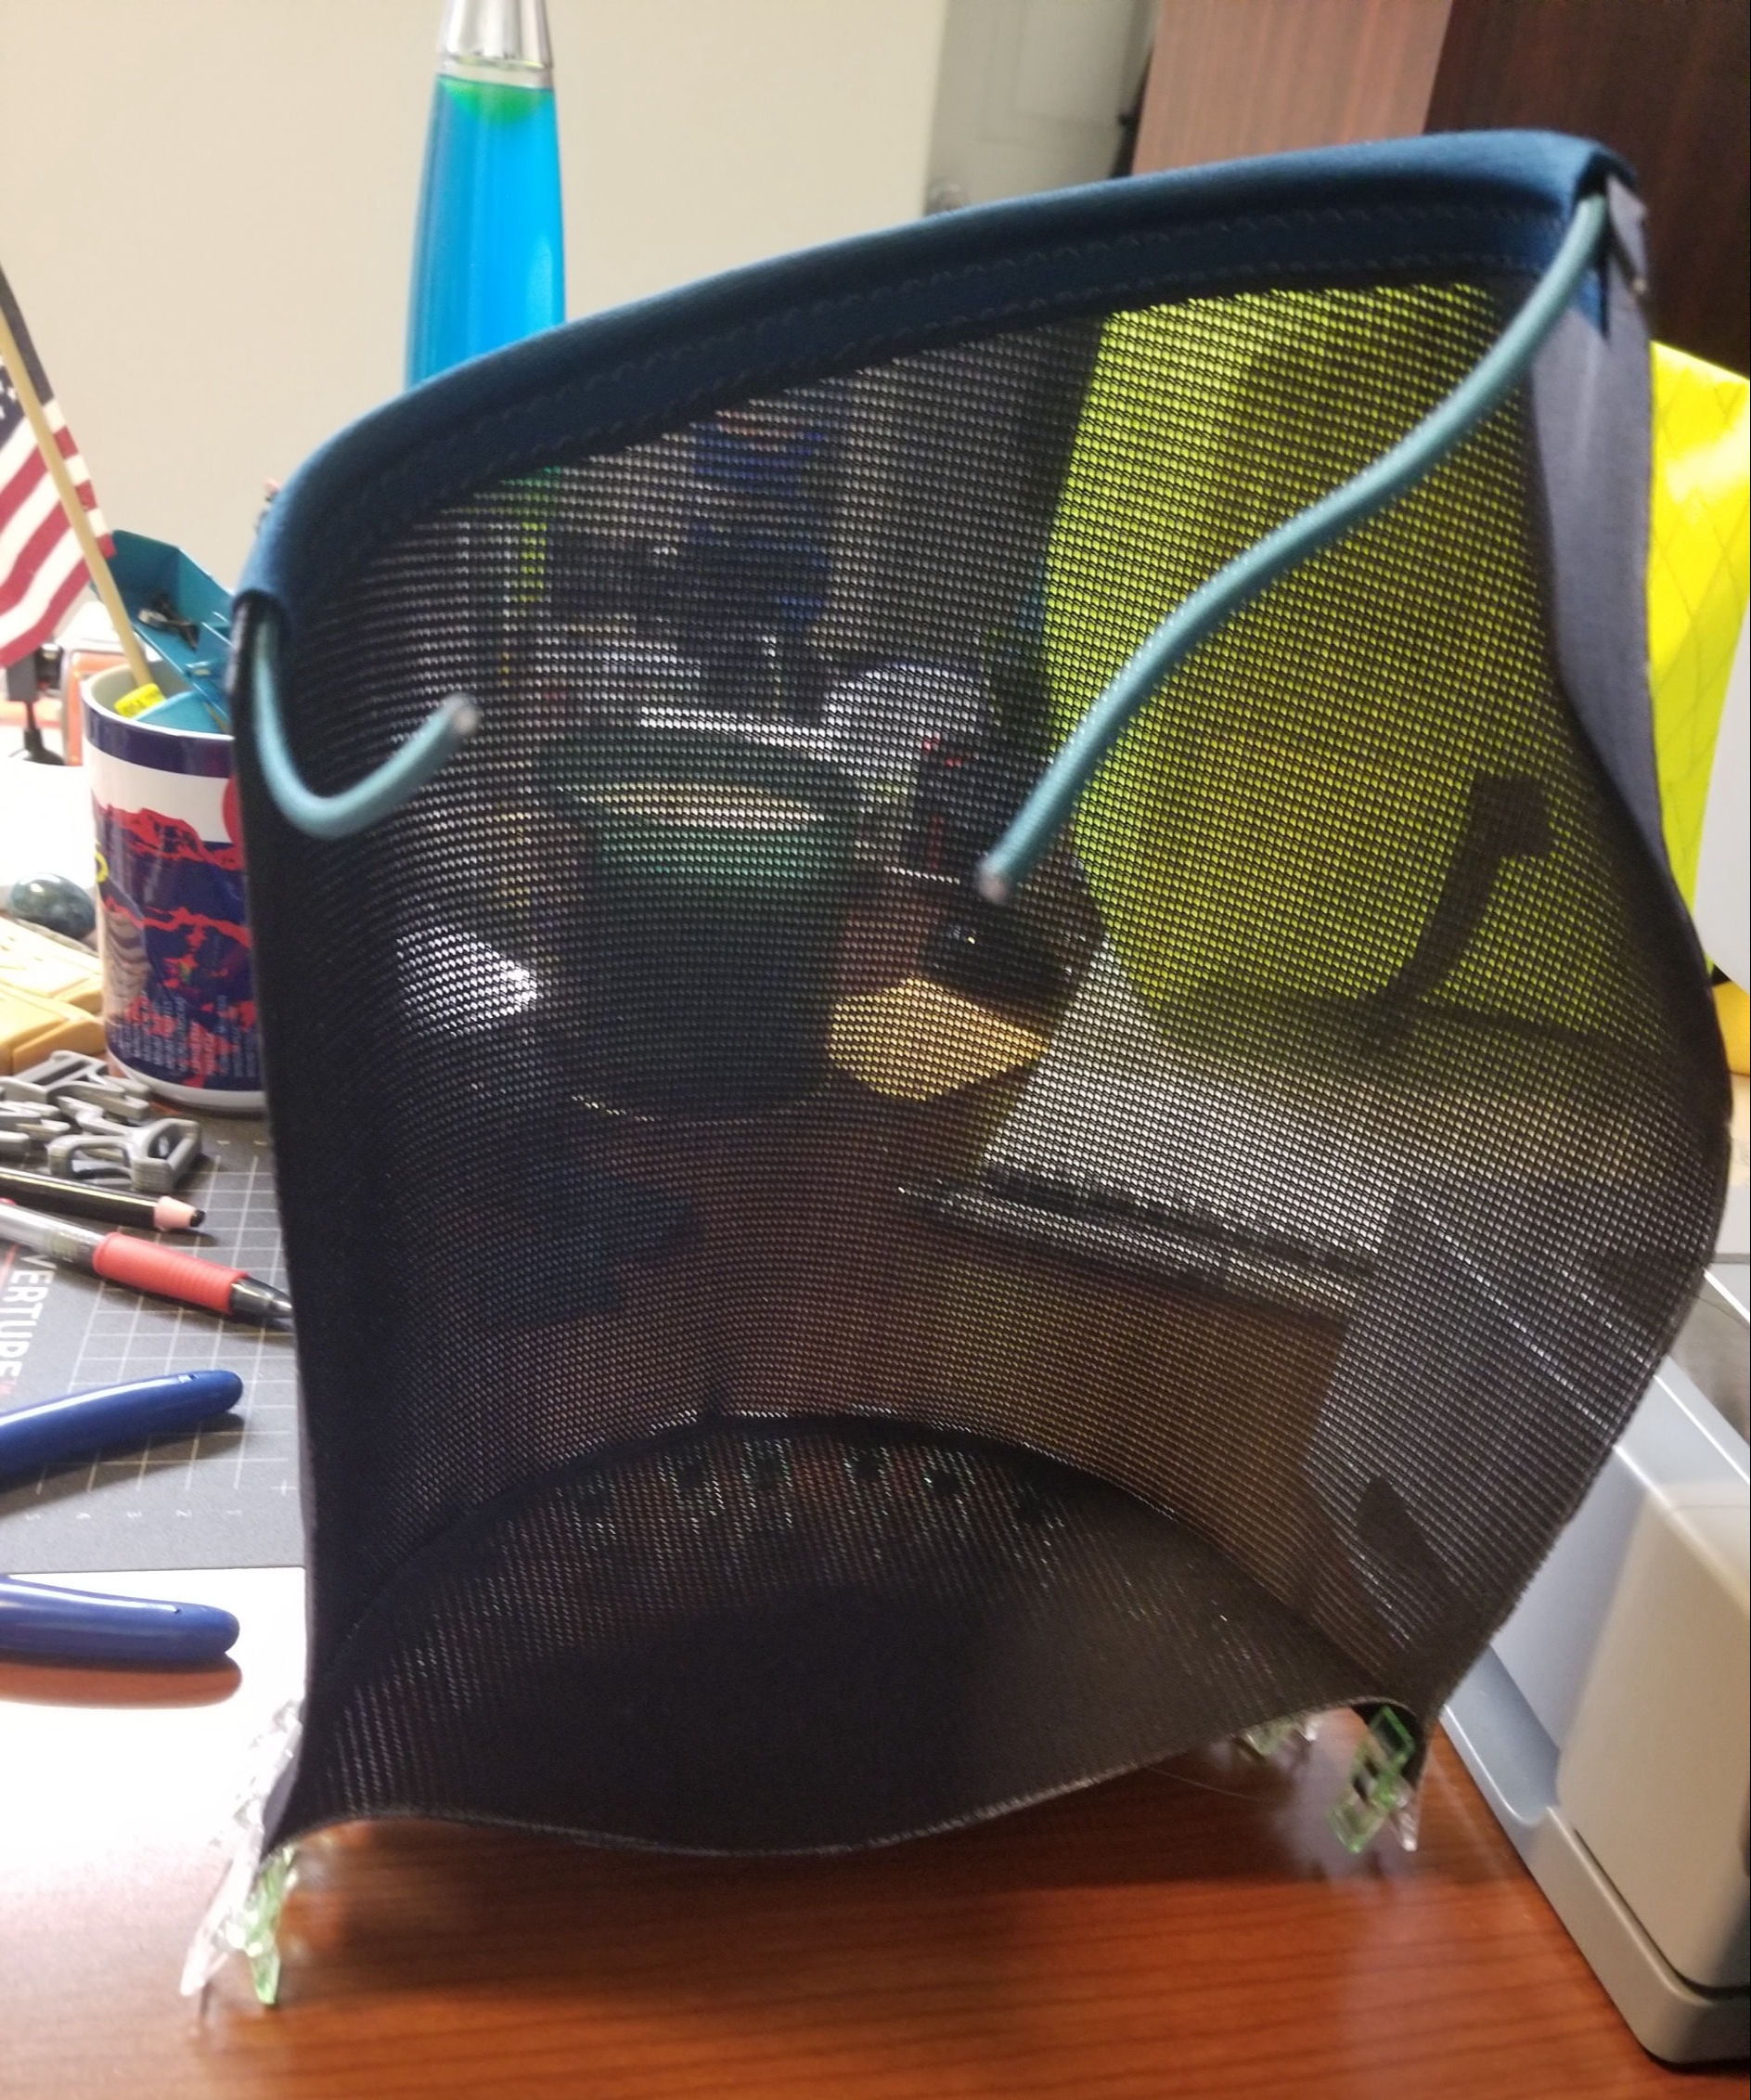
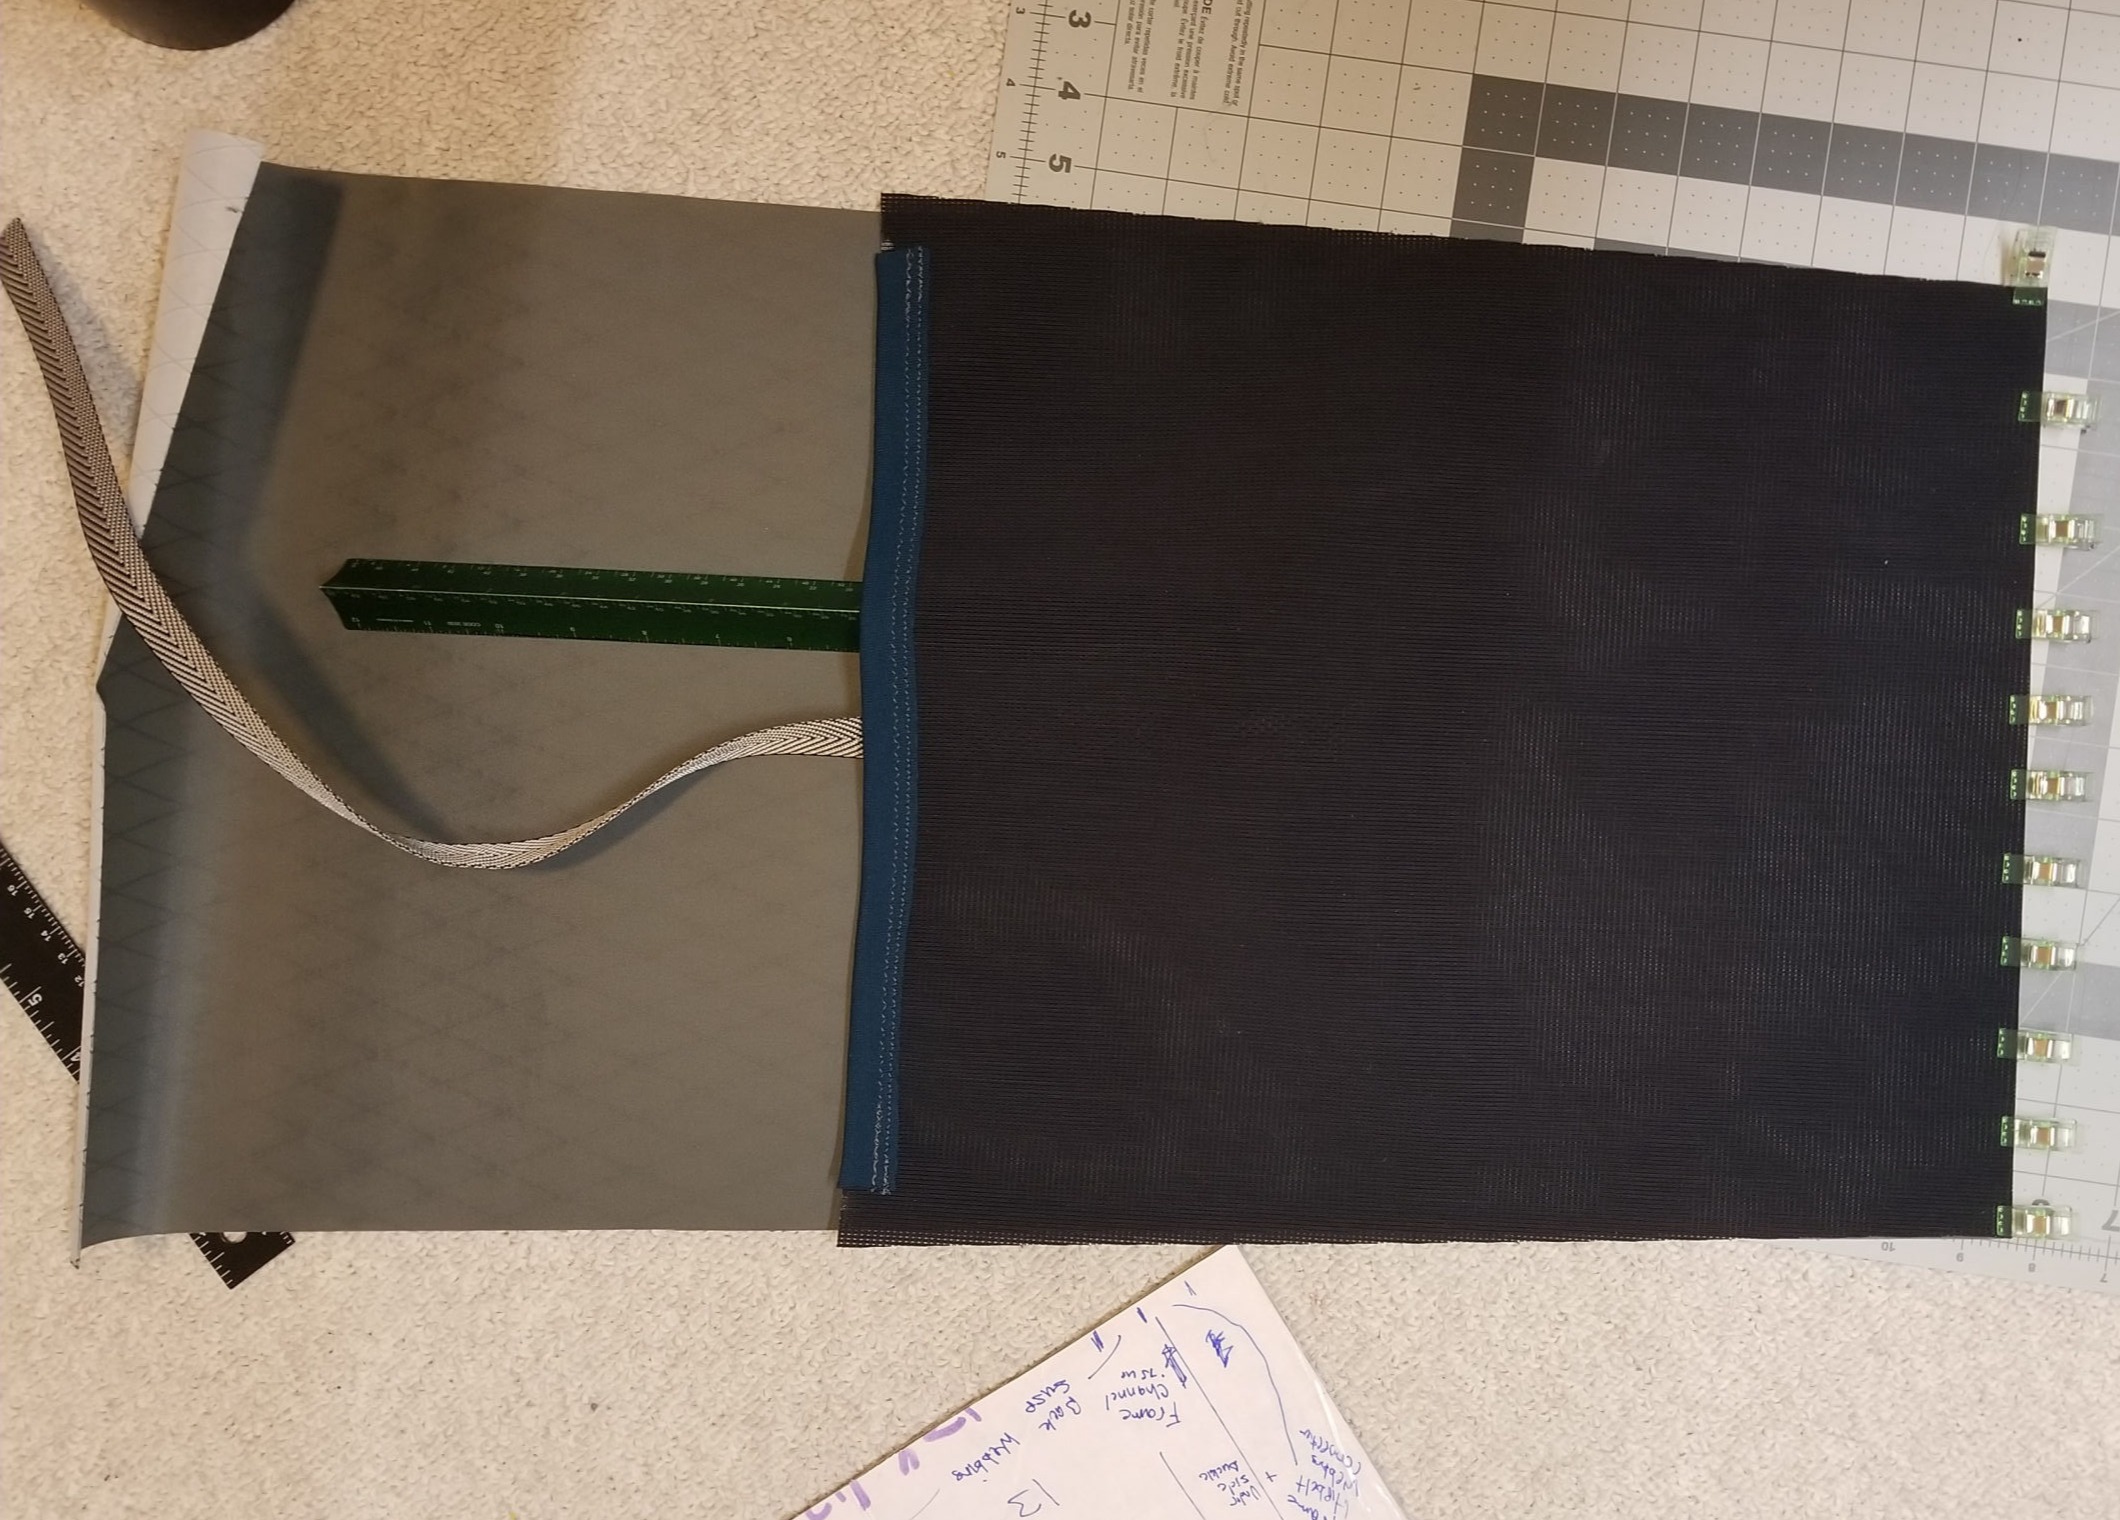
6. Suspension Mesh: Rawhide mesh was taped onto the pattern and then cut out. Webbing was sewn onto the corners of the suspension, and the mesh was lined with grosgrain.

Suspension Mesh

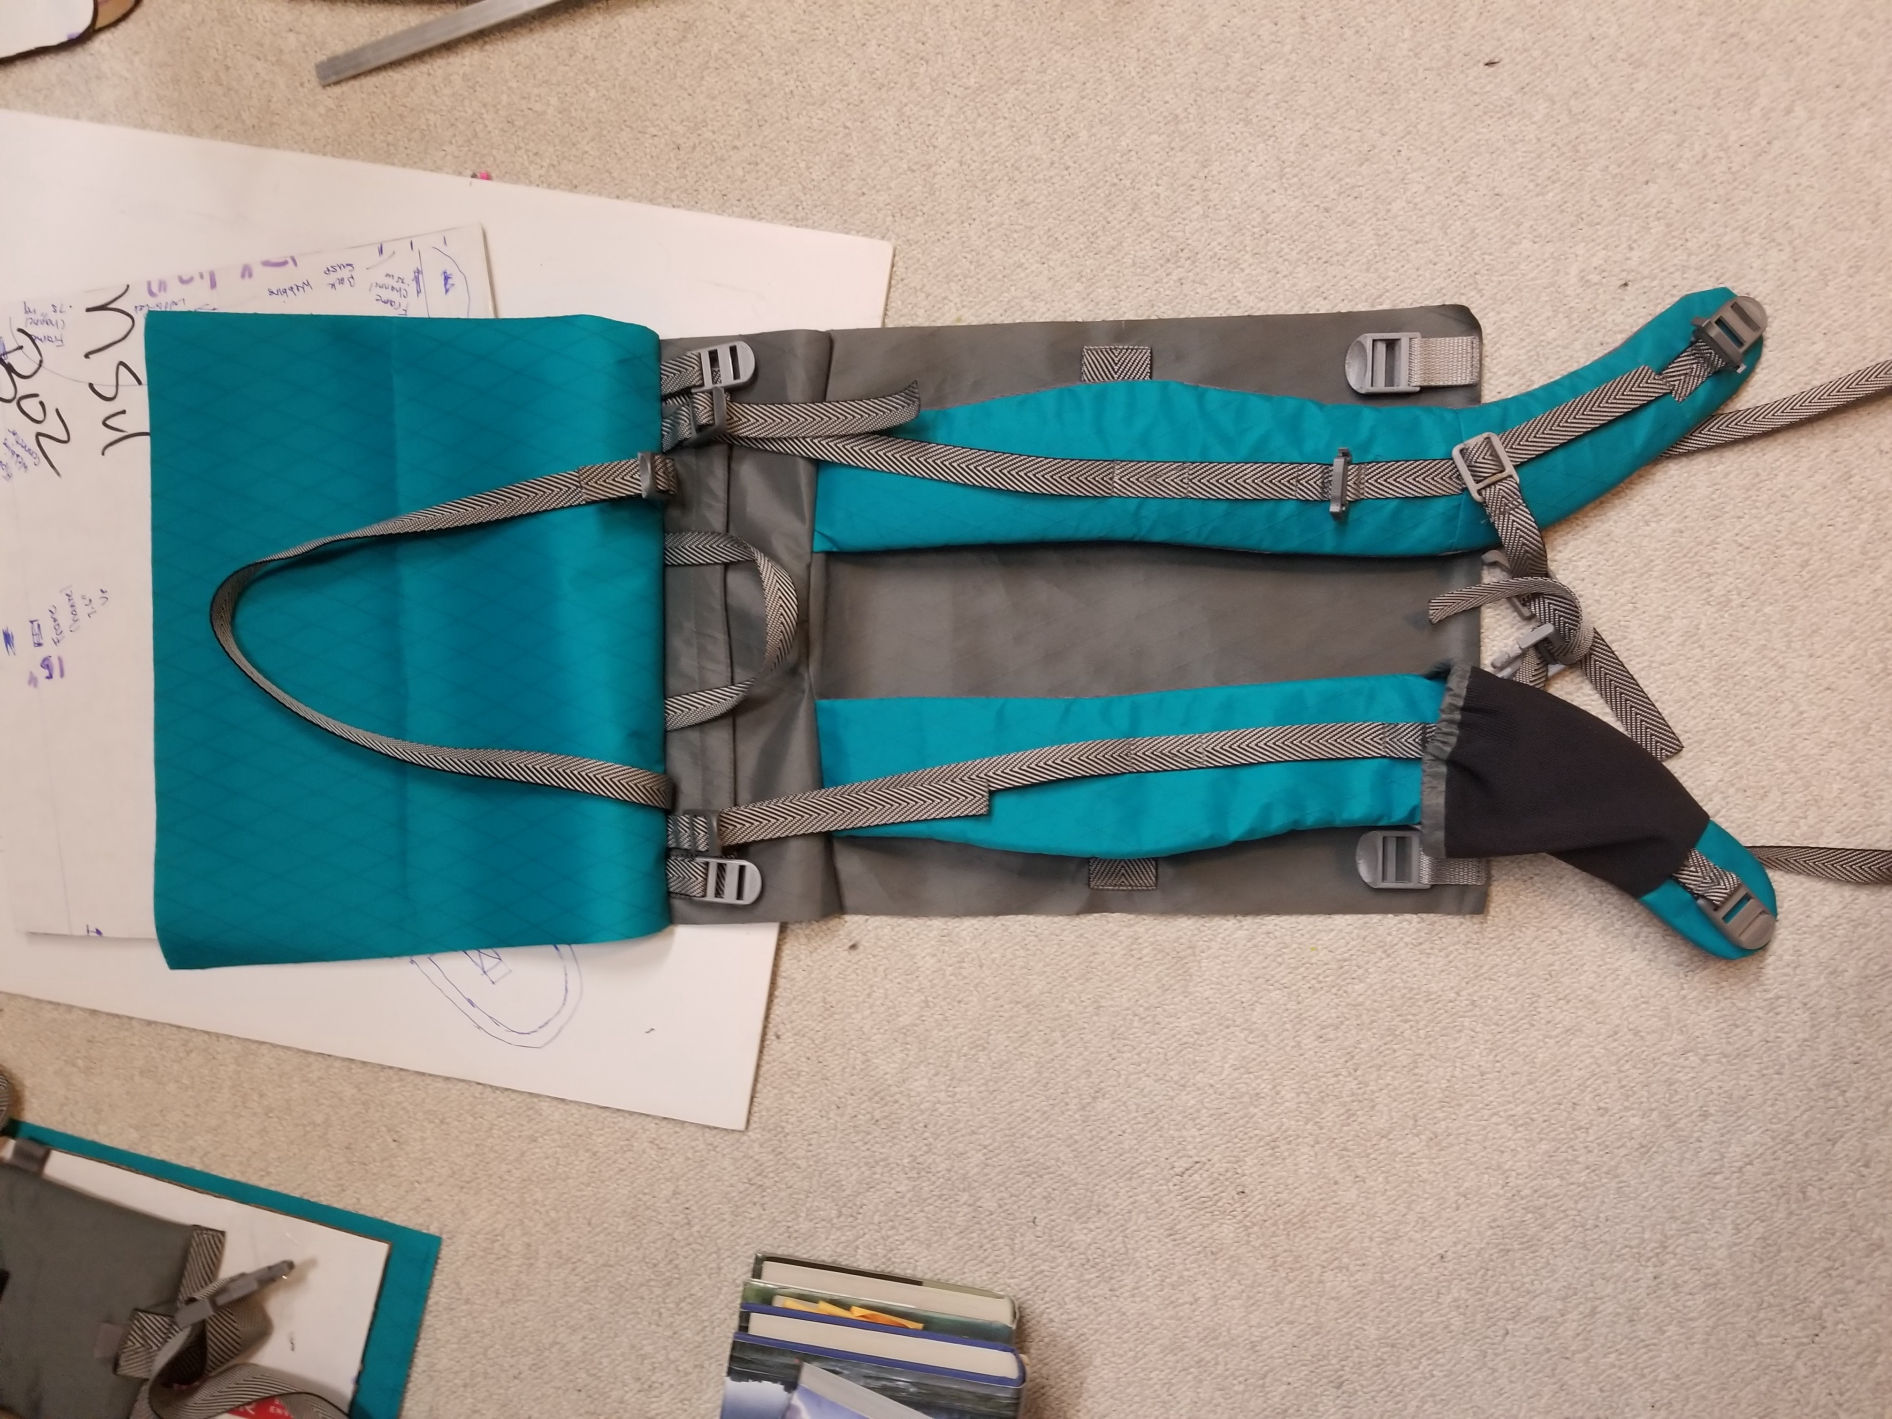
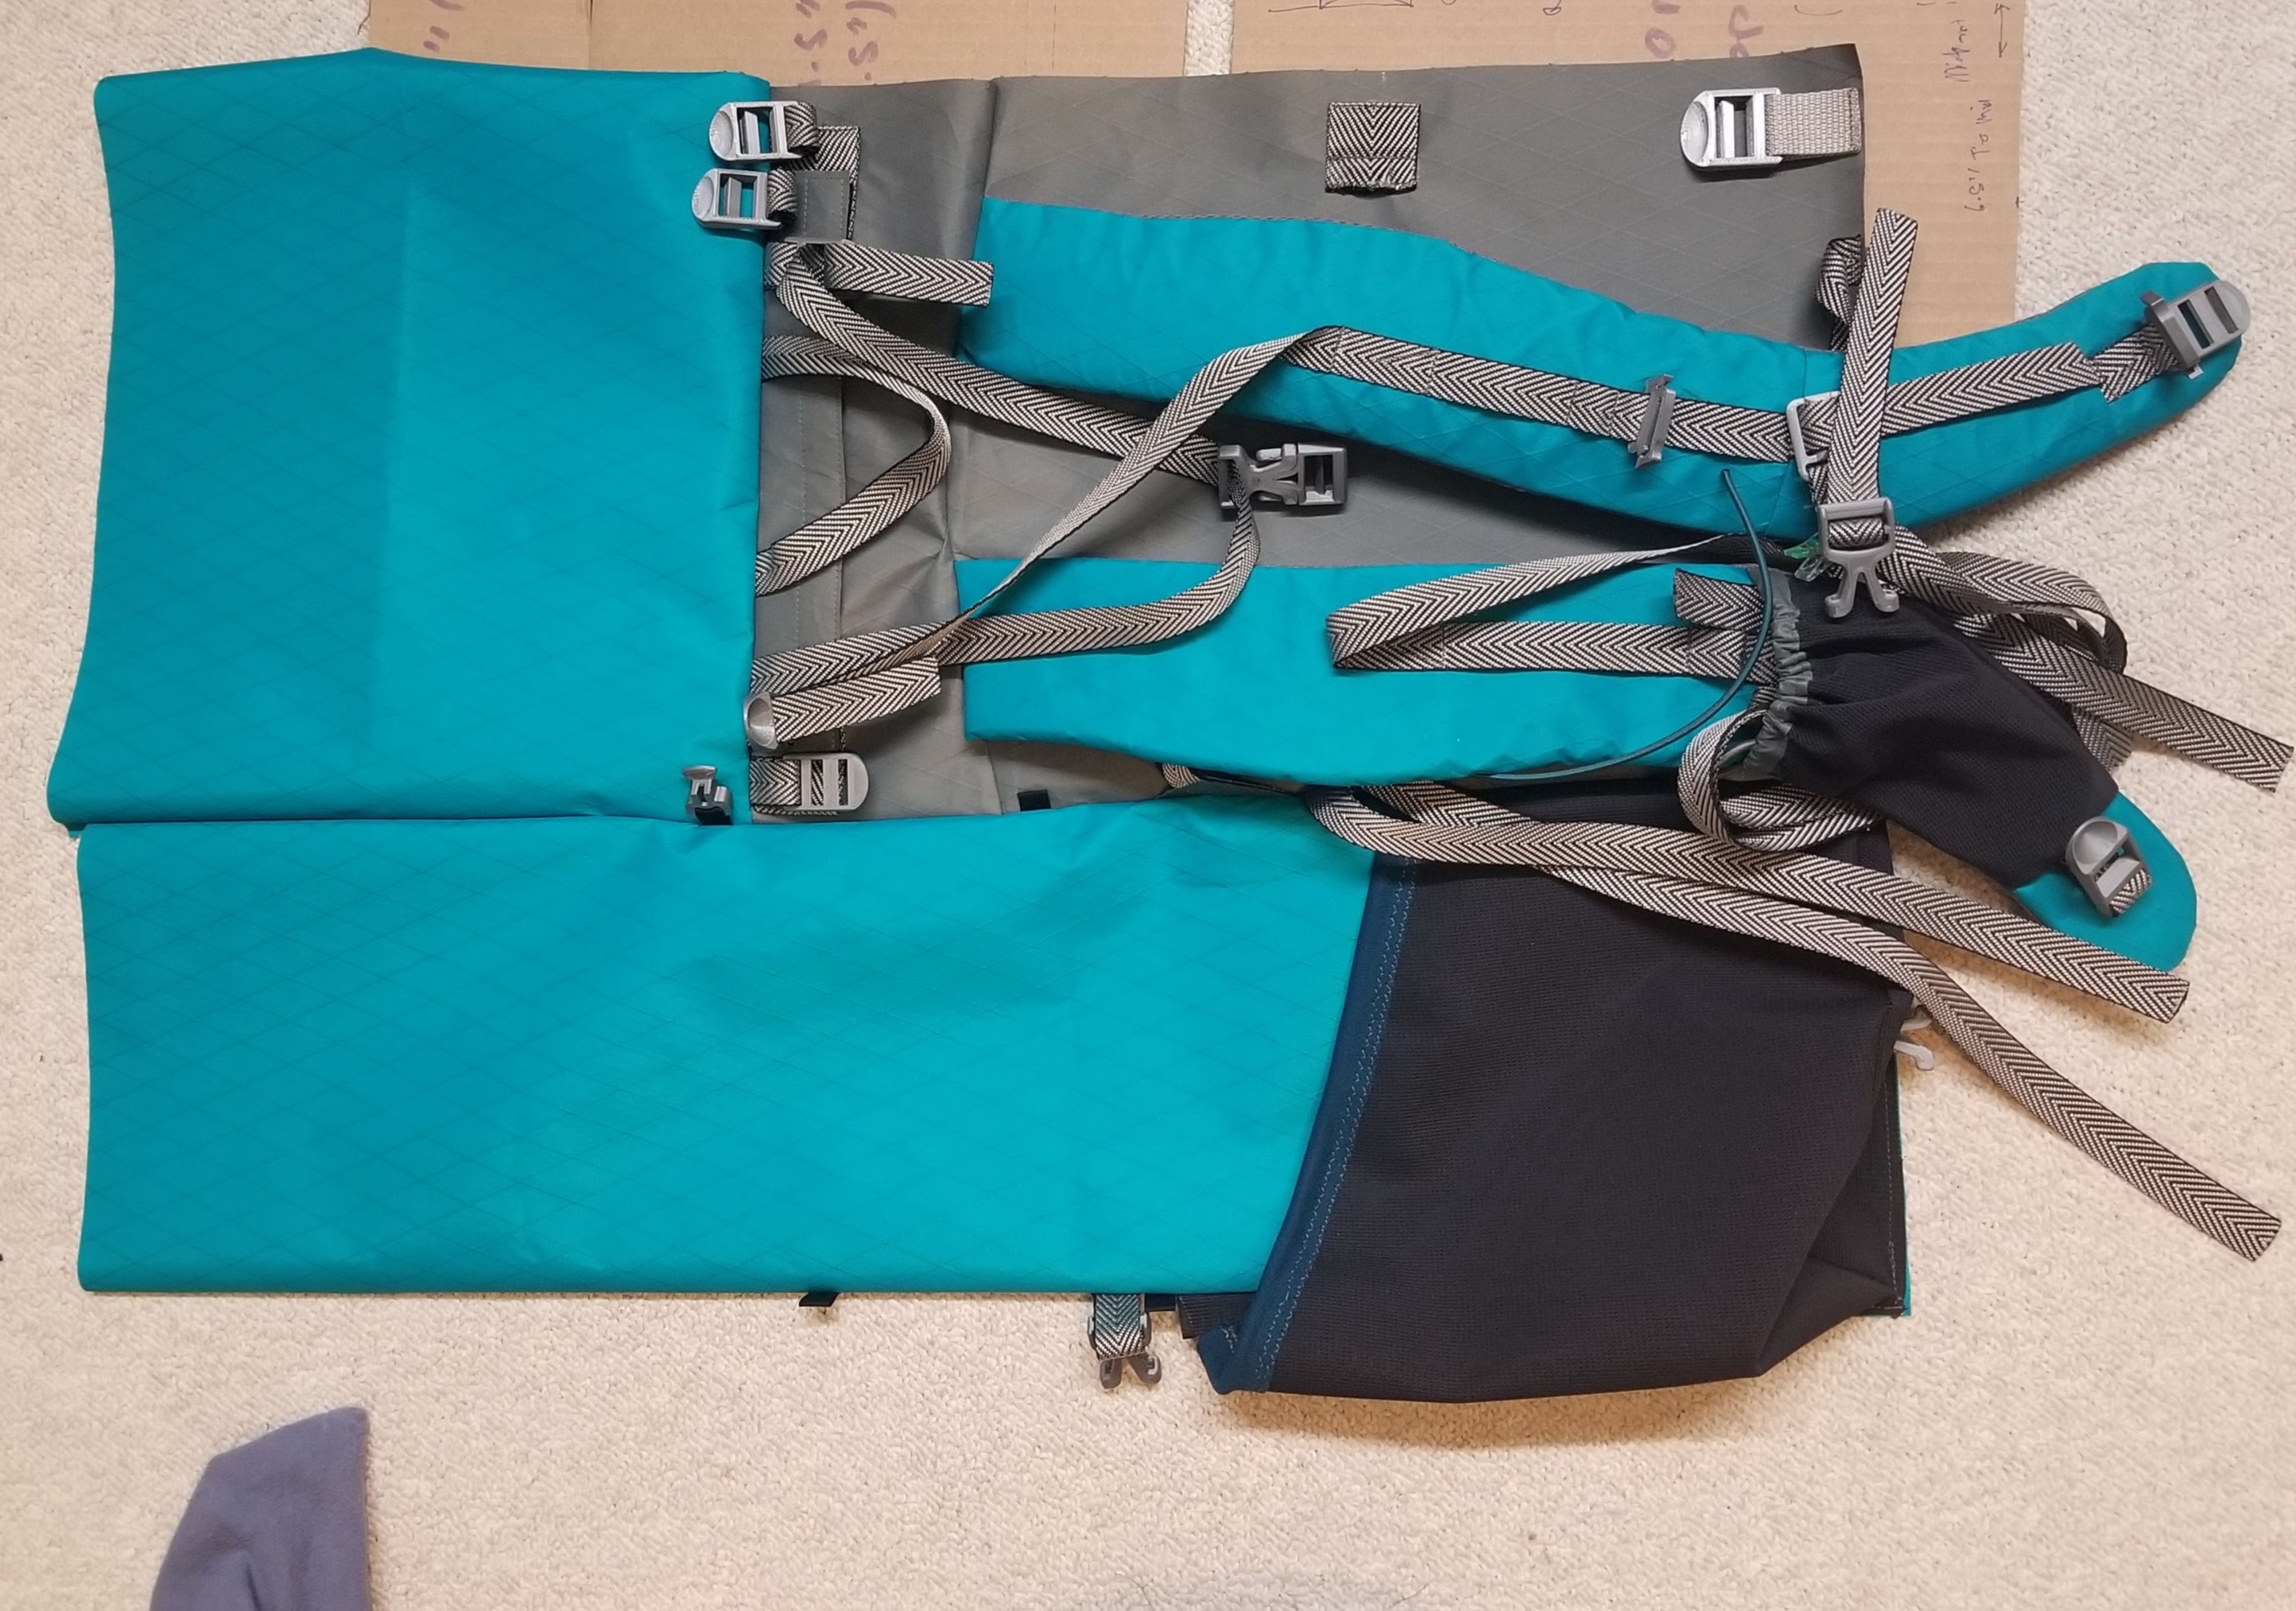
7. Shoulder Strap Back Panel Assembly: The tops of the completed shoulder straps were trimmed carefully, and then clipped between the Bottom and Mid Back Panels. Taking careful consideration that they were spaced correctly, and centered on the panels, the shoulder straps were then sewn into the back panel pieces. The shoulder strap sections of this seam were heavily reinforced.

Shoulder Strap Back Panel Assembly

Mobirise

8. Back Panel Assembly: The Y-Strap and ladderlocks for both the suspension and Y-Strap were sewn onto the Top Back Panel, along with a Haul Loop. Then the Top Back Panel was sewn onto the rest of the Back Panel Assembly.

Back Panel Assembly

9. Side Panel: Duraweave was used to construct the Side Pockets. The shock cord channels were sewn onto the sides of the pockets, and then the bottom of the pockets was sewn on. Next, the Side Pockets were sewn onto the Side Panels, and buckles for the bear canister attachment were sewn below the pockets. Grosgrain attachments for shock cord were then sewn onto the Side Panels, along with cord locks to properly cinch the side pockets if needed. Webbing for both the alternative roll-top cinch and for securing large objects in the Side Pockets were also sewn to the Side Panels.

Side Panel

10. Front Panel: Shock cord was sewn into the Duraweave Front Pocket. The front strap of the Y-Strap roll-top was sewn onto the middle of the Front Panel and reinforced. The Front Pocket was then sewn onto the Front Panel. Grosgrain attachments for shock cord were added along with cord locks for both cinching the Front Pocket and also to hold ice axes or trekking poles. Next, the Bottom Front Panel was sewn onto the Front Panel. Buckles were sewn onto the bottom of this completed assembly for the bear canister attachment points, along with bottom loops for ice axes or trekking poles.

Front Panel

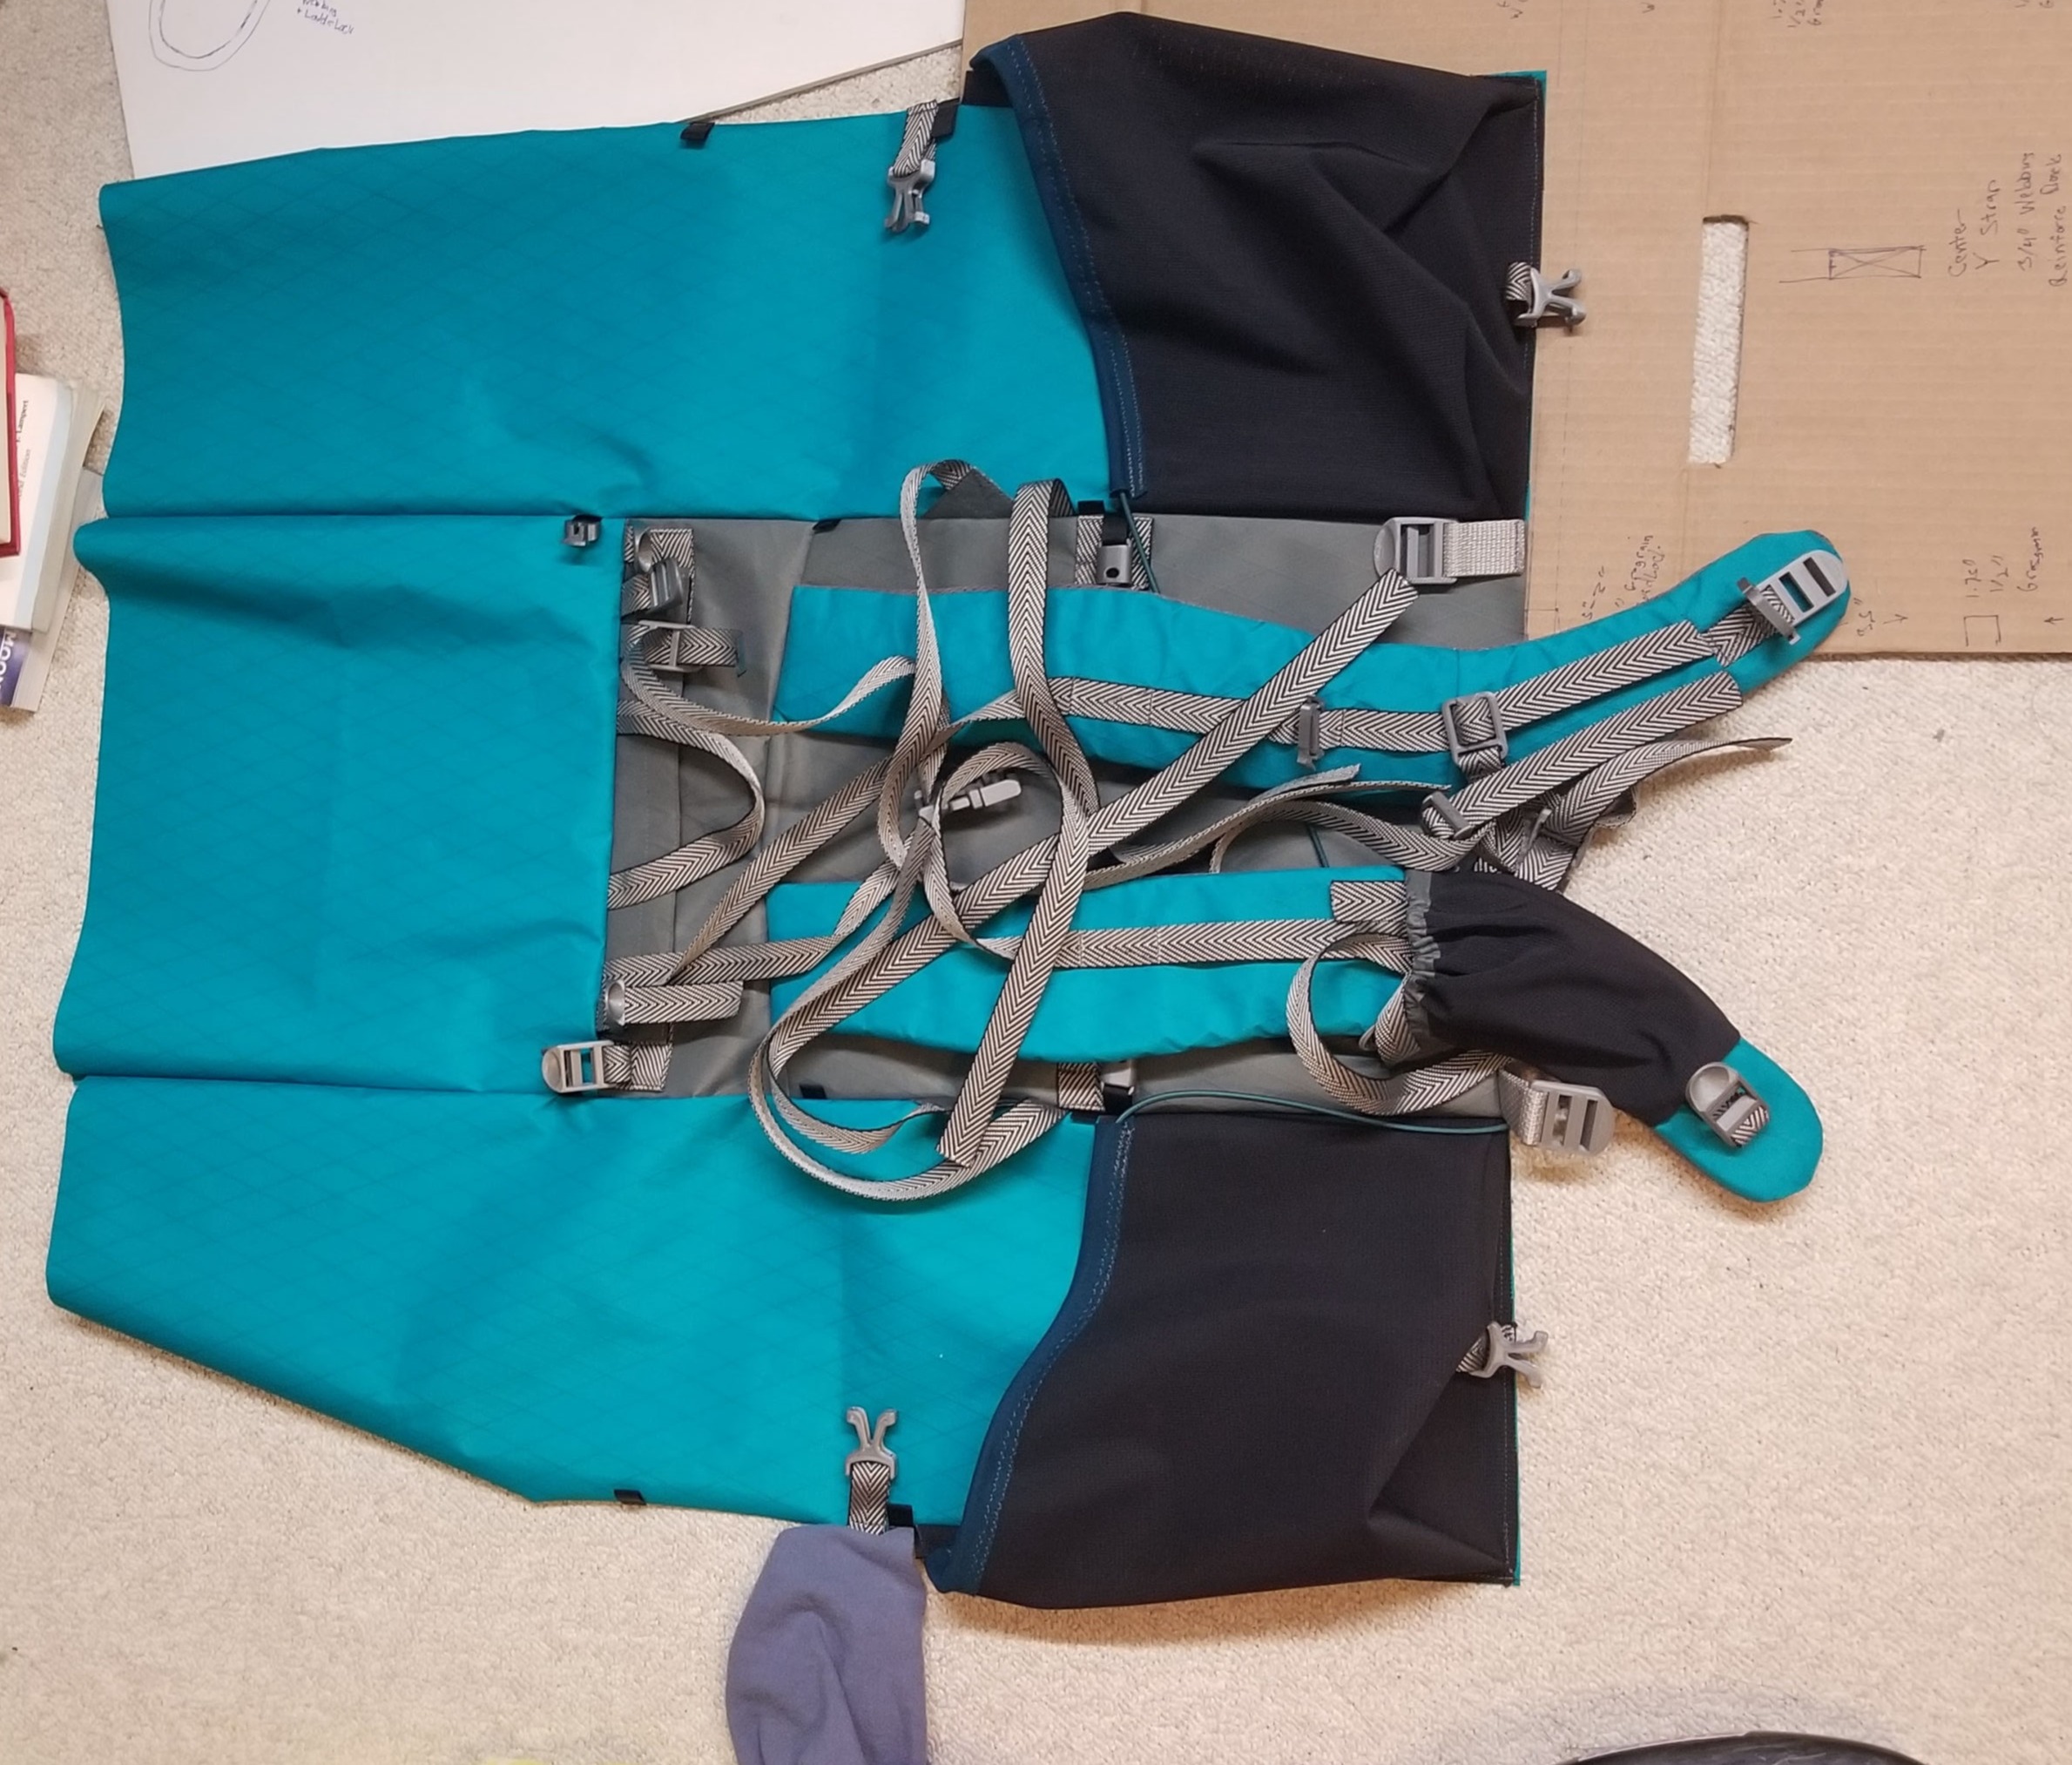
11. Pack Assembly: Each completed Side Panel was assembled to the Back Panel Assembly, with respect to proper directions of the Side Pockets. Then the Front Panel was sewn to the Side Panels, and the main area of the pack was completed.

Pack Assembly

12. Bottom Panel Attachment: The Bottom of the pack was then sewn onto the rest of the panels. Each Side Panel was sewn to the Bottom first, then the Front, and finally the Back to keep the pack shape squared.

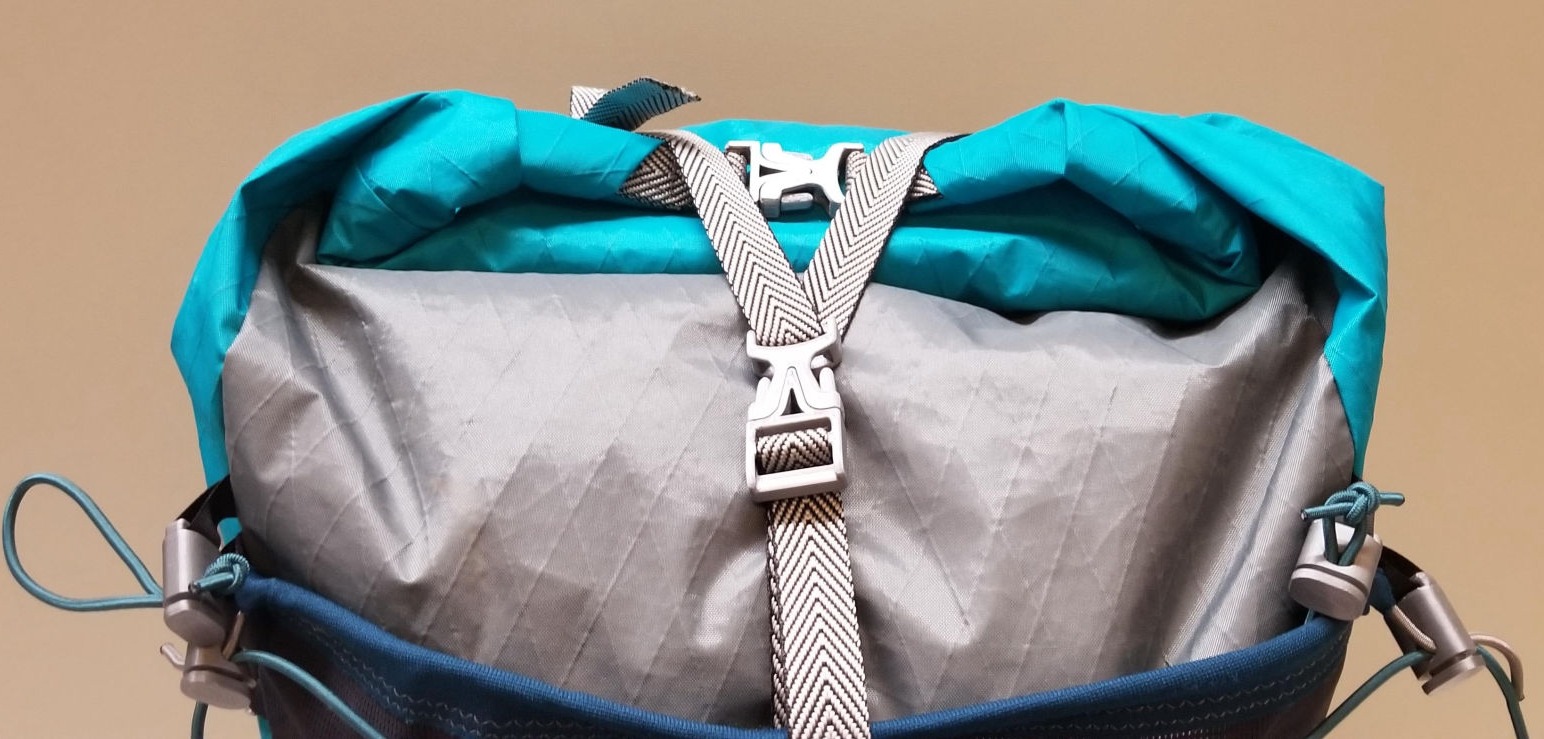
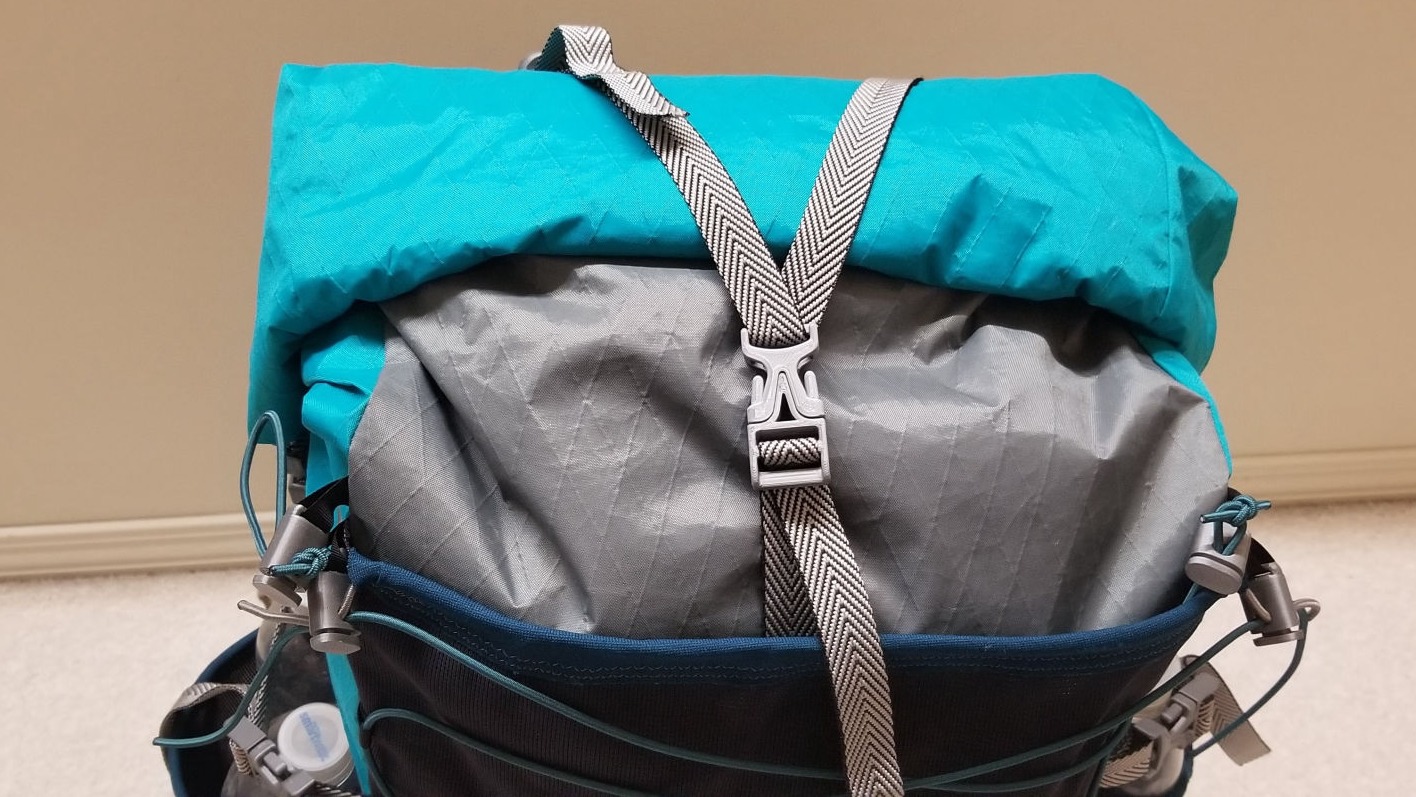
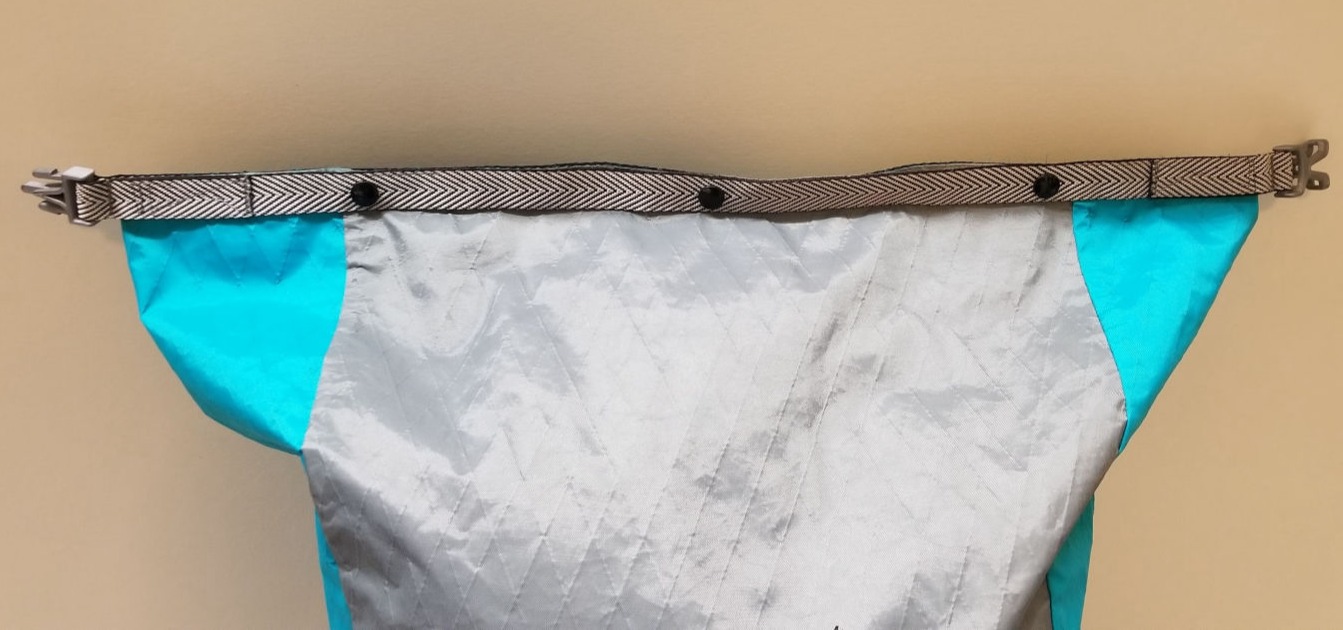
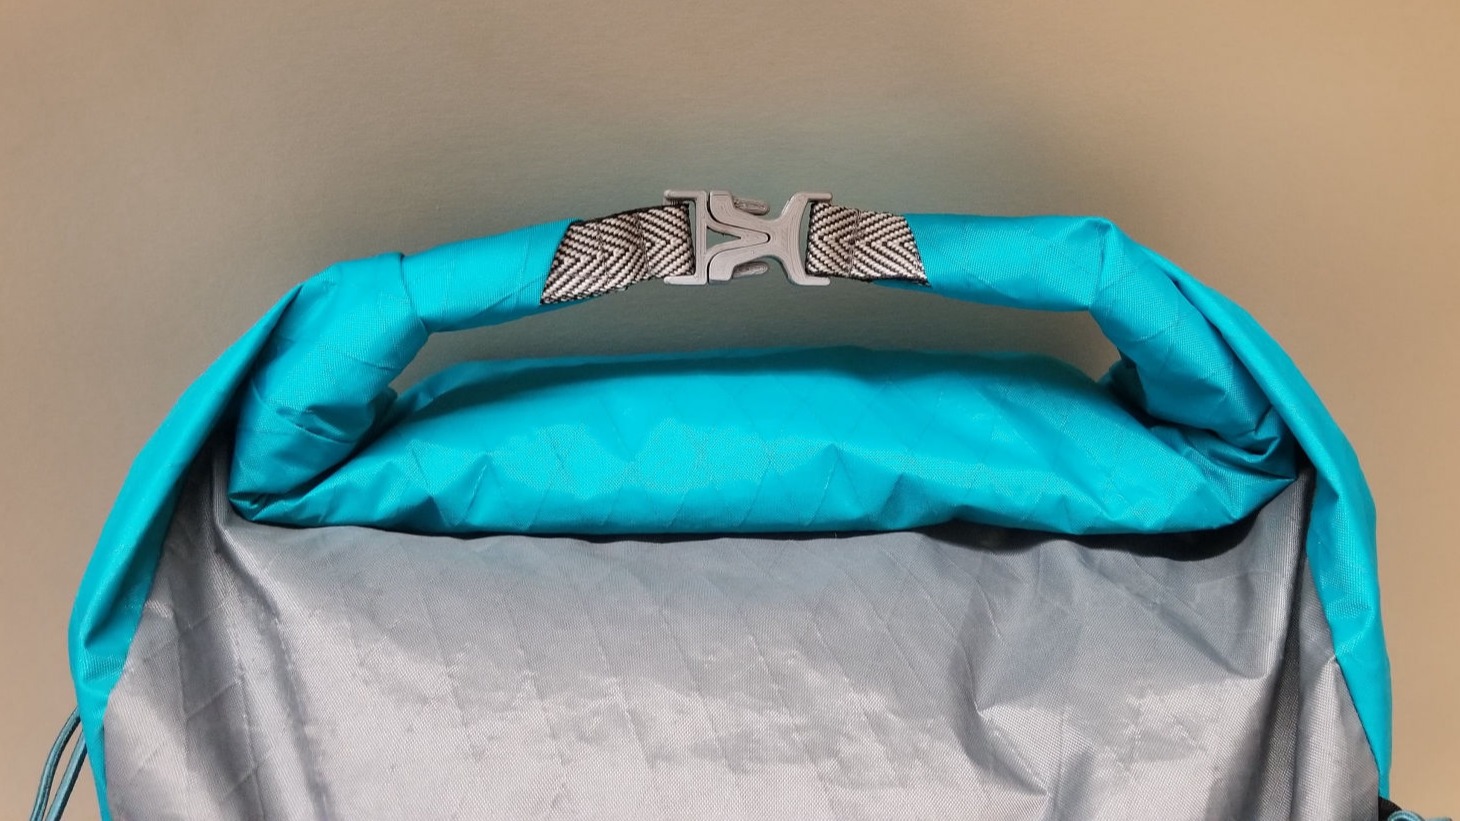
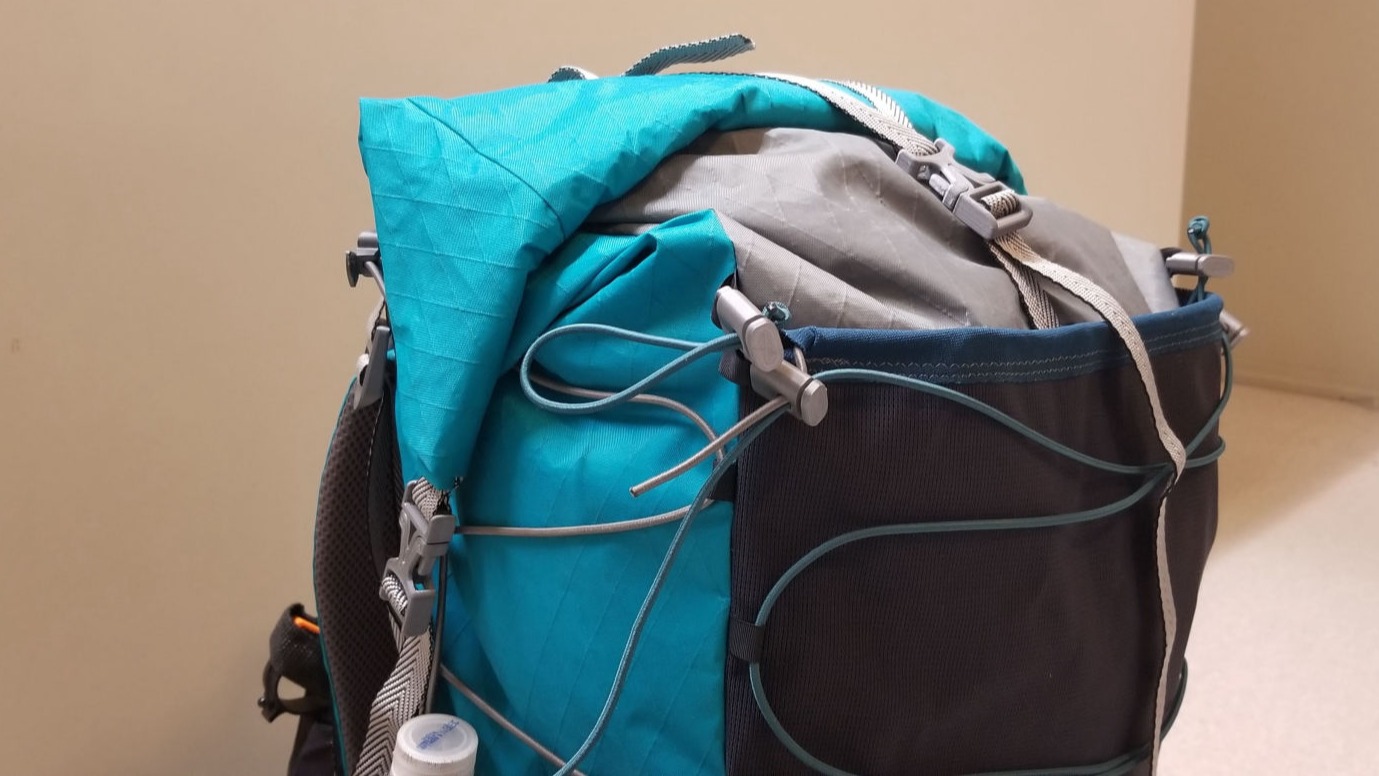
13. Roll-Top Construction: The roll-top was completed as shown in the RSBTR Dry Bag Video. Later, Kam Snaps were added to fully utilize the volume of the unrolled roll-top. The roll-top has two modes, and can either be buckled together or buckled and cinched down with the alternative roll-top buckles which are located on the side panels.

Roll-Top

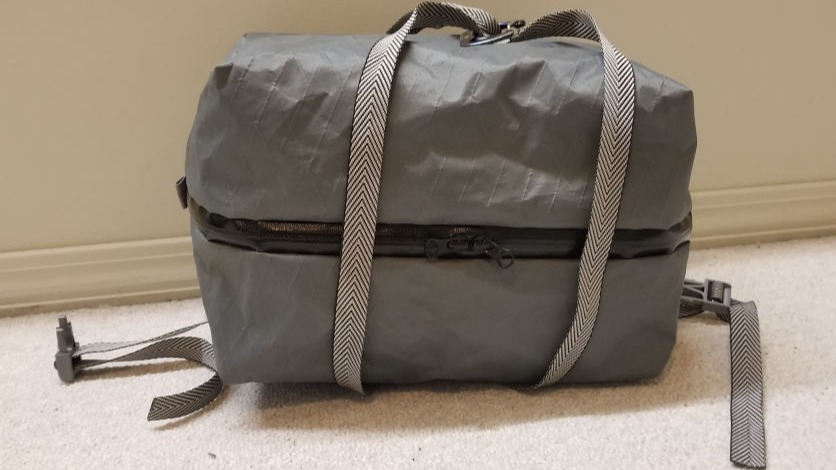
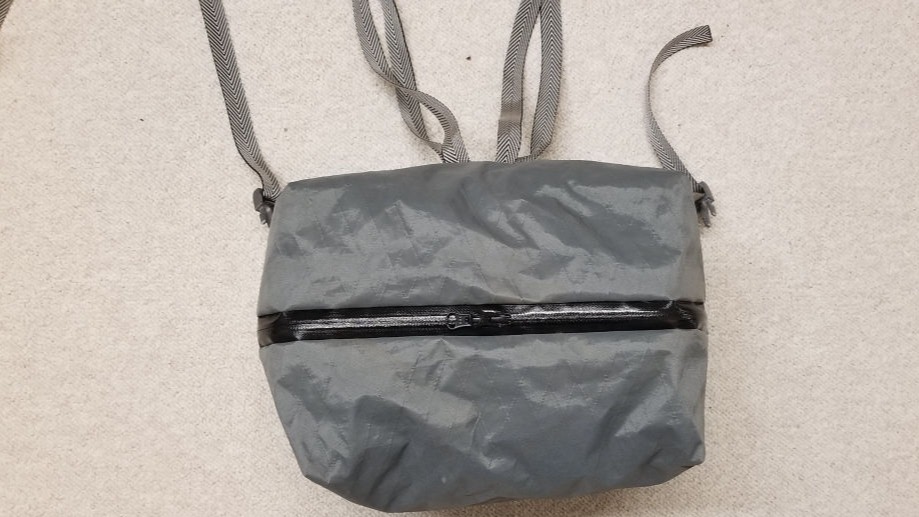
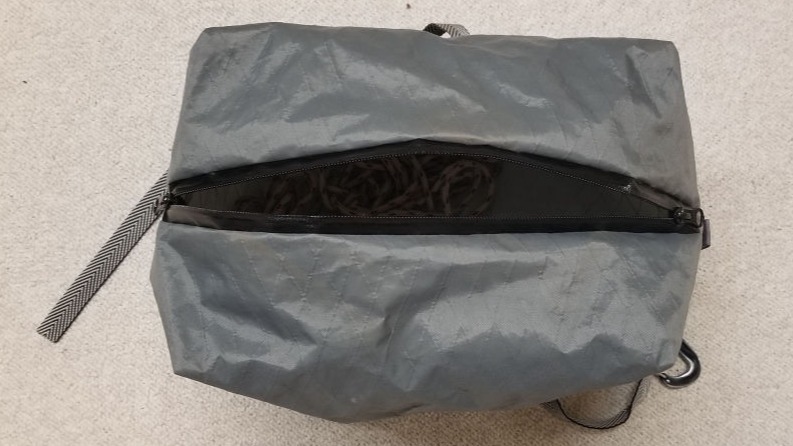
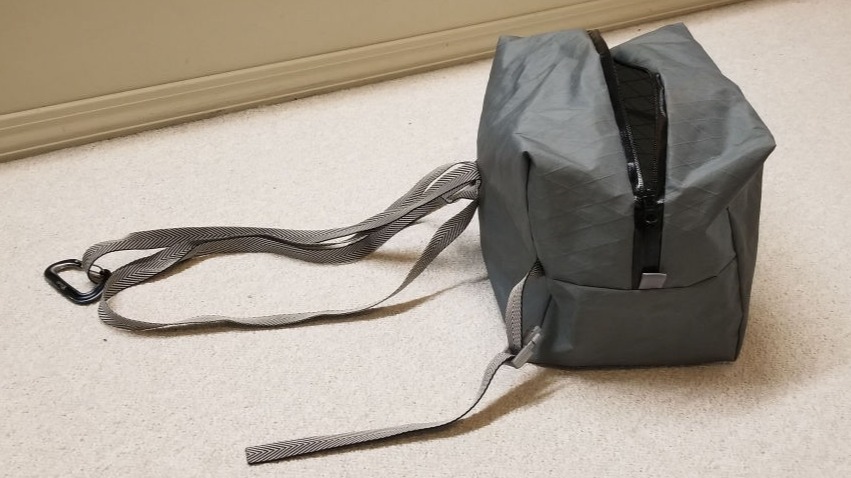
14. Food Bag: The food bag followed the same design as the hip belt pockets, just with larger dimensions for bigger capacity. Buckles and webbing were added to the food bag so it connects seamlessly to the pre-existing bear canister attachment system.

Food Bag

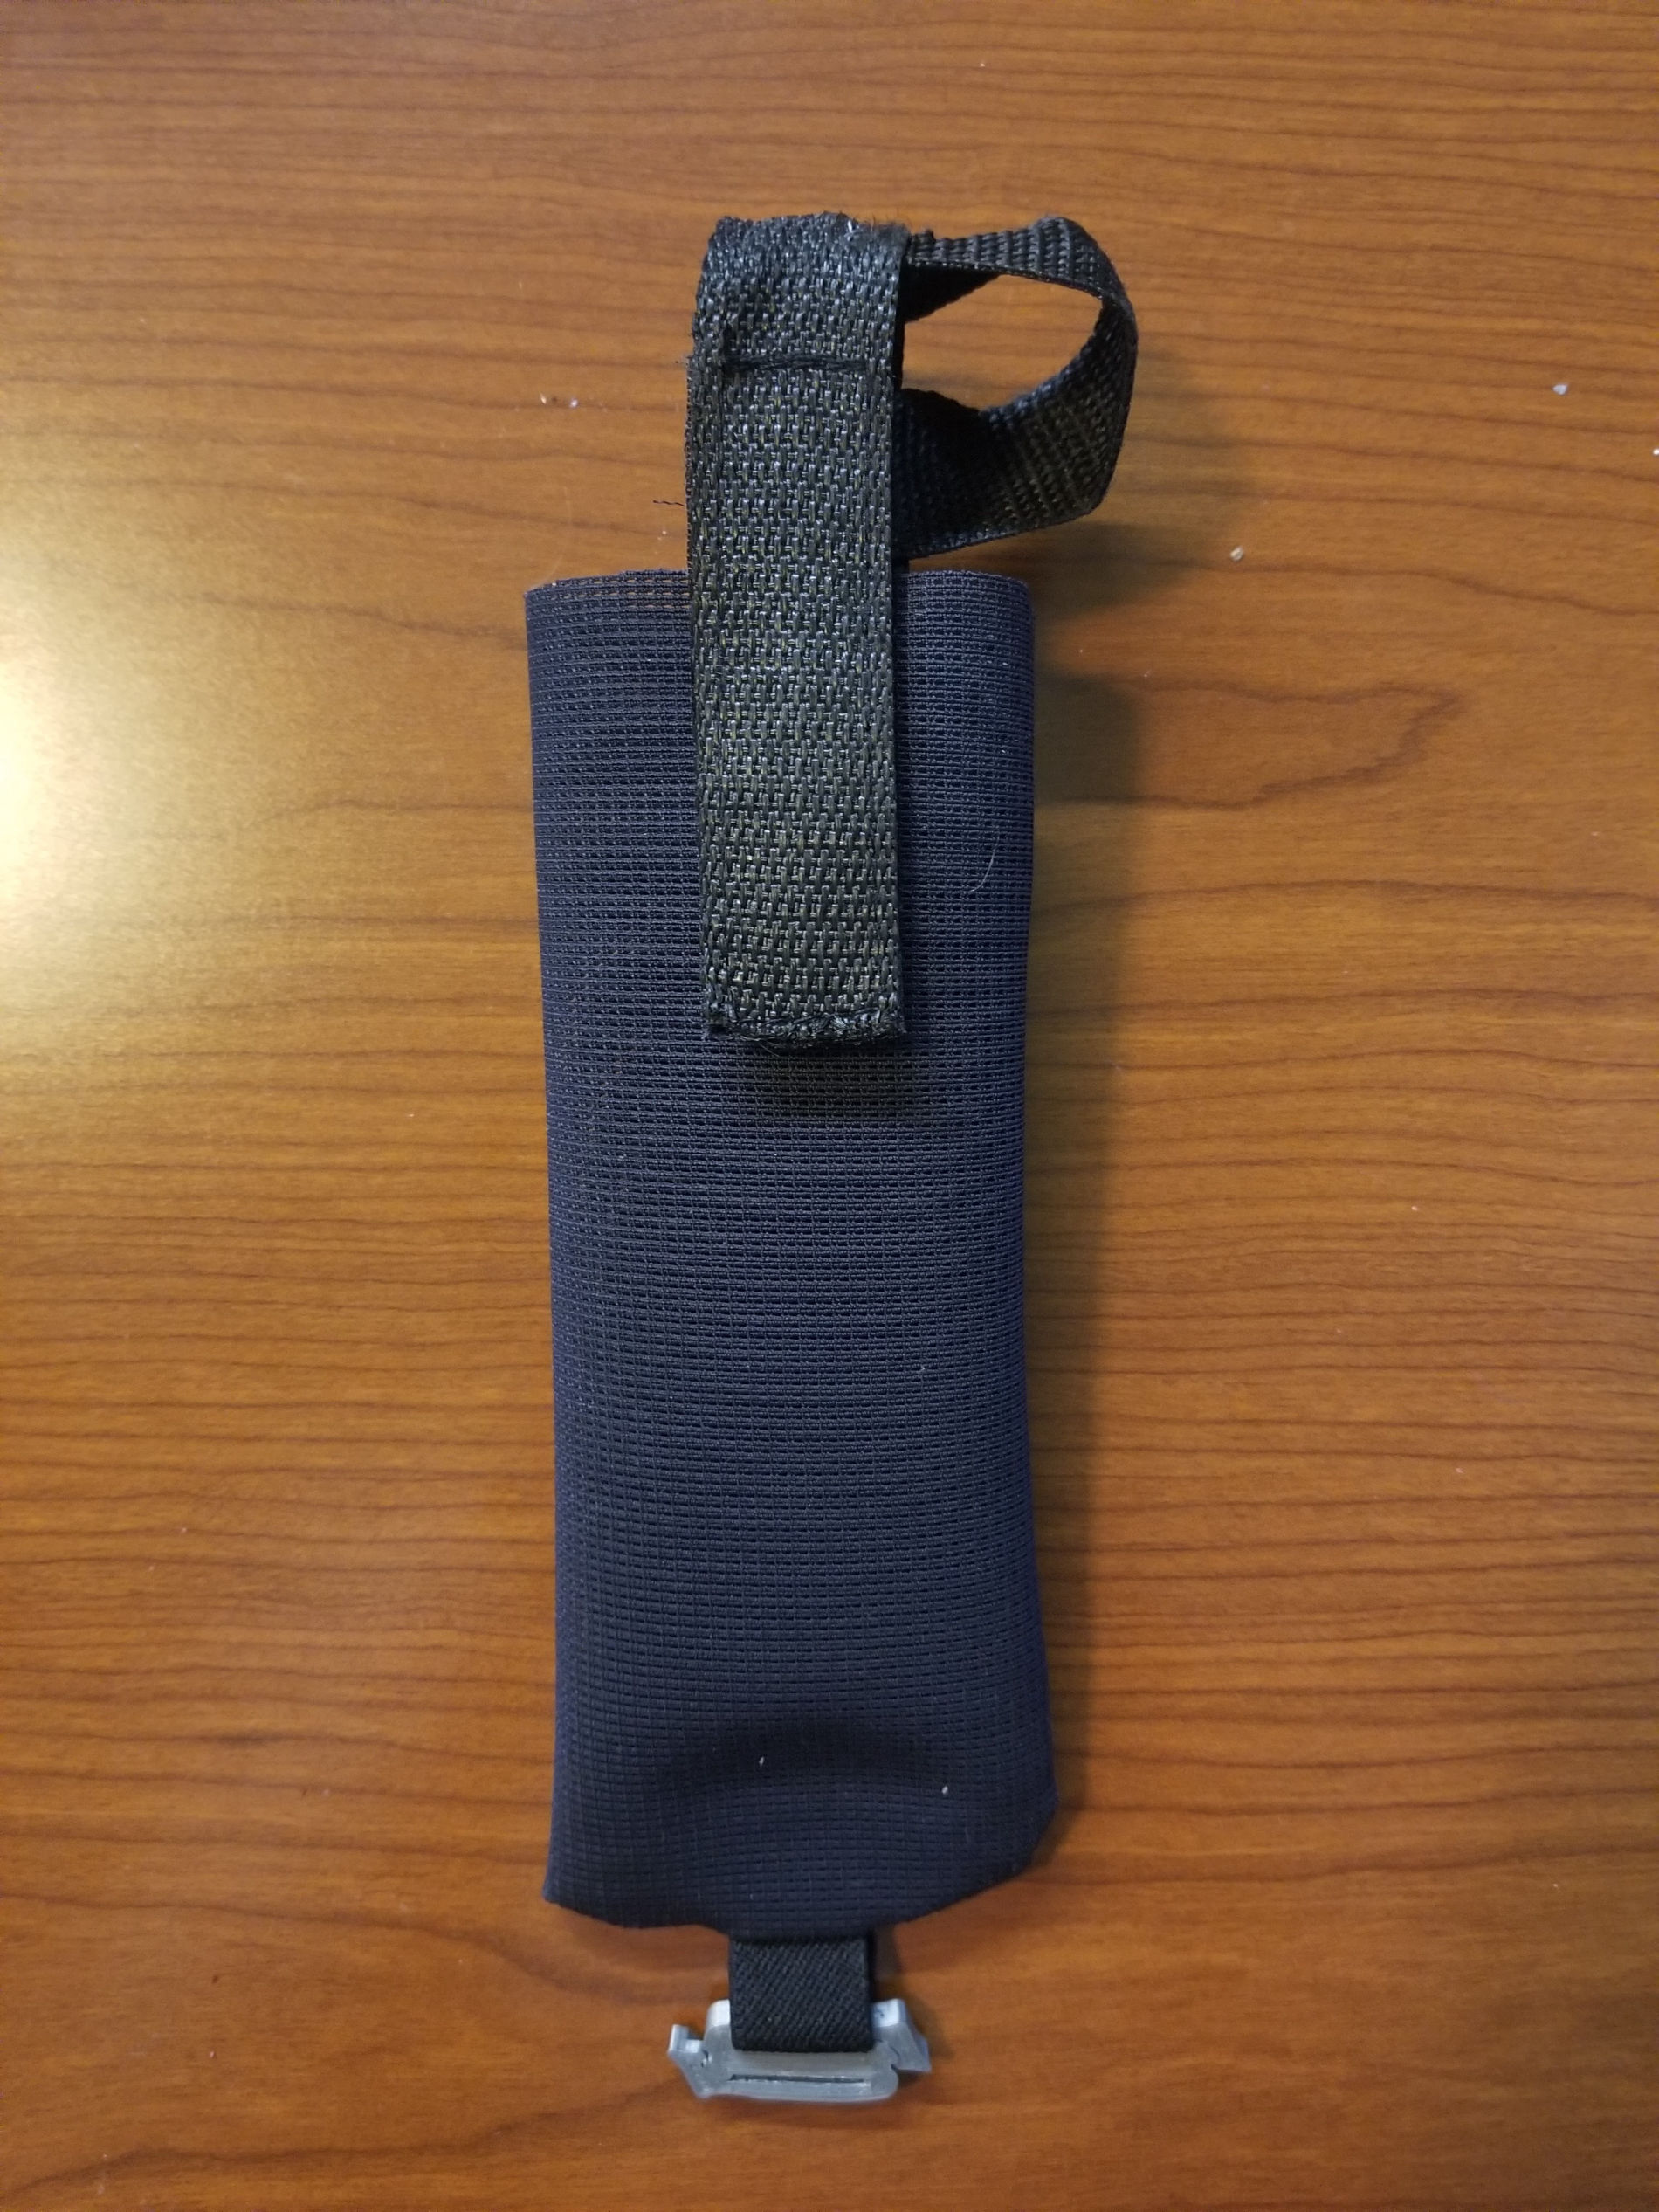
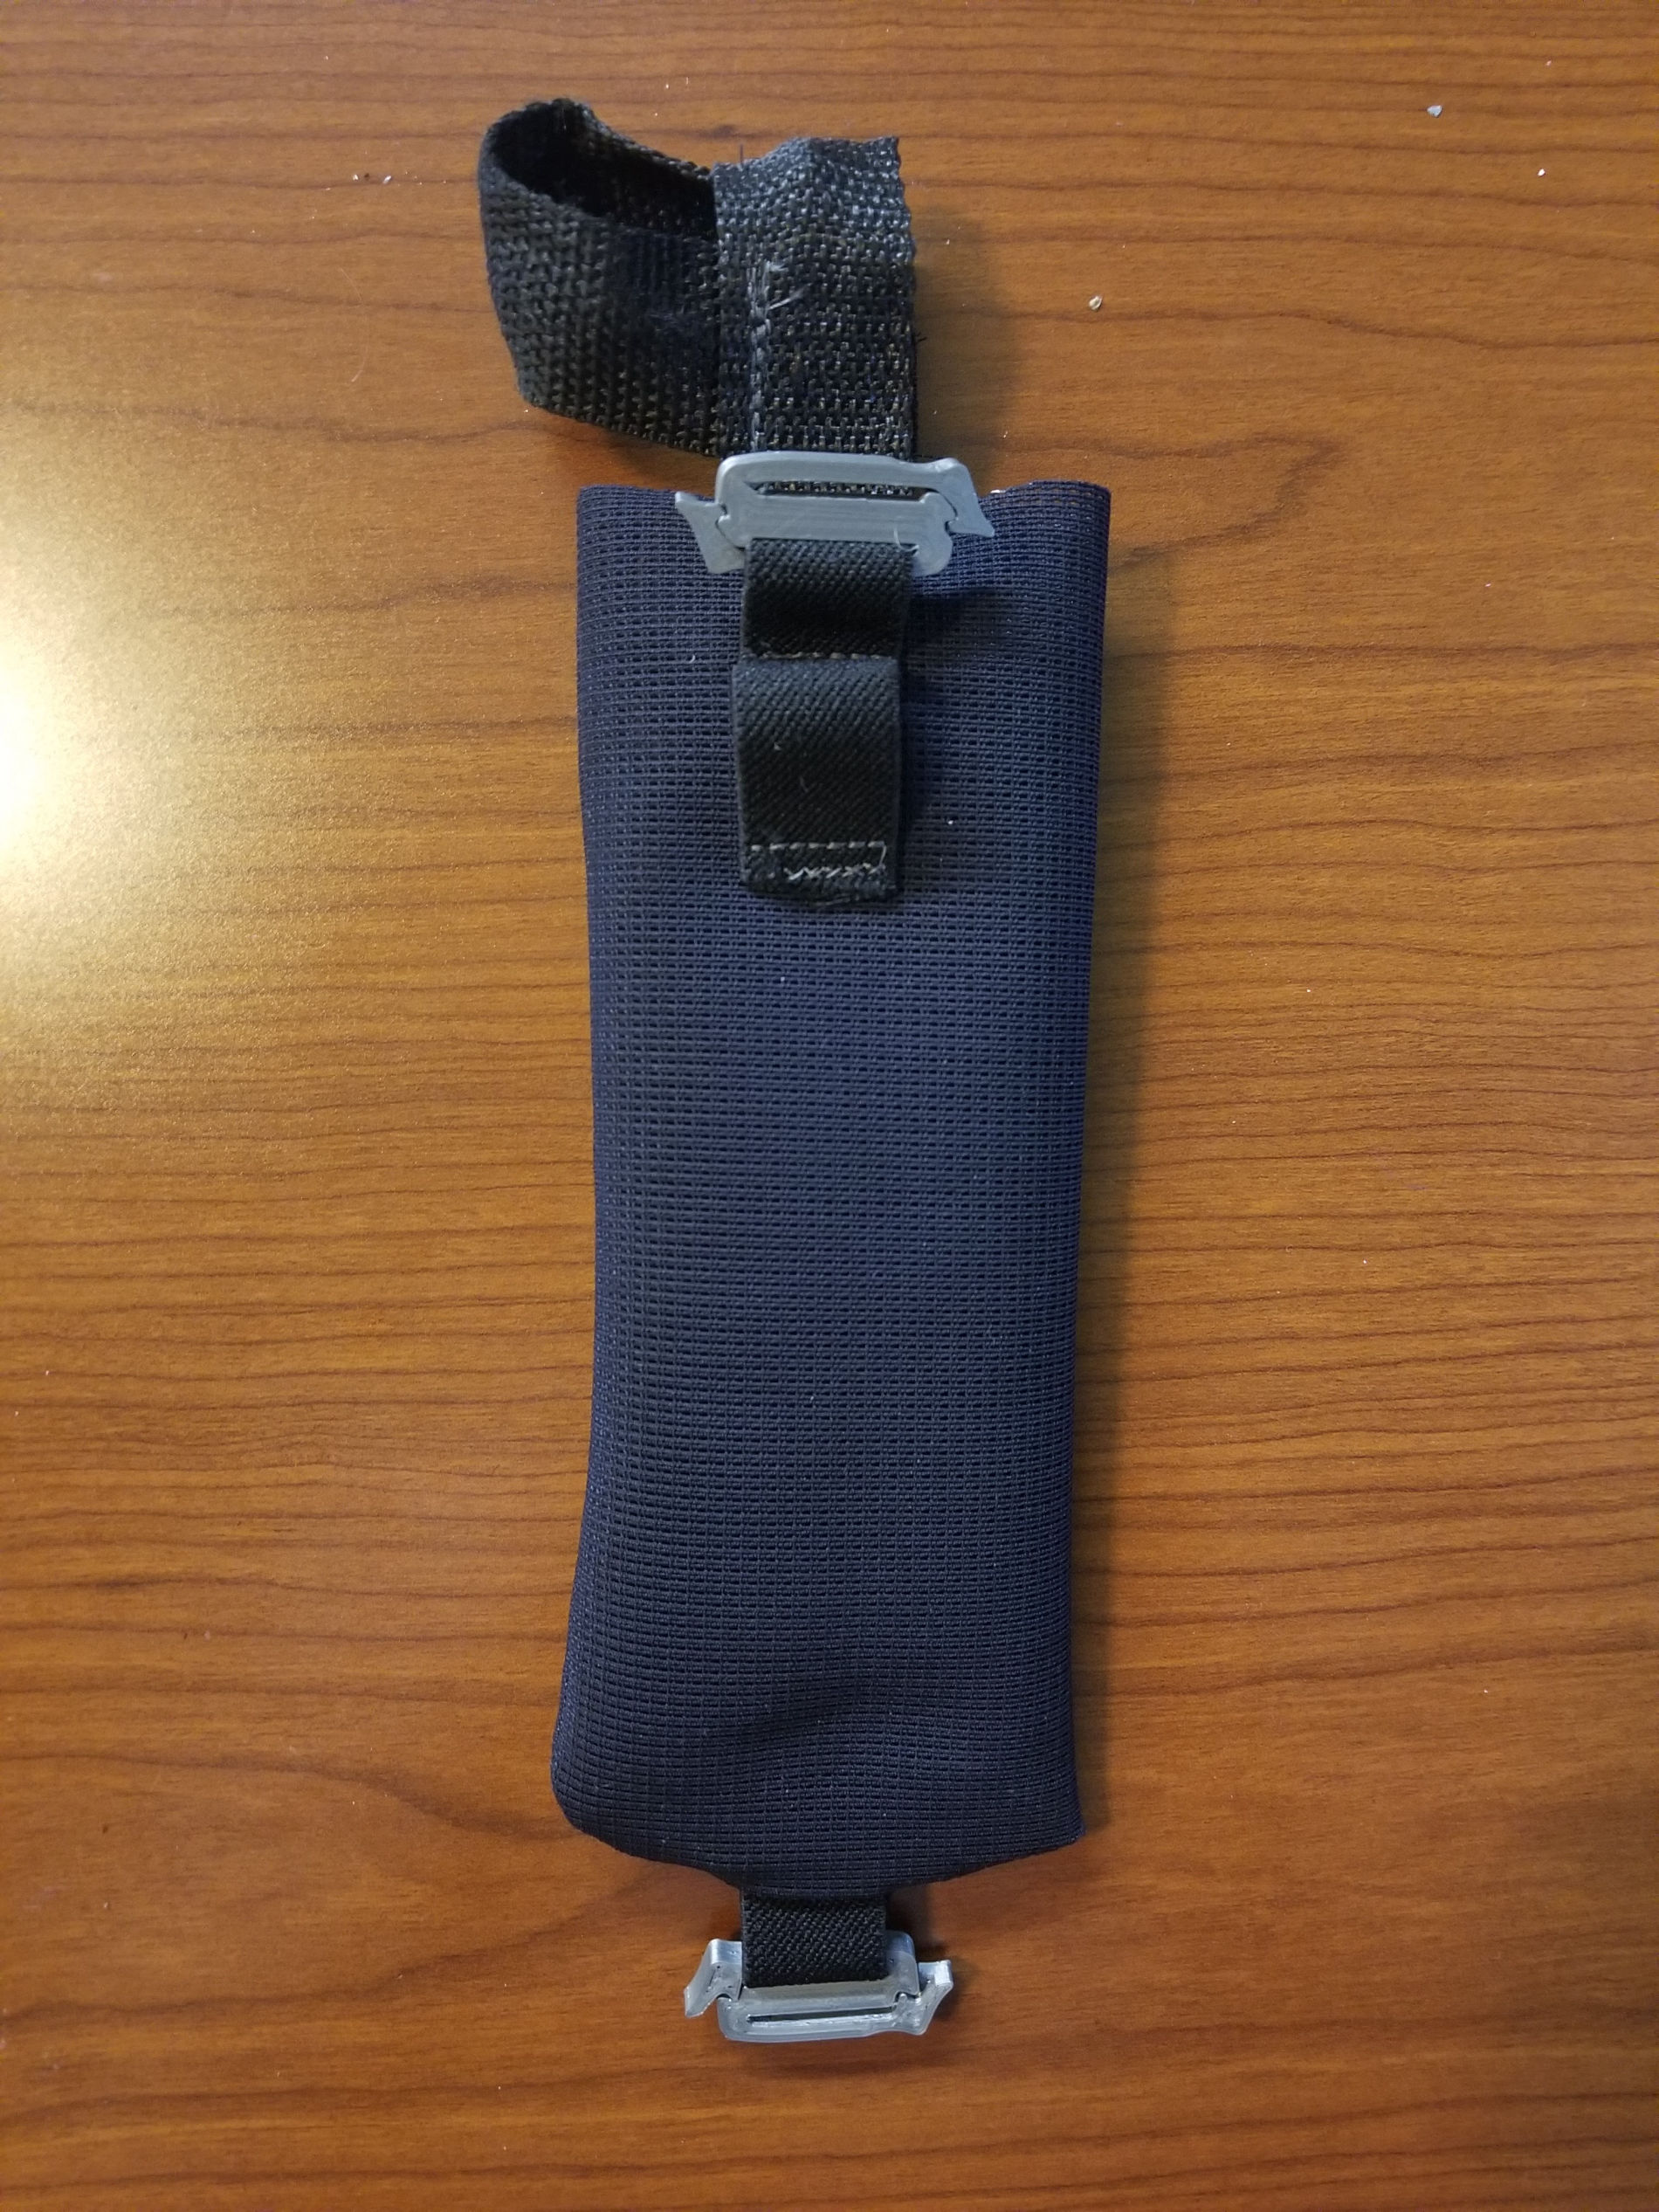
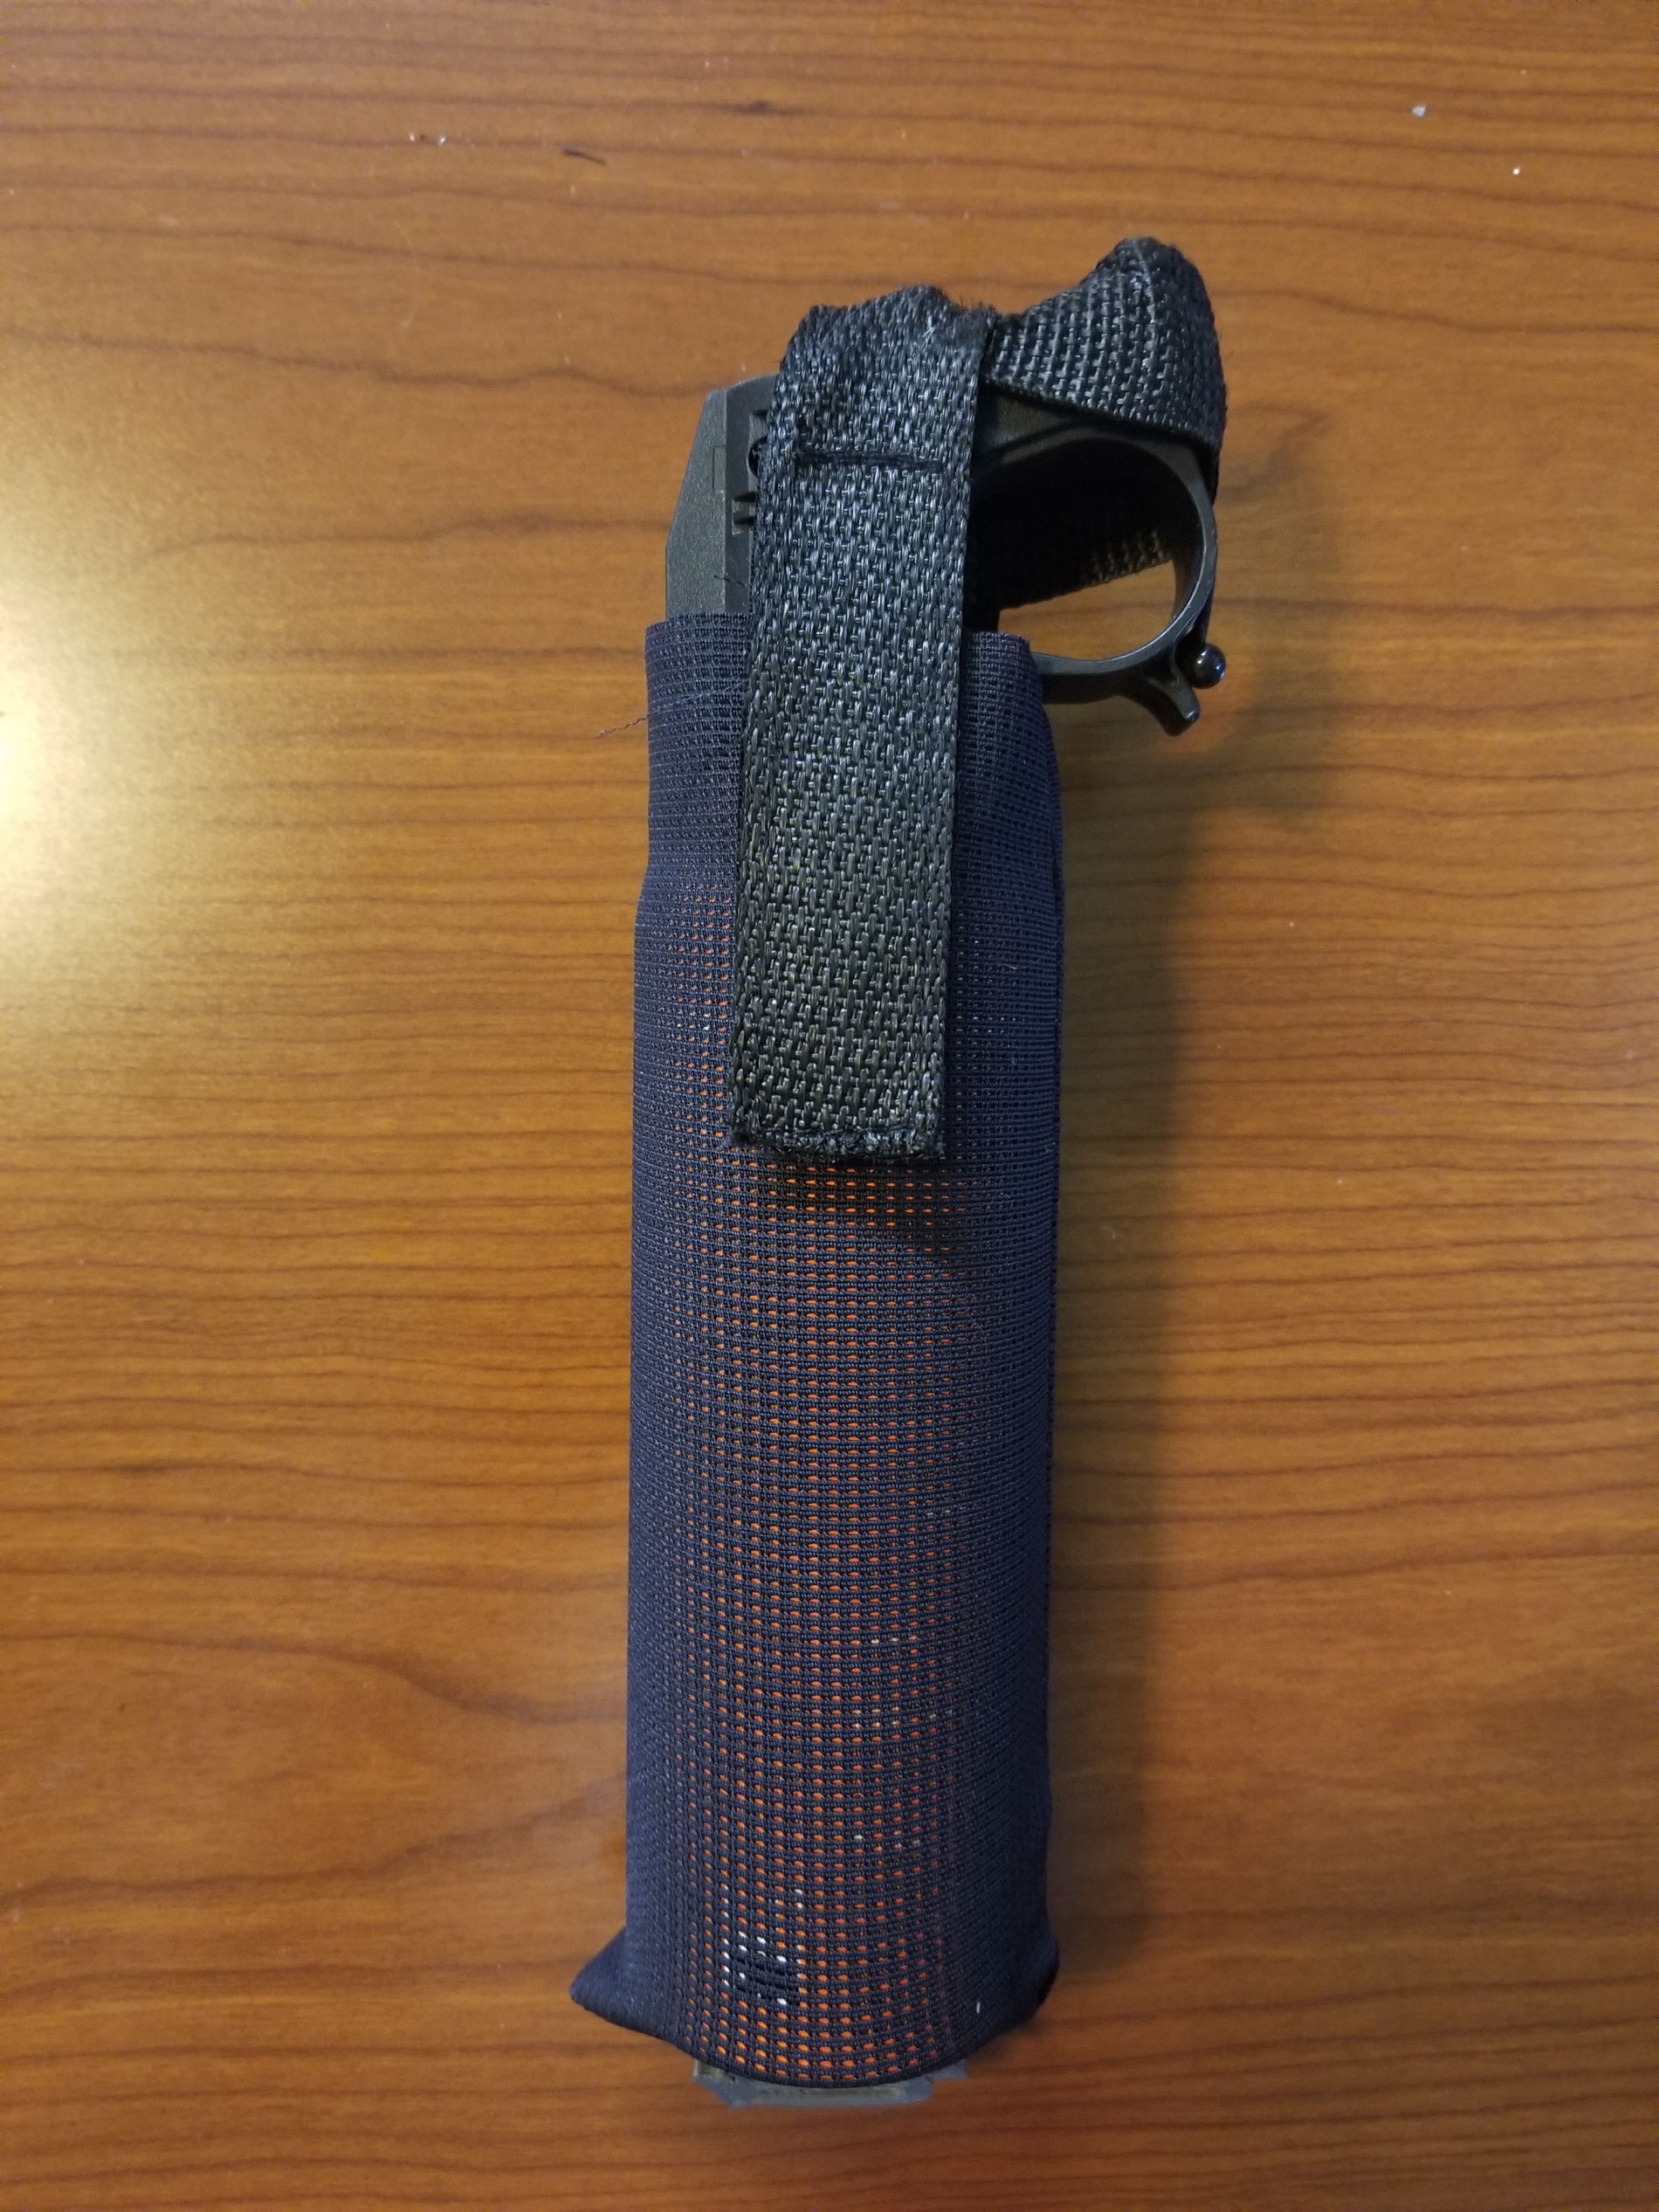
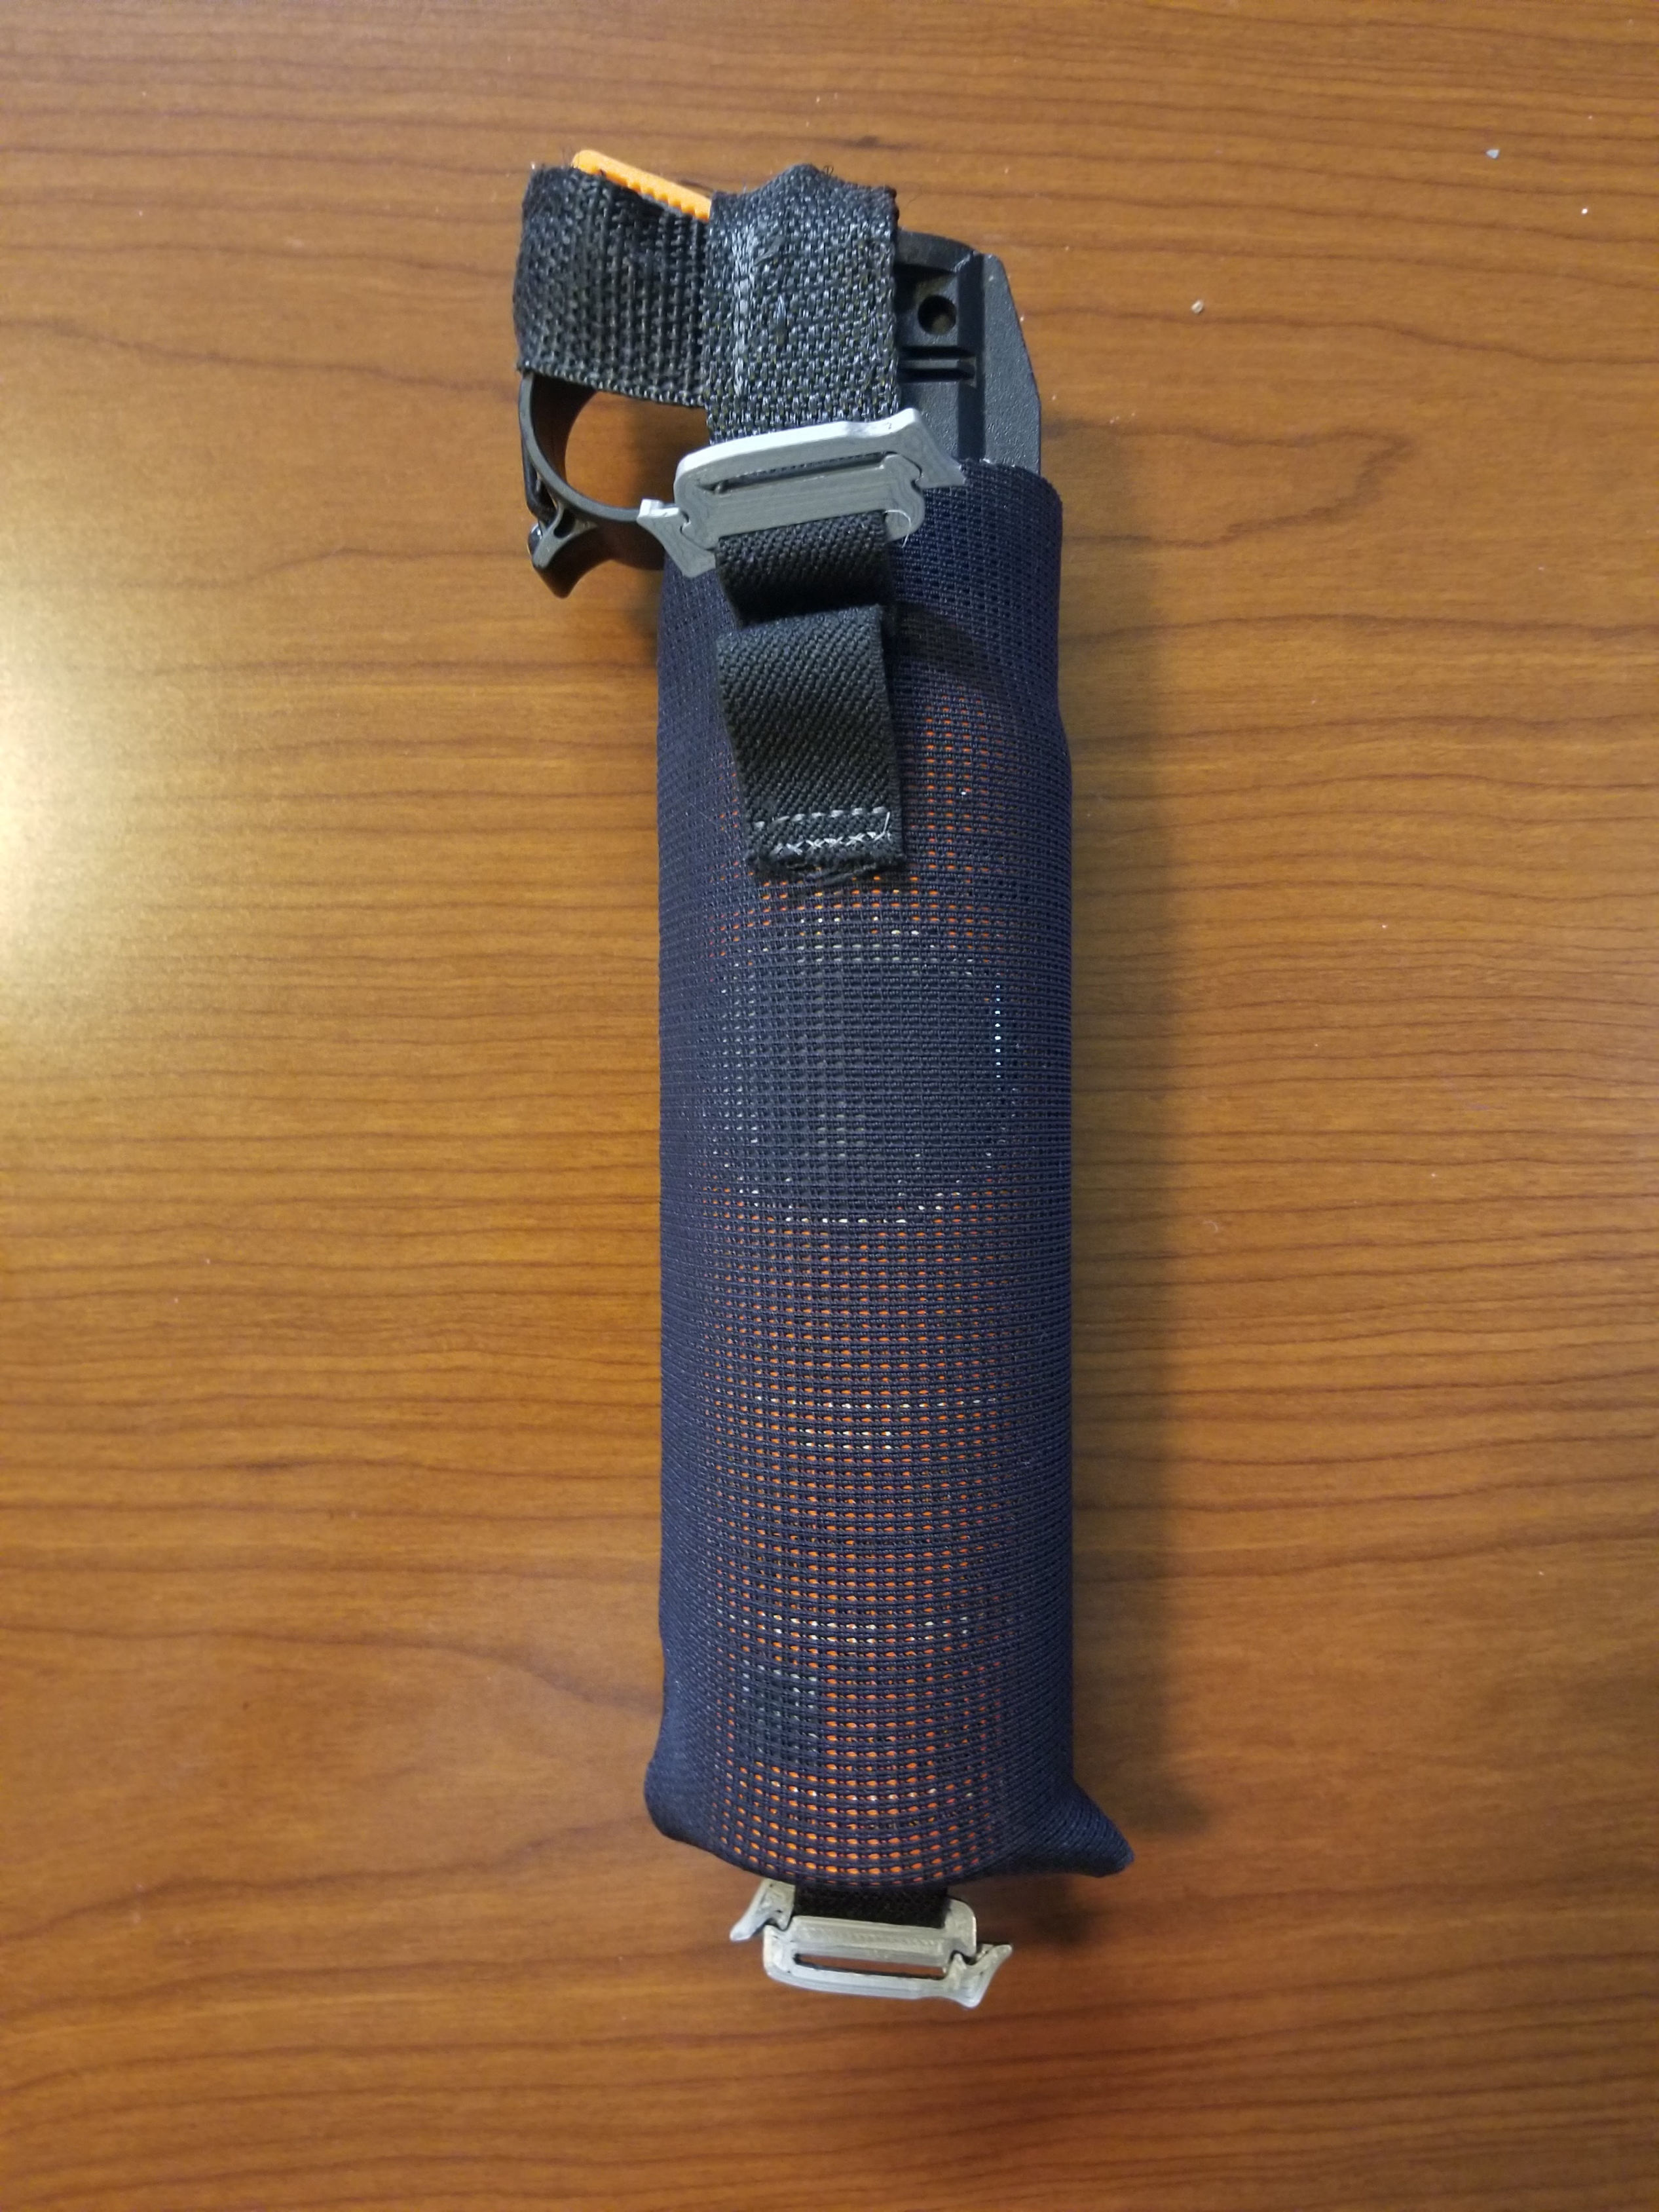
15. Bear Spray Holster: Here's a bear spray holster I designed pretty closely after the holster that came with the bear spray (UDAP Costco Brand). I modified the design to allow for easy mounting onto the shoulder strap of my backpack build, as my experience with keeping bear spray in a sewn in pocket on the shoulder strap is too restrictive of the strap's contour. The holster attaches to the backpack shoulder strap via "SilkeyClips". It was made from Duraweave mesh, 3/4" elastic for SilkeyClip attachment, 3/4" velcro, and an existing bear spray safety strap scavenged from another bear spray holster. More information is available here!
Bear Spray Holster

Bear Canister Attachment System

All Pictures Taken by Austin Zuehlke Unless Otherwise Mentioned

The page was made with Mobirise