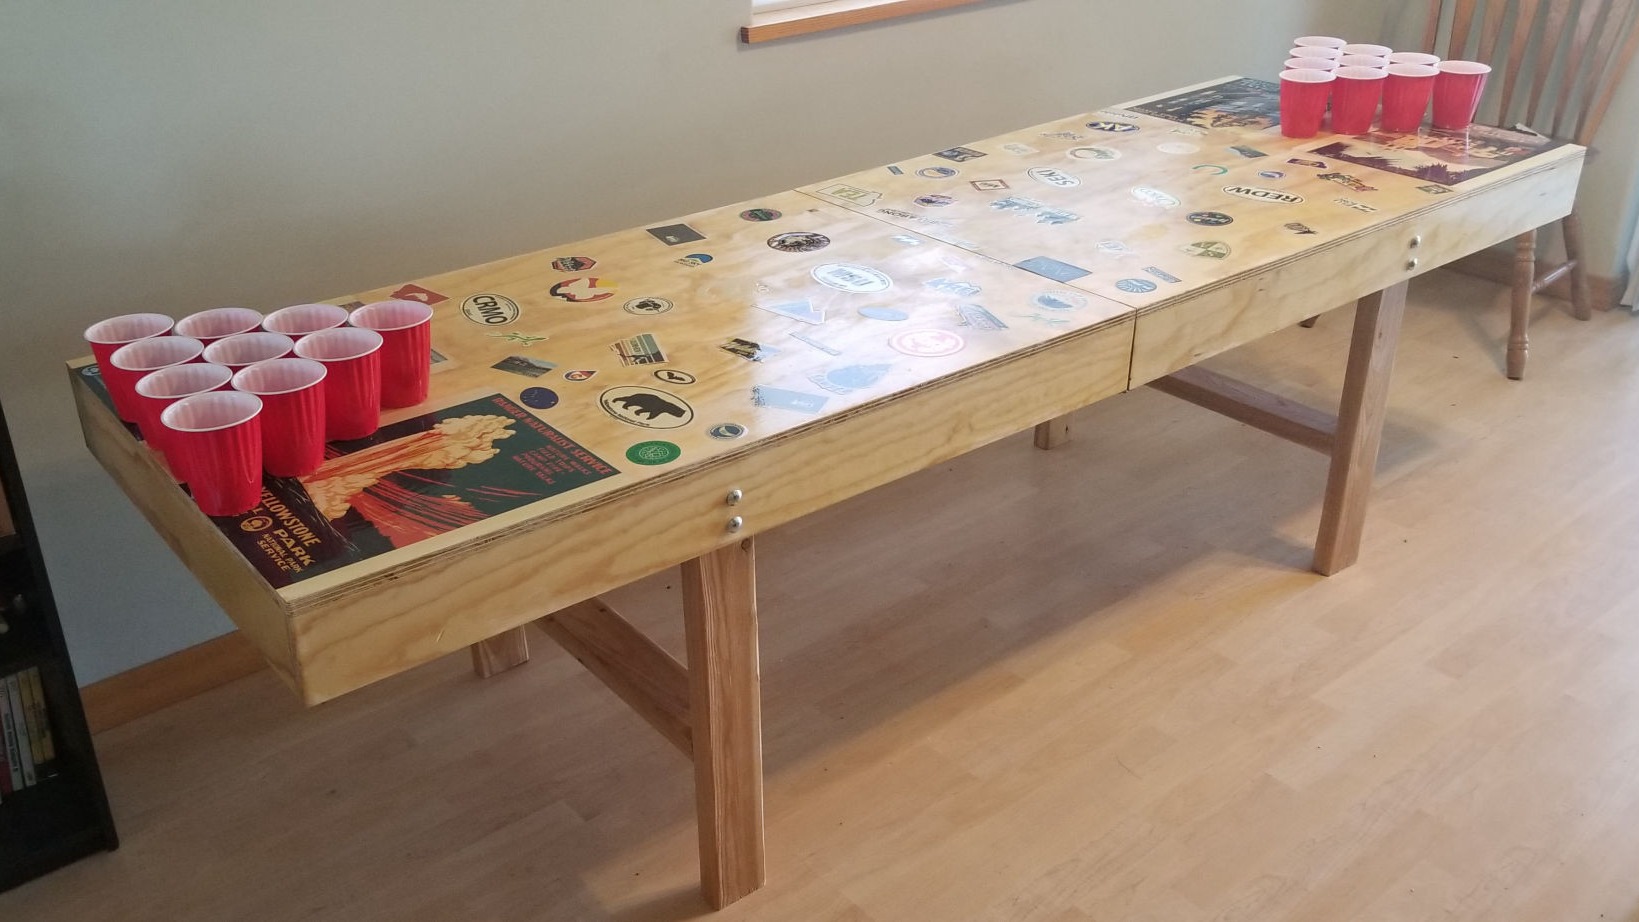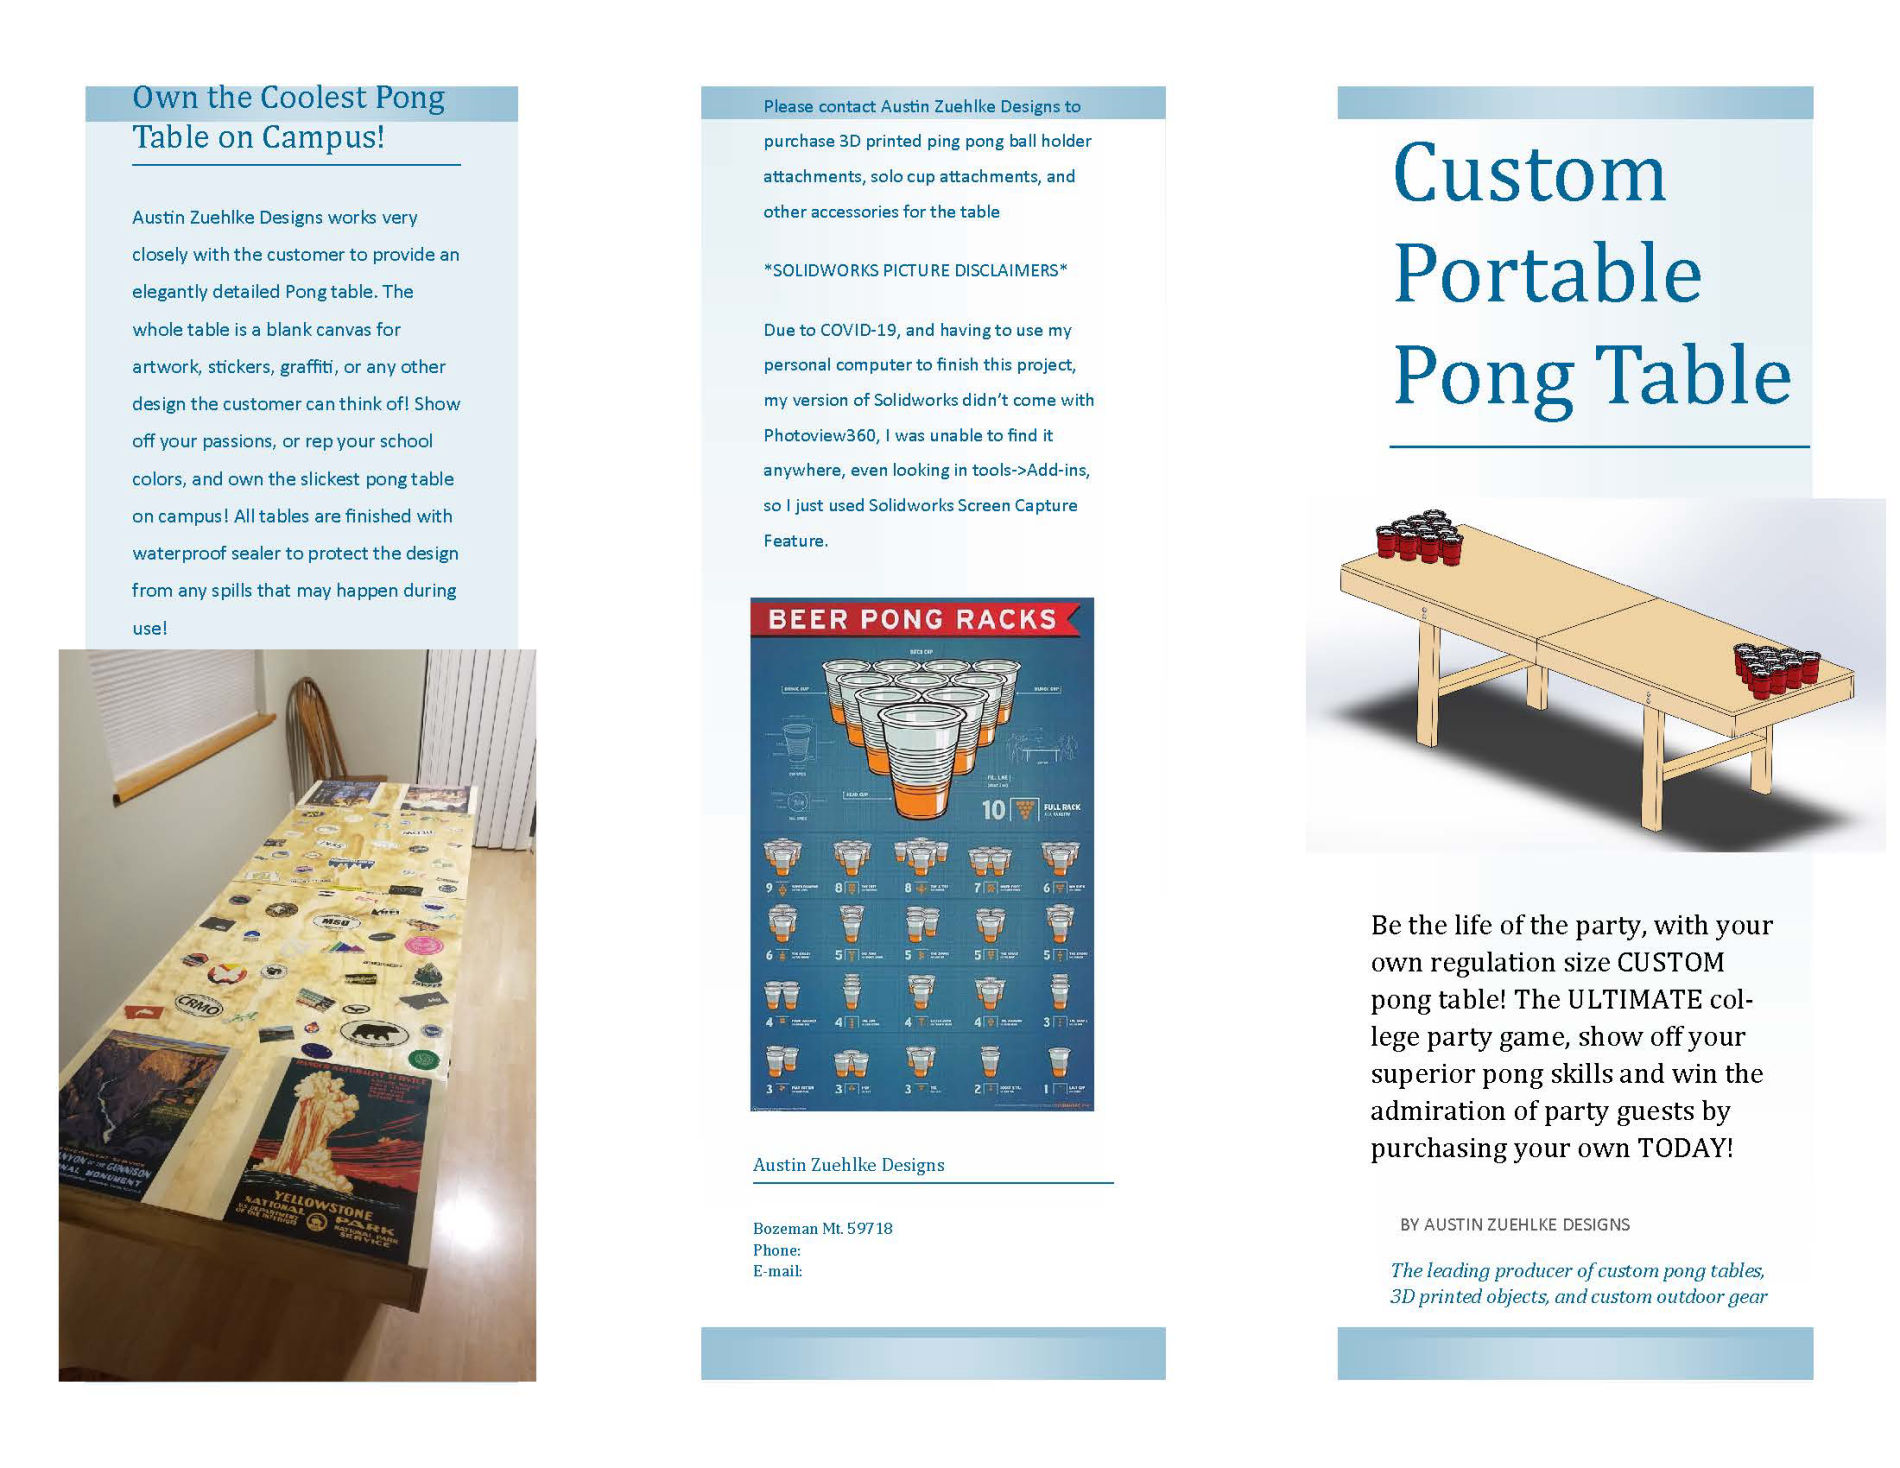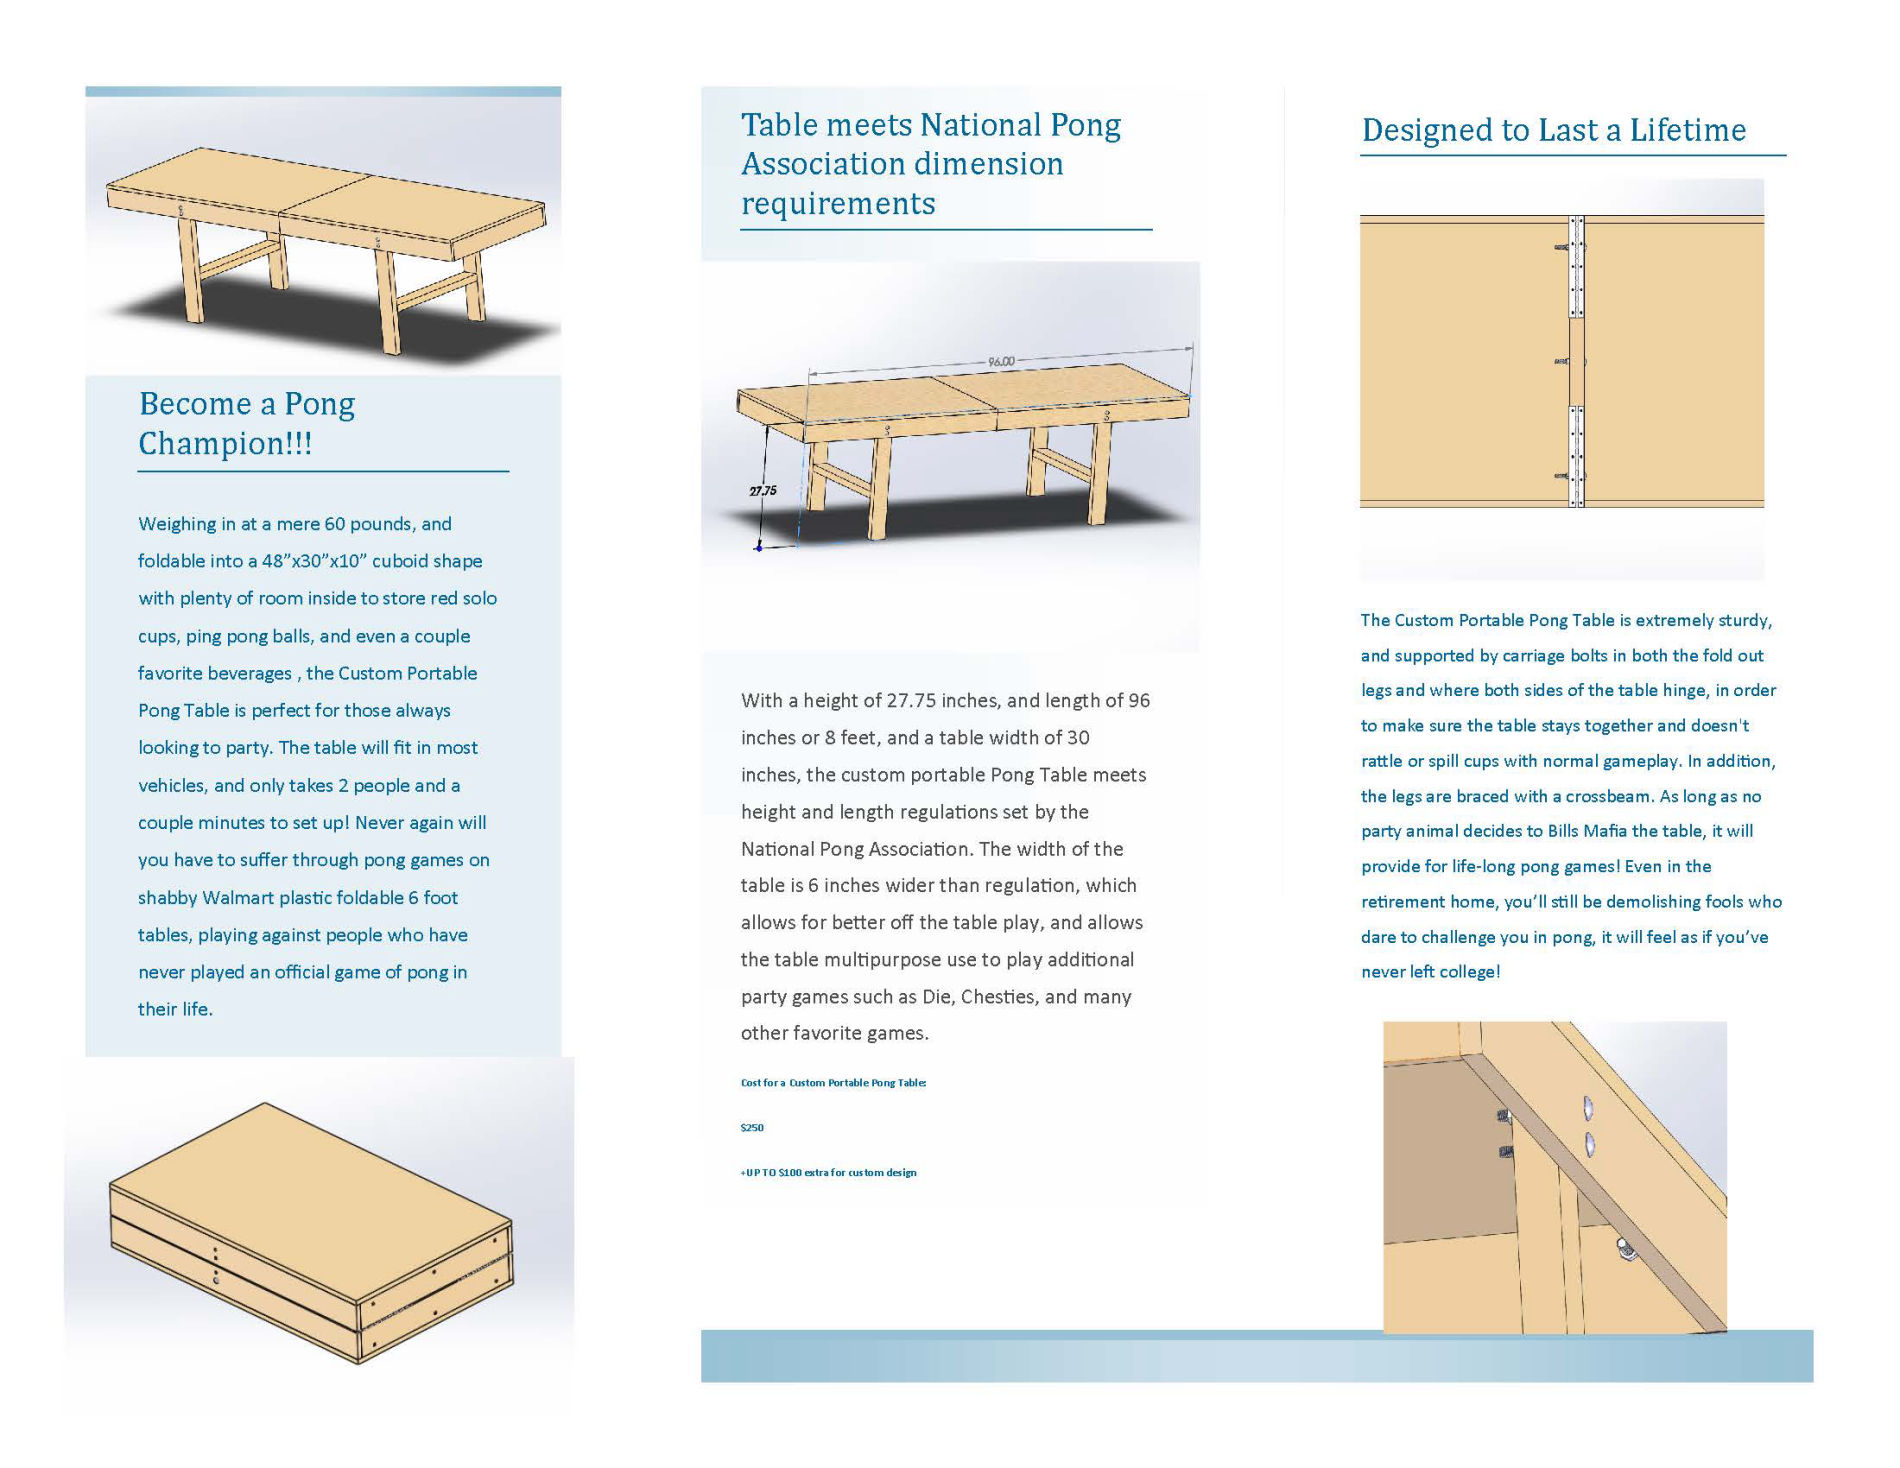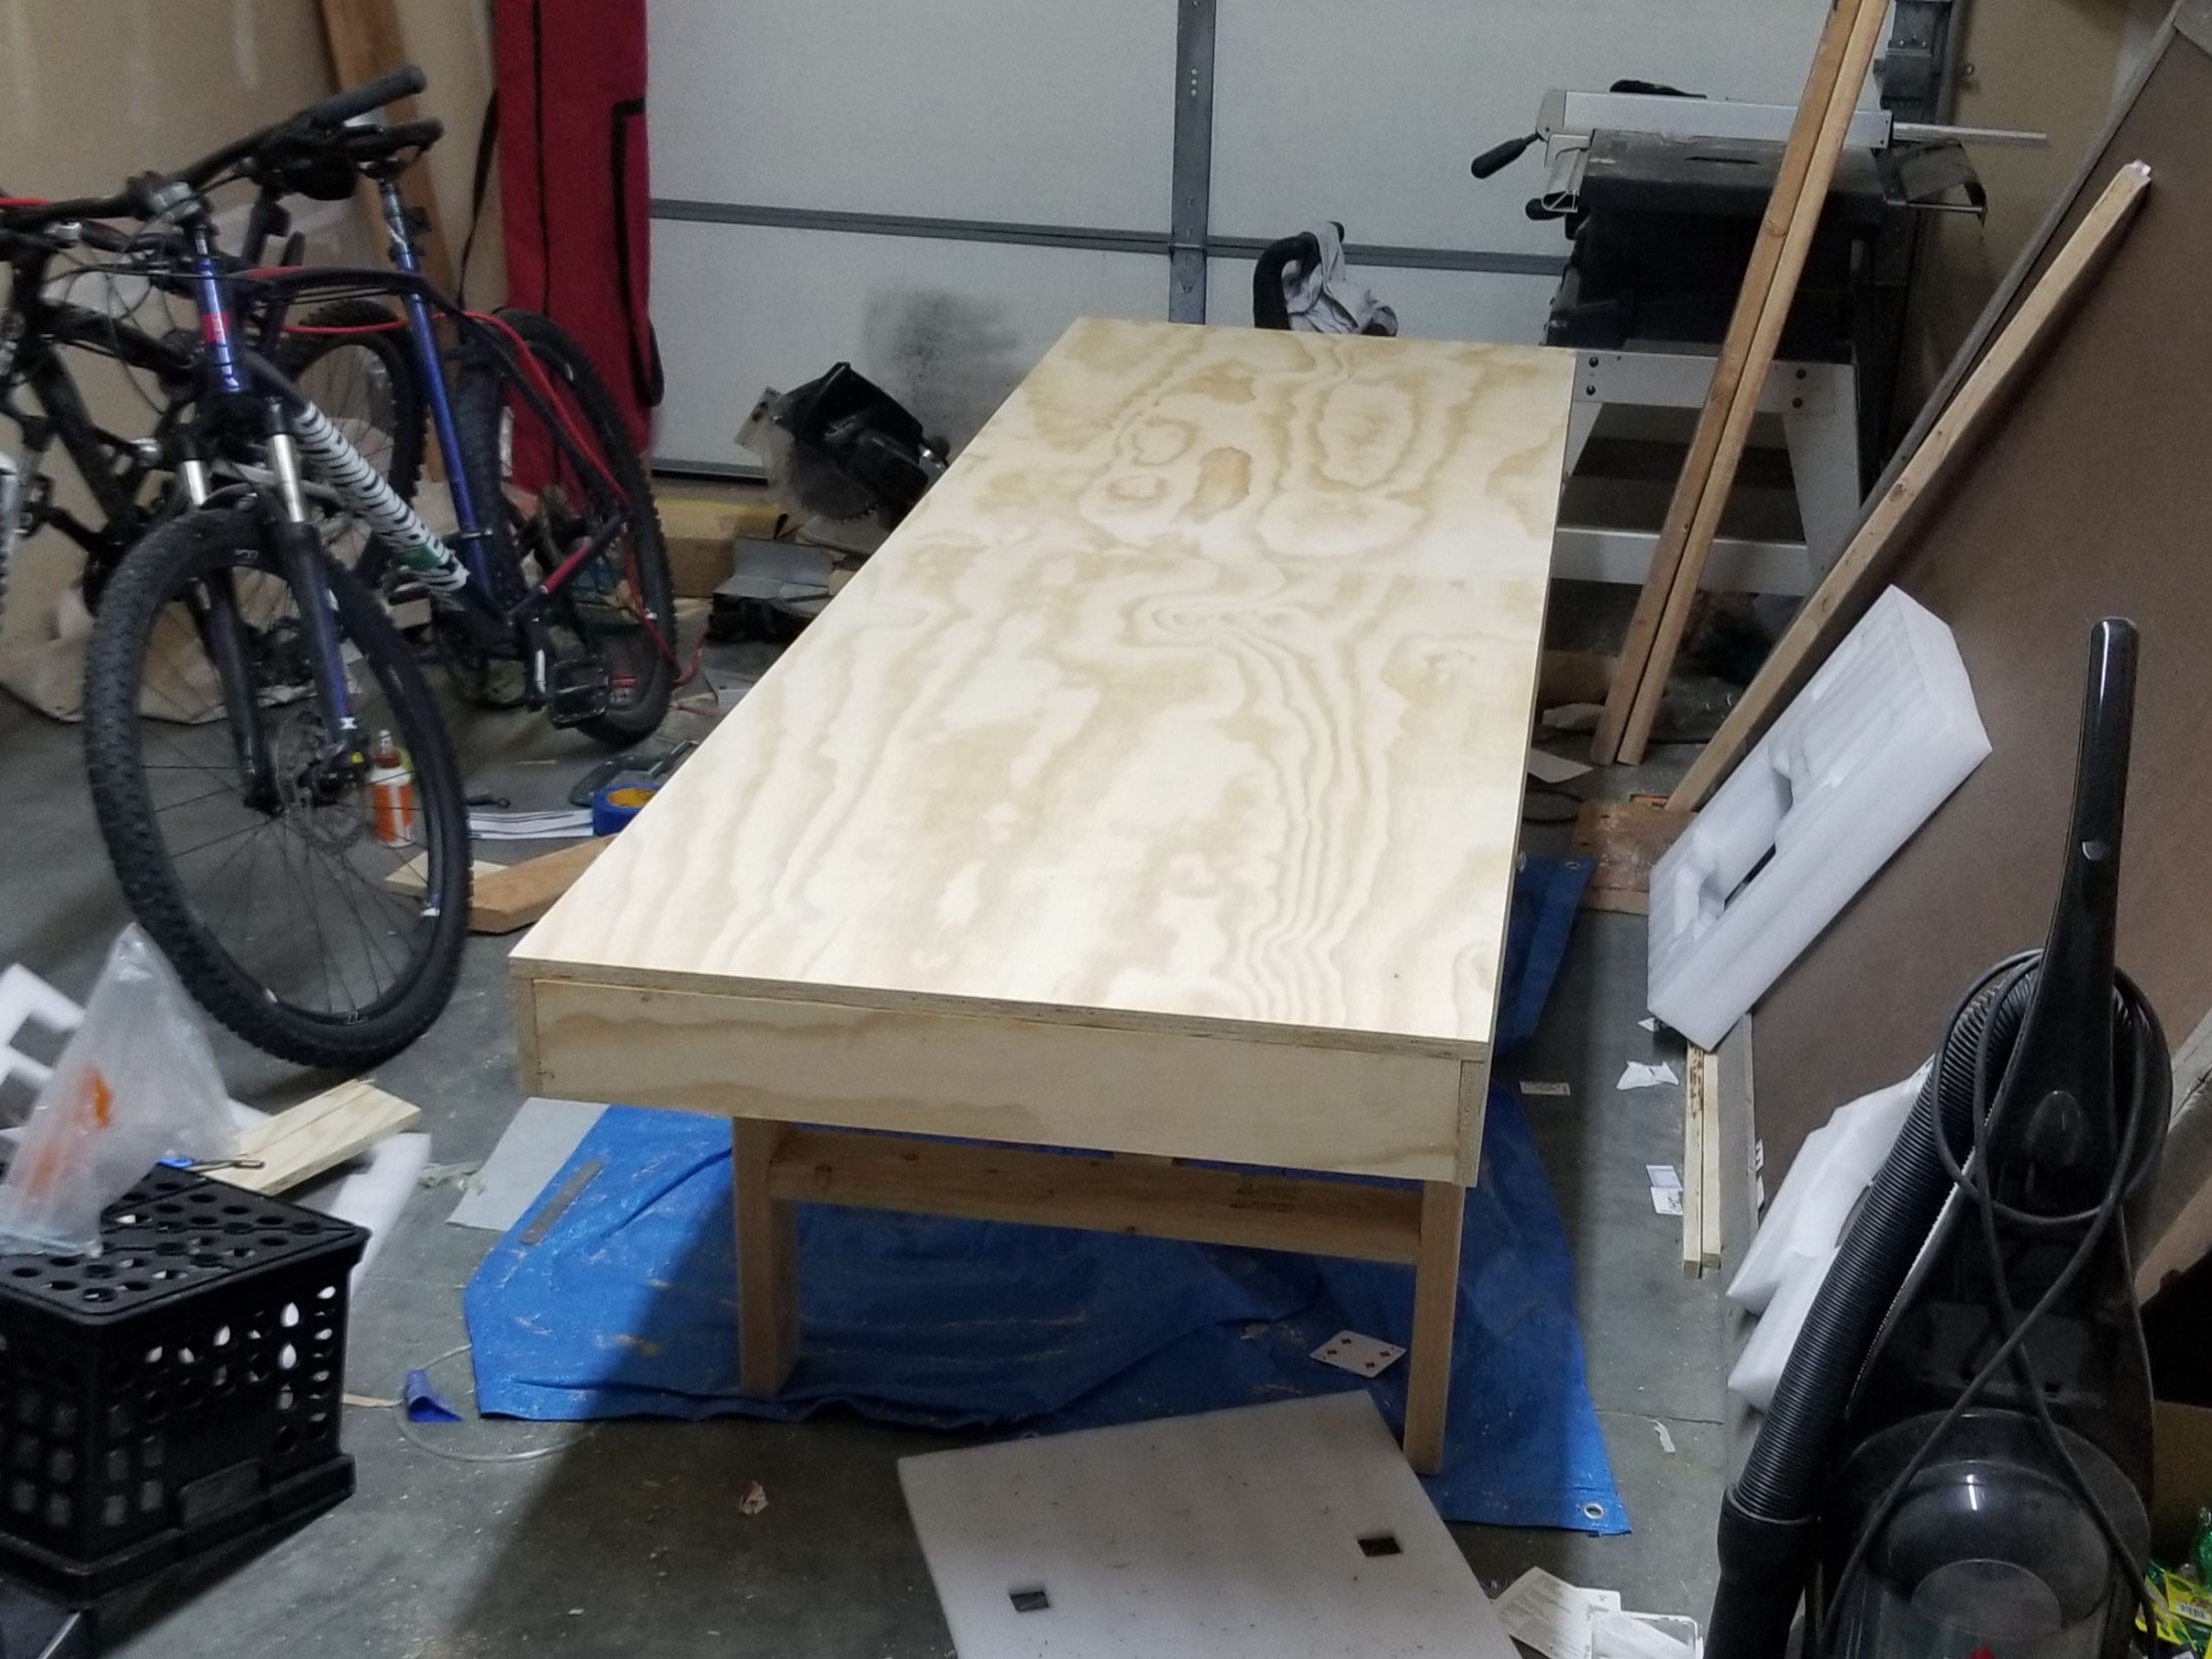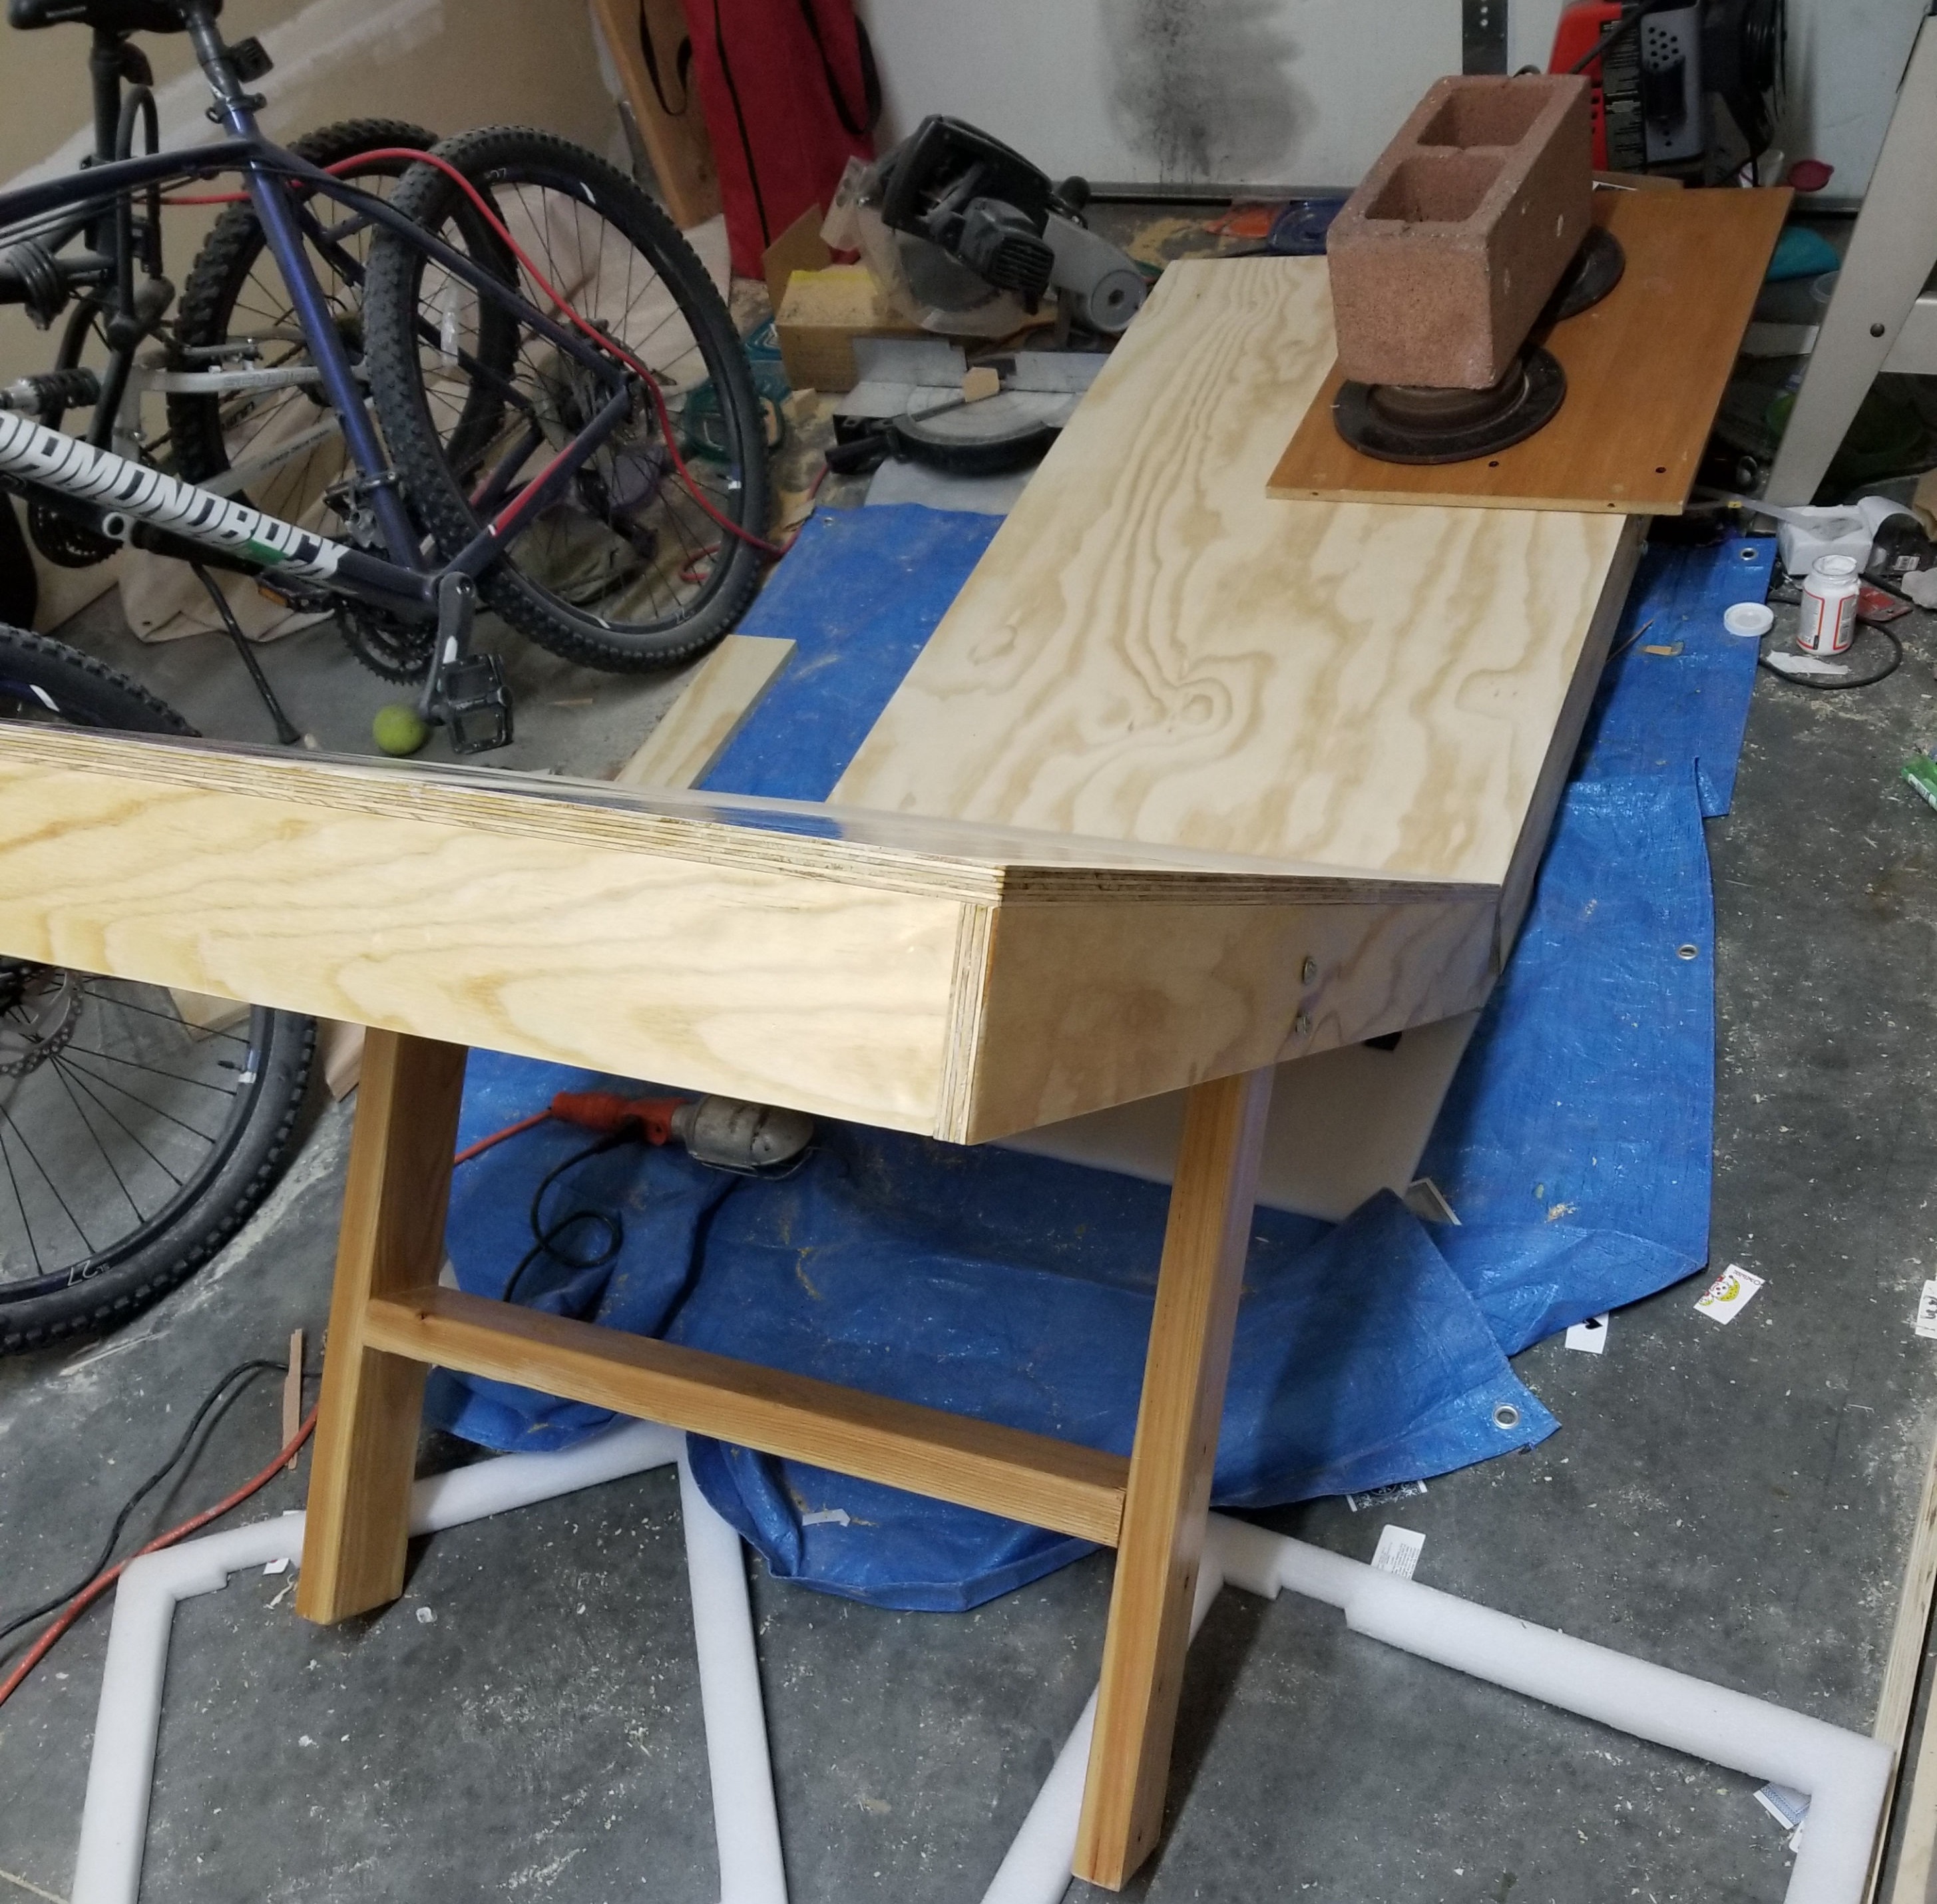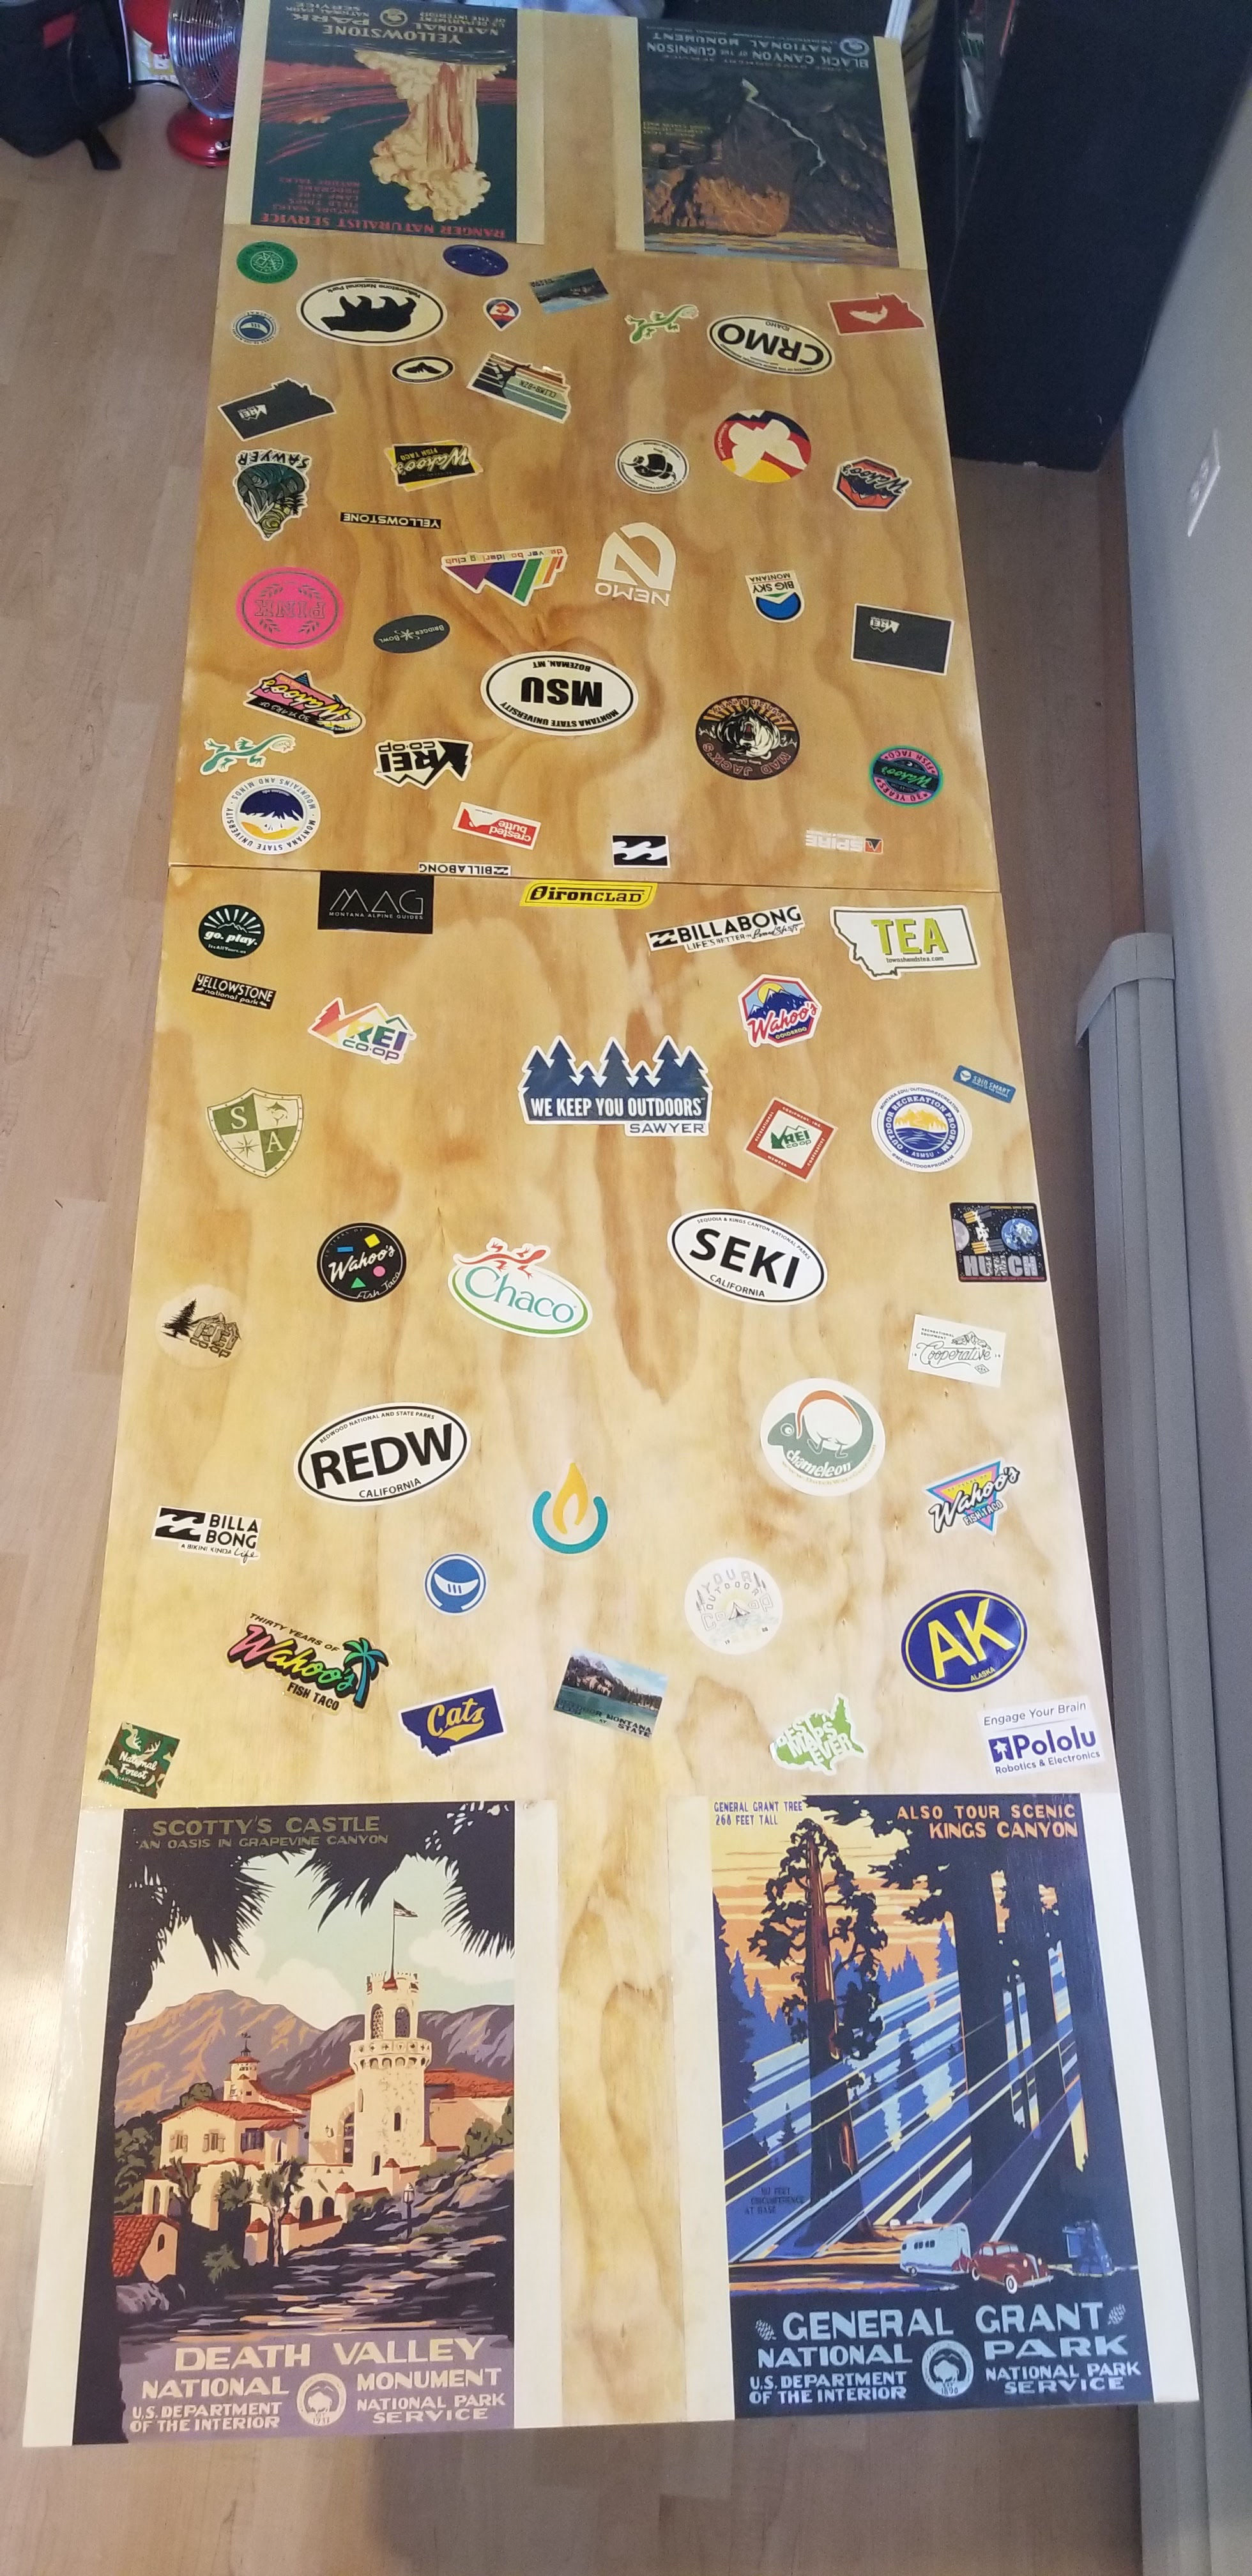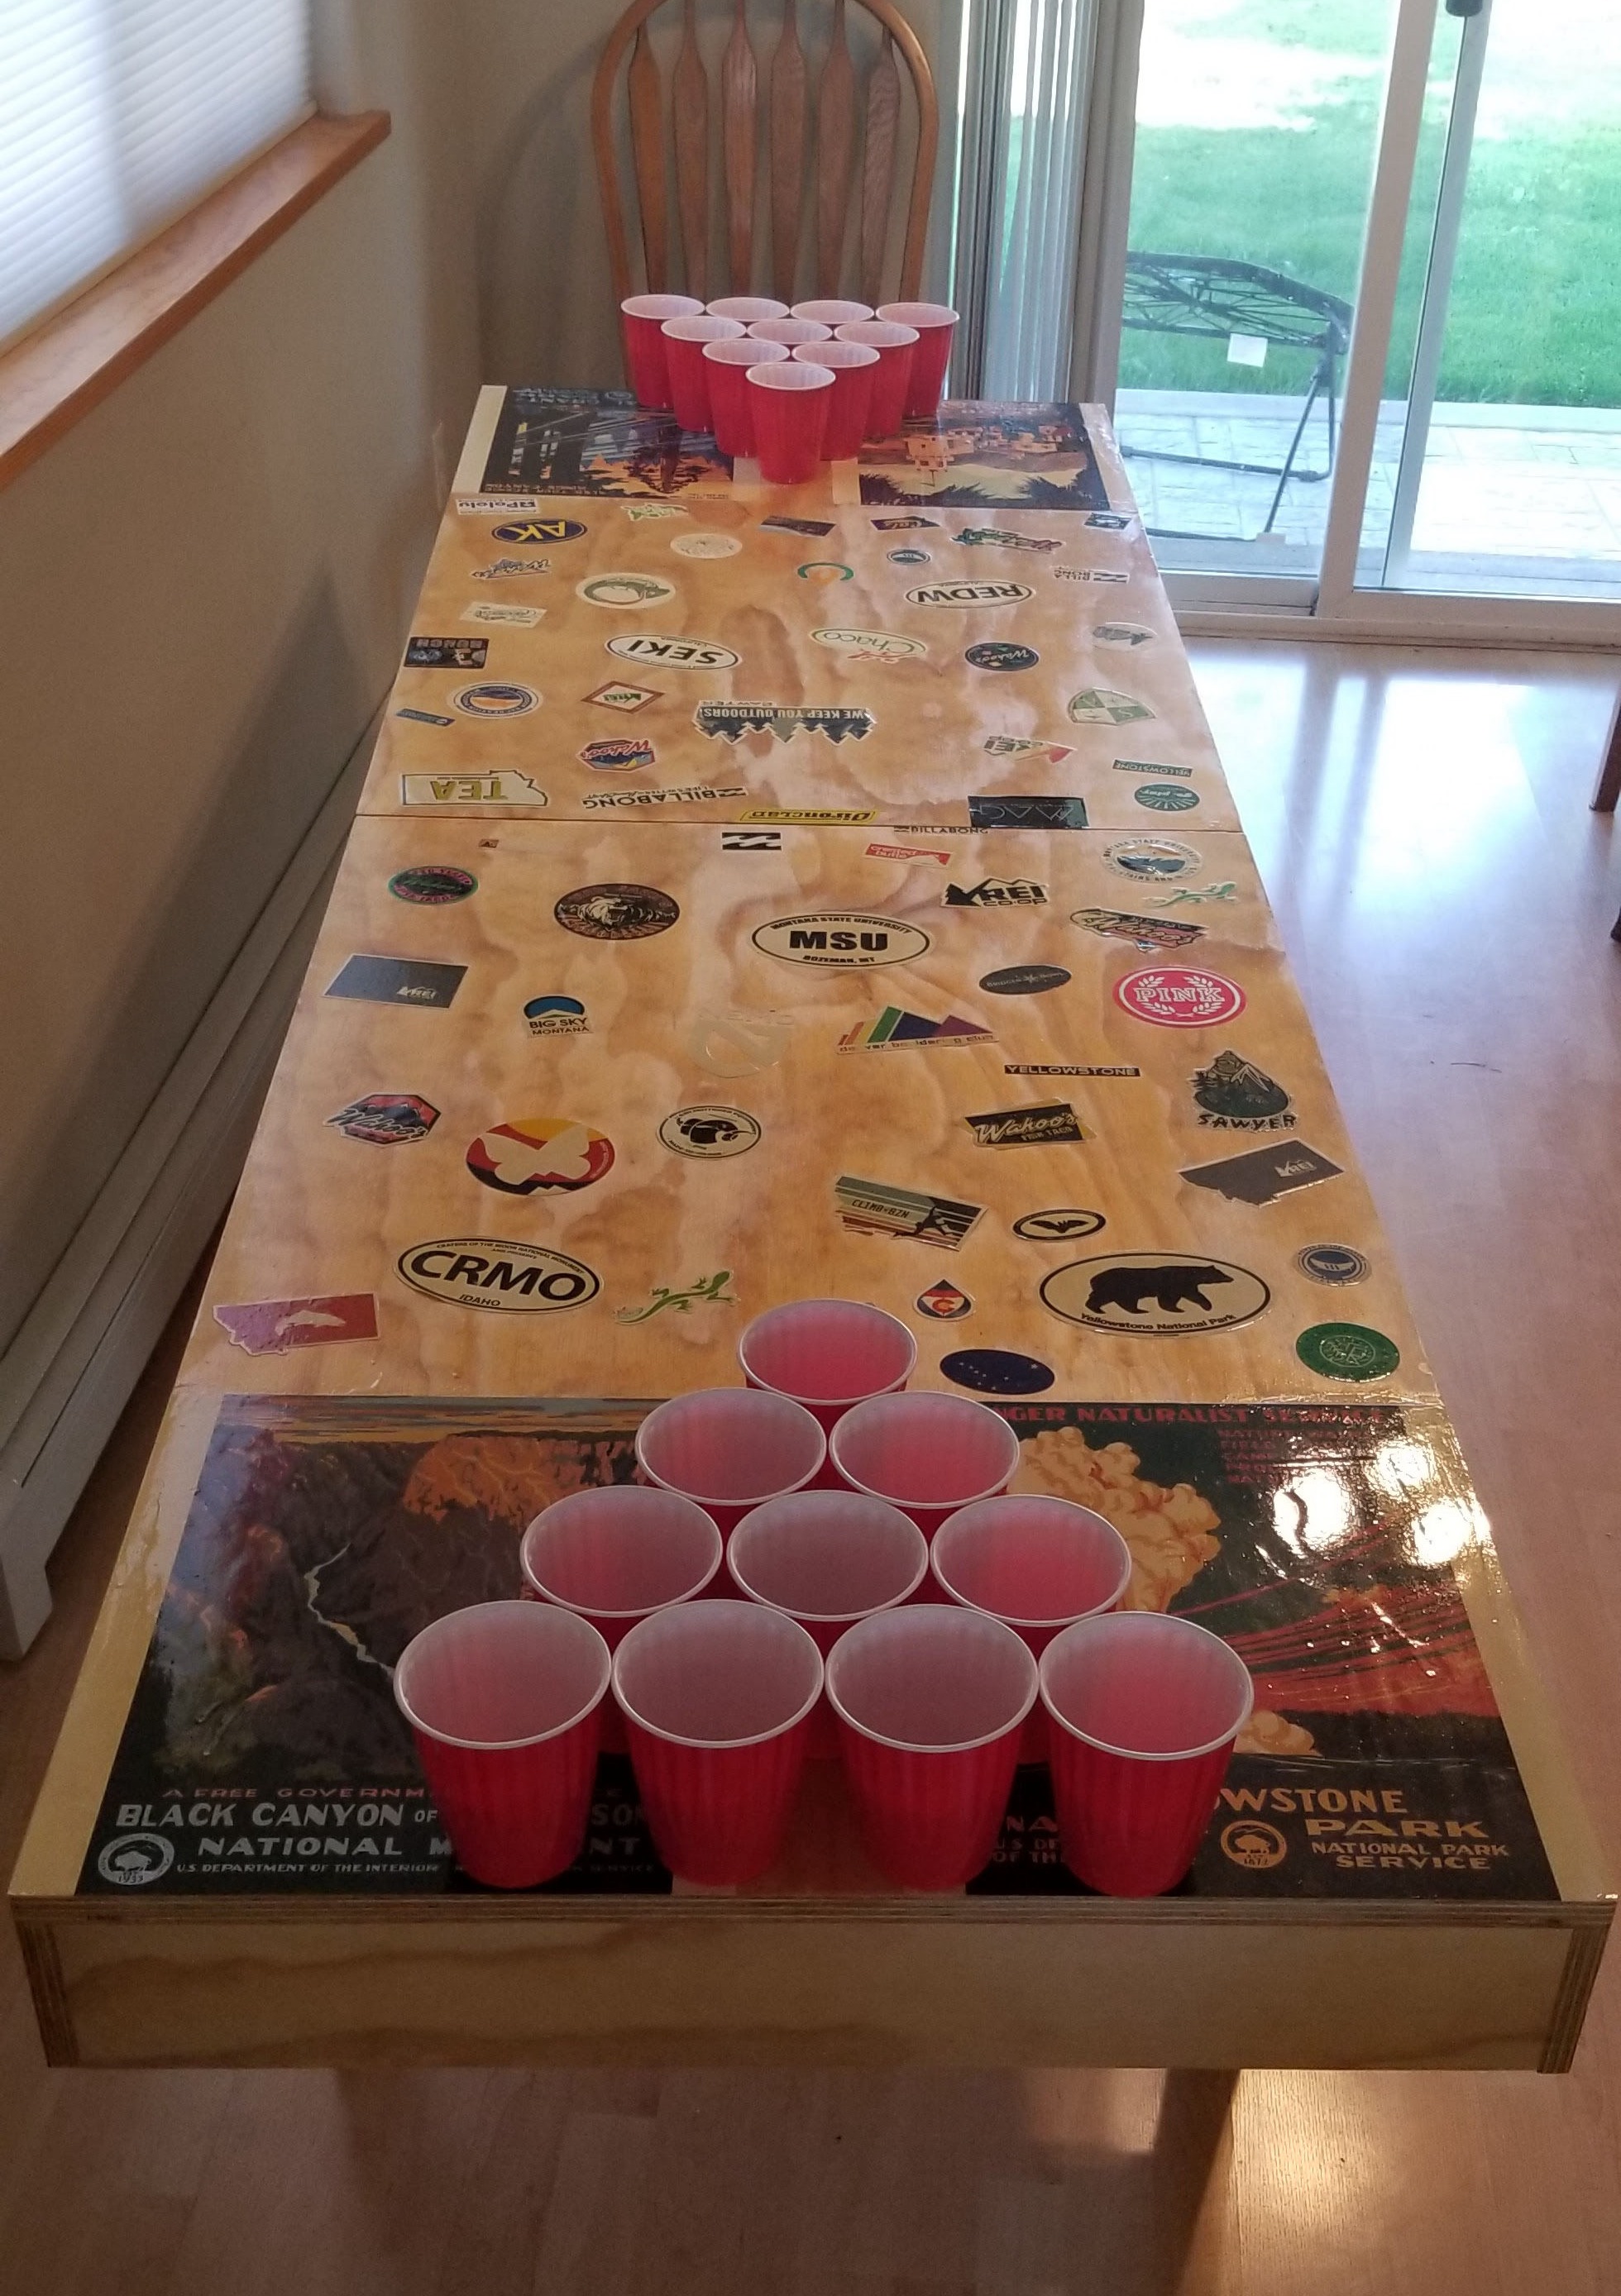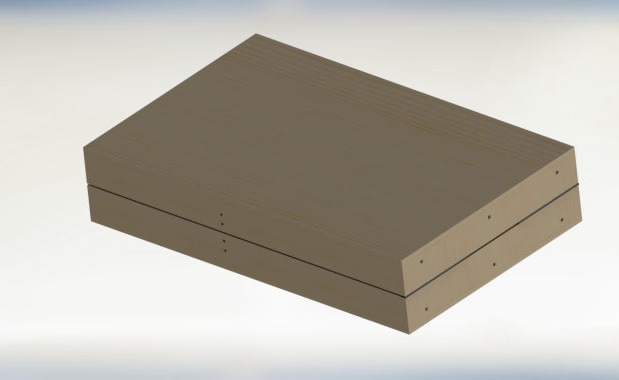
Weighing in at a mere 60 pounds, and fold-able into a 48”x 30”x 10” cuboid shape with plenty of room inside to store red solo cups, ping pong balls, and even a couple favorite beverages , the Custom Portable Pong Table is perfect for those always looking to party. The table will fit in most vehicles, and only takes two people and a couple minutes to set up! Never again will you have to suffer through pong games on shabby Walmart plastic fold-able 6' tables, playing against people who have never played an official game of pong in their life.
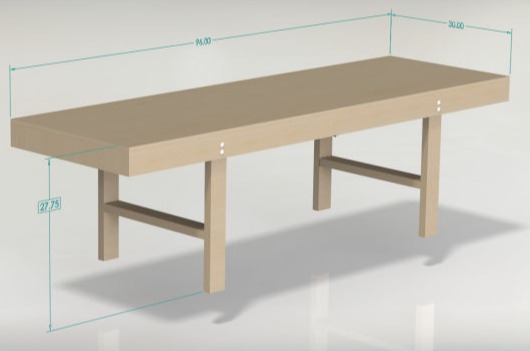
With a height of 27.75 inches, and length of 96 inches or 8 feet, and a table width of 30 inches, the custom portable Pong Table meets height and length regulations set by the National Pong Association. The width of the table is 6 inches wider than regulation, which allows for better off the table play, and allows the table multipurpose use to play additional party games such as Die, Chesties, and many other favorite games.
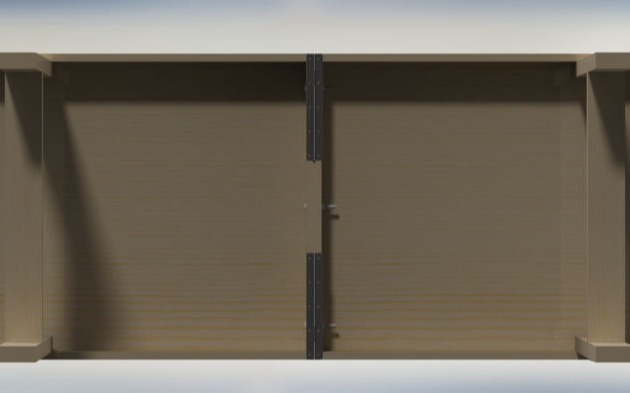
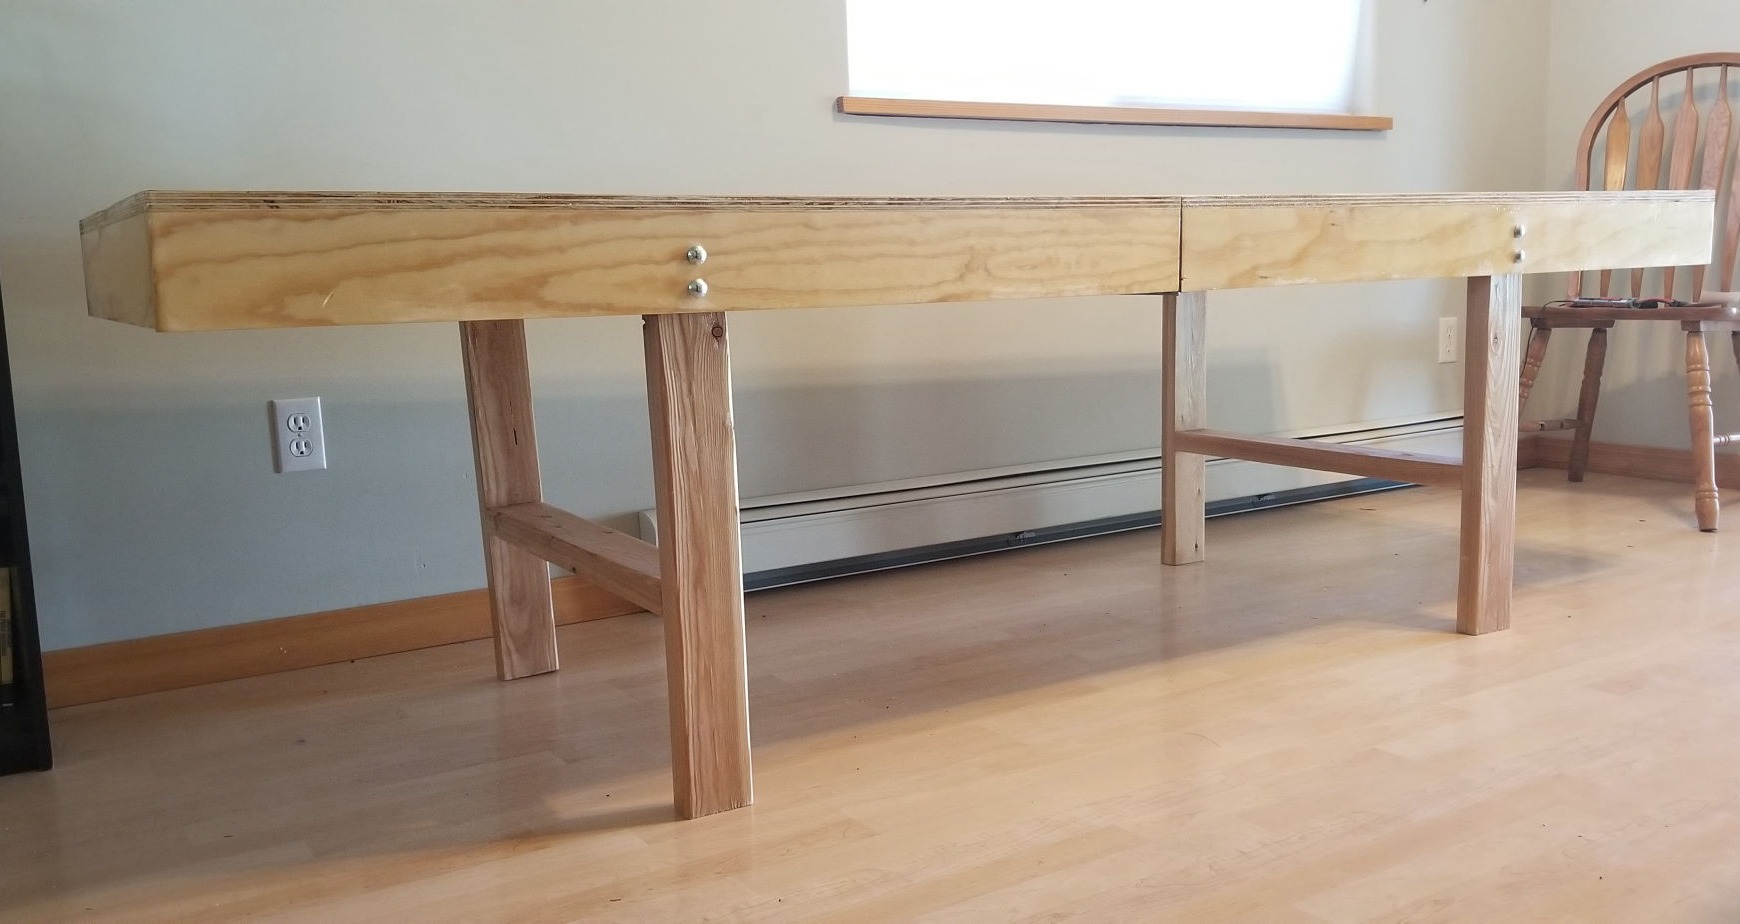
The Custom Portable Pong Table is extremely sturdy, and supported by carriage bolts in both the fold out legs and where both sides of the table hinge, in order to make sure the table stays together and doesn't rattle or spill cups with normal gameplay. In addition, the legs are braced with a crossbeam. As long as no party animal decides to Bills Mafia the table, it will provide for life-long pong games! Even in the retirement home, you’ll still be demolishing fools who dare to challenge you in pong, it will feel as if you’ve never left college!
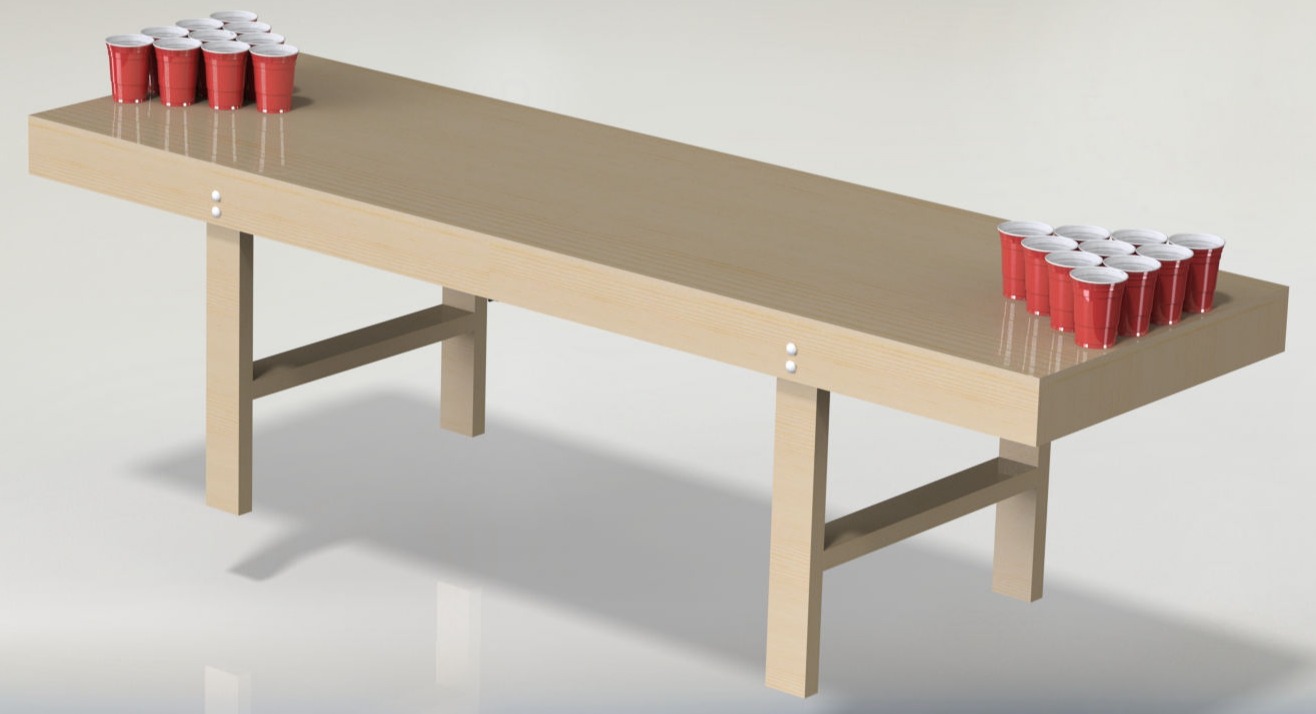
The most important criteria for the design of this Pong Table was to be portable while also meeting the requirements for an official size table. I had gotten sick of playing pong at other people's houses on 6 foot plastic folding tables, as they make the game much easier, the plastic doesn't cater to bounce shots, and one bump could bring the table crashing down. My research determined this style of folding Pong Table was one of the more common designs.
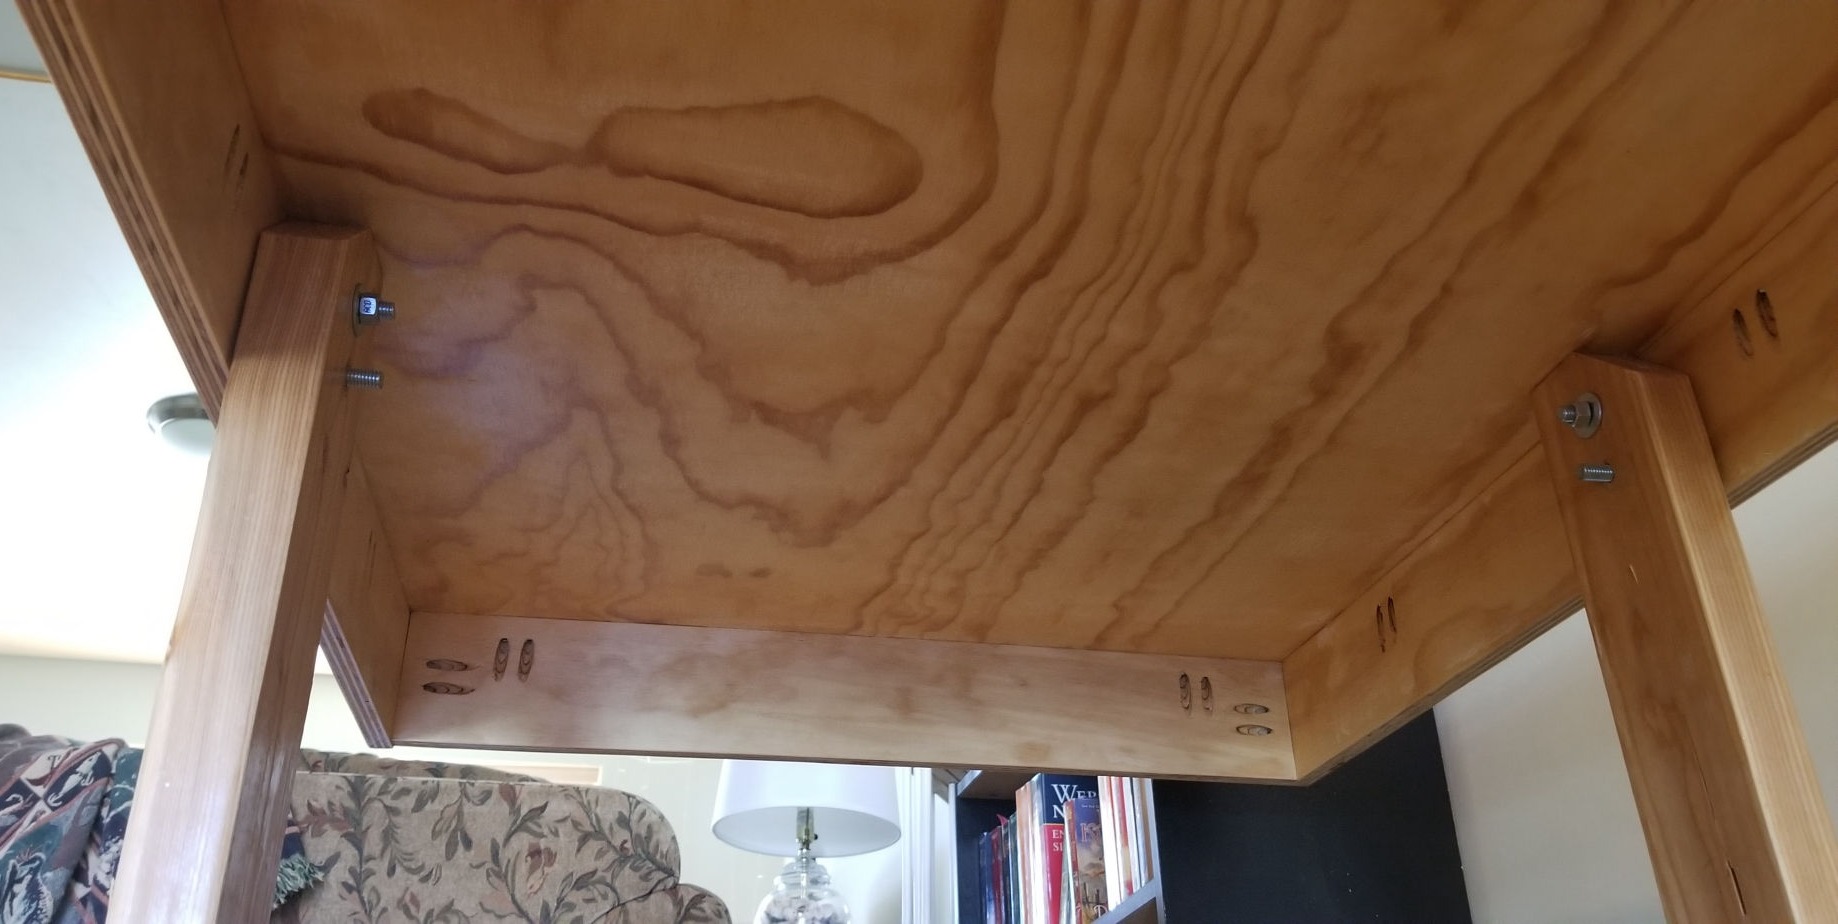
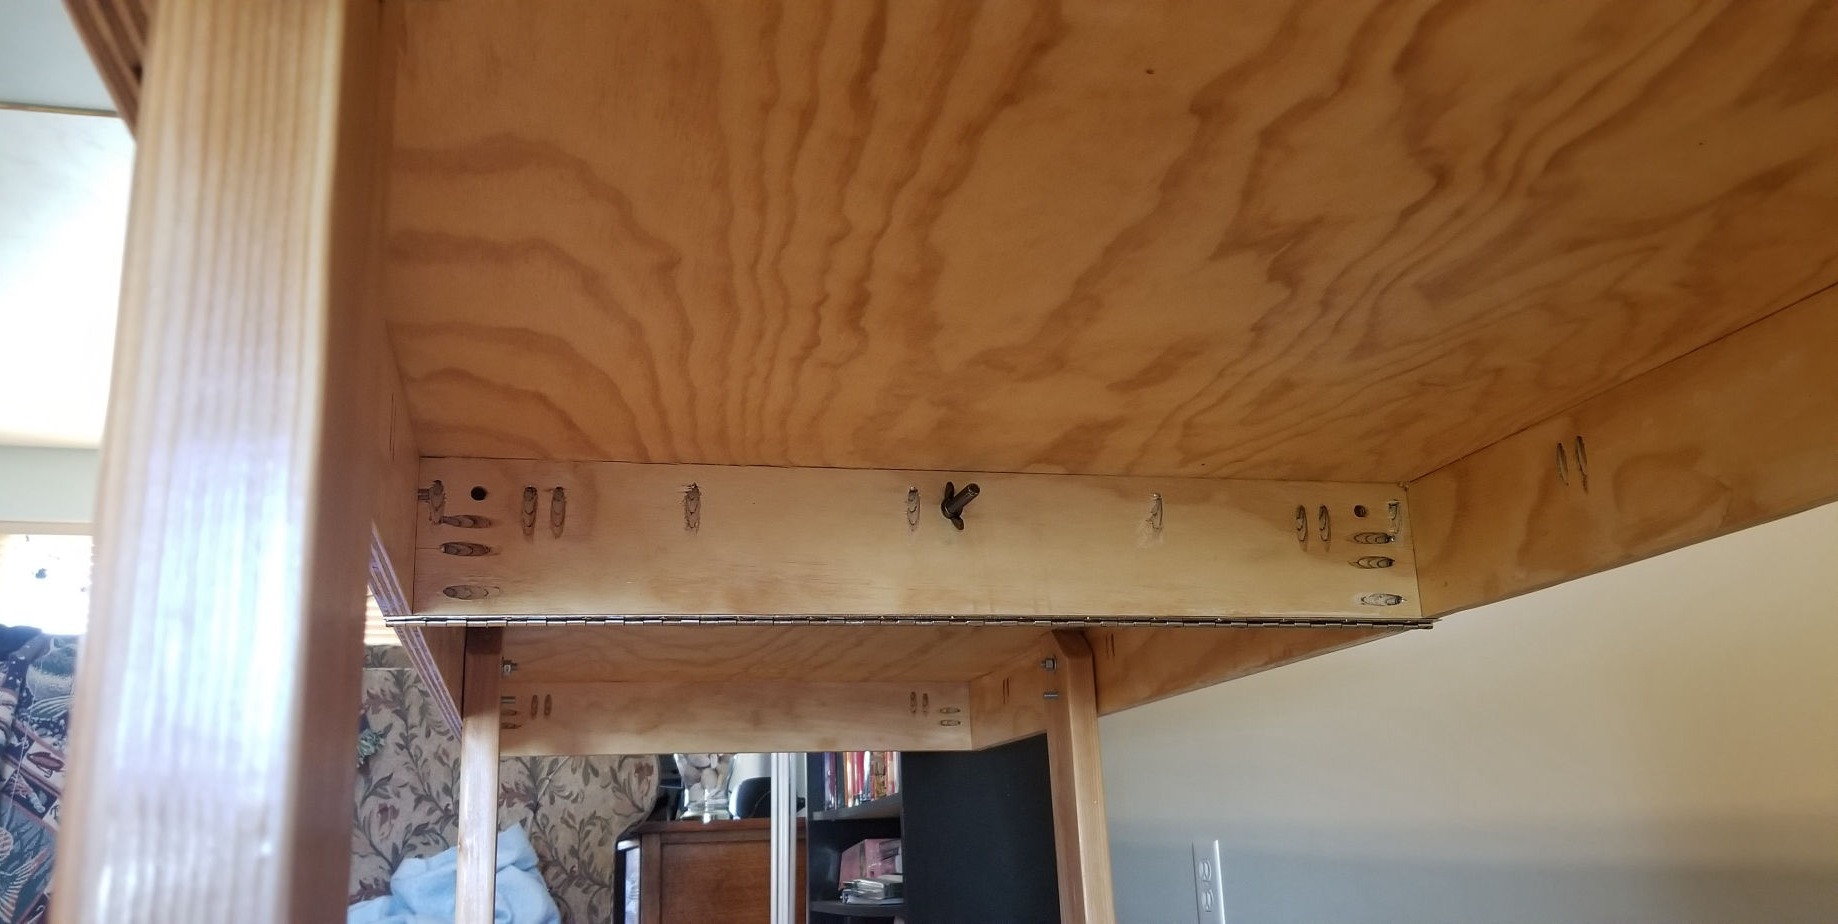
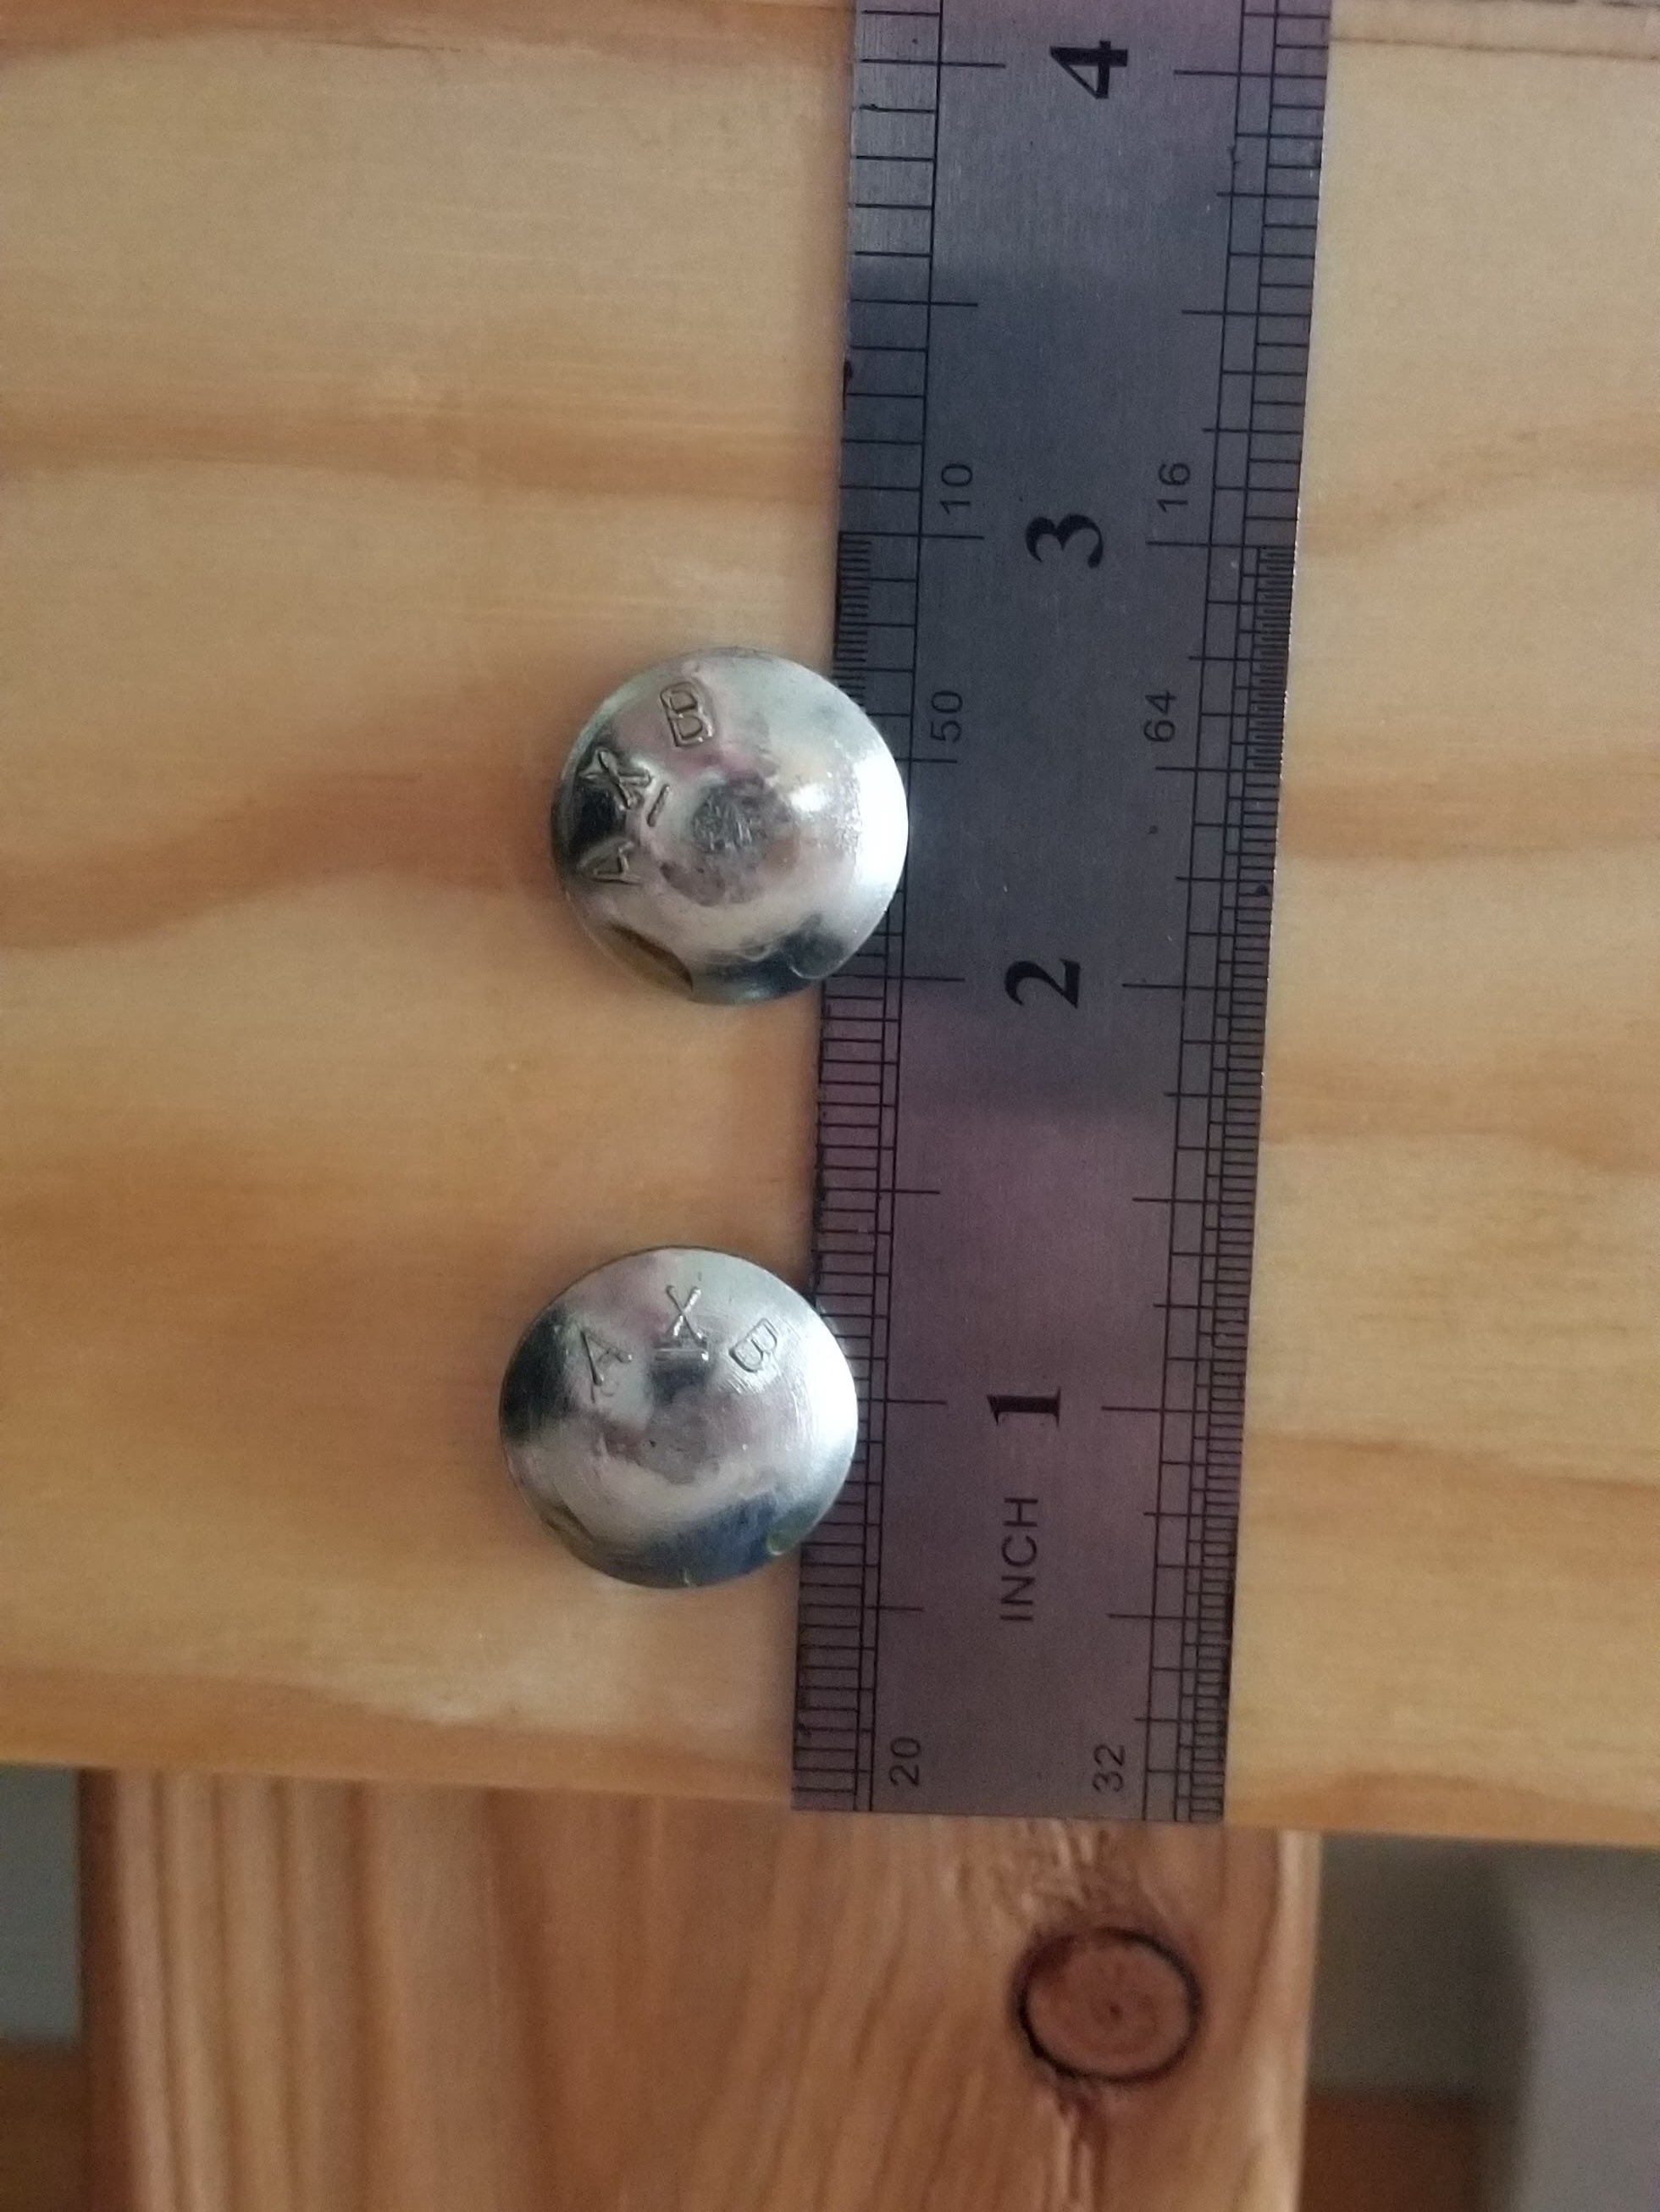
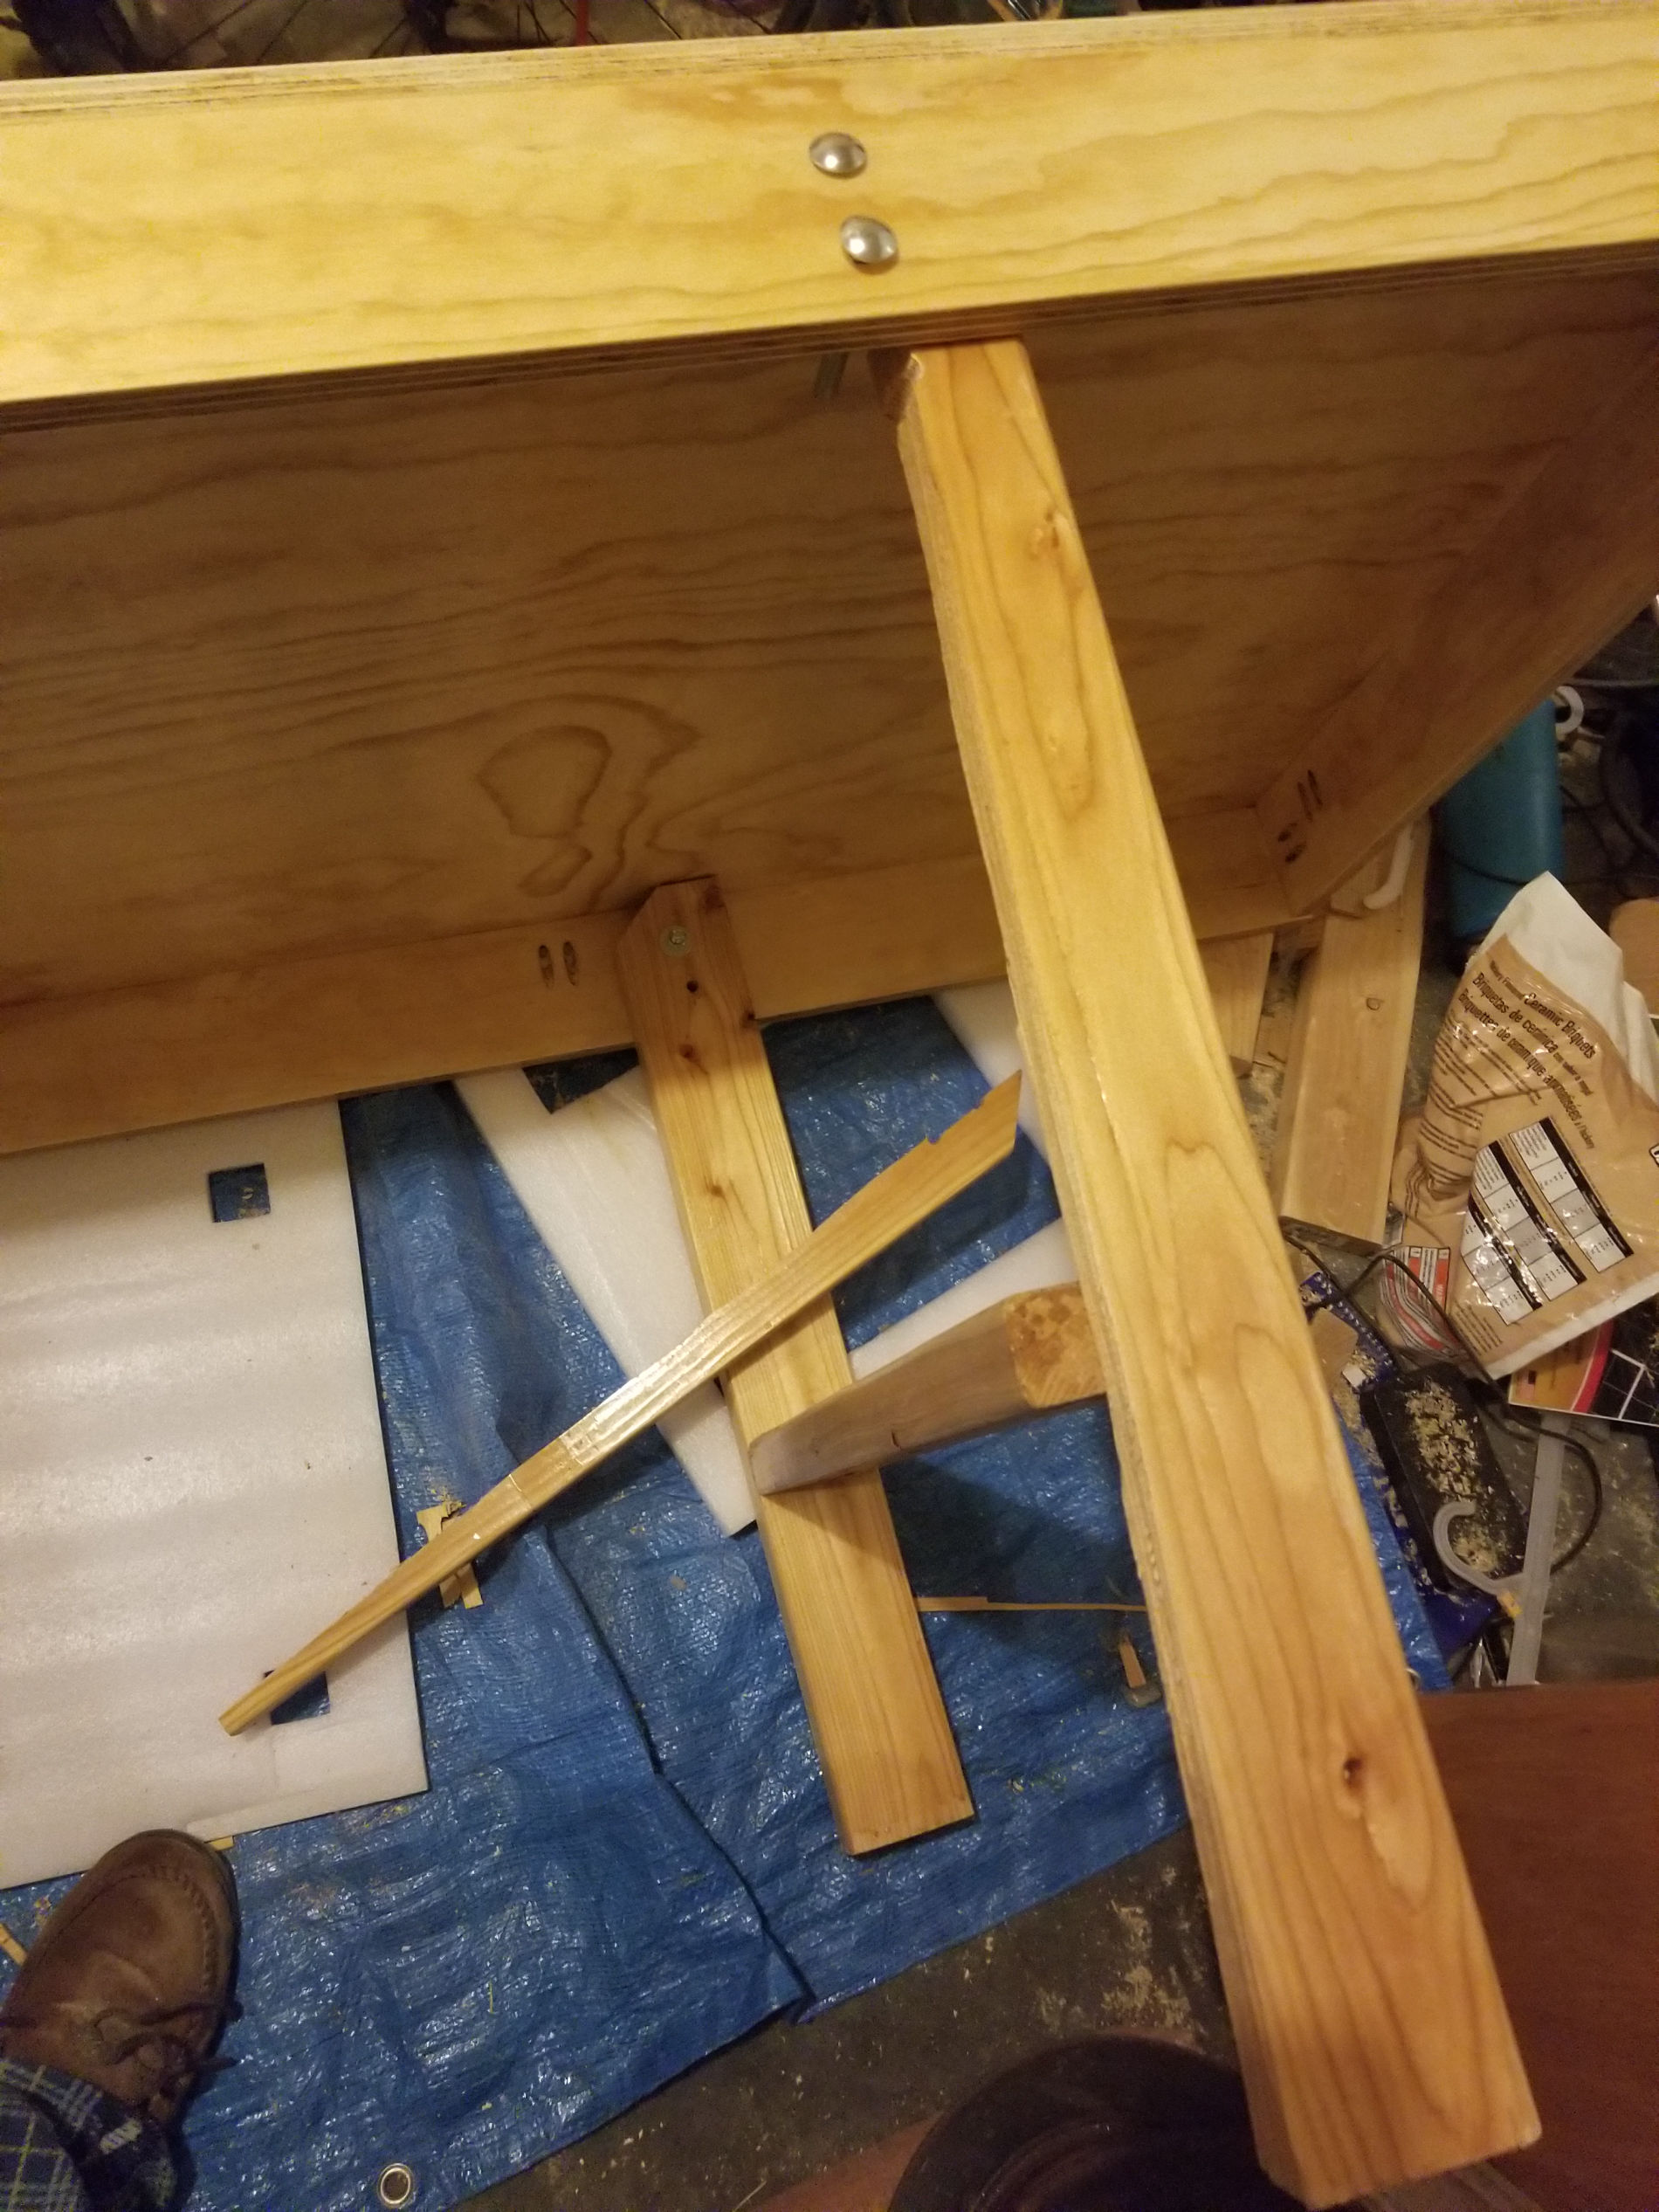
I started with a nice piece of 3/4 inch plywood, and cut an 8 foot, 30 inch wide section to make the surface of the table. This was then cut in half, one piece for each side of the table. With the rest of the plywood, framing was cut for the sides of the surface. 4 foot pieces spanned the length of each half of the table, with 28.5 inch pieces completing the ends. Each of the framing pieces were cut to 4 inches tall, to provide enough room for attaching the legs, and maintain a clean look. A pocket-hole jig was used in the construction of each side of the table, with a combination of pocket hole screws and wood glue. As I discovered later, an insufficient amount of fasteners was used at the ends of each side that butted up against each other. Once each side was constructed, a piano hinge was used to connect each piece of the table together on the underside. Everything was sanded, smoothing out any height differences. Then, the legs were constructed. 2x4s were cut to 27 inches tall, with a crossbar cut to 26.5 inches to span the legs and keep them sturdy and moving together. Corners were cut from the top of the legs to allow rotation so the legs could fold into the table for storage or to transport the table. The crossbar was fastened and glued to the legs 9 inches above the bottom of the legs to provide optimal stability. Once the legs were constructed, holes were drilled into the sides of the table and through the legs for the bolts, one to act as an axis of rotation, and the other to act as a pin and keep the legs from collapsing when the table is in use. With the table upside down and the top of the legs resting on the bottom of the table, a hole was drilled one inch from the edge of the table side, and another 2.5 inches from the edge, as shown below.
Once the holes for all legs were drilled, the legs were covered with polyurethane, the bolts were put in, and the legs were tested for their ability to rotate easily. Once that was determined as sufficient, the legs were folded out and locked, and the table was carefully flipped. The surface of the table was then sanded smooth, and I began to explore my finishing options.
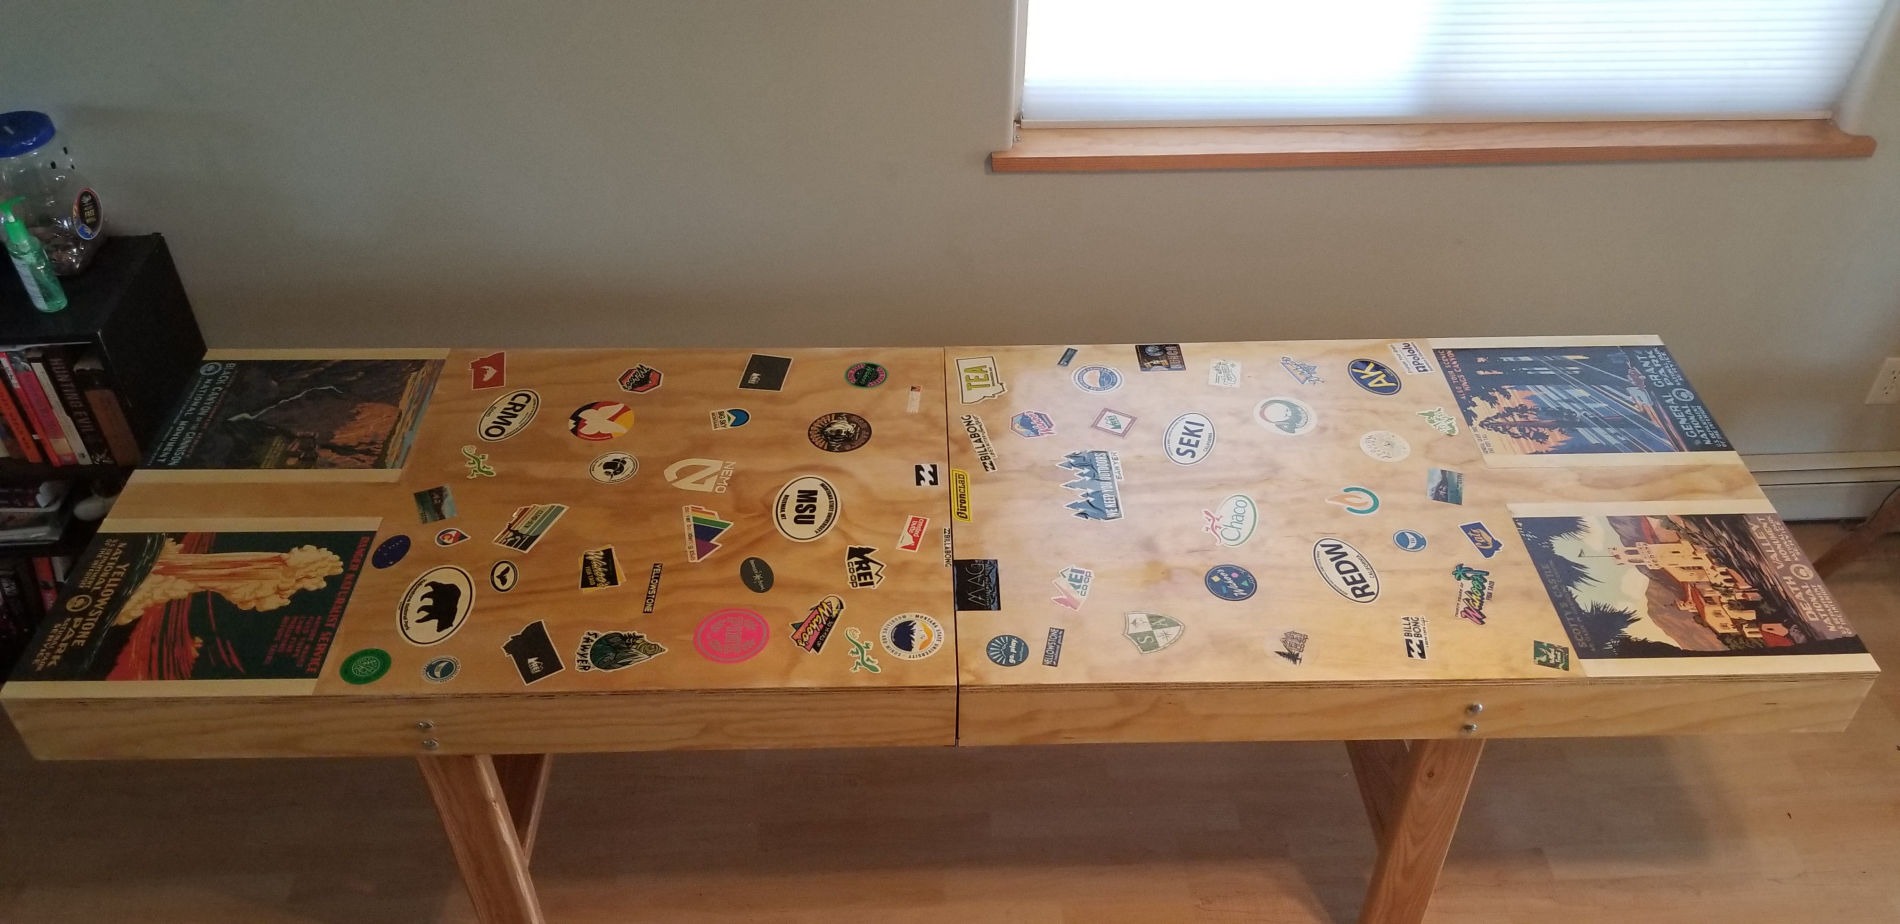
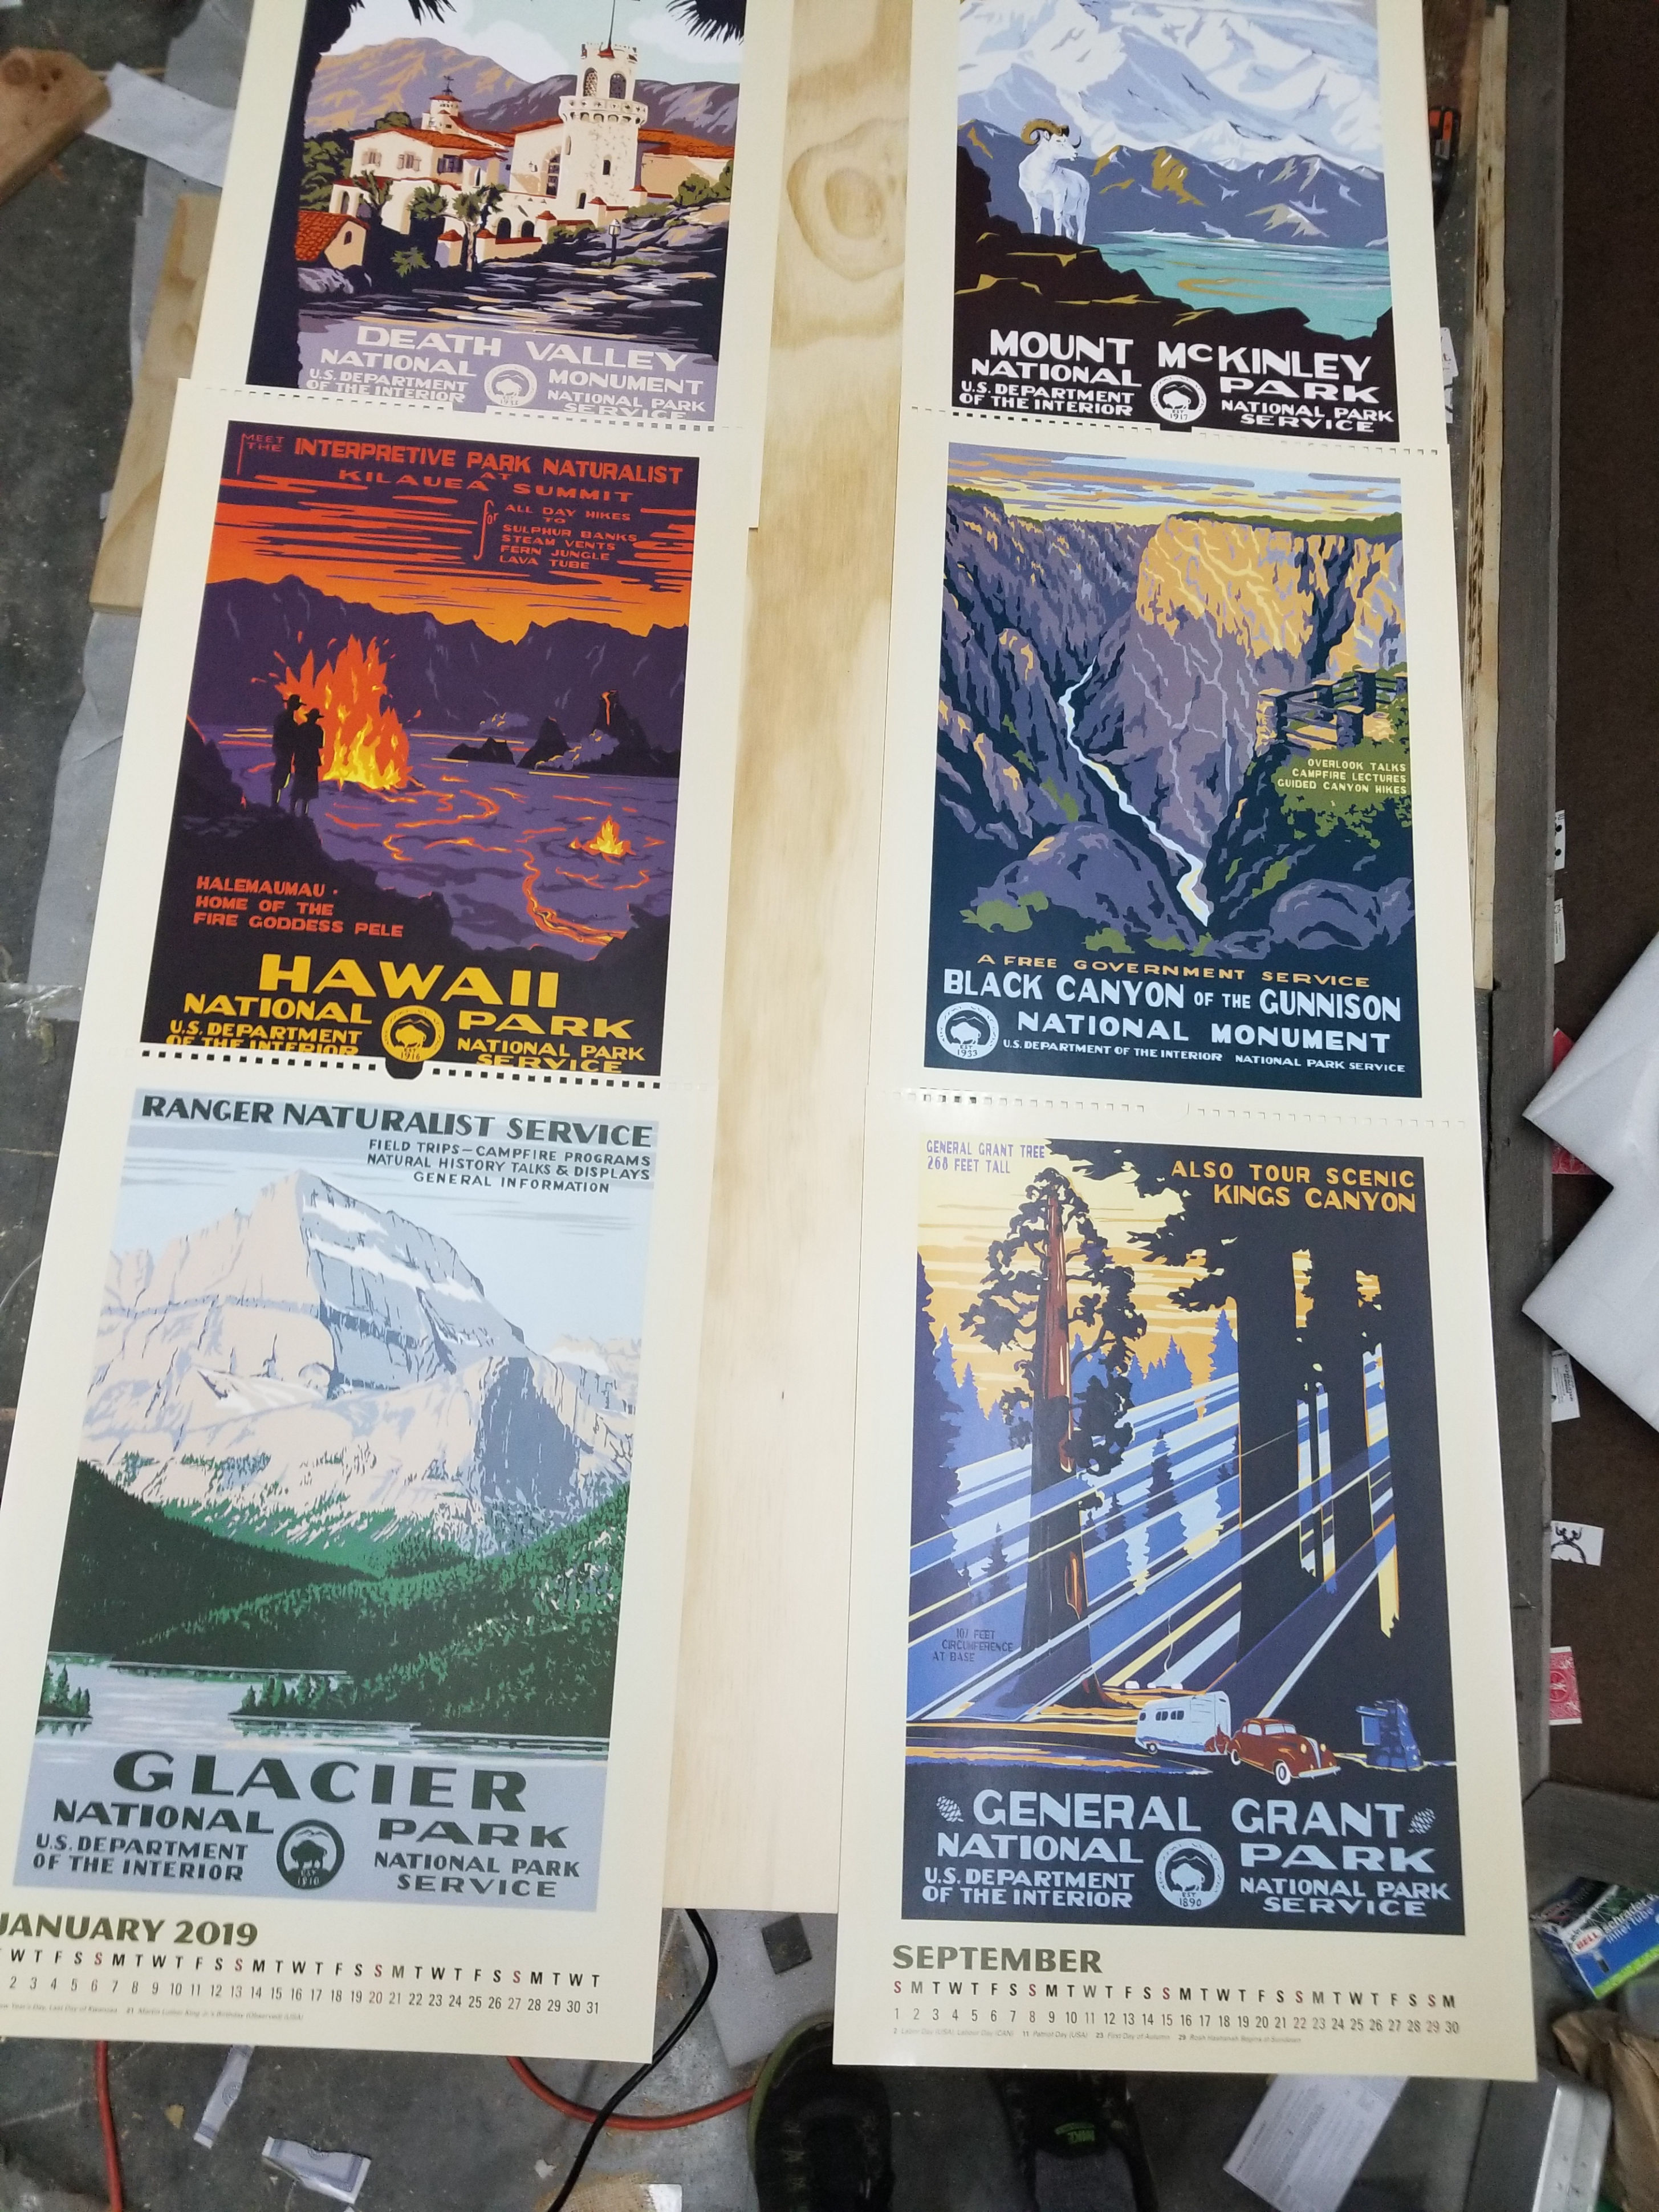
My design idea was to use National Park Posters to affix to the surface of the table, and after a couple experiments with adhesive I determined that Mod Podge should work sufficiently. I laid out the order of posters onto the table, and once I determined a cool looking configuration I cut the posters to size.
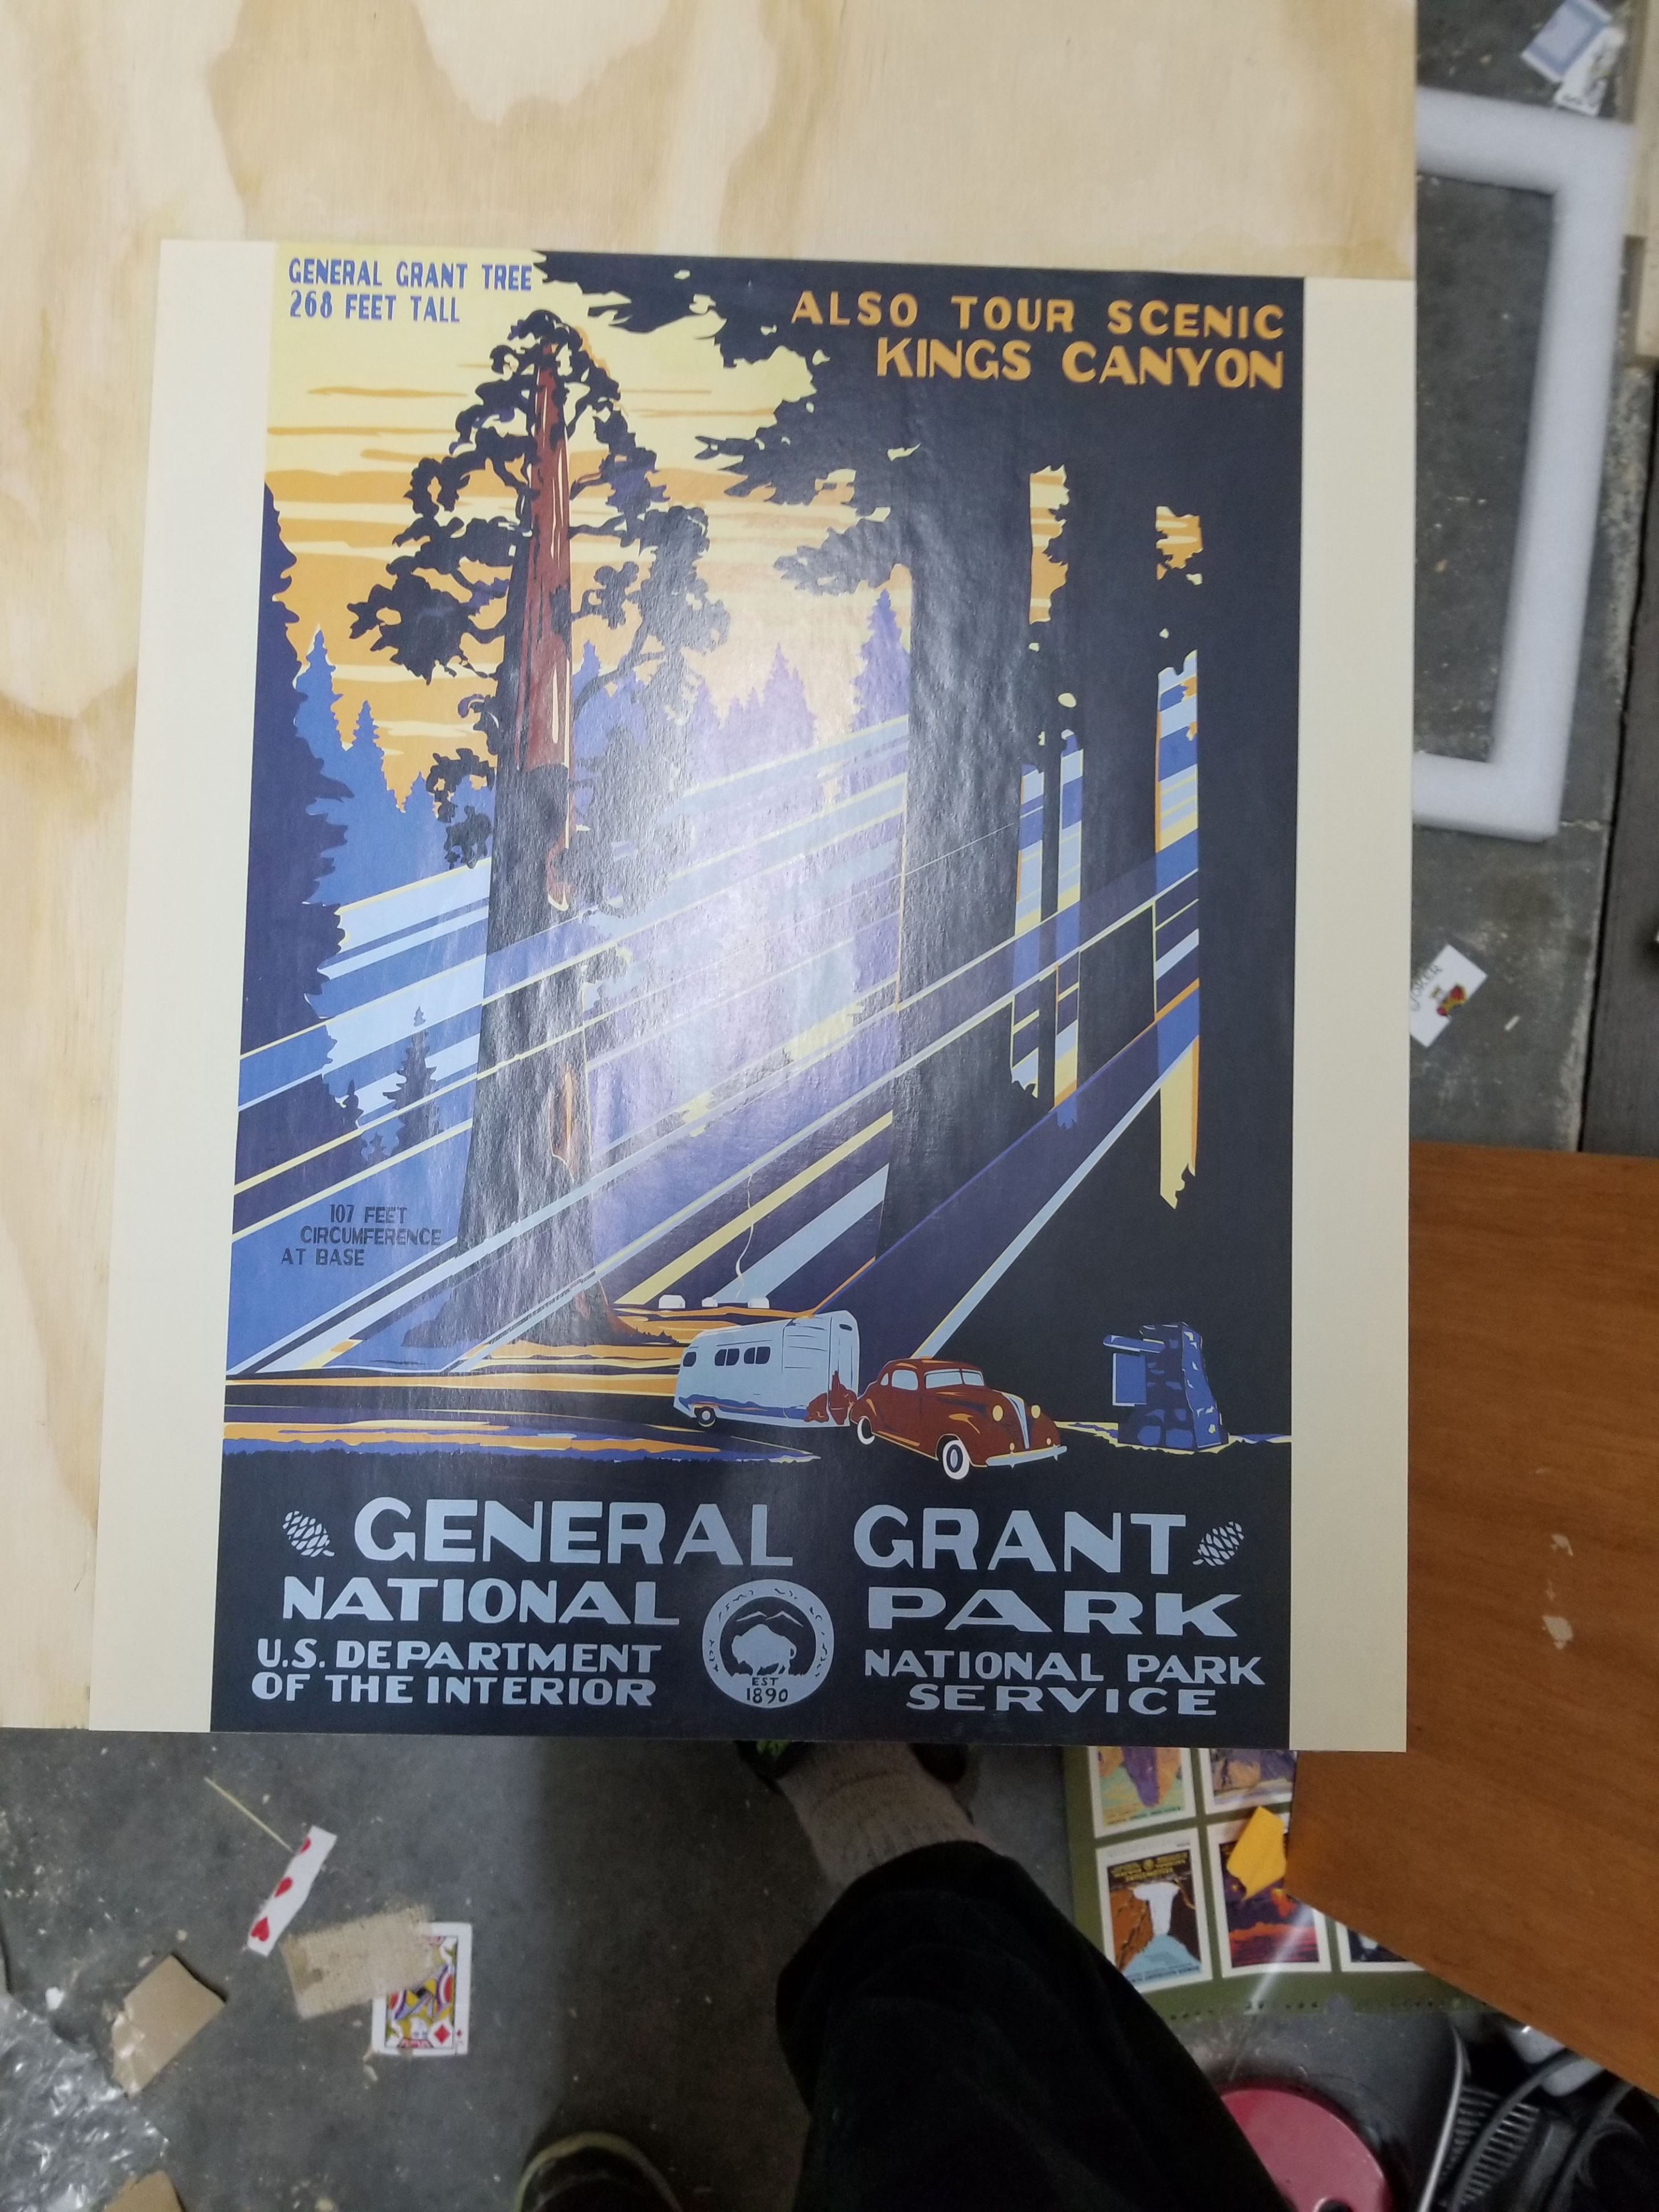
I used the Mod Podge to affix the posters to the table in their desired location, and after the first discovered I needed some sort of pressure applied to prevent bubbles from forming under the poster. The finished attachment of the first poster didn't necessarily meet my standards, but I continued with two other posters attempting to refine my attachment strategies for a cleaner looking finish.
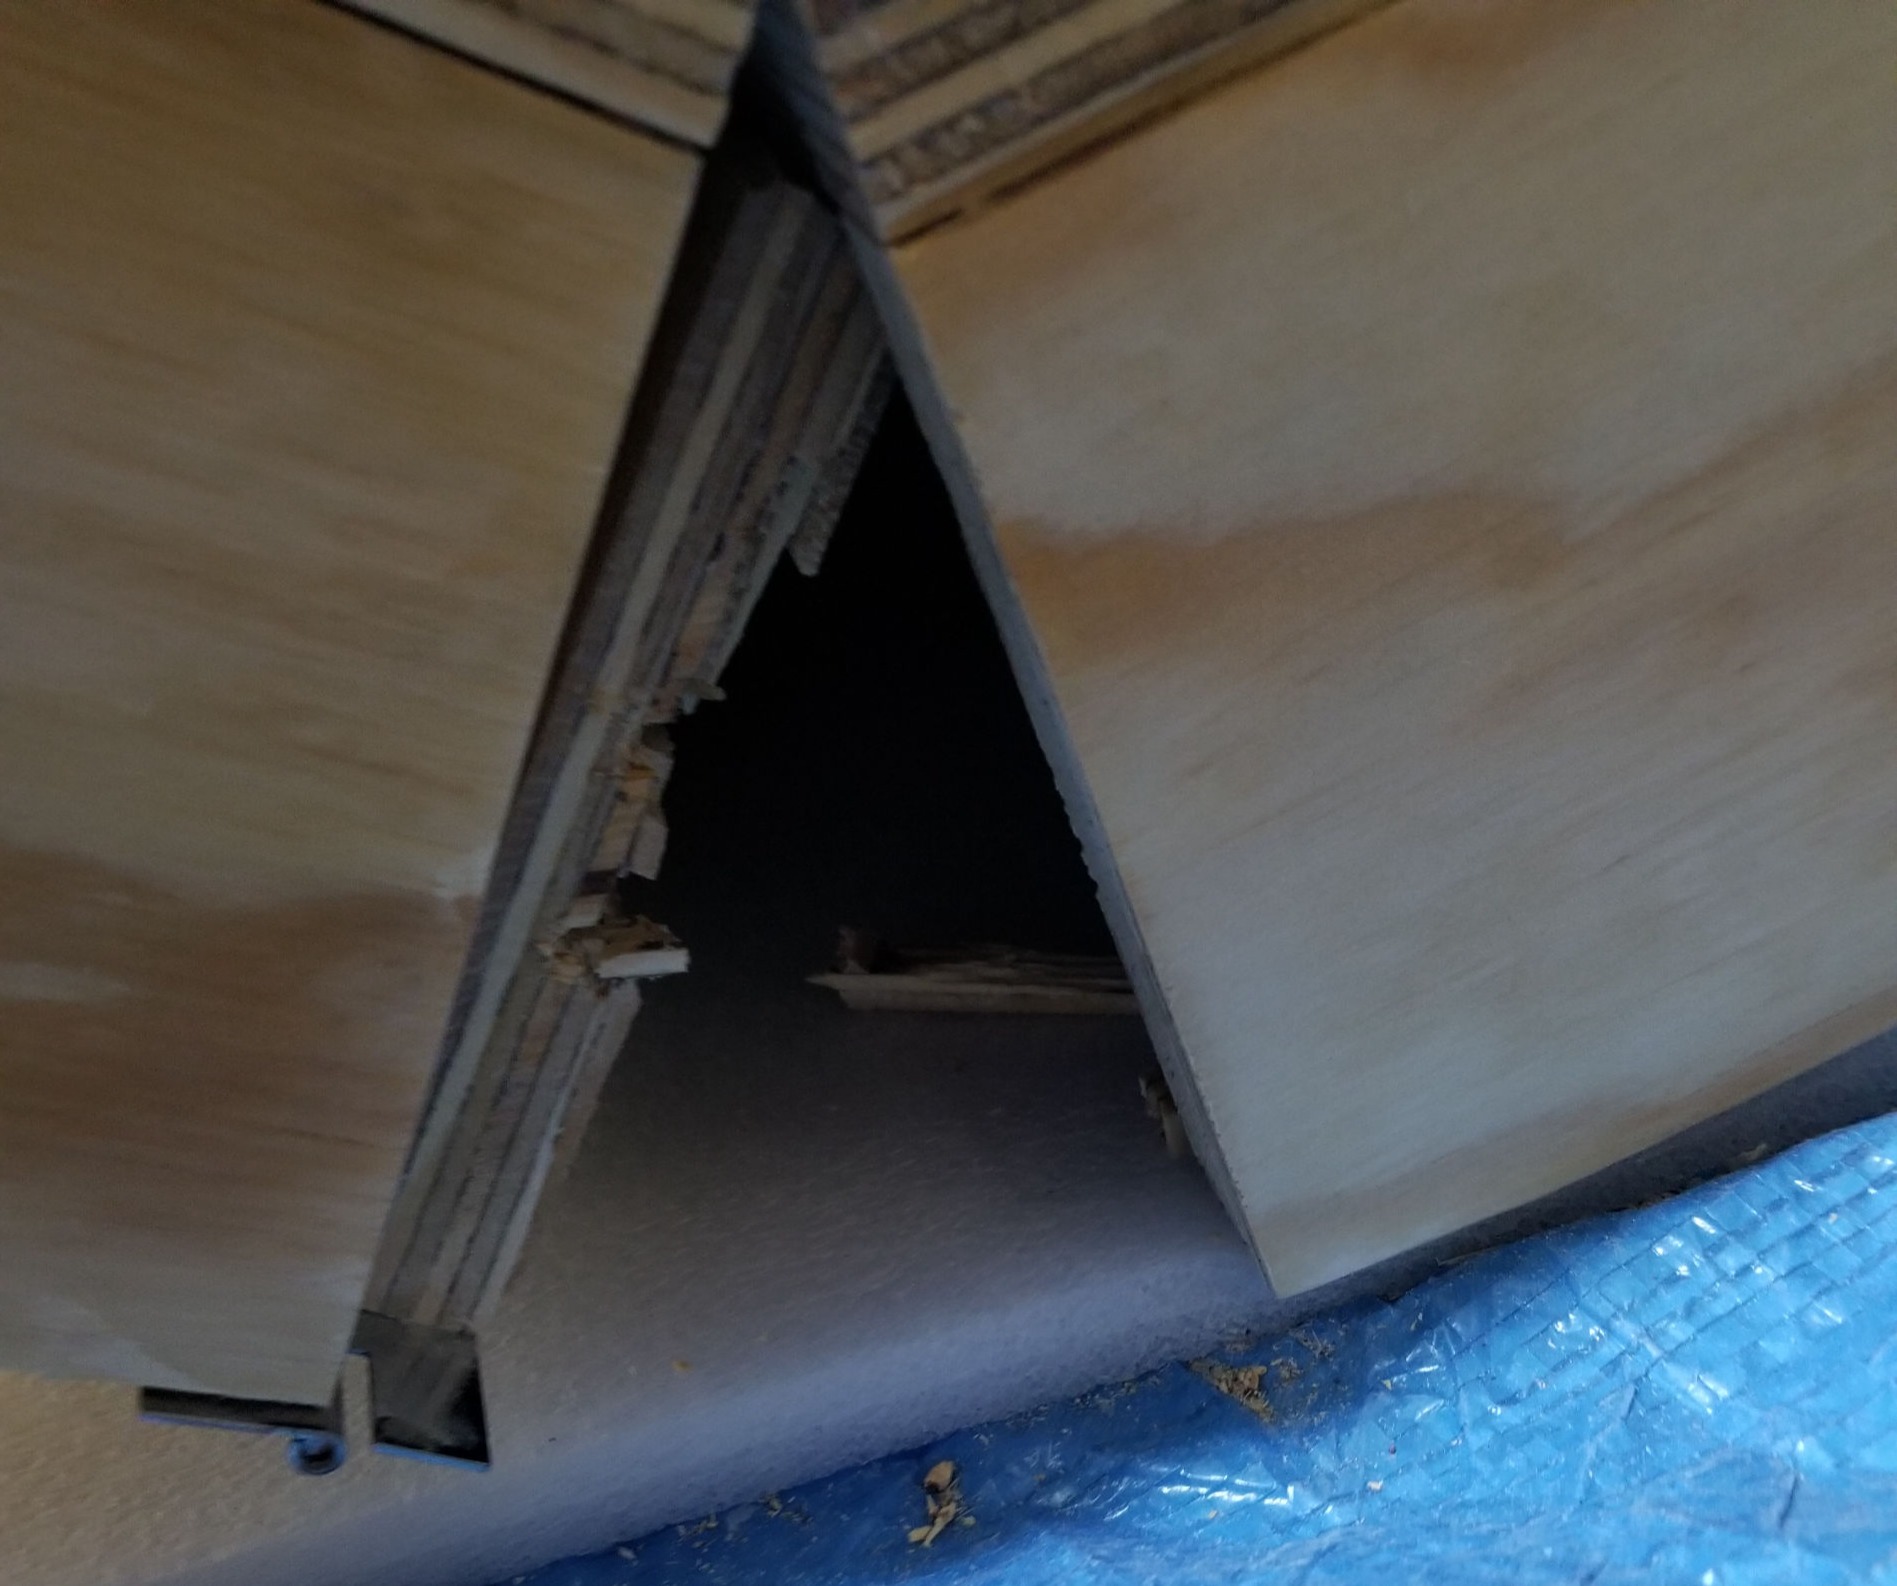
My strategy for removing the bubbles by applying pressure onto the poster as the Mod Podge dried backfired on me with the third poster. I was waiting for it to dry, and heard a huge crash come from the garage. Upon inspection, the weight applied to press the poster had caused one of the end sides of the table to rip free from the fasteners, causing the table to cave inwards as seen below.
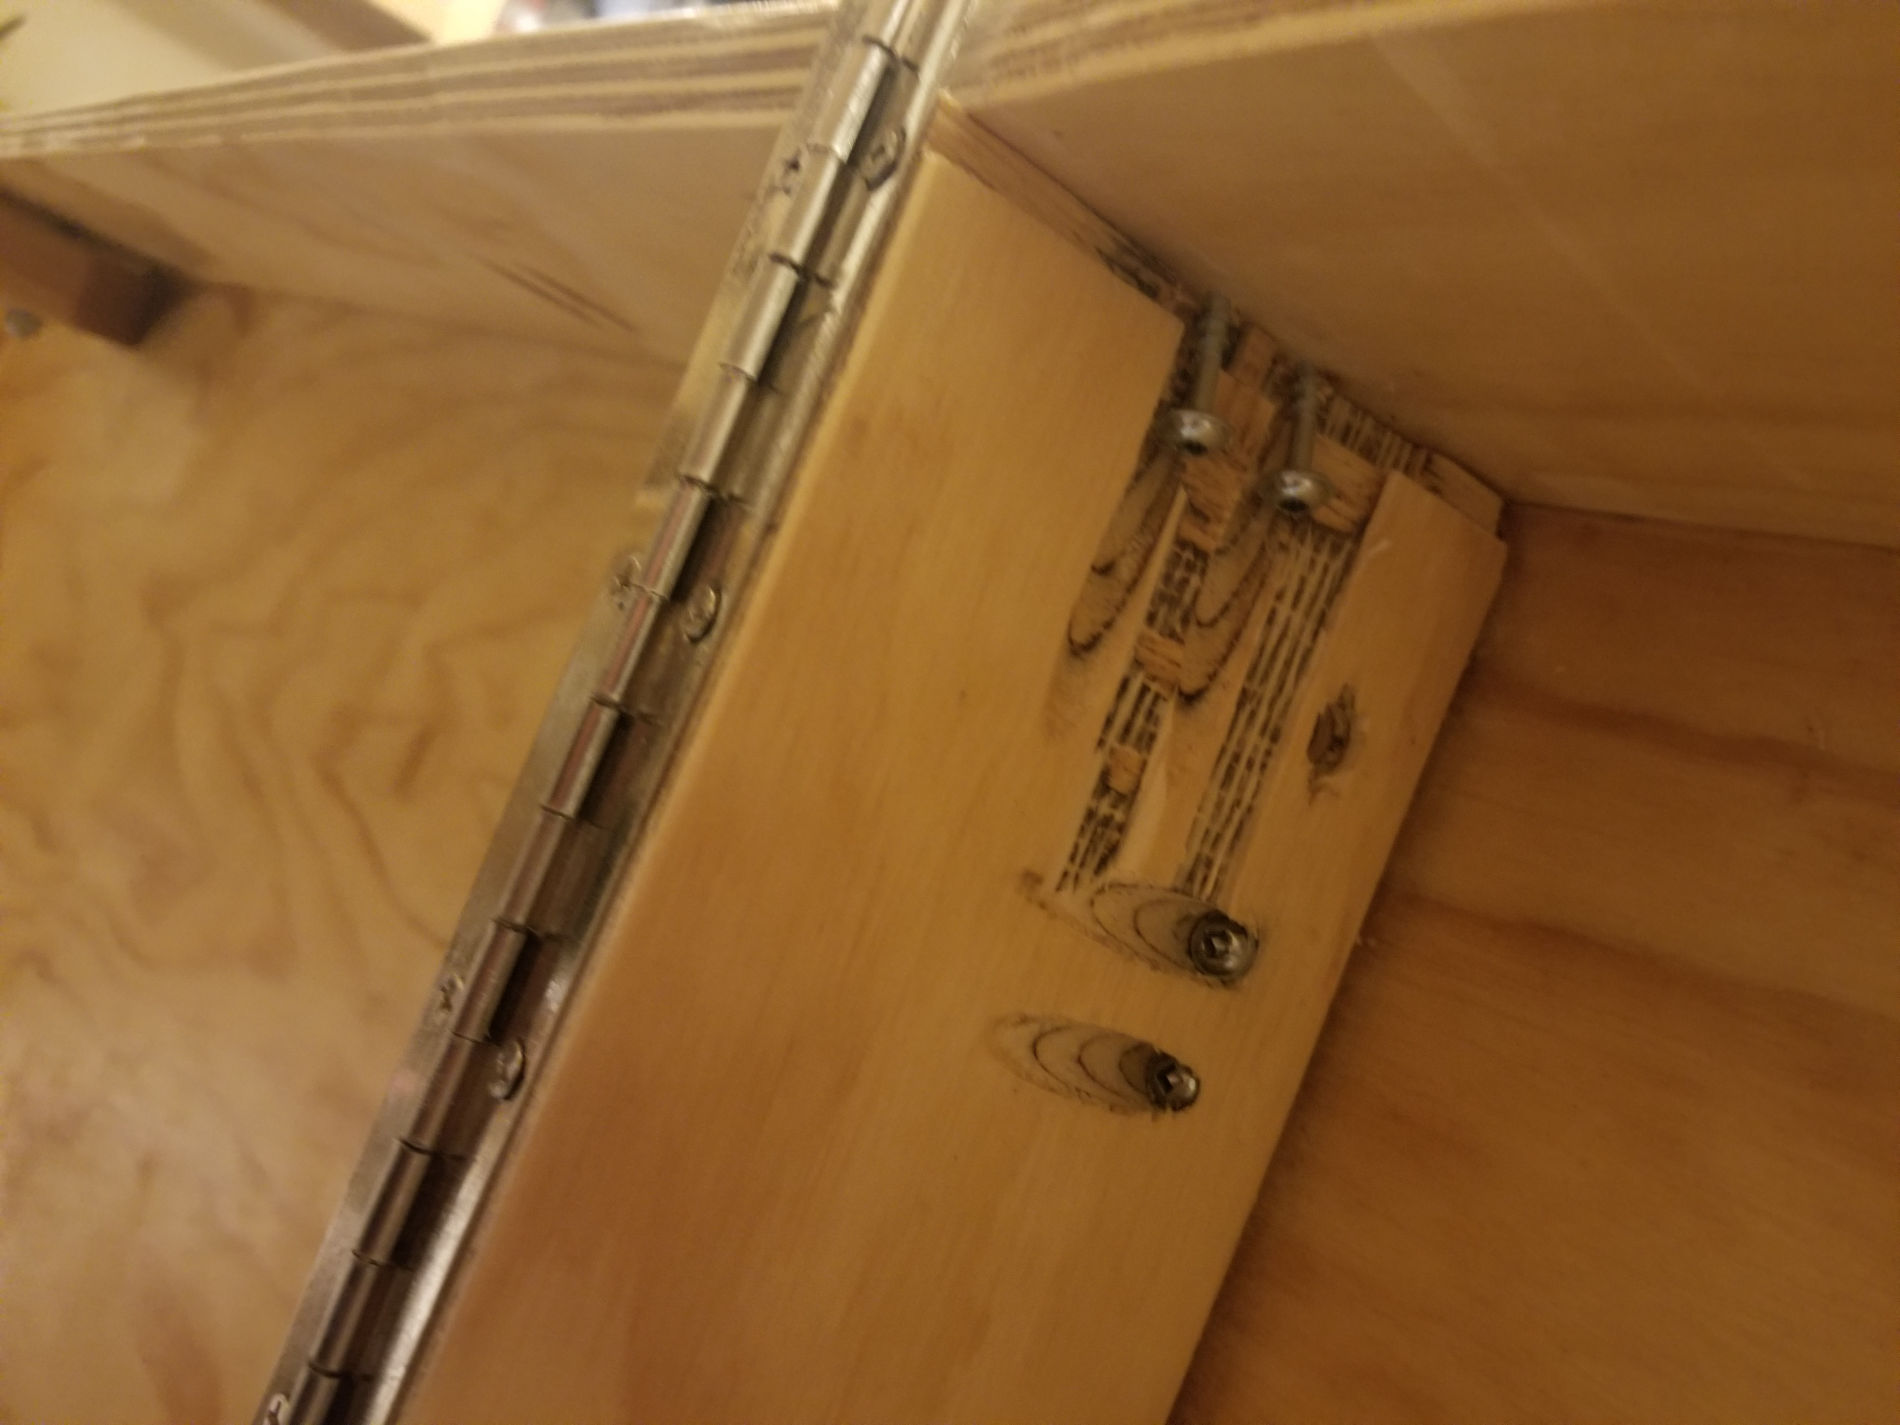
After surveying the damage as seen below, I determined that the project could be salvaged. The ultimate stability of the table would ultimately be compromised by its failure, but would provide a functional prototype and provide insight for future strengthened designs.
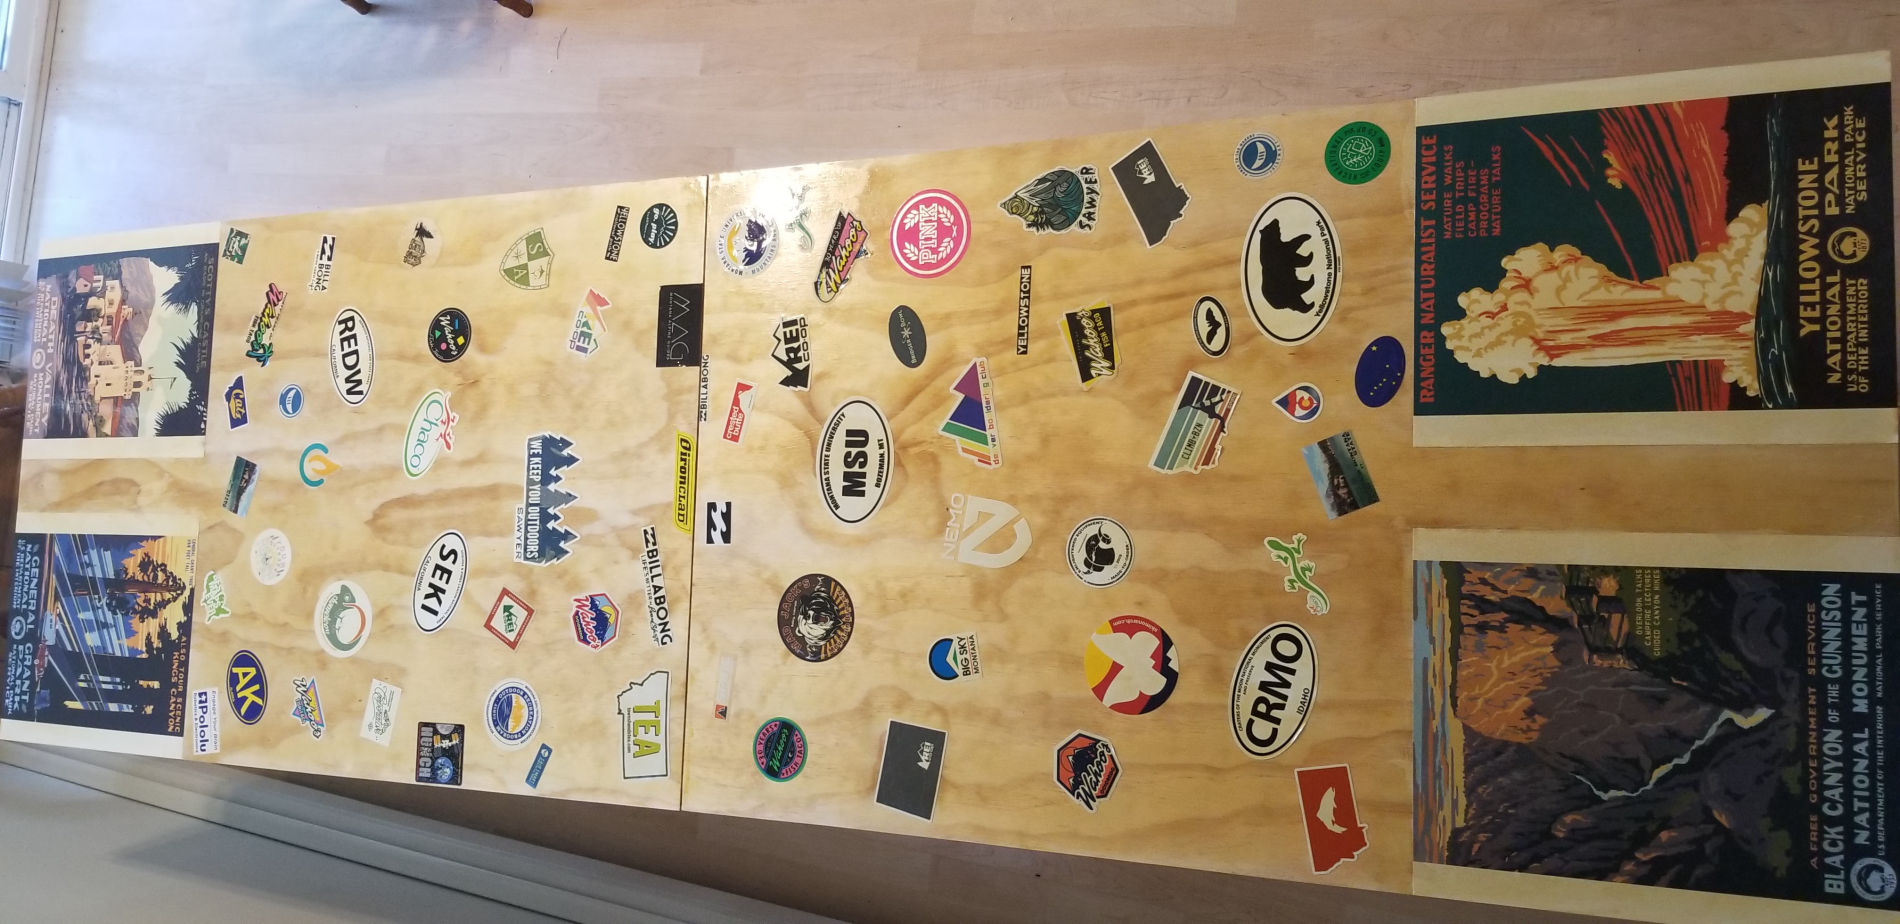
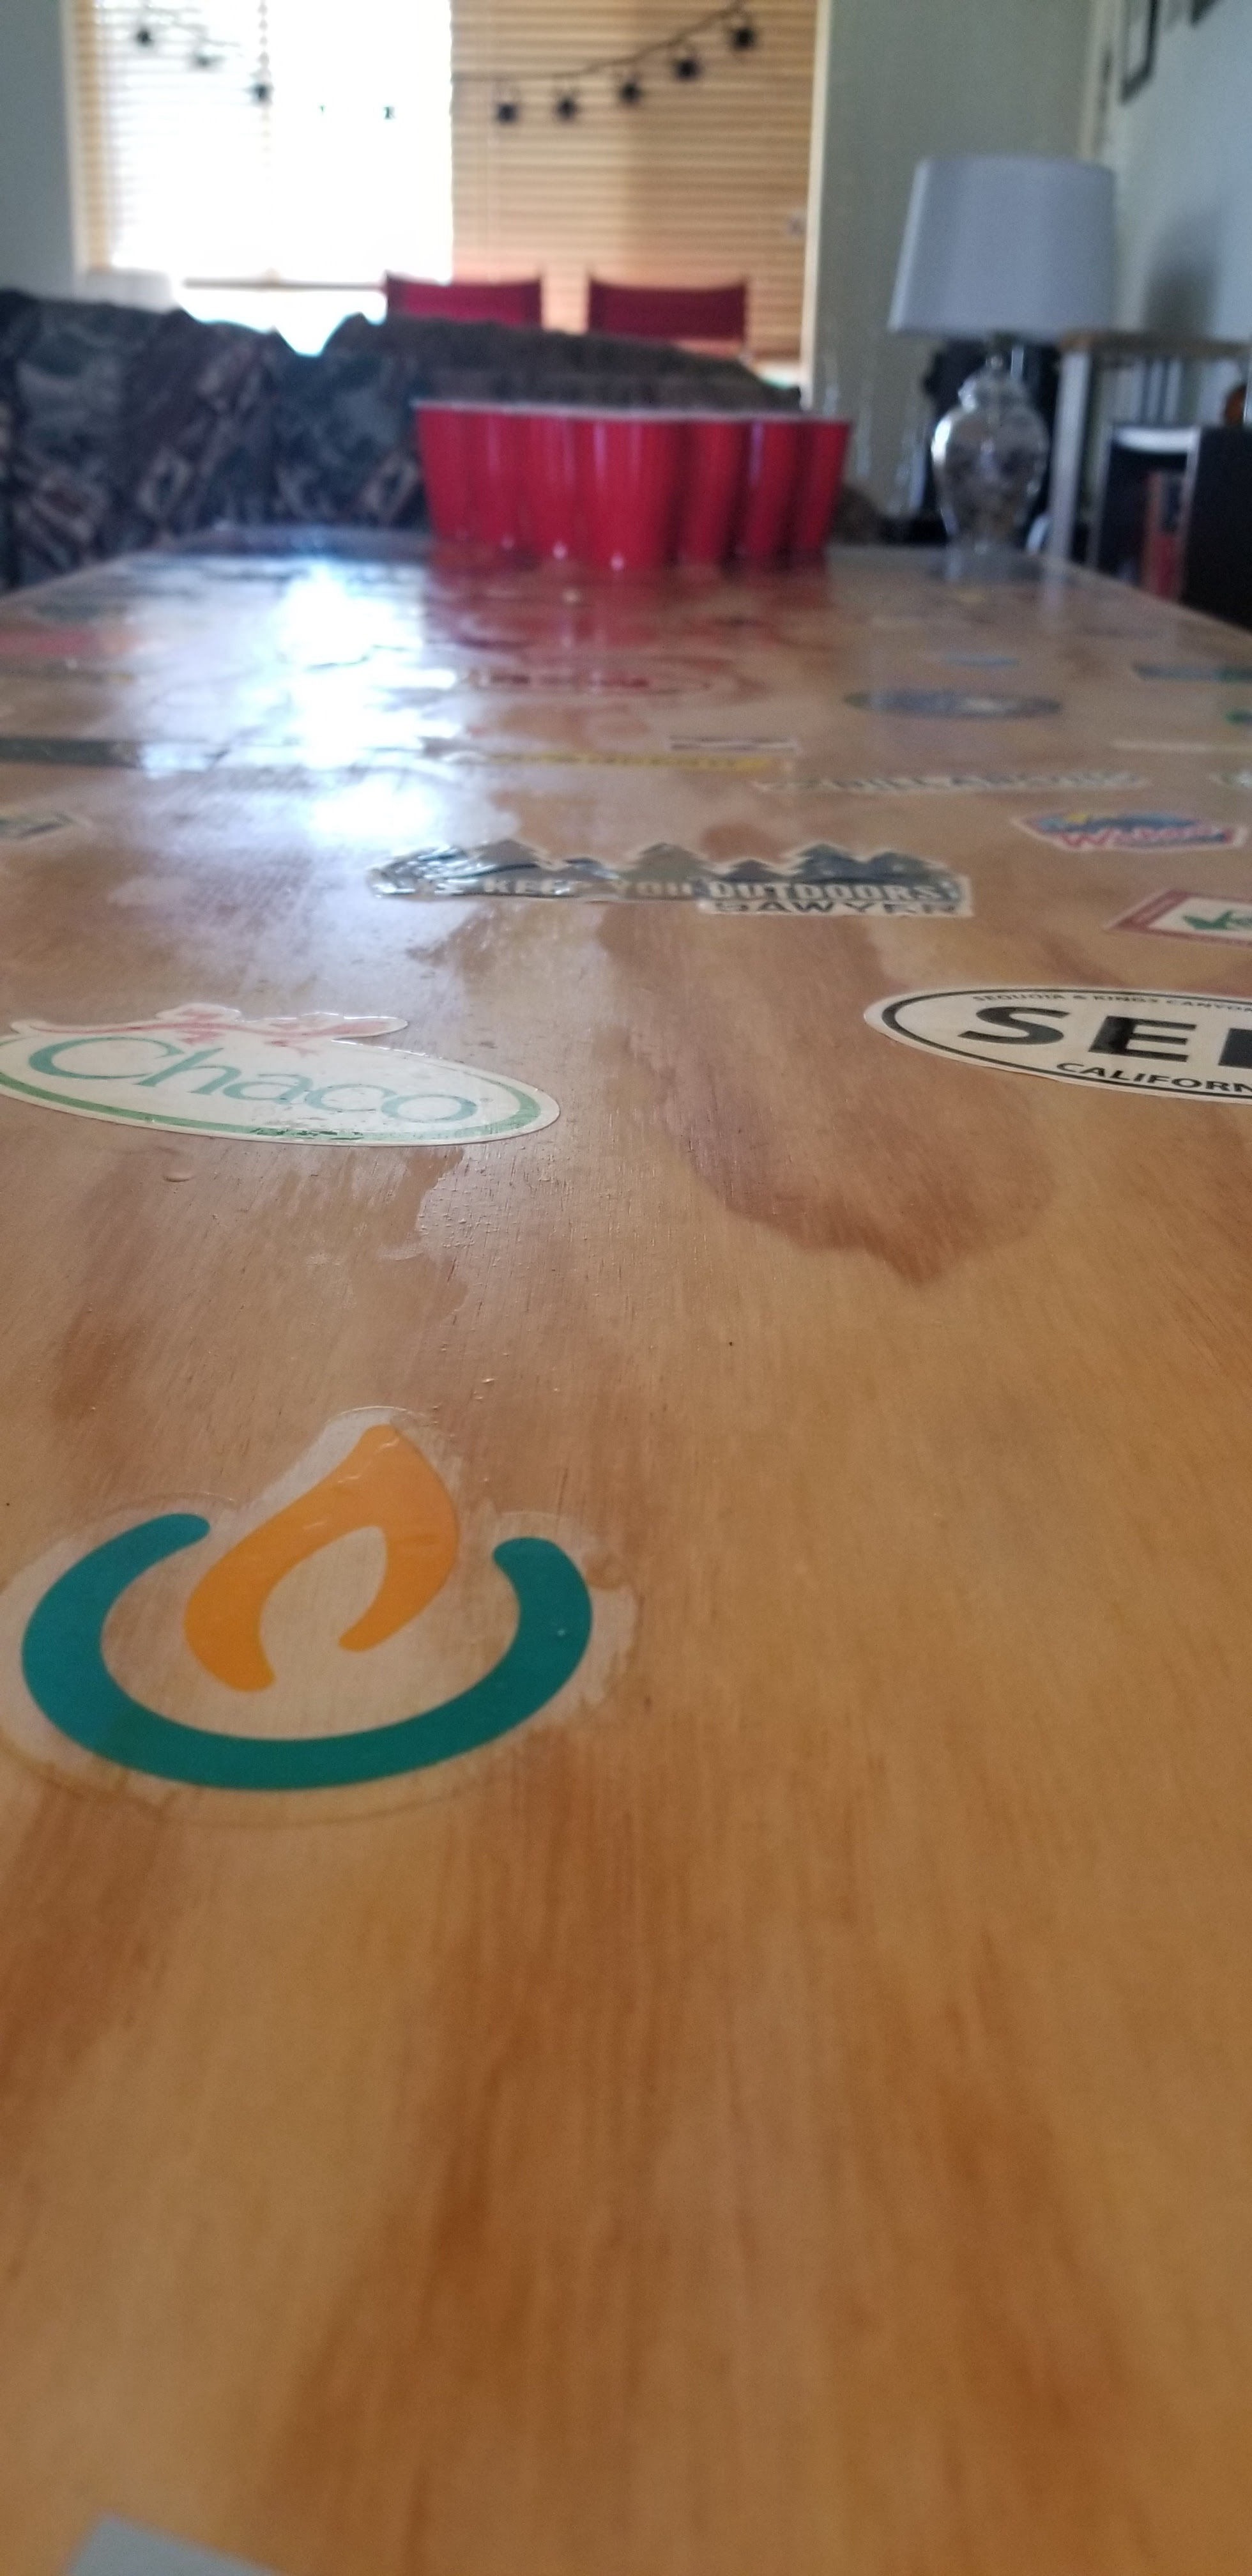
Although extremely disheartening, I was able to fix the destroyed table. I finished putting on the fourth poster, and decided that the destruction was a sign I should explore other avenues of designing the table. I then flipped the table once more, unscrewed all fasteners on the side that had blown out, and drilled many more pocket holes where the plywood was still structurally sound. I doubled the amount of fasteners on each side, re-glued the demolished side, and then screwed it back together. I also glued the splintered leg back together and reinforced with deck screws through the leg. Once these fixes were made, the table was righted once more. In order to provide a little additional support to the ends that connected each side of the table together, I drilled three holes for bolts to run through and keep each side together. The table was tested for sturdiness, and while it was slightly wobbly, I determined that it would easily hold up to regular use. Any sort of major weight placed on the table however could result to be devastating. I then came up with an alternate design, and use for my massive collection of stickers, and stuck them all over the remaining free surface of the table. Multiple coats of polyurethane were used to seal the top of the table and prevent any spills or liquids from ruining the finish. In the short term, this turned out extremely well. Since, some of the stickers have somehow collected moisture or air bubbles under them, and a couple are peeling up. Using Mod Podge is a possible solution to remedy this. Additional stickers have been added on top of the polyurethane, and all have stuck extremely well. Through 4 months of occasional use, the table has held up extremely well and looks absolutely gorgeous. Some table surface pictures are shown below. Update: After around 9 months, someone "Bill's Mafia'd" the table, and it is now destroyed. A future table will potentially be designed to mitigate this issue in the future, which will mainly deal with adding additional support to the middle of the table so it isn't a stress concentration in the future.
Make your own web page with Mobirise